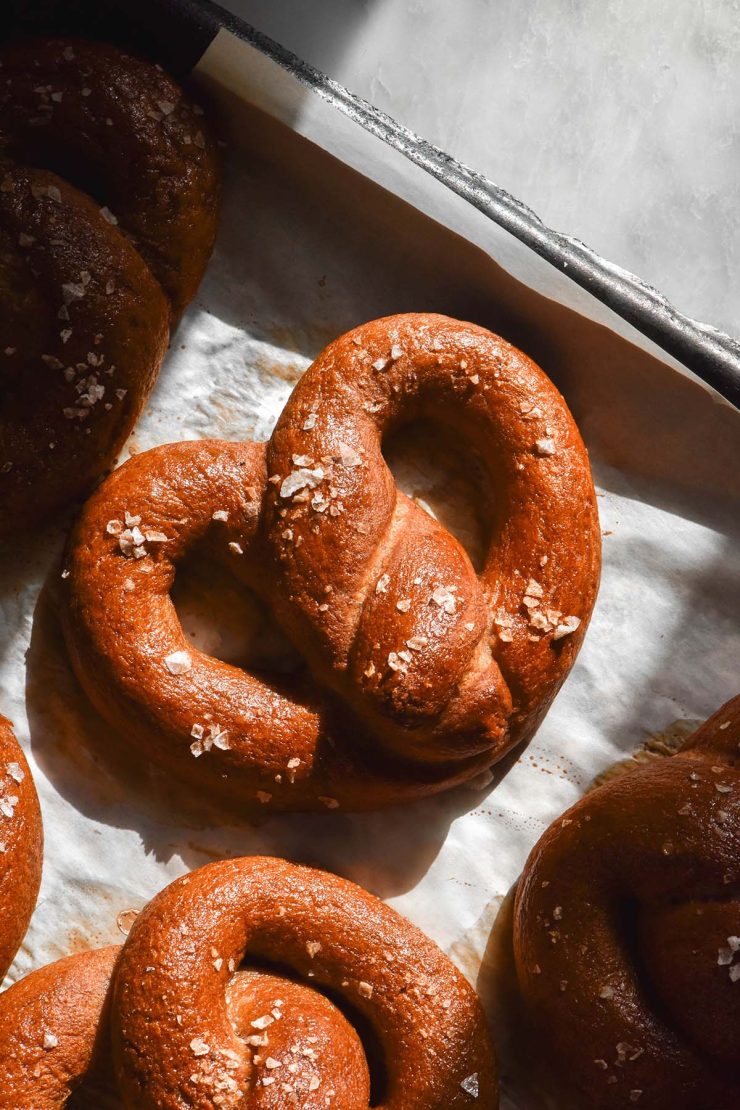
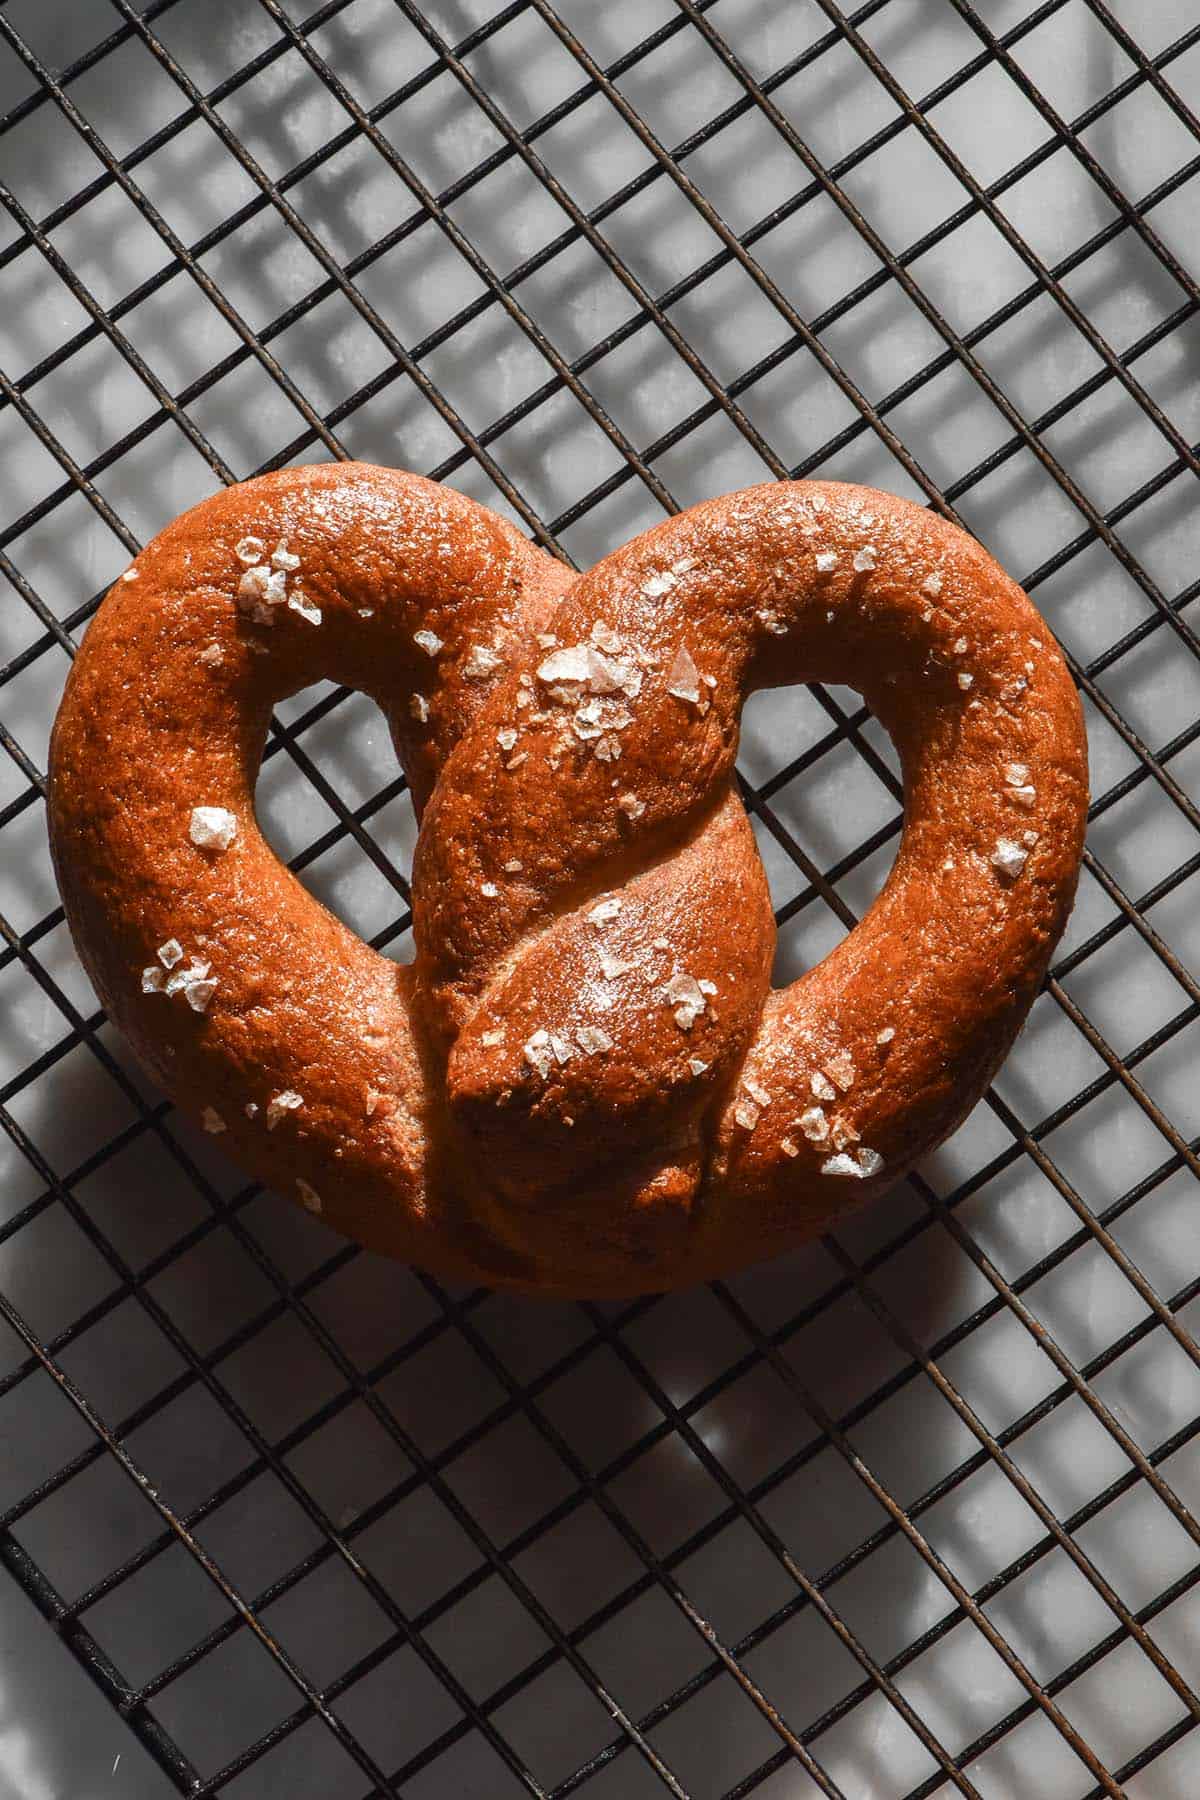
I have been chipping away at gluten free pretzels for a while now. Every batch I made was too hard to shape and didn’t hold together satisfactorily. After finishing up my gluten free, yeast free e-book, I wondered if I could use that dough to make a pretzel. The results? Chewy, delicious and easy to make gluten free soft pretzels – no yeast and no waiting required.
Gluten free soft pretzels (yeast free)
These pretzels are yeast free, xanthan gum free, nut free and easily/dairy free vegan. With an alternate egg wash, the pretzels are also egg free (as the dough doesn’t use any eggs). The dough was, as we’ve discussed, inspired by the dough in my yeast free recipe e-book.
White rice flour and tapioca flour are the flours of choice here. They create a neutral flavoured dough with the perfect amount of chew and elasticity. A healthy quantity of gluten free baking powder is our leavener of choice in the absence of eggs or yeast.
The dough is held together with a high quantity of psyllium husk powder. This binds everything together but also absorbs enough liquid to make the dough moist, chewy and delicious. Psyllium husk powder also provides our dough with enough elasticity to be able to shape it with ease.
Plain yoghurt (regular or vegan), oil and maple syrup add flavour, elasticity and contribute to browning. Yeast free baked goods are notorious for staying pale even after baking, so these ingredients aid in developing a lovely brown crust.
To make these soft pretzels as authentic as possible, they are boiled in a baking soda solution before being baked at high heat. Baking soda is an easy home solution for lye which is corrosive and can be dangerous to work with.
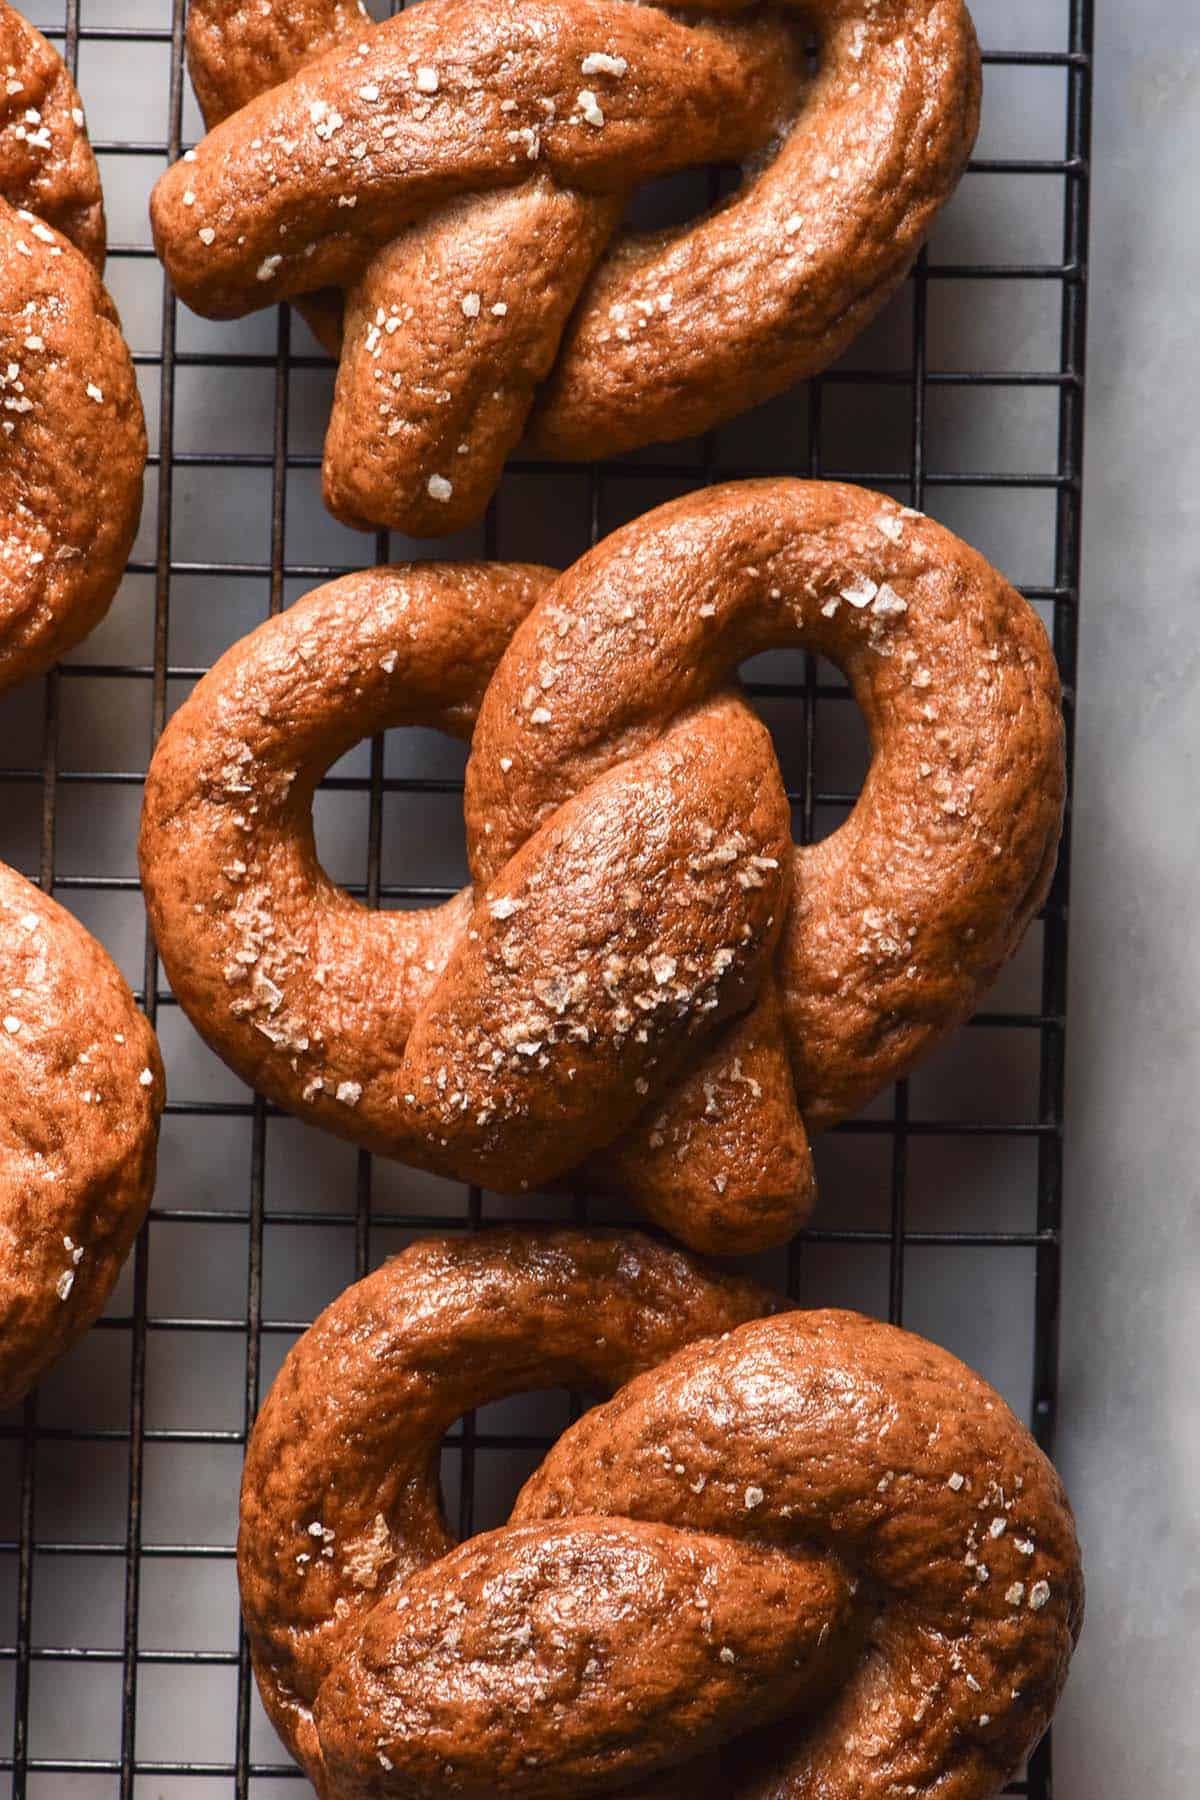
Ingredient notes for your gluten free soft pretzels
It has taken me FOREVER to perfect yeast free gluten free recipes. They are notoriously fickle and work differently to yeasted products. As such, we don’t have many substitutions here.
Make sure you choose fine and fresh white rice flour. Gritty rice flour will contribute a sandy, unpleasant mouthfeel to your pretzels and that’s not what we want. Same goes for rancid rice flour – it has a strong musty and floral taste that shines through even after baking.
I grind store bought psyllium husk flakes to a powder myself. I find store bought powder to be too fine and clumpy. While I did use store bought powder for a while, I found it was also turning my baked goods purple/grey. Don’t get me wrong – this can happen with the whole flakes as well. But the two inconveniences combined convinced me to switch to grinding my own powder.
There are no substitutes for the flours, psyllium husk powder or baking powder here. These are critical ingredients that work together to create a plush and delicious soft pretzel.
You can use plain Greek yoghurt or plain coconut yoghurt here. I find that the pretzels made with vegan yoghurts don’t brown quite as quickly as the dairy based ones but they still work well.
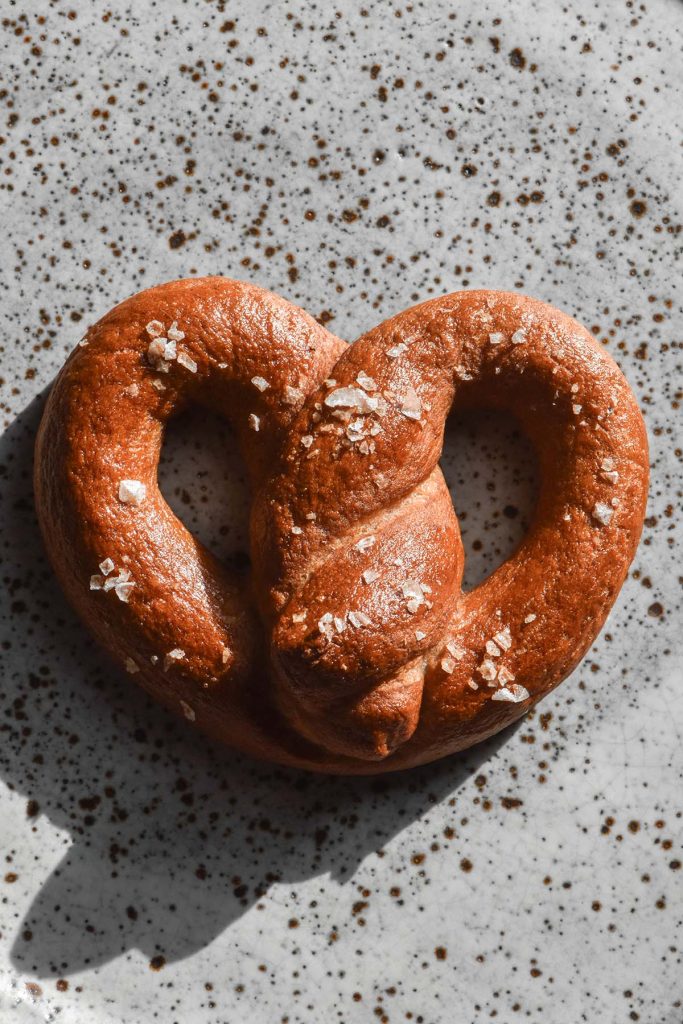
Boiling your gluten free soft pretzels
Pretzels are boiled to achieve that shiny, chewy crust and characteristic flavour. Traditionally, bagels are boiled in a lye solution to achieve this. Lye is caustic and can be dangerous to work with if safety precautions are not followed. It is also has to be sought out – it’s not easily purchased at a supermarket (that I know of).
With that in mind, we’re using an easier but less authentic option – baking soda. Baking soda changes the PH of the water in the same sort of way that lye does. It gives us a similar reaction and a similar browned, flavourful crust.
Once you have shaped the bagels, they are boiled with the baking soda for about 30 seconds. This process is simple but important in developing flavour, colour and appearance.
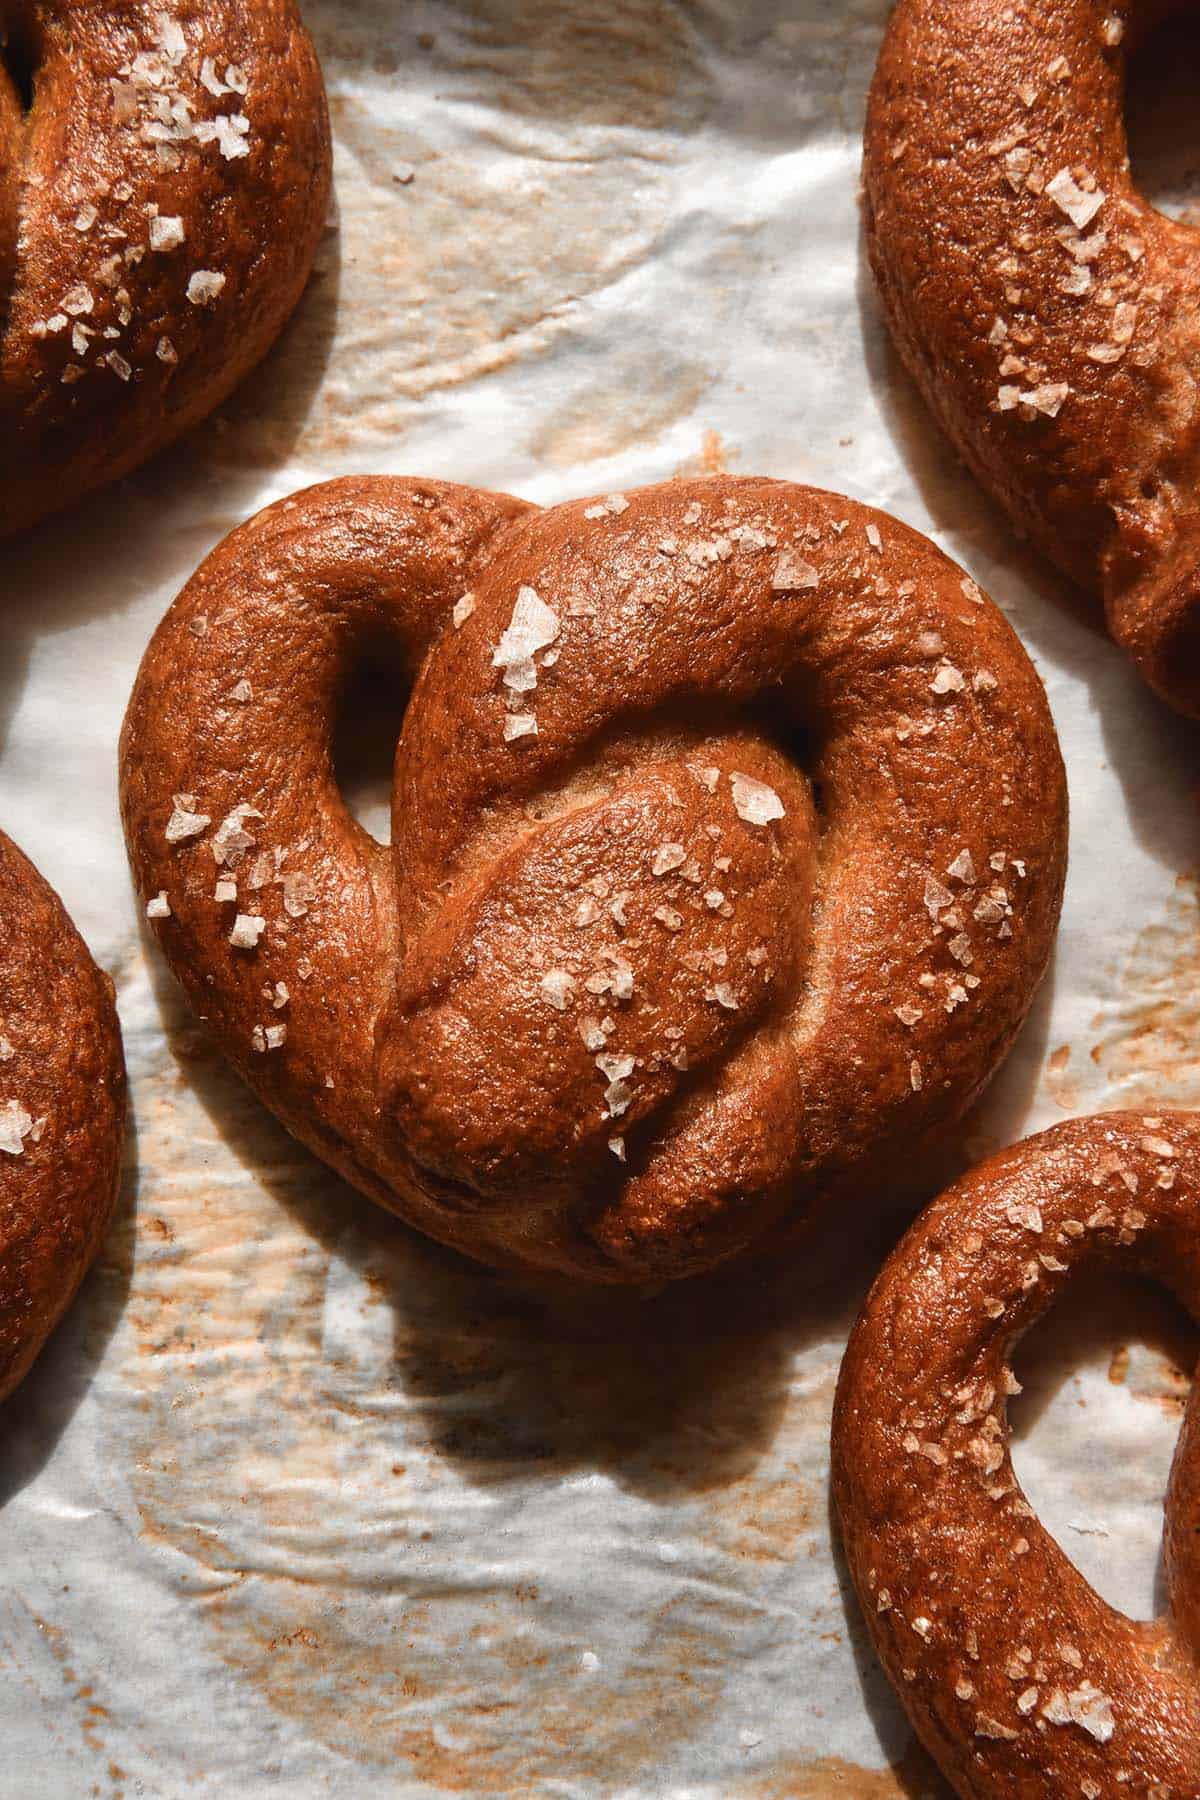
Notes on ideal dough consistency
One of the tricky things when working with gluten free dough is that it can hard to gauge ideal hydration. This dough uses lots of psyllium husk powder to create structure and elasticity which means the dough has good chew and is easy to shape. It also means that the dough can absorb a lot of water, so it can look scarily wet when you first mix it up.
Very quickly, though, the dough should start thickening. After mixing and getting your hands in there to knead in any extra flour, the dough should easily be picked up. However, it may feel just a tad too sticky to shape. Leave it a few more minutes, though, and it should have firmed up to the point that you can pick it up and roll it with ease.
The dough should feel smooth, moist and juicy and there should be no dry spots. With that said, you should also be able to roll it out easily. You will probably need to wash your hands as you divide the dough into balls, but once the dough balls are smooth it should be easy going.
I rolled these gluten free soft pretzels out with barely any tapioca flour but shaped them without difficulty or any cracking of the dough. That is the type of hydration you are looking for.
An advantage of boiled baked goods (ie pretzels and bagels) is that the water bath adds chew (of course) but also a bit of moisture. You can use a firm dough here without it being too dry like it might be with a bread or oven baked product. That’s not to say that you can rectify a dry and crumbly dough, though. So make sure your dough is as described above for best results.
Shaping your gluten free soft pretzels
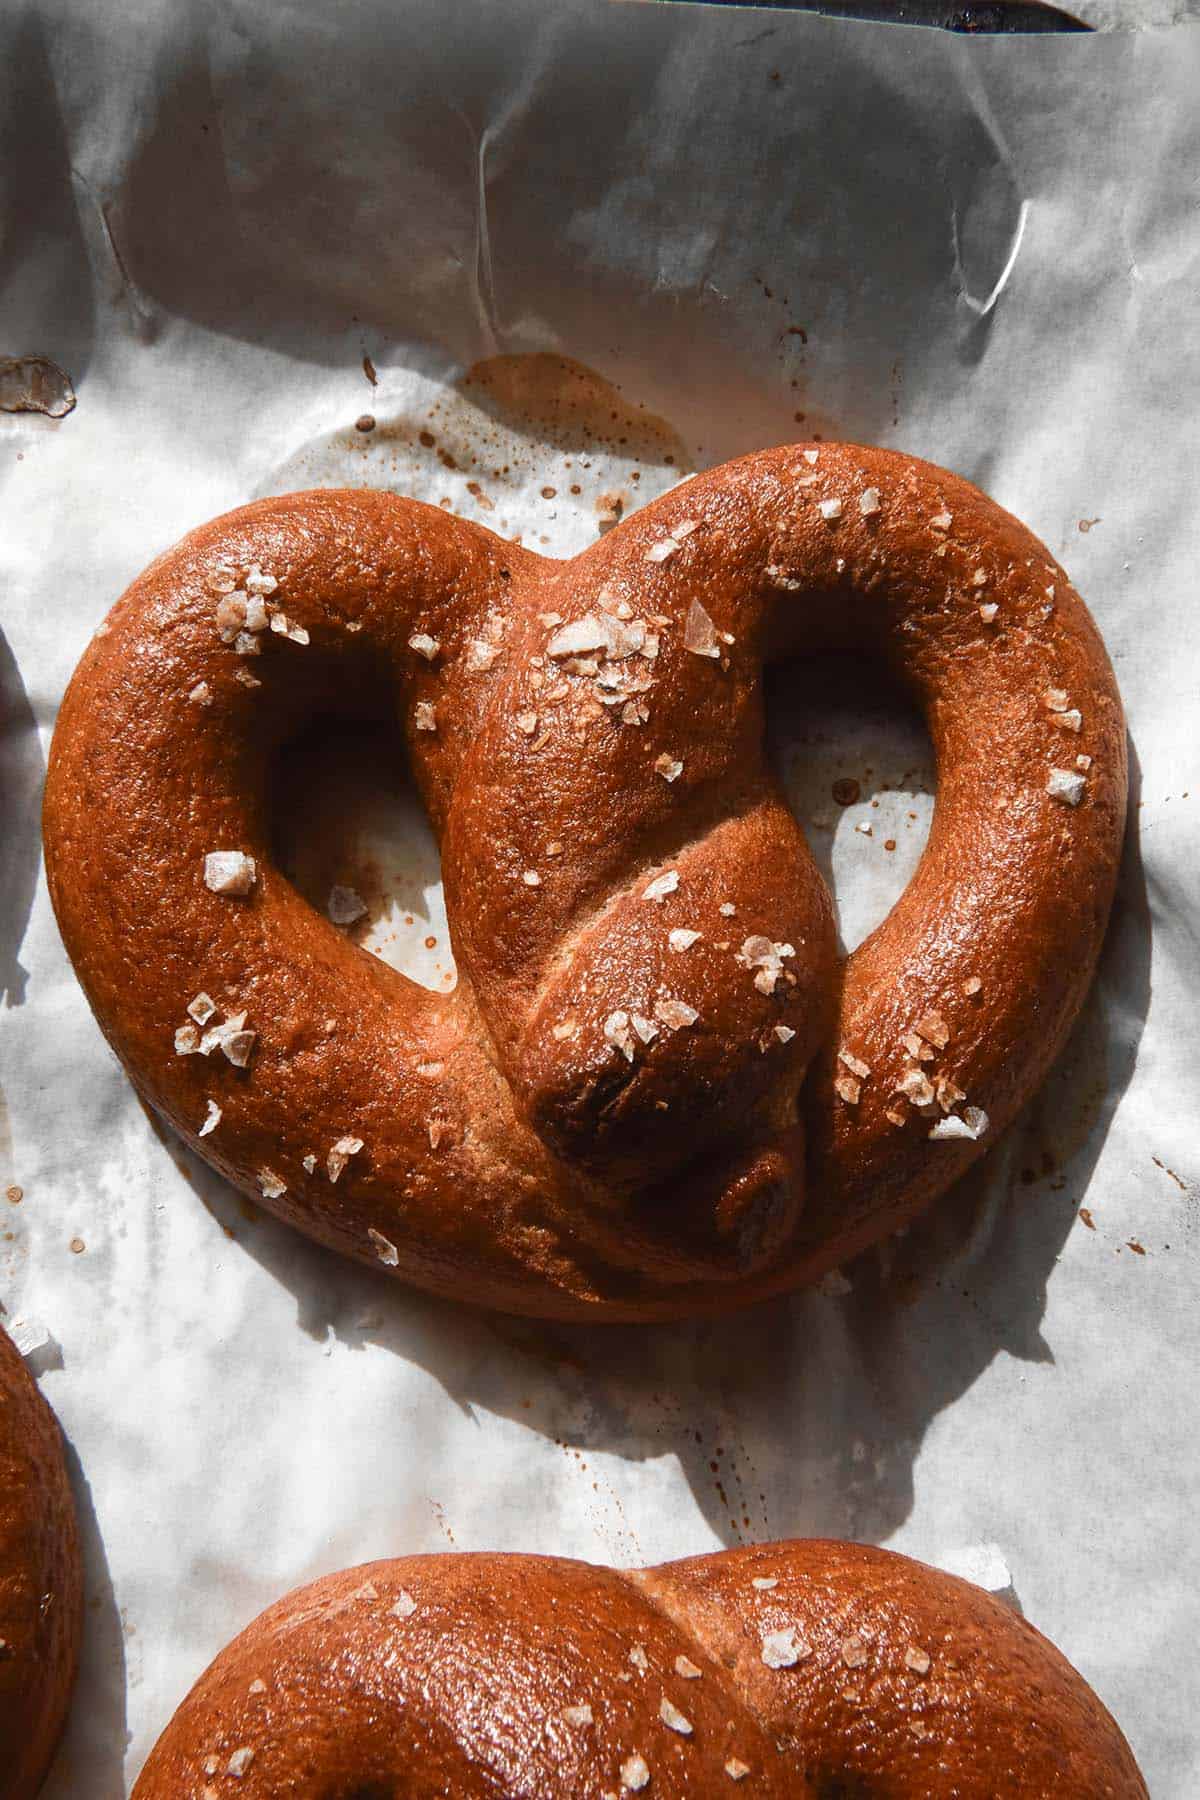
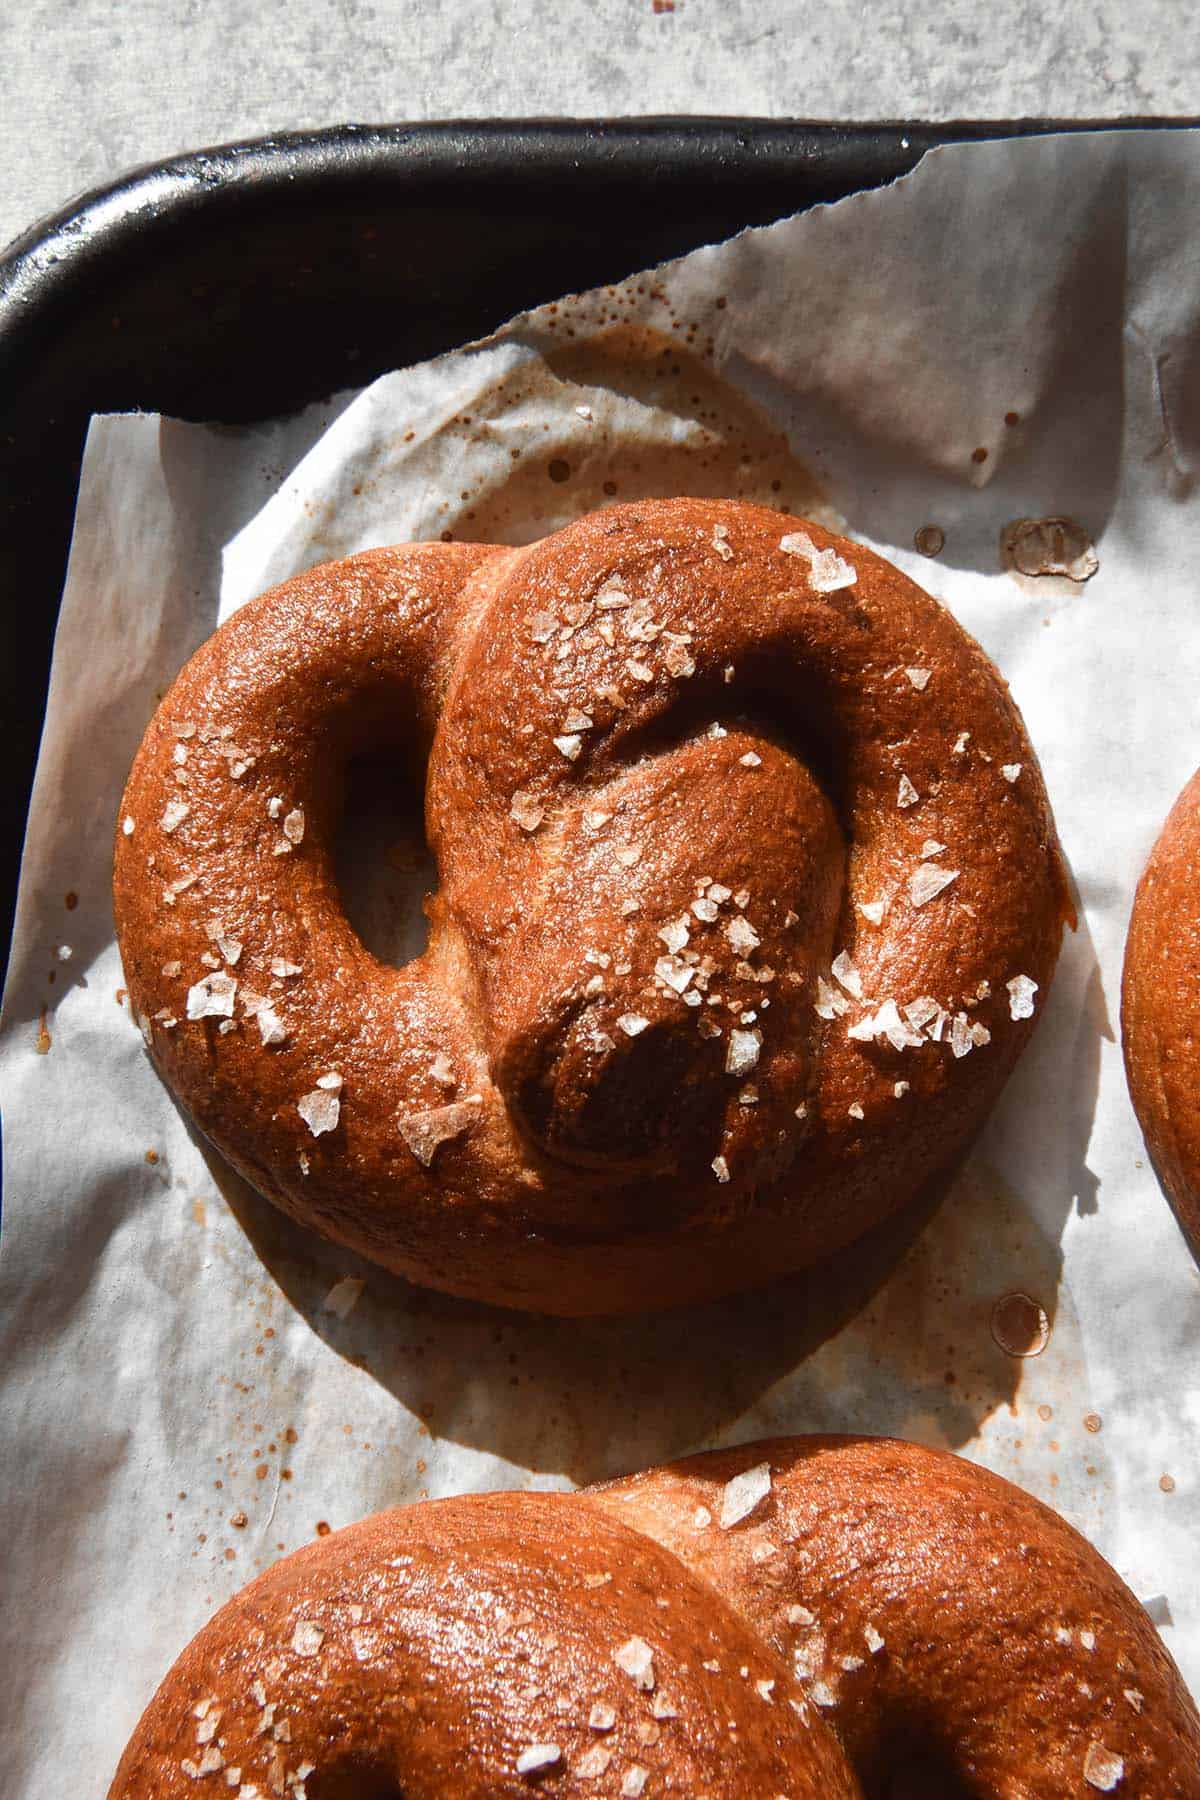
As you can see from some of the photos, I got too full of myself when making one batch of pretzels. ‘I know how to shape them, I don’t need to watch a tutorial again’ I said to myself. I even filmed a little reel showing people how to shape them. The audacity of me! I shaped them incorrectly, and my Mum pointed out they looked a bit like something you might see on the sidewalk.
So, I figured I would share some shaping tutorials from other people because clearly I can’t be trusted. It is easy to shape them, I just think a visual guide is far better than any description I could come up with (or my memory apparently).
- This quick video gives you the shape technique without any fuss. Keep in mind that gluten free dough doesn’t ‘fight back’ (as it has no gluten) so you can disregard that element.
- If you want to do a bit more of a professional looking pretzel, this quick video shows you how. With a bit of tapering of the edges you’ll have more space for salt, as the video says. He also says you can score the bagel dough which is something I didn’t consider and could be worth trying here too.
Last tips
- If you are a beginner at gluten free baking, I find it slightly easier to handle smaller pretzels. I would recommend making 12 instead of 10. They are easier to roll, shape and pick up.
- A dough that is juicy and smooth but not too sticky makes the whole process so much easier.
- I find sea salt or Kosher salt the best for the topping as the big bits of salt are what we are after. Add the salt right before baking.
- My oven is small, so I find it easier to bake the pretzels in two batches. That way they both get interrupted heat and thorough browning. If you have a bigger oven, you could probably also bake them all together and switch the trays halfway through.
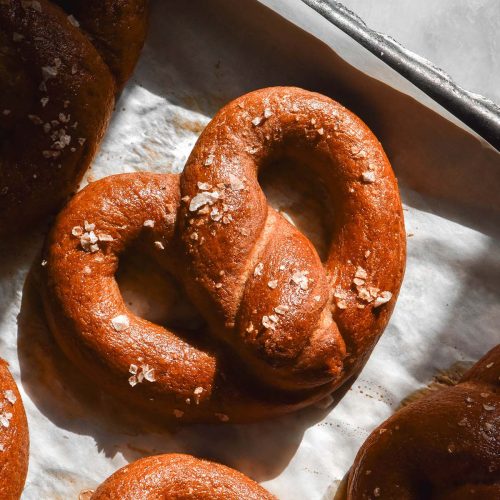
- If the pretzels aren’t cooked through (and even if they are) they tend to shrink and wrinkle a little as they cool. Just the way it is!
- The pretzels are at their chewy but fluffy best on the day of baking. However, leftovers can easily be softened with a microwave or a steamy oven.
More gluten free baking recipes without xanthan gum
- Gluten free bagels without xanthan gum (egg free/vegan option)
- Gluten free vegan cinnamon rolls without yeast
- Gluten free buckwheat bread
- Gluten free bread without yeast
- Gluten free focaccia
Gluten free soft pretzels without yeast
Ingredients
For the soft pretzel dough:
- 450 g fine white rice flour
- 200 g tapioca flour
- 30 g gluten free baking powder
- 10 g fine salt
- 40 g psyllium husk powder see notes
- 150 g plain thick yoghurt I have tested Greek yoghurt and coconut yoghurt
- 20 ml (1 tablespoon)* oil of choice
- 40 ml (2 tablespoons)* maple syrup or liquid sweetener of choice
- 500-600 g water I use 550g, see notes
To finish:
- 1 – 1 ½ tablespoons* baking soda
- 1 egg whisked, for egg wash (or a dairy free egg wash alternative for a vegan option)
- Plenty of sea salt flakes or kosher salt for sprinkling
Instructions
To make and shape the pretzels:
- Preheat the oven to 200C/400F. Line two large baking trays.
- Whisk the dry ingredients together in a large bowl. Add the wet ingredients and whisk well to combine. Quite quickly, the dough should thicken up from quite a wet mixture.
- Get your hand into the dough and squelch it through your fingers to incorporate all the flour. The dough should be soft, juicy and feel like it has a bit of elasticity to it. There should be air bubbles from the baking powder. You should be able to pick the dough up in your hand easily, but it should feel a little bit tacky.
- Allow the dough to sit for a few minutes and the tackiness should resolve as the psyllium husk powder absorbs the liquid.
- If your dough has dry spots or feels more crumbly than cohesive, add a bit more water. If you squish a piece of dough in your hand, it should feel like snaky dough rather than crumbly dough. If your dough is still tacky, wait another five minutes. If it is still too tacky (it shouldn’t be) you can use a bit of tapioca flour to course correct as you roll out the dough.
- Use your hands to divide the dough into 10-12 balls. Sprinkle a very scant amount of tapioca flour on a clean, dry bench.
- Take the first piece of dough and roll it into a smooth ball. From here, begin rolling it out evenly into a long, thin snake. The length depends on how many pretzels you are making and your pretzel preferences, but roughly 30-40cm in length and 2cm or less in width is a good place to start.
- Take the length of dough and form it into a horse shoe shape. Dab a bit of water on the tops of both the ends of the dough to help them stick.
- Twist the ends of the dough over each other twice, leaving a bit of length right at the end. Dab some water on the top of the horseshoe. Lift the twisted ends up and fold them back onto the top of the horsehoe, using the water to secure the pieces. See the notes for a link to a visual demonstration – it is so much easier than it sounds.
To boil and bake the pretzels:
- Bring a medium pot ¾ filled with water to the boil. Medium and deeper as opposed to larger is better as it enables you to full submerge each pretzel.
- Once the water is boiling, add the baking soda. The water should bubble briefly and then the reaction will dissipate. Stand back either way.
- Add the first pretzel gently to the boiling water mixture. Use a steel spatula to gently encourage it off the bottom of the pot as they sink to begin with and can get stuck on the bottom. Once the pretzel floats to the surface, use the spatula to flip it and boil for another 15 seconds on the other side.
- Retrieve from the water using the spatula and shake off the excess liquid before placing it on the lined baking tray. Be sure to use a spatula large enough to support both ‘wings’ of the pretzel as they can break if not supported prior to baking. Be careful also not to leave a pretzel in the water too long as it will excessively gelatinise the flour.
- Repeat with the first 5-6 pretzels. I prefer to bake my pretzels in batches as I have a small oven. If you don’t, you can bake them all at once.
- Once you have the pretzels on a tray, brush them with egg wash or egg wash alternative. Sprinkle them with plenty of flaky salt right before you put them in the oven. Bake for 20 minutes or until deeply golden brown.
- If you are baking them all together, swap the trays from top to bottom at the 10 minute mark. You may also need to bake them a little longer to achieve a glossy brown colour.
- If you are baking them in batches, repeat the process of boiling, egg washing and baking with the second 5-6 pretzels.
- Allow the cooked bagels to cool on the tray for about 15 minutes before transferring them to a wire rack to cool. You might need to peel them off the baking paper first.
- I find the pretzels are at their chewy best on the first day of baking. However, they also make delicious leftovers. I recommend gently reheating them to soften the crumb before eating. Store in an airtight container.
Notes
- I grind my own psyllium husk powder in a spice grinder. I find store bought powder is too fine.
- Hydration is hugely dependent on where you live, the humidity, how thirsty your flours are, how thick your yoghurt is, etc. What works for me might not work for you and you have to use your intuition when adding liquid. Add it gradually and according to how the dough is described in the recipe and in the body of post (under hydration notes).
- See the body of the post for substitution options (hint: there aren’t many).
- To make these pretzels vegan, use coconut thick plain yoghurt and a vegan egg wash. This article is super comprehensive in choosing the best vegan egg wash.
- To make the pretzels egg free, use the aforementioned link to choose a good vegan egg wash or use a recipe you prefer. Most recipes online specified a ratio of 1 tablespoon maple syrup to 2 tablespoons of soy milk.
- Here is a quick video guide to shaping your pretzels. Super easy, I promise.

No Comments