I am rounding out my gluten free bread recipe collection today with this new recipe for gluten free millet bread. I don’t work with millet much, but I wanted to challenge myself and I think I’ve nailed it with this easy and delicious loaf.
Millet bread
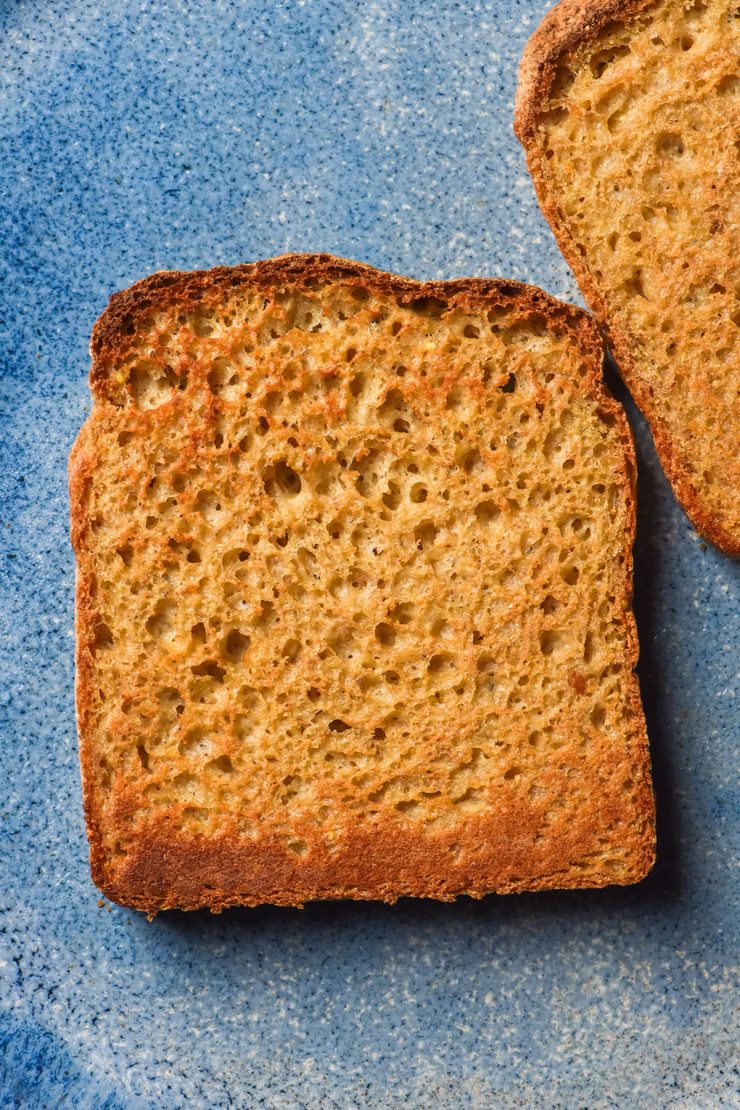
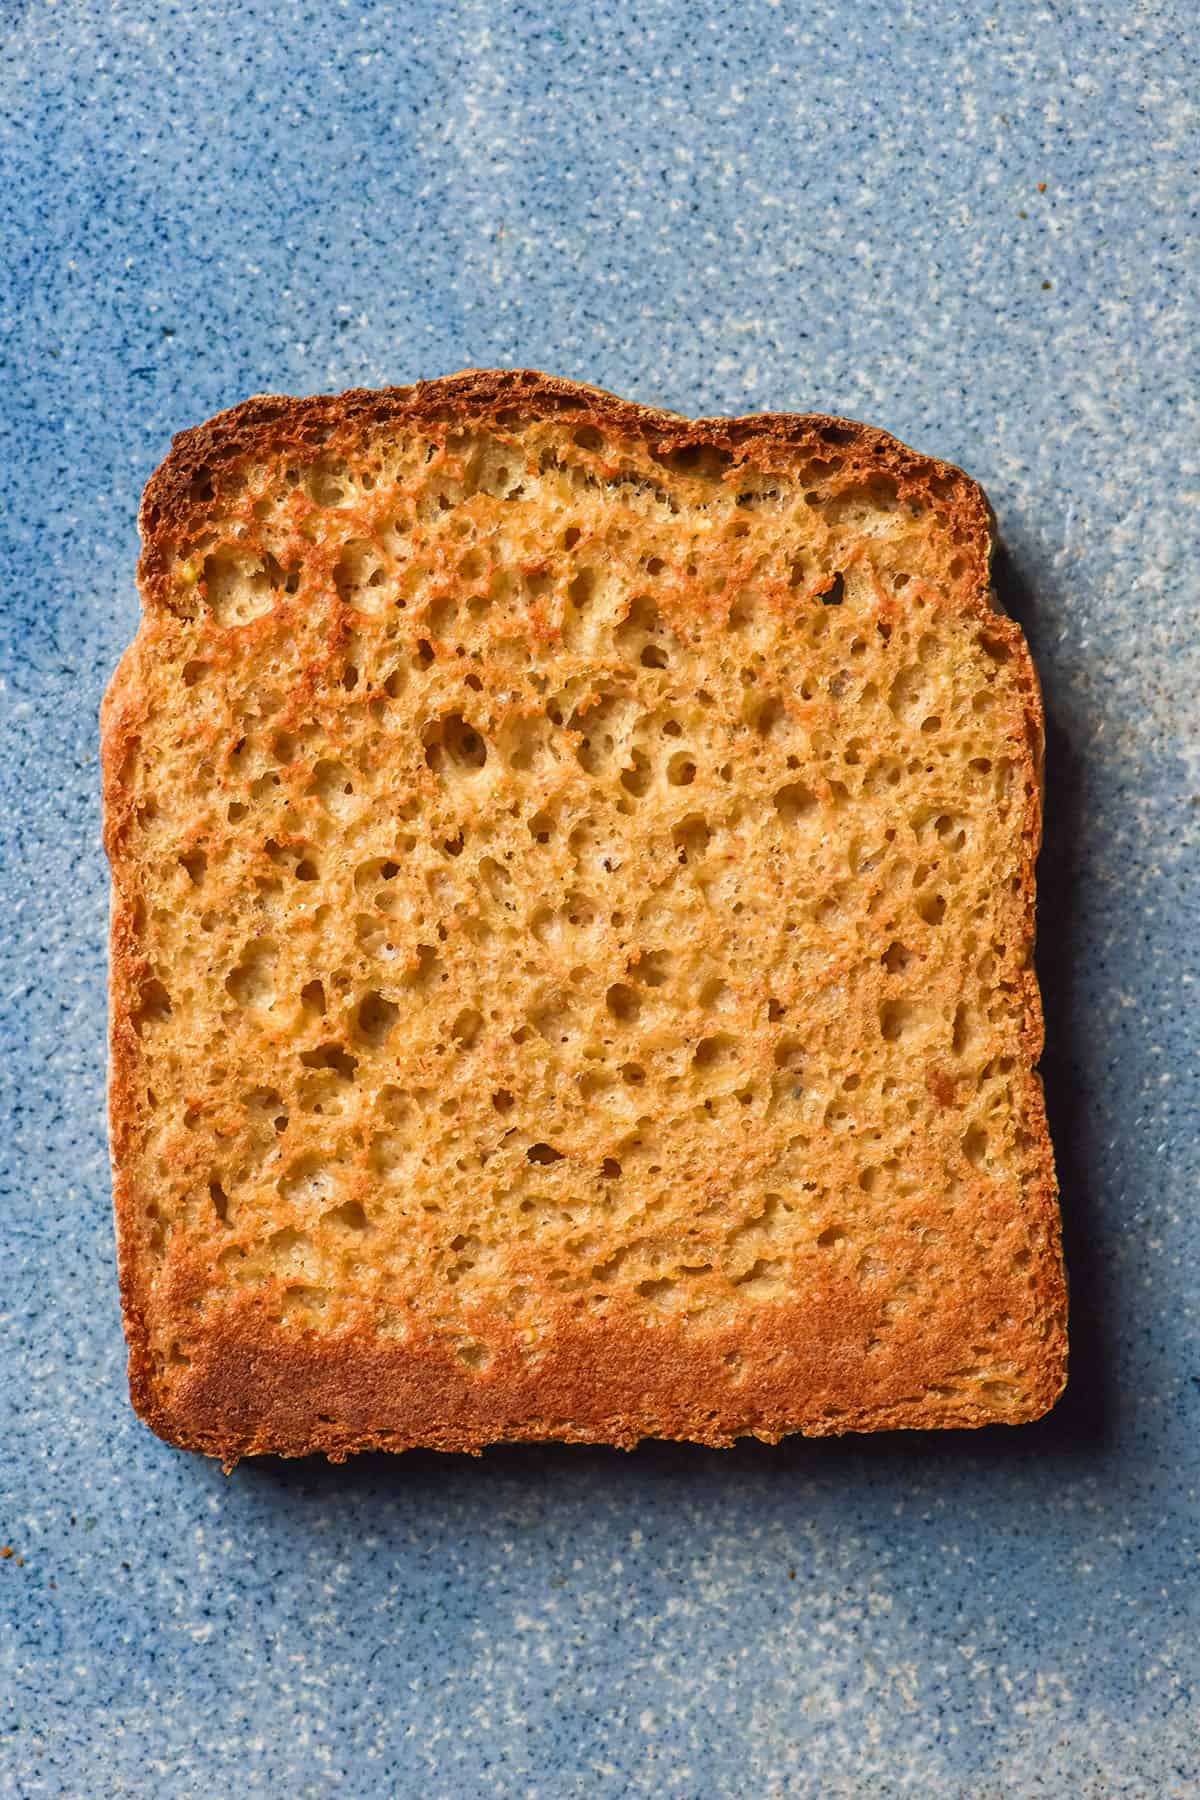
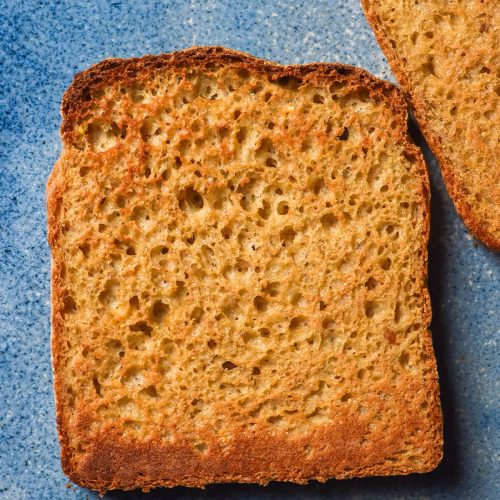
This recipe is gluten free, dairy free, egg free, vegan, nut free and xanthan gum free. It uses millet flour, buckwheat flour and tapioca flour as the base. Psyllium husk powder binds the bread together to create an elastic dough and a lovely crumb.
Instant yeast allows the bread to rise while salt and maple syrup give it flavour and browning. Finally, a small amount of oil and a generous amount of water bring everything together for a soft and lofty loaf.
Can I use a silicon loaf pan for this recipe?
No. Gluten free bread desperately needs the strength from a steel pan to hold it in and allow it to proof upwards. Because it doesn’t have any strength (like regular bread does, courtesy of gluten) this bread will simply spread out if given the chance.
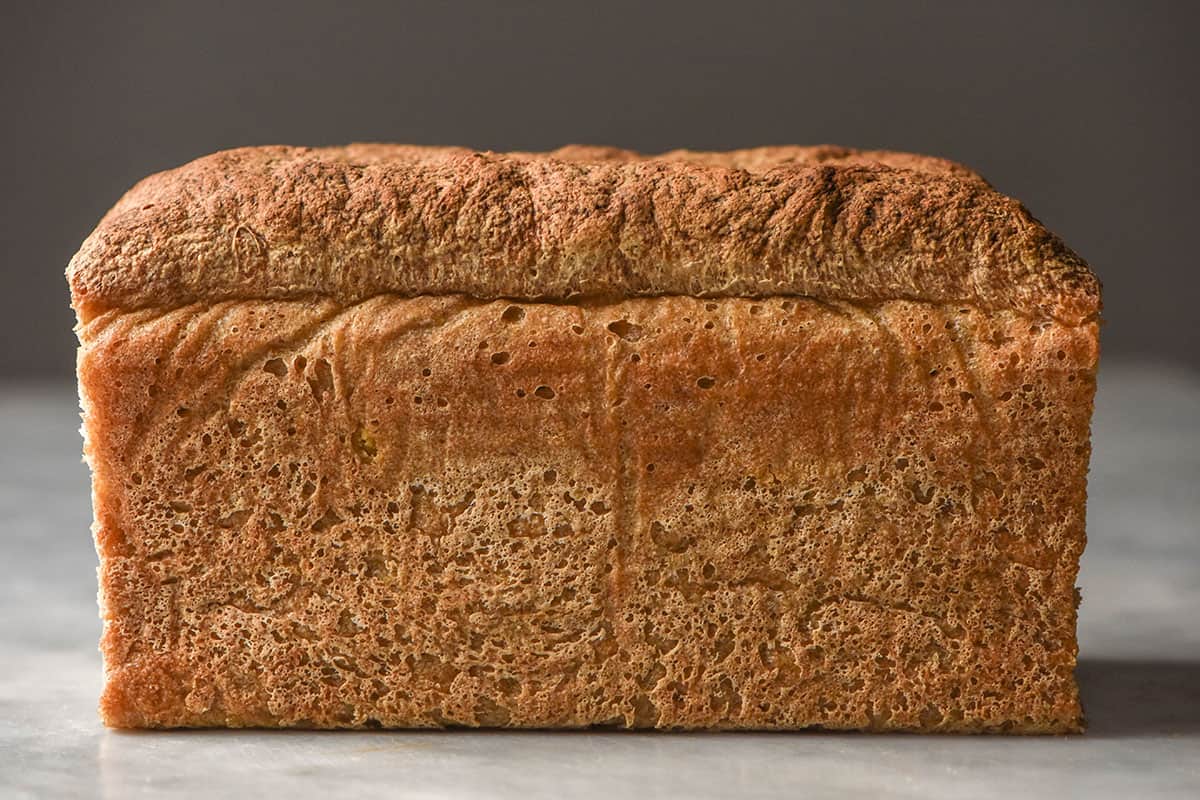
This recipe, as always, has been designed around a USA Pan Pullman pan in size small. The specs are 23cm length X 10cm width X 10cm height or 9 X 4 X 4 inches.
I am not sponsored by this brand and have no affiliate links on my site. This is just the perfect sized pan with the ability to hold in gluten free bread. If you make a lot of my bread recipes, you will get a lot of use from this pan.

Millet flour notes
I wanted to dedicate a section to millet flour because it is a trickier gluten free flour to use (in my opinion).
Personally, I have always found millet flour to have a very strong taste. Whether this is everyone’s experience or just mine, I can’t say for sure. I do wonder if all the millet flour I have ever bought has been rancid, but there’s not really any way of knowing.
I have found that grinding my own flour from millet seeds is the best way to ensure my flour isn’t overtly rancid. Grinding your own flour from millet grain is as simple as processing them twice in a NutriBullet. Make sure you open the lid and allow the millet to cool down between the first and second cycle of blending. Because NutriBullets don’t have an air hole, you can’t allow steam to build up (or your machine might explode).
Looking around the internet, people seem to be divided as to whether millet is strong flavoured or delicious and nutty. It might just come down to the availability of fresh millet and your personal preferences. Some people don’t like buckwheat flour, some people love it. Perhaps millet is the same sort of love hate.
Options for the proportion of millet flour in this bread
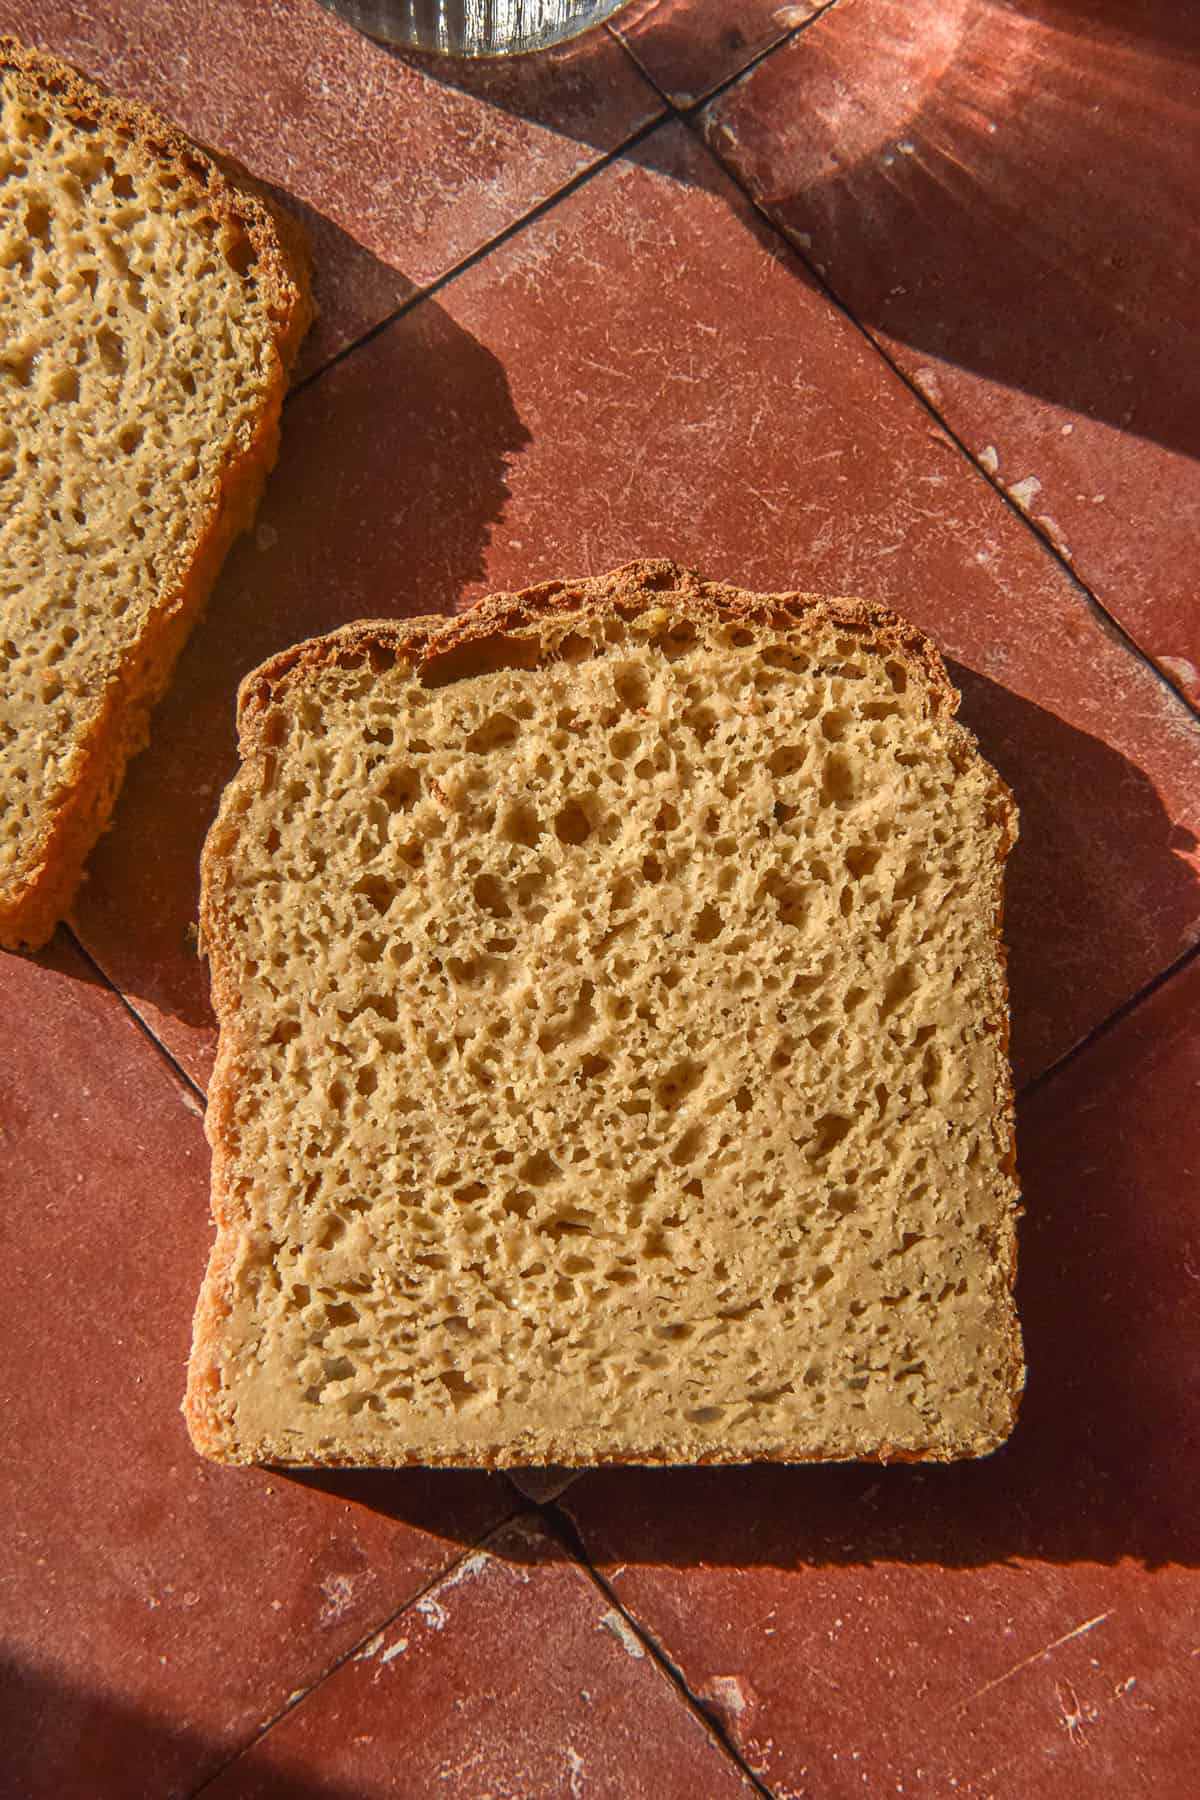
I have tested this recipe using 400g freshly ground millet flour, 100g buckwheat flour and 100g tapioca flour. Personally, I found this version to have an overbearing millet flavour. As discussed above, though, it seems that people experience millet differently.
If you really enjoy millet flavour and don’t find it to be overpowering, you can use the above flour proportions with the recipe below. I used 700g water with these proportions. It was a gorgeously open crumbed loaf but it was on the high side for hydration. I would suggest 600-700g as the range for water added to the loaf.
If you’re not an overt millet lover, I recommend the proportions in the recipe card below. Buckwheat flour really aids in creating a flexible crumb for a bread, but it also helps tone down the millet flavour.
Recipe tips
- Proofing takes how long proofing takes. Bread proofs faster in summer or a hot kitchen, and it takes longer to proof in winter or a cold kitchen. See the section on proofing below.
- I find this bread needs a hotter oven to achieve a brown crumb. I recommend pre-heating your oven hotter than you need to ensure it gets a golden brown crumb and good oven spring.
- As always, hydration is heavenly dependent on the flours you are using, where you live, the temperature, the day, etc. Optimal hydration for bread is a moving target, which is complicated again by needing to use a number of gluten free flours.
- Yeast needs moisture to thrive. If your dough is too dry before proofing, you will never achieve a nice tall loaf. If you are consistently having issues with a short loaf and a tightly knitted crumb, add more water.
- As we have discussed above, sometimes millet flour can have a strong flavour. This seems to be luck of the draw but also the nature of the beast. If your bread has a bitter aftertaste, it is an issue with the millet flour. I highly recommend grinding your own millet flour from whole millet to try and avoid using rancid millet flour (which will amplify bitterness).
What should my dough look like before and after proofing?
My experience with this dough is that it is almost liquid as you first mix it. It will thicken as you whisk, but don’t panic that the dough is not a ‘dough’ when you first combine everything.
Once is has thickened, it will still only be the consistency of a very thin muffin batter. This is perfect!
After the first proof, the dough should have a smooth top. In the version I made with more millet, the top was slightly domed. In the version I made of the recipe in the recipe card, it was flat but completely smooth.
When you run a spoon through the dough, it should be full of air bubbles. Ideally, it will be thick enough that you can pick up a piece with your hands, but thin enough that you couldn’t pick up the whole piece of dough in one go. It should be completely hydrated with not a single bit of dry flour, but not pourable nor super solid. A happy medium is a great consistency for this millet bread.
After proofing in the Pullman pan, your dough should have gently domed over the edges of the pan. I find this bread doesn’t get as dramatic of a dome as my gluten free seeded bread, but it should be taller than the edges of the pan, even if only by a little bit.
More gluten free bread recipes
- Gluten free sorghum bread
- Gluten free buckwheat bread
- Gluten free teff bread
- Gluten free quinoa bread
- Grain free vegan bread (using cassava flour)
Millet bread (gluten free, vegan)
Equipment
- 23cm length X 10cm width X 10cm height (9 X 4 X 4 inch) Pullman Pan (I always use my USA Pullman pan in size small).
Ingredients
- 300 g millet flour (ideally freshly ground) see notes
- 150 g light buckwheat flour
- 150 g tapioca flour
- 25 g psyllium husk powder (see notes)
- 10-12 g fine salt (I use table salt)
- 7.5 g instant yeast
- 20ml (1 tablespoon)* maple syrup or liquid sweetener of choice
- 20ml (1 tablespoon)* neutral oil of choice
- 600-700 g water (see notes)
Instructions
- Add the dry ingredients to a large, non-reactive (glass or plastic) mixing bowl and whisk to combine.
- Whisk the maple syrup, oil and 600g of water into the dry ingredients. The mixture should look and feel almost liquid then gradually thicken to become a thin muffin batter consistency as you whisk. If your batter is as described, you have added enough liquid. If it looks considerably thicker, add 50-100g more water and whisk to incorporate.
- Cover the dough and allow to proof for 1 hour.
- Grease and line your 23cm length X 10cm width X 10cm height (9 X 4 X 4 inch) Pullman Pan (I always use my USA Pullman pan in size small). Preheat your oven to 220C/428F.
- When the dough has proofed for 1 hour, it should have a flat or slightly domed smooth top. If you run a spoon through it, the dough should be airy and light. See the section on proofing for a guide as to how the dough should look in each stage.
- Transfer the dough into your lined Pullman pan. Use a moistened hand to smooth and flatten down the top of the loaf. Cover the loaf without touching it (I use an inverted produce bag) and set aside to proof for 1-2 hours or until it gently domes above the top of the Pullman pan.
- Once you're happy with the proof, place the loaf in the oven for 20 minutes. Check on it after 20 minutes – if it is already a golden brown, turn the oven down to 200C/400F. If it is a pale blond, continue to cook the loaf at 220C/428F for an additional 25-30 minutes.
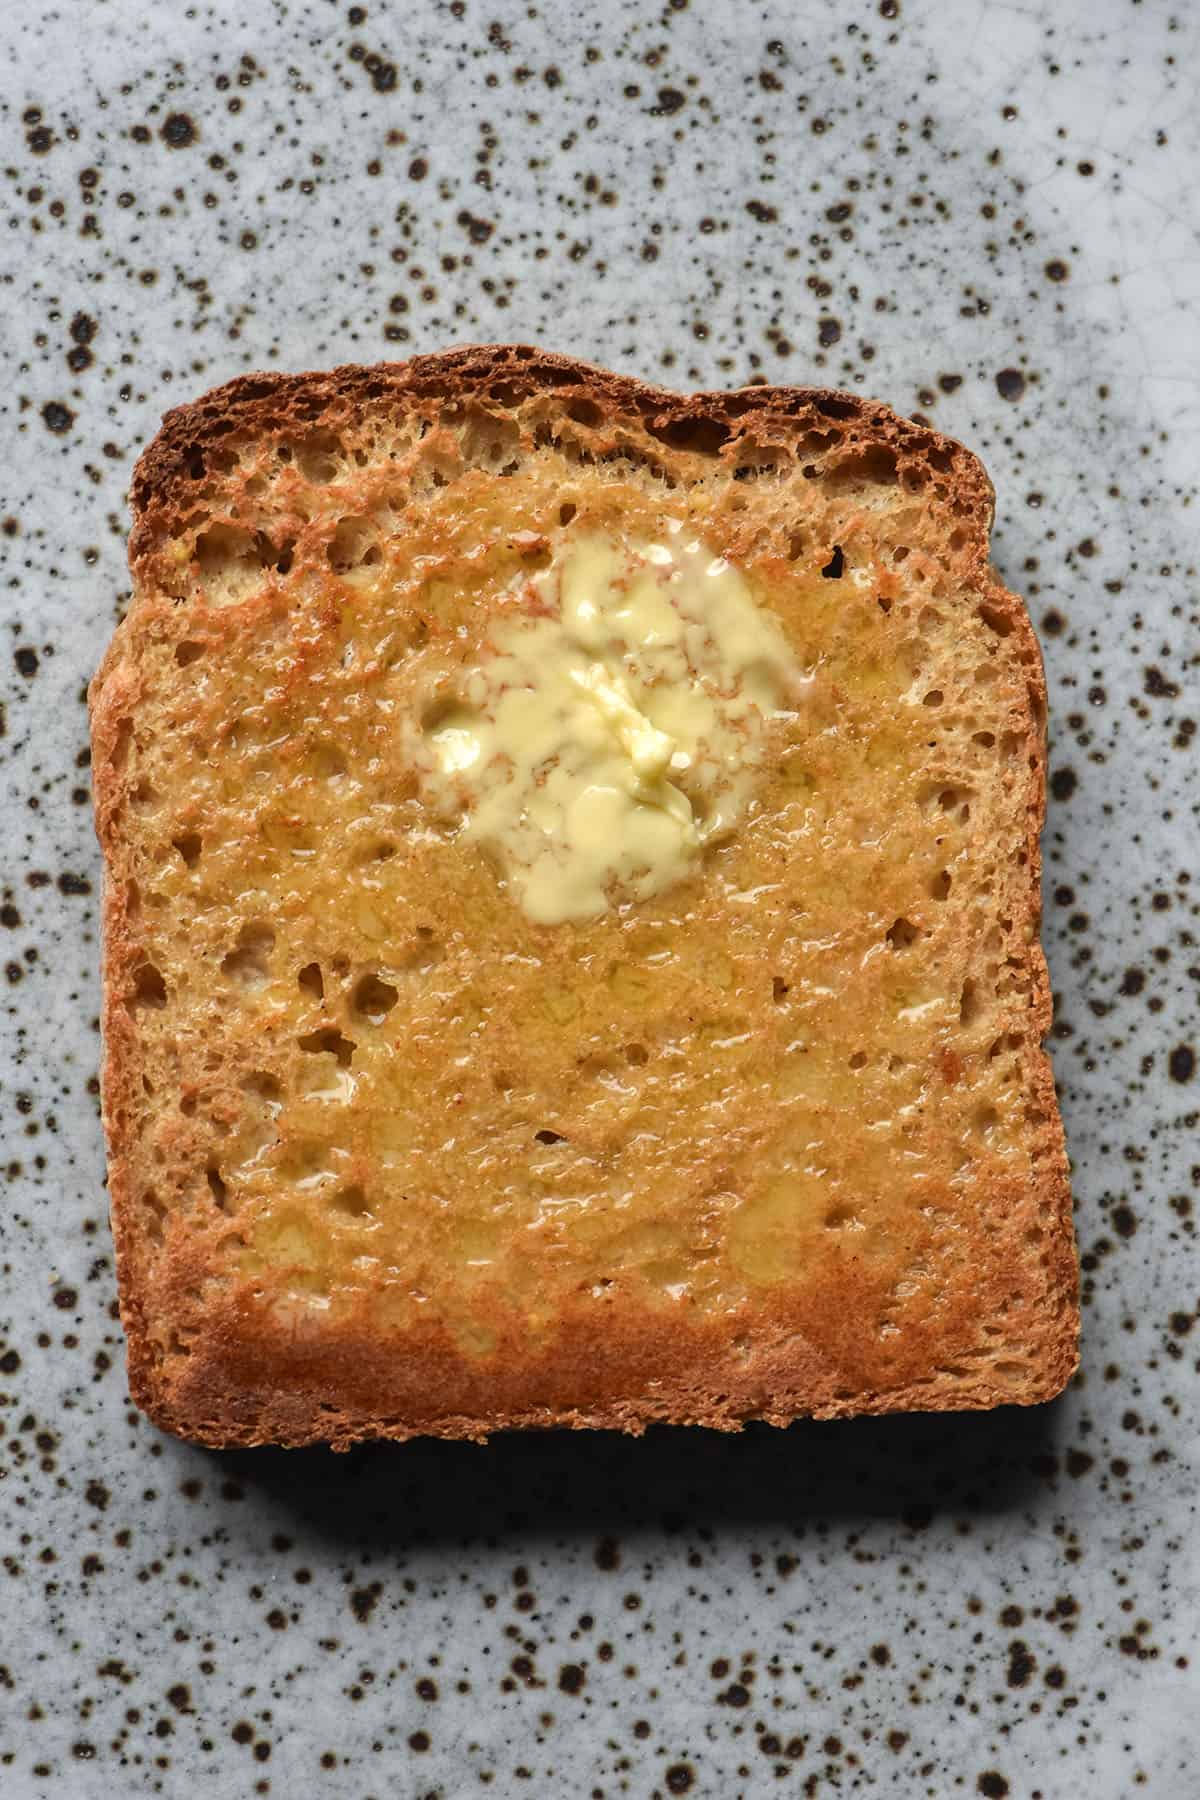
- Once the loaf is cooked, allow it to cool in the Pullman pan for 15 or so minutes. Gently remove it from the pan and set it on a cooling rack to cool completely before slicing. Slices can be stored in an airtight container in the fridge and can also be frozen and defrosted.
Notes
- See the body of the post for extensive tips and tricks for this recipe.
- See the body of the post for more information on how the dough should look through each stage of mixing, proofing and baking.
- See the body of the post for making this bread with a higher proportion of millet flour if you really like millet flour.
- As discussed in the body of the post, millet can be a strong flavour (to me and one half of the internet, anyway). If your loaf is bitter, it is the millet.
- I have always found store bought millet flour is already rancid, which is why I recommend grinding your own.
- I recommend grinding your own flour for this reason. It is easy to do with a NutriBullet – see the body of the post for details.
- If you grind your own flour and the loaf is still bitter, it’s either that the millet grains you bought were rancid or you just don’t love the taste of millet.
- I used millet bought from the supermarket. By all accounts, store bought millet is pearl millet unless otherwise specified on the packaging.
- I find that store bought psyllium husk powder is A) too fine of a powder and B) often made from a sort of psyllium that will turn your breads grey or purple. I grind my own using a spice grinder for this reason. At the moment, I am using BonVit brand here in Australia and it isn’t too grey.
I wish I could do 10 stars because that’s what this bread is !!! The best recipe don’t look for another one ! I have made numerous recipes it’s the best out there , the buckwheat help balance the millet , I had active dry yeast so I set water aside for 10 minutes I only used 1 tsp salt which is perfect I don’t like too salty but next time I will add 1/2 tsp more , I wasn’t sure in grams what the quantity was. I didn’t have enough tapioca starch so I used half organic Arrowroot I baked 20 minutes at 425F and 14 minutes at 400F in a ceramic loaf pan , I used a tooth pick it came out perfect! The texture is like an expensive bread it is expensive if you buy it so happy for this thank you ????
This bread turned out so well that my gluten eating husband is enjoying it too! I took inspiration from your seeded bread recipe and added half a cup of seed mix after the first proof and it turned out amazing. Will be making this recipe on repeat.