
I don’t know if you’ve heard, but Monash (semi) recently added pickled garlic to their list of low FODMAP foods. Given that the FODMAP diet essentially eliminates onion and garlic, this is huge news for the FODMAP community. The only problem is that it can be quite difficult to find in stores here in Australia. With that in mind, I decided to develop this recipe for low FODMAP pickled garlic.
Low FODMAP pickled garlic
First off, I’d like to make it clear that this recipe is not special – it’s not the only low FODMAP version of pickled garlic. All recipes for pickled garlic are low FODMAP, according to Monash (provided they don’t contain other high FODMAP ingredients). I have named this recipe ‘low FODMAP pickled garlic’ so the FODMAP community can find it with ease.
With that out of the way, let’s chat pickled garlic! I was initially hesitant to develop a recipe for this because I know that garlic has food safety considerations when it comes to garlic oil. Garlic in oil is a candidate for the growth of botulism which can be deadly. As such, I was very aware that any recipe would need to be airtight and thoroughly researched.
I need not have worried, though! Pickling garlic is actually very safe because botulism can’t grow in an acidic environment. Provided you follow the recipe and use the right percentage of vinegar, this pickling brine brings the garlic bulbs to an acidity threshold that botulism can’t grow in.
Pickled garlic must be kept in the refrigerator and you need to use common sense food safety measures. Don’t double dip with a dirty spoon, throw away anything that smells wrong or looks wrong. Other than that, we’re golden (with a few caveats!). So, let’s make some low FODMAP pickled garlic.
FODMAP notes
Because this is a recipe for low FODMAP pickled garlic, we need to briefly discuss the FODMAPs! These thresholds are current as of June 2025 and will be periodically updated to ensure they remain accurate.
As discussed, Monash recently designated a 3g serve of pickled garlic as low FODMAP. It remains low FODMAP in serves up to 29g, after which it becomes moderate for fructose.
What is so interesting about pickled garlic is that the primary FODMAP changes as a result of the pickling process. Raw garlic is a very high FODMAP and high fructan ingredient. Pickled garlic, however, has a low FODMAP threshold and contains moderate fructose in excess of a low/moderate serving size. The magic of pickling!
Because I wanted this pickled garlic to be as ‘plain’ and similar tasting to regular garlic as possible, I haven’t added any flavourings. As a result, the garlic is the main topic we need to discuss here. If you change up the flavourings or vinegars, make sure you peruse the Monash FODMAP app to double check.

Notes on the vinegar
Because refrigerator pickles need to be below a 4.6 PH level, you can only use two vinegars here – apple cider vinegar or white vinegar. These should be 5% acidity and up to the job of creating an acidic environment in which botulism cannot grow.
If you like, you can experiment with flavouring the pickled garlic with other vinegars on top of this. However, they cannot be the primary vinegar in the pickling solution.
Unlike most recipes online, I didn’t want this recipe to have other flavours. Many recipes use chilli or herbs to flavour the garlic but my aim is to be able to taste the garlic as much as possible. This is why I chose to use white vinegar.
White vinegar is the most neutral both in flavour and colour. The vinegar you use will effect the cloudiness of the pickling brine, so use white vinegar if you’d prefer a clear brine.
Notes on canning salt or pickling salt
As far as my research suggests, canning salt is just fine grain salt that doesn’t have any additives or anti-caking agents added (like table salt often does). Aside from the fine consistency, It doesn’t have any inherent qualities that make it the only salt you can use – it’s just that additives in salt can produce a cloudy or darkened pickling brine. So, you don’t need to order special salt online.
Some brands of Kosher salt are considered good choices here – read the labels to be sure they contain nothing but salt.
In Australia, we don’t have Kosher salt readily available in stores. Sea salt flakes are a solid alternative. I thought I was being very clever by using Himalayan pink salt but it did turn my brine slightly pink. It also failed to dissolve, whereas sea salt flakes dissolved almost immediately.
One last thing to be aware of when it comes to refrigerator pickles is that salt is for flavour. Unlike in other pickles where salt is critical to keep nasty microbes at bay, salt in your pickled garlic is to add flavour. The added layer of food safety is a bonus. That’s not to say you should omit the salt, but just to reassure you that pickled garlic is not super complicated.
Choosing your garlic
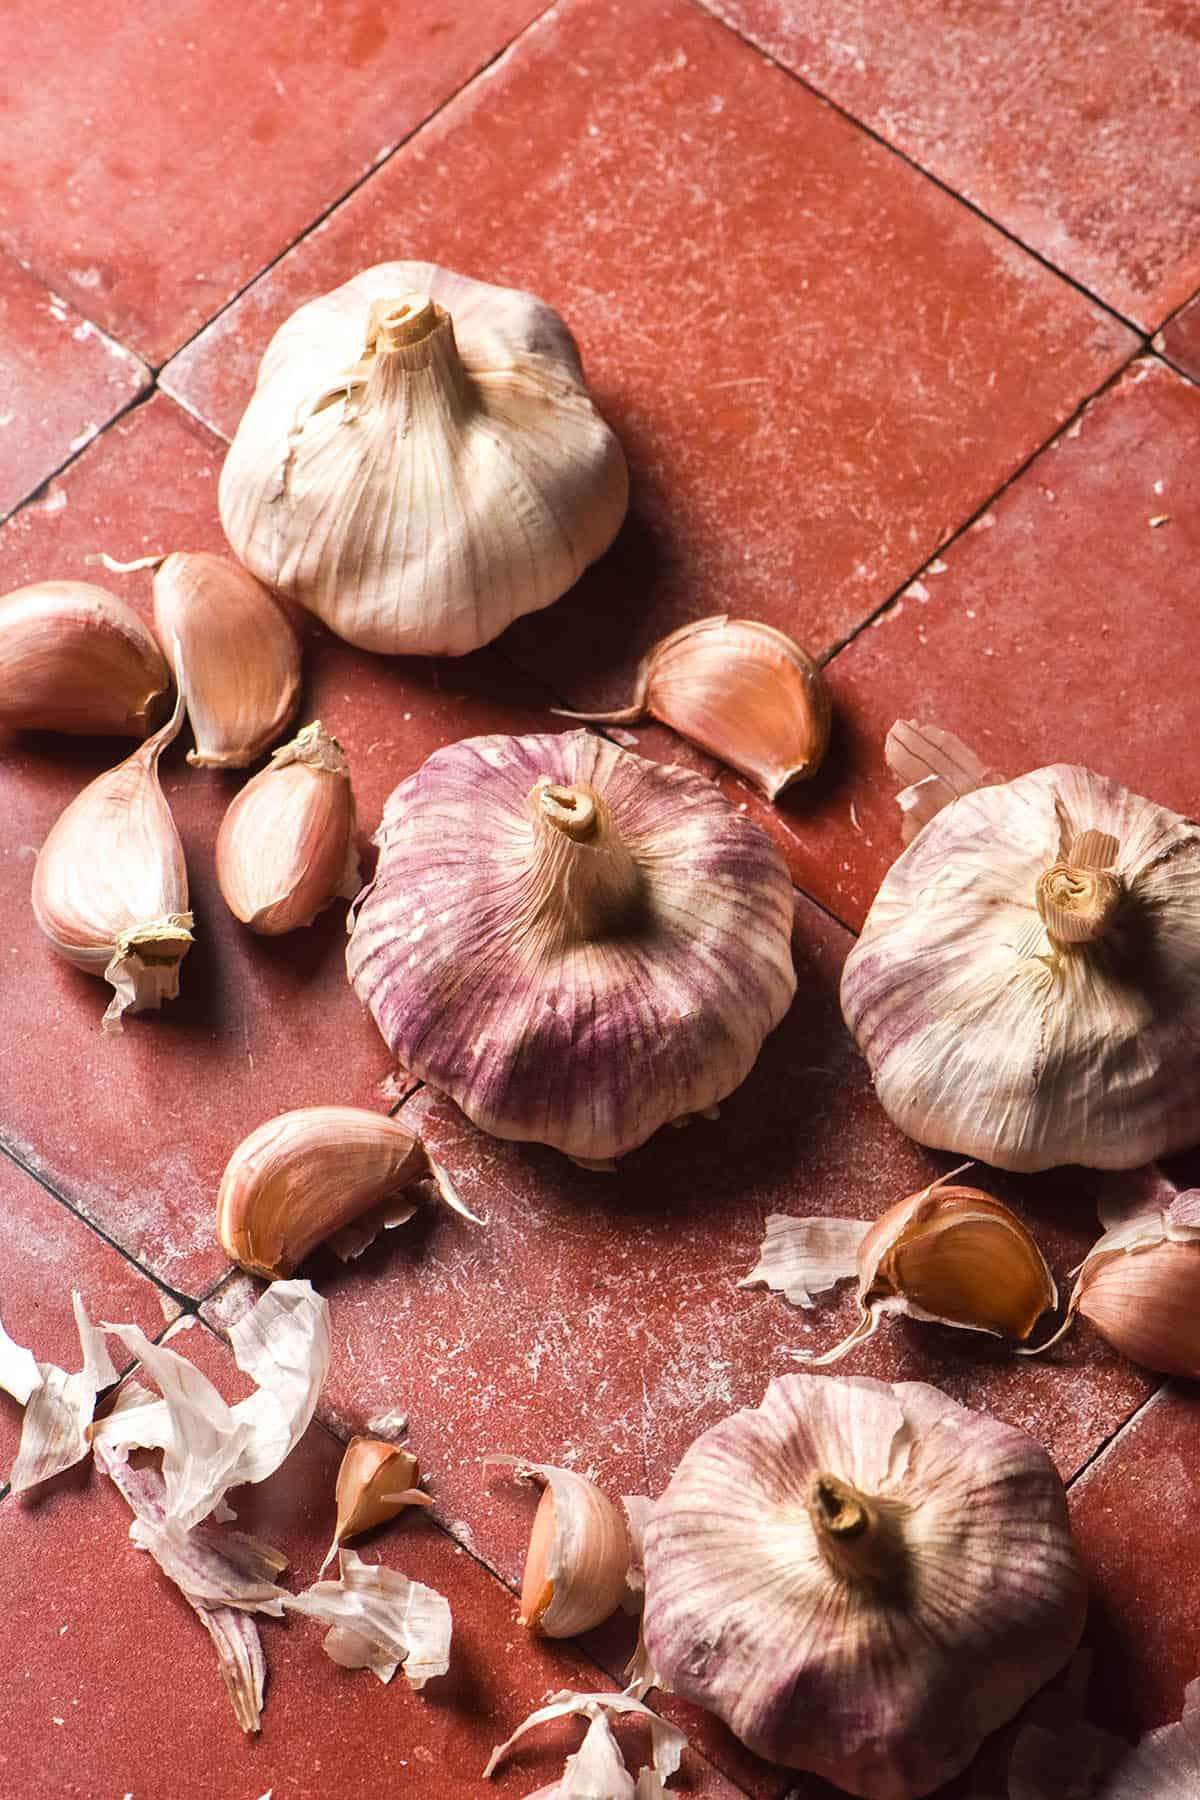
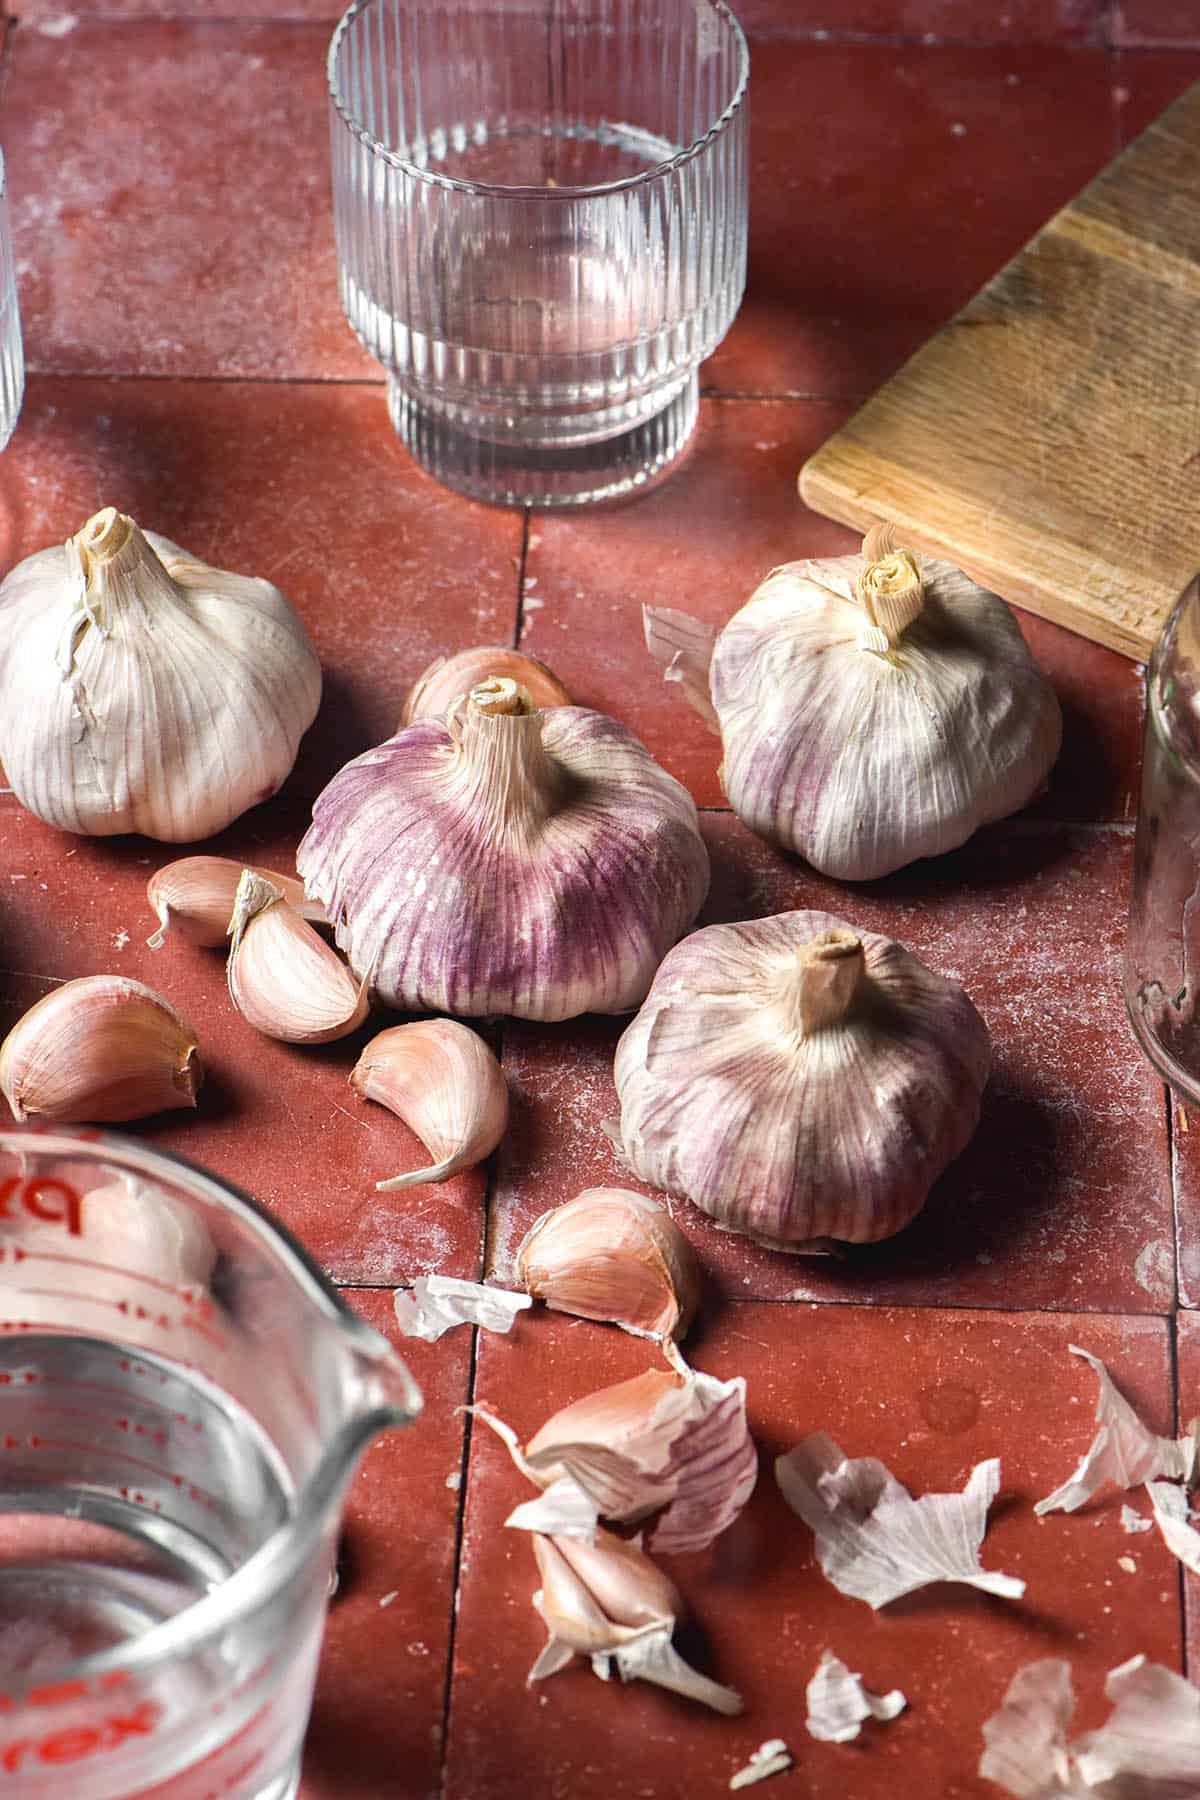
It’s important to use fresh garlic for this recipe. You don’t want to try and pickle anything that is far beyond its prime or of poor quality.
Choose fresh, healthy looking bulbs of garlic with big cloves. Big cloves are mainly for ease as you will need to peel each piece of garlic individually (put a podcast on, it will take a while).
When peeling your garlic, try not to crush the cloves in the normal fashion. I haven’t tried smashed pickled garlic but I daresay it would be heavy on the vinegar and lighter on the garlic flavour. Individual pieces of garlic will retain their garlicky inner flavour better than slices or small pieces.
Cut off any blemishes on your garlic with an agile sharp knife. If any of your garlic has an inner root growing, slice the clove in half and remove it prior to pickling.
Anecdotally, I have read that purple garlic is more likely to turn blue when pickled. This was the case for me. Blue pickled garlic is absolutely 100% food safe and nothing to worry about (unless aesthetics are important).
How long until I can eat my pickled garlic?
As far as my understanding goes, Monash haven’t specified how long the garlic needs to be pickled before you can consume it. Monash theorise that pickled garlic is low FODMAP because the FODMAPs leech out into the pickling brine. This is a similar mechanism to canned beans. However, Monash doesn’t explicitly say how long it needs to be pickled before it achieves a low FODMAP status.
Most recipes for pickled garlic say to leave the garlic for 2 weeks or so before consuming. However, their intention is to fully pickle the garlic and infuse it with flavour. Our intention is to get the garlic to taste as similar to fresh garlic as possible.
Out of interest, I tried a piece of garlic after it had pickled overnight. To my utter surprise, I was able to eat a whole clove without any symptoms or issues. I had that full-on garlic flavour in my mouth and then it just… went away? Magic!
I have eaten a clove every couple of days since then to test my tolerance and all have been fine. Perhaps my reaction was individual and yours might be different. I did feel very average after I ate about 6 pickled and then roasted garlic cloves (recipe here) so the threshold is obviously quite individual.
Another thought I had was that cooking the garlic in the brine before putting it into the jar might help. I read that it helps in getting the garlic into the jar (as it shrinks a little). However, I do wonder if cooking it a bit first also gets the pickling process going, hence speeding up the leeching of FODMAPs.
Why is my pickled garlic blue?!
Sometimes pickled garlic turns blue, which is a completely normal and food safe reaction. According to America’s Test Kitchen, blue garlic ‘is caused by a reaction between enzymes and sulfur-containing amino acids in the garlic (the same enzymes are responsible for garlic’s flavor).’
Although completely safe to eat, it is a little scary for those who aren’t in the know. Some tips to avoid it happening if it keeps happening to you:
- Use distilled or filtered water to ensure there’s no trace elements in your pickled garlic.
- Avoid using copper, metal, stainless steel and cast iron cooking instruments to make your pickled garlic.
- Use salt without iodine.
Is pickled garlic crunchy?
In my experience, homemade pickled garlic retains a relatively crisp texture even after a few weeks in the fridge. While I found store bought pickled garlic had some soft and squishy pieces, homemade pickled garlic stayed quite crisp.
A lot of recipes online don’t cook the garlic at all prior to pickling. My recipe does briefly because it helps get all the garlic to fit in the jar. I also wonder if it aids in lowering the FODMAP content of each clove, as Monash theorises the fructans/fructose in garlic leech into the pickling brine. The latter is just a theory, but it can’t hurt to cook the garlic briefly.
Either way, this minute of cooking does not turn the garlic soft or mushy. It might do if you cook it for a lot longer, but that’s not something I plan to test. I want this garlic to be as close as possible to fresh garlic in taste and texture (just pickled for FODMAP purposes).
After two weeks in the pickle brine, the garlic cloves soften a little but not dramatically. They still have some crunch but each clove has a little more ‘give’ when you bite into it.
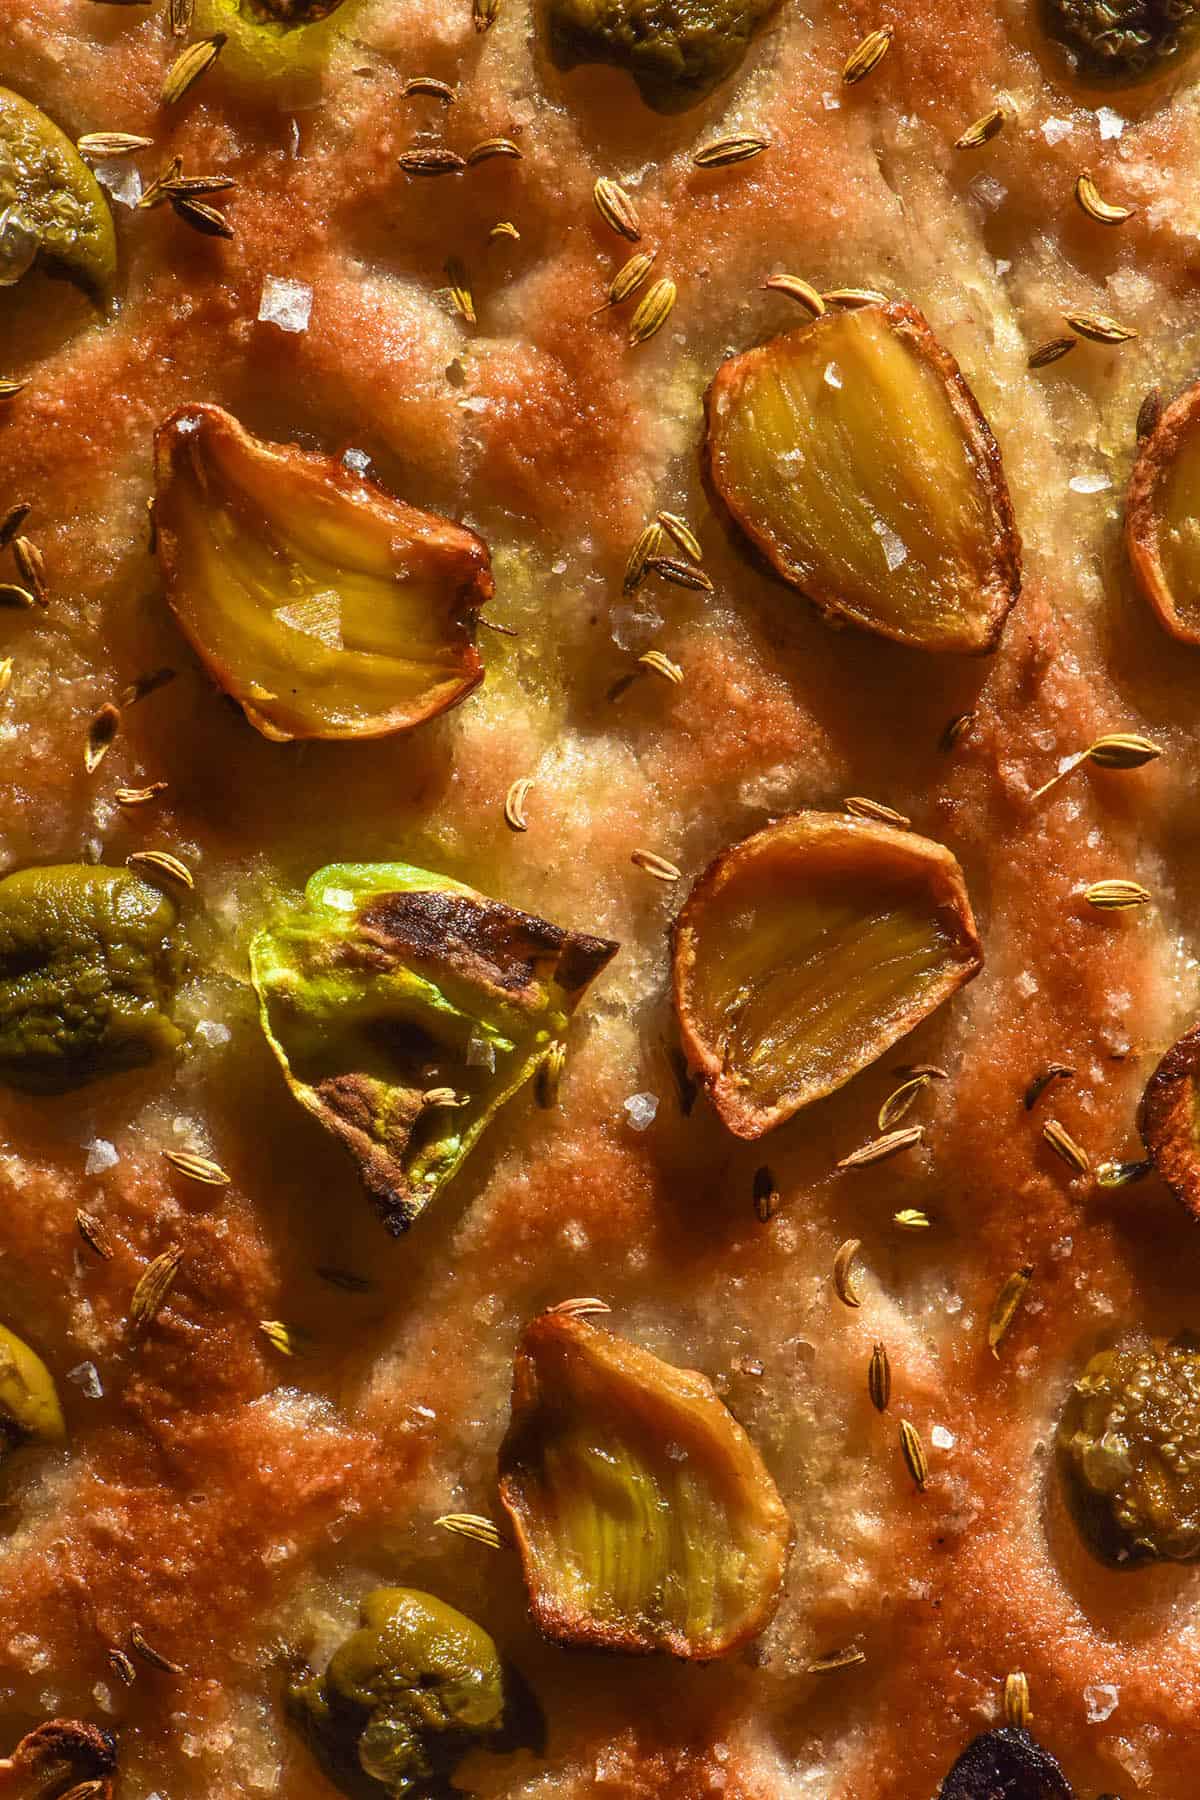
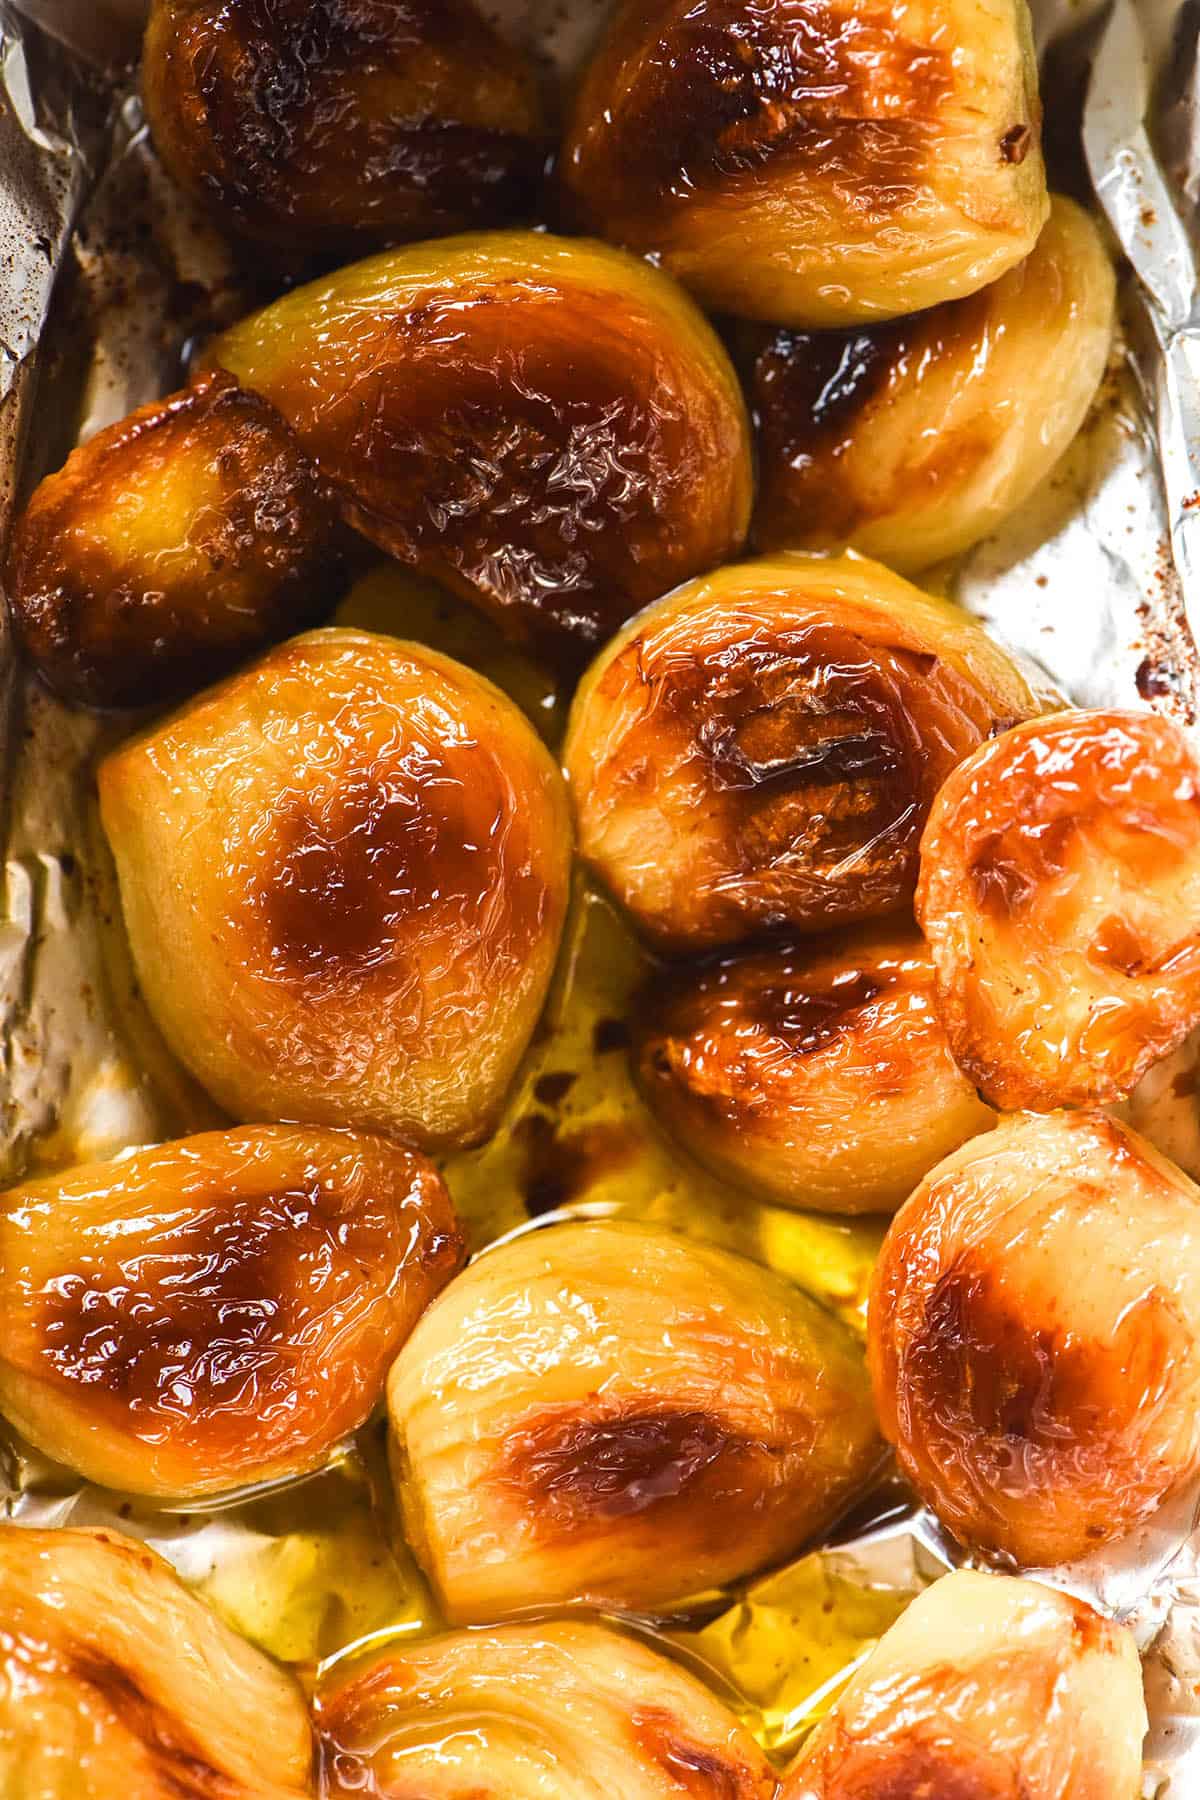
Can you roast pickled garlic?
Yes! Roasted pickled garlic is very easy to make and tastes absolutely divine. I have a recipe for it which you can find here, but it is so simple that you don’t really need a recipe.
Simply rinse and dry your garlic gloves and wrap them in some foil with oil and salt. Bake at 200C/400F until golden brown (this takes about 30-40 minutes).
I like to roast mine when I’m also roasting vegetables or something savoury. This saves on the electricity and also adds a gorgeous garlic perfume to whatever I’m cooking.
Roasted pickled garlic can easily be frozen in cloves and then thrown into whatever you’re cooking for a delicious mellow garlic flavour.
Food safety notes
There are a few food safety considerations when it comes to making your own pickled garlic.
- It’s important to sterilise the jar you are using for your garlic. I use this method. Keep in mind that if you plan to sterilise your jar in the oven, your jar and lid cannot have any plastic elements or anything that will melt.
- Choose fresh, good quality garlic and remove any imperfections.
- You must use white vinegar or apple cider vinegar as the primary vinegar. Because garlic is a low acid ingredient with a botulism risk in other preparations, it needs to be pickled at a certain acidity to make it food safe. As such, lower acid vinegars aren’t suitable as the primary vinegar.
- The pieces of garlic need to be submerged in the pickling brine. This is why choosing the right jar is important – it results in completely submerged garlic.
- This low FODMAP pickled garlic is not suitable for canning – it is a fridge pickle recipe only. The garlic needs to be stored in the fridge to be food safe.
- As discussed above, garlic turning blue is a very normal and safe food reaction.
- Any offensive odours, visible mould, texture changes or general unpleasantness are a sign to throw the pickles out.
Tips for your low FODMAP pickled garlic
- The container size does actually matter. I assumed it didn’t really, but your garlic needs to be covered by the brine.
- Be sure to use white vinegar or apple cider vinegar for food safety. I recommend using the salt in the brine as well.
- Heating the brine thoroughly will ensure the salt dissolves. Otherwise the crystals will linger in the brine and settle on the pieces of garlic. I found that Coles Himalayan salt didn’t dissolve at all. Nothing offensive, just something to be aware of.
- I haven’t added flavourings to my garlic because I want it to taste only of garlic. You can add Google suggested flavourings for pickled garlic if you want to go that route.
- Make sure you read all the notes for a delicious and food safe pickled garlic.
More low FODMAP garlic recipes
- Low FODMAP roasted pickled garlic
- Low FODMAP garlic oil
- Garlic infused ghee
- Low FODMAP garlic dip
- Garlic chilli oil potatoes on a zingy yoghurt with herb salsa
- Gluten free cheesy naan with garlic ghee
Low FODMAP pickled garlic
Equipment
- 1 X 750ml capacity glass jar with metal or non plastic lid (sterilised as per recipe card instructions)
Ingredients
- 300 g garlic cloves weighed after peeling (3-5+ whole heads of garlic – this heavily depends on the size of the individual cloves)
- 180 ml (3/4 cup)* white vinegar or apple cider vinegar (the vinegar needs to be at least 5% acidity)
- 180 ml (3/4 cup)* water (distilled if you live in an area with poor tap water quality)
- 15-20 g sea salt
Instructions
- Preheat the oven to 110C/230F. Wash your glass jar and lid with hot soapy water or run it through the dishwasher.
- Next, prepare the garlic. You want the garlic to remain as whole garlic cloves where possible. I slice the bottom end off each clove and then peel the rest of the papery skin away. Don’t smash the cloves as you would normally – the idea is to leave them whole. This takes a bit of time, so pop a podcast on and relax into it.
- When the garlic is peeled, place the washed jar and lid on a sturdy oven tray and place into the oven for 10-15 minutes or until completely dry. This will sterilise the jar, ready for our pickled garlic.
- Combine the vinegar, water and salt in a medium saucepan. Place it over a medium high heat and cook until the salt dissolves. Add the garlic cloves and cook for 1 minute (this is optional but helps pack them into the jar). You can also cook it a little longer to experiment with a softer texture garlic.
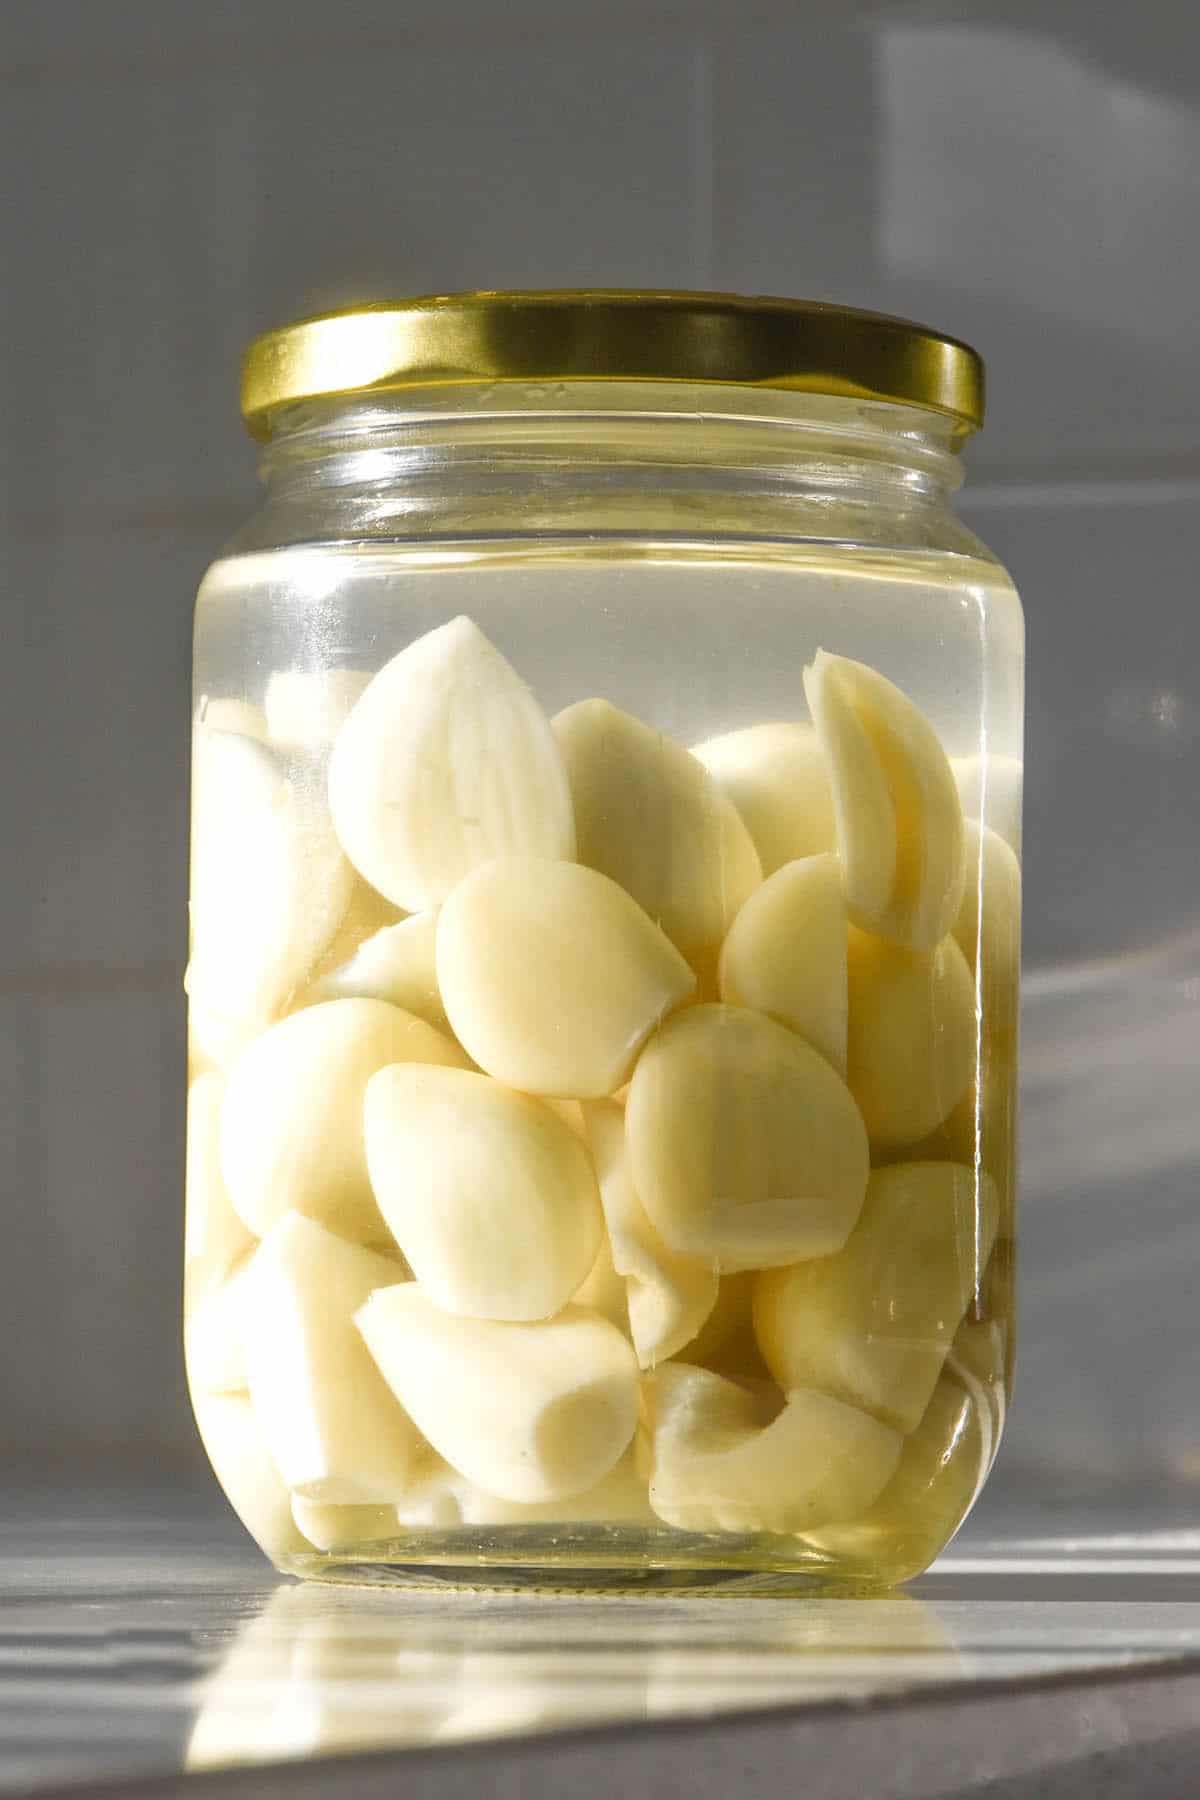
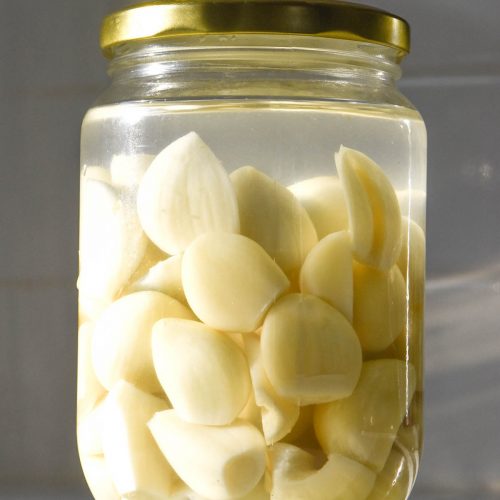
- Carefully place the garlic in the sterilised jar and pour over the hot brine. There should be a little space between the brine and the lid of the jar. The garlic should be fully submerged – not sitting above the brine.
- Place the garlic pickles in the fridge and keep them there. You can experiment with eating them as soon as the day after. Many people say the sweet spot is about 2 weeks, but that is from pickle enthusiasts rather than those who want low FODMAP garlic.
- Eat the pickles within 2 or so months and always keep them in the fridge. The refrigeration combined with acidity is important to eliminate any botulism risk.
Notes
- These pickles are not suited to canning. Prepared garlic can have botulism implications so this is a fridge pickle recipe only.
- Pickled garlic must remain in the fridge – don’t leave it on the counter or leave leftovers out.
- See the body of the post for FODMAP notes.
- See the body of the post for important safety tips.
- Use pickled garlic within two months.
What a great article, thanks for all that information. I’m not sure why I only just realised that pickled garlic is low roadmap! I would prefer to just purchase (if I can find it anywhere – as im in Aus too), but regardless, if I find some or make some, I wonder what the taste it like compared to un-touched garlic? have you used it in recipes like bolognaise or tomato based sauces and how does the pickling affect the taste? also in like focaccia etc does it taste strange as its been pickled?
Hi Kelsie,
Monash only semi recently added it to the app so that’s probably why! I didn’t realise that pickled onion has had a low FODMAP threshold for years though haha.
It’s definitely a bit of work to make your own but it tastes INCREDIBLE compared to the store bought stuff, I swear.
It tastes just like regular garlic but with a vinegar tang. Depending on how long it has been pickled, it still has that crunch as well.
I don’t think you notice the pickle in food to be honest – recipes normally have acid to balance them out so it’s not weird or obvious. You certainly wouldn’t notice it in a bolognese or tomato sauce, and although you might sense the pickle on focaccia I think it adds to the experience haha. It’s definitely not overpowering once cooked.
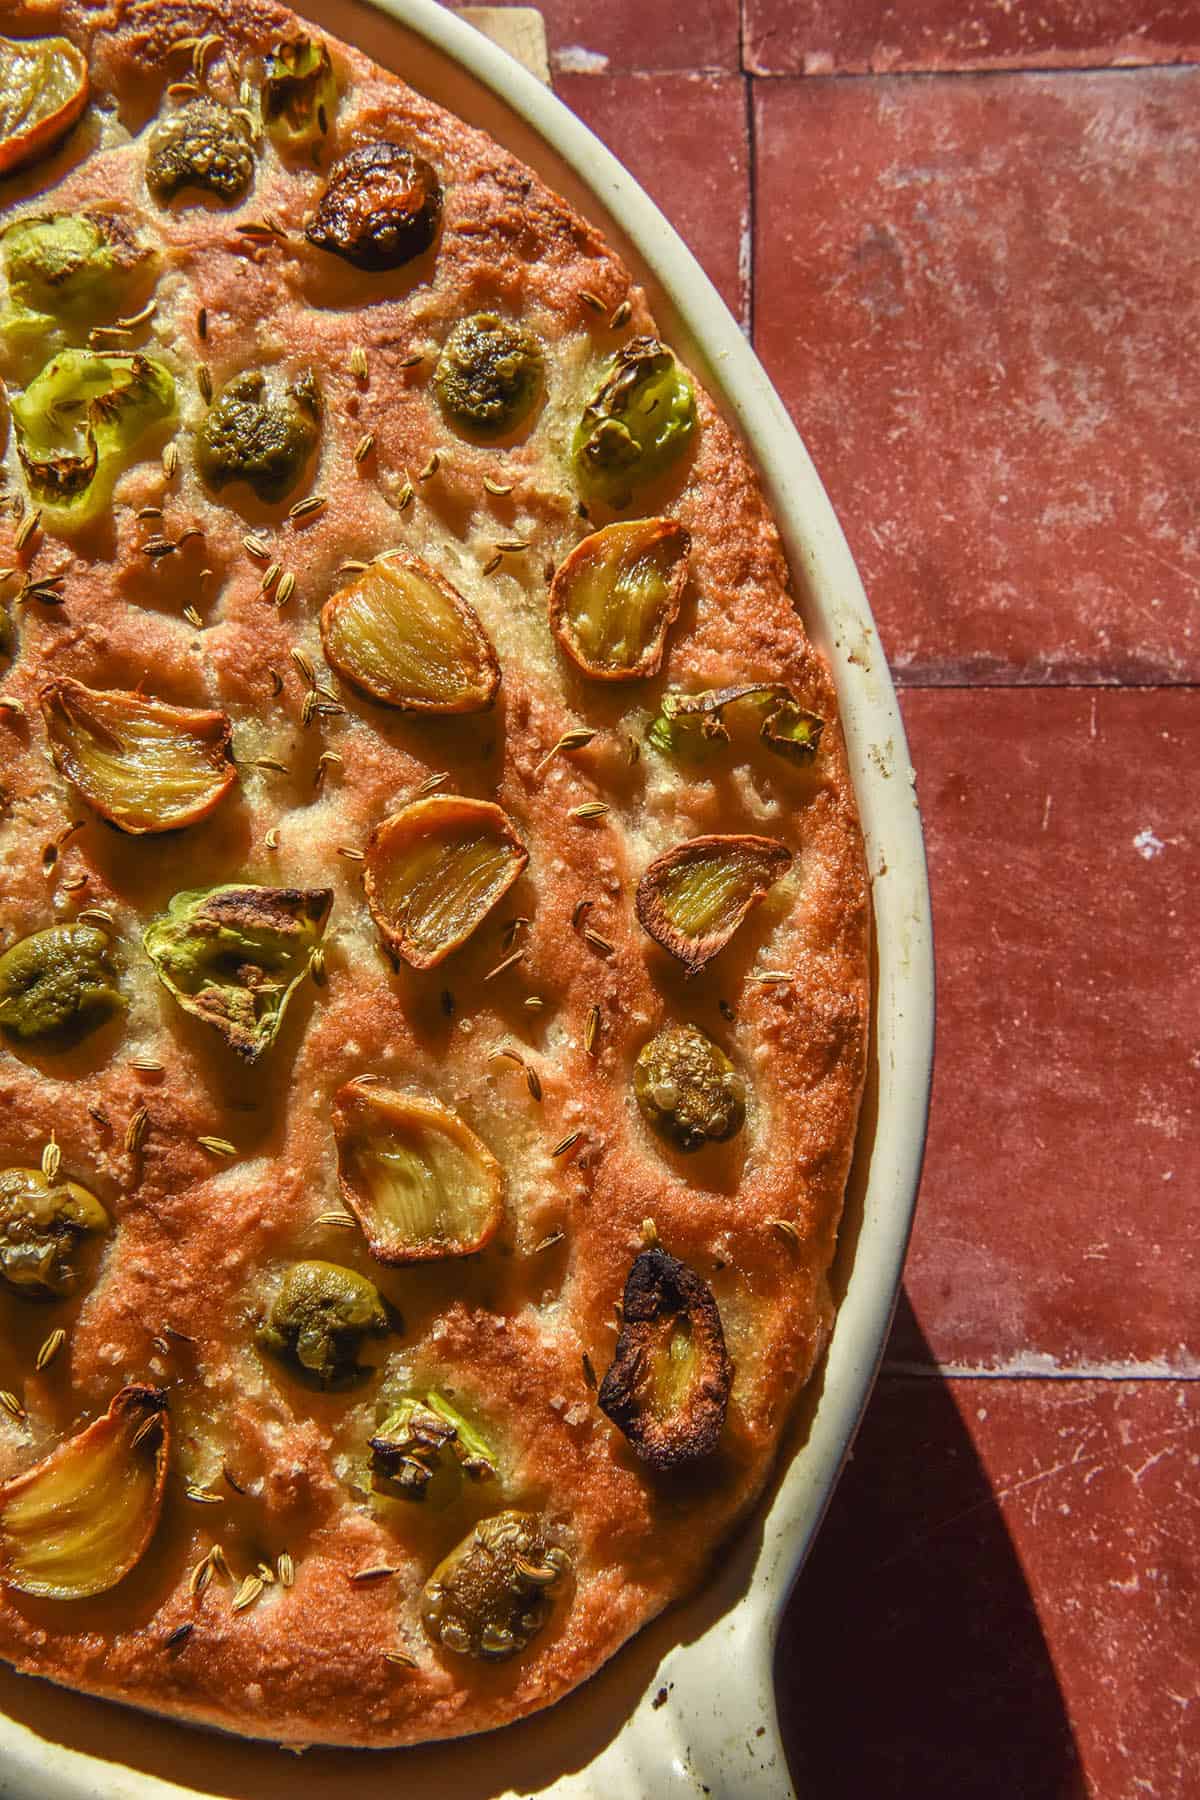
You can also roast the cloves (I have a recipe here – https://georgeats.com/recipes/low-fodmap-roasted-garlic/) which essentially just tastes like regular roasted garlic with a subtle bit of lemon or something.
So good, I am obsessed!
Awesome thanks for getting back to me!!
Hello Georgia,
You mention in the article that white vinegar or Apple vinegar is needs because if the high acidity of at least 5%. But in the recipe you make a solution of 1:1 with water, which reduces the acidity to 2.5%. Is the recipe correct, or would pure white vinegar be beter?
Hi Marc,
The recipe is correct 🙂
The vinegar itself needs to be 5% acidity, not the total brine. The brine needs to be 50% vinegar at 5% acidity.
The 5% acidity is there to ensure that if people choose to use apple vinegar, they ensure it is at least 5% acidity. White vinegar is my choice here for the reliable acidity % and neutral flavour, but I wanted to give that option.
If you are uncomfortable you can also use all vinegar, but keep in mind the garlic will be a lot more tangy 🙂