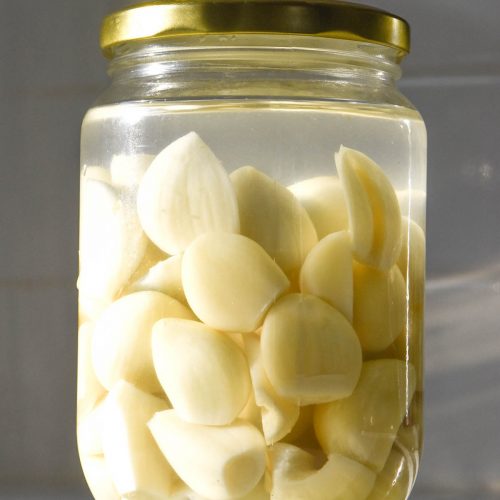
Low FODMAP pickled garlic
*This recipe uses Australian cups and measures. Use ml for international accuracy.
Equipment
- 1 X 750ml capacity glass jar with metal or non plastic lid (sterilised as per recipe card instructions)
Ingredients
- 300 g garlic cloves weighed after peeling (3-5+ whole heads of garlic – this heavily depends on the size of the individual cloves)
- 180 ml (3/4 cup)* white vinegar or apple cider vinegar (the vinegar needs to be at least 5% acidity)
- 180 ml (3/4 cup)* water (distilled if you live in an area with poor tap water quality)
- 15-20 g sea salt
Instructions
- Preheat the oven to 110C/230F. Wash your glass jar and lid with hot soapy water or run it through the dishwasher.
- Next, prepare the garlic. You want the garlic to remain as whole garlic cloves where possible. I slice the bottom end off each clove and then peel the rest of the papery skin away. Don’t smash the cloves as you would normally - the idea is to leave them whole. This takes a bit of time, so pop a podcast on and relax into it.
- When the garlic is peeled, place the washed jar and lid on a sturdy oven tray and place into the oven for 10-15 minutes or until completely dry. This will sterilise the jar, ready for our pickled garlic.
- Combine the vinegar, water and salt in a medium saucepan. Place it over a medium high heat and cook until the salt dissolves. Add the garlic cloves and cook for 1 minute (this is optional but helps pack them into the jar). You can also cook it a little longer to experiment with a softer texture garlic.
- Carefully place the garlic in the sterilised jar and pour over the hot brine. There should be a little space between the brine and the lid of the jar. The garlic should be fully submerged – not sitting above the brine.
- Place the garlic pickles in the fridge and keep them there. You can experiment with eating them as soon as the day after. Many people say the sweet spot is about 2 weeks, but that is from pickle enthusiasts rather than those who want low FODMAP garlic.
- Eat the pickles within 2 or so months and always keep them in the fridge. The refrigeration combined with acidity is important to eliminate any botulism risk.
Notes
- These pickles are not suited to canning. Prepared garlic can have botulism implications so this is a fridge pickle recipe only.
- Pickled garlic must remain in the fridge – don’t leave it on the counter or leave leftovers out.
- See the body of the post for FODMAP notes.
- See the body of the post for important safety tips.
- Use pickled garlic within two months.
Tried this recipe?Let us know how it was!