I have another round of the SIBO bi-phasic diet looming, so I figured there was never a better time to learn how to make my own yogurt. I am lucky enough to own a Brod and Taylor proofing box now which is a game changer for gluten free bread making but also for making yogurt. With that said, I wanted to ensure everyone could use this recipe so I have learned how to make yogurt without the proofing box as well.
This coconut yogurt uses 2-3 simple ingredients – coconut cream and/or coconut milk and store bought plain yogurt. We’re using the store bought yogurt to add the cultures to our yogurt without needing to buy specialised probiotics. I wanted to make this recipe as accessible as possible and that meant skipping the expensive and harder to find vegan probiotics.
I have tested this recipe extensively and found it to be flexible in terms of what you use. I’ve had success with 100% coconut cream, 100% coconut milk, light coconut milk and combinations. You can also easily seed the yoghurt with plain coconut yoghurt or plain dairy yoghurt.
Before we jump in, a quick note. This coconut yoghurt recipe has been developed to be made without starches or gums. The SIBO diet precludes me from eating these and they tend to be in all the commercially available coconut yoghurt products. Without starches and gums, the yoghurt doesn’t have that smooth and silky texture you might be accustomed to. Keep this in mind when making this recipe.
Ingredient notes
- Not all brands of coconut cream and coconut milk are created equal. They have wildly varying total quantities of actual coconut, if you would believe. Many of them use thickeners and fibres as well, which adds another wild card to your yoghurt making endeavours.
- In Australia, the coconut cream and milk brand I prefer is Ayam. They seem to have the highest percentage of actual coconut across both categories and they are also additive free – no gums or fibres. Both products have a bit of a grey hue, but the package says that is just the natural colour and that is fine with me.
- Don’t use a flavoured or sweetened store bought yoghurt to seed your coconut yoghurt. Use plain.
- Once you get the hang of it, you can play around with using some coconut cream, no coconut cream, light coconut milk, etc. I have found that with the right coconut products (ie: ones that contain a good amount of coconut) this recipe is hard to mess up.
Things I have learned seeding my own coconut yoghurt
- In my experience, 24 hours in the fridge is just as important as the 24-ish hours in a warm spot. Freshly cultured coconut yoghurt is often still very thin and it needs time in the fridge to set up properly.
- You may need to stir your yoghurt to incorporate the liquid back into the yoghurt (you could also strain it, if you want a thick yoghurt). This is to be expected.
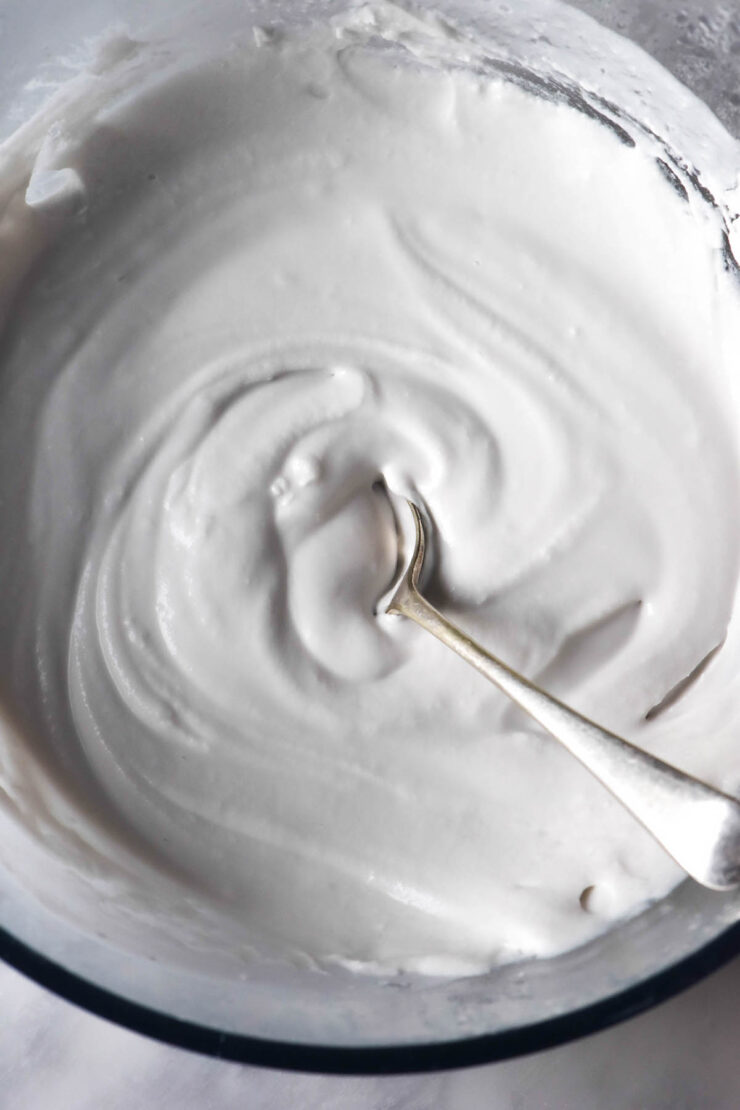
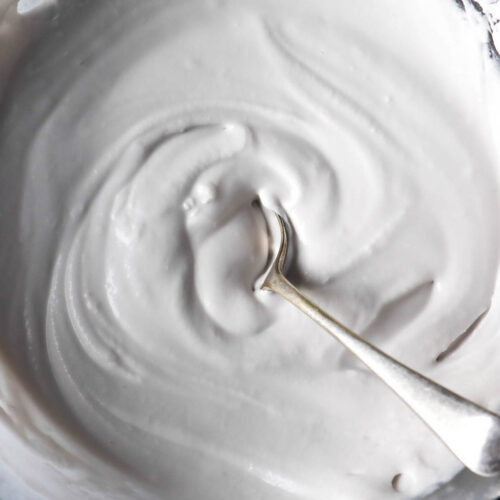
- This yoghurt can look a little grainy but it generally doesn’t taste grainy. This is because we aren’t using any starches to thicken and emulsify the yoghurt. It is to be expected!
- With that said, I have found huge variance in the cans of coconut product. Although I have exclusively used Ayam brand because it is has the highest coconut ratio and no gums or fillers, different cans have varied dramatically in thickness. As a result, some batches of coconut yoghurt can be a little grainier than others.
- Some cans of coconut milk or cream just inexplicably make thicker yoghurt than others. I have been making this recipe for months now – some batches are just thicker.
- There is a limit to how many times you can seed the next batch of yoghurt from your current one. I have only successfully done it two times – the third batch is often too fizzy. If you use lots of yoghurt, you might have a bit more luck than me.
How does making coconut yoghurt differ from making dairy yoghurt?
Firstly, there are less food safety considerations when making coconut yoghurt. Yes, we do need to make sure the equipment is very clean and there’s no contamination. Yes, excessively warm ambient temperatures may over-ferment your yoghurt if you leave it out too long. However, homemade coconut yogurt remains much less finnicky than homemade dairy yogurt.
Homemade dairy yoghurt really needs a thermometer and a yoghurt maker or proofer to guarantee success. It needs to be boiled to a certain temperature and then cooled before the culture is added. The yoghurt then needs to spend time in 38C+ temperatures for up to 24 hours.
Coconut yoghurt? Mix it up, leave it in a warm place and then place it in the fridge for 24 hours. Easy!
Out of interest, I did test preparing coconut yoghurt the same way as dairy yoghurt. I brought the coconut products up to a simmering boil, cooled them and then added the store bought yoghurt. It had no tangible effect on the thickness and didn’t change the outcome – just added more steps.
Milk needs to be cooked to unravel the whey proteins which then trap in the liquid to create a thick yoghurt. Coconut products don’t contain whey, so the method doesn’t work here.
An instance where you would cook coconut yoghurt is if you were thickening it with starch, gelatin or agar agar. I haven’t tested that as I need a yoghurt with additives for my elimination diet.

How long does homemade coconut yoghurt need to ferment?
This depends on the temperature and season where you live. Like bread, yoghurt requires warmth for the cultures to ferment well. If you are making coconut yoghurt in a freezing cold kitchen, it will take significantly longer than a hot and humid climate.
Other factors to consider are what sort of coconut products you have used and your tastes. Thicker coconut products, like coconut cream, don’t technically ‘need’ as long as thinner coconut products to ferment. This is because they are naturally thicker to begin with.
Coconut yoghurt becomes thicker as it ferments (which becomes apparent after the 24 hours of chilling in the fridge). However, a yoghurt made with all coconut cream will still be naturally thicker than a yoghurt made with light coconut milk.
Troubleshooting your coconut yogurt
- If your coconut yoghurt fails to thicken, make sure you have allowed it to spend 24 hours in the fridge before deeming it a failure. Also keep in mind the temperature – did it ferment enough to thicken?
- If it is still runny, use one can of full fat coconut cream in your next batch. You can also place it in a fine muslin or nut milk bag and strain off some excess liquid (provided it has some level of thickness).
- If the yoghurt is too sour or not sour enough for your tastes, adjust the fermenting time. The weather and heat changes day to day so you need to be flexible and use your intuition. Ferment the yoghurt longer for a more sour, thicker yoghurt and less time for a thinner, less sour yoghurt.
- If you need the yoghurt to be 100% starch free and have no other restrictions, use Greek yoghurt. It works exactly the same as coconut yoghurt for seeding purposes.
- If your yoghurt is grainy, sometimes that just happens! I have made this yoghurt twice a week for the last 3-4 months now. Some cans of coconut just have a grainy consistency. If it keeps happening, use one can of coconut cream and one can of light coconut milk to see if that helps.
- As discussed, this recipe is designed to be starch free. Starch helps give coconut yoghurt a smoother, more cohesive consistency, so you can try a starch based recipe online to see if that is your preference.
- No coconut yoghurt is a failure! Even if the consistency isn’t right, you can use it in smoothies or flatbreads. I like to eat my thin batches of coconut yoghurt with frozen blueberries so they firm it up.
More coconut recipes
- Ninja Creami coconut ice cream
- Coconut panna cotta with agar agar
- Gluten free dairy free pancakes
- Low FODMAP vegetarian curry
- Gluten free bread without yeast
Homemade coconut yoghurt (starch free)
Ingredients
- 400 ml coconut cream (I recommend Ayam, see notes)
- 400 ml coconut milk (I recommend Ayam, see notes)
- 75-125 g store bought plain yoghurt, dairy free or dairy based (if you don't need your yoghurt to be dairy free/gluten free, see notes)
Instructions
- Whisk the ingredients together in a medium/large glass or plastic bowl. Cover with cling film or a lid and place in a warm spot for up to 24 hours. I use my bread proofer and set the temperature anywhere from 26C-30C (79-86F). How long you leave the mixture depends on your preferences (how sour you like, how thick you like it) and the ambient temperature. Leave it longer for thicker and more sour yoghurt and test intermittently if you like less sour yoghurt.
- Once you are happy with the tanginess of the yoghurt, transfer it to the fridge for another 24 hours. In this time it should thicken up and should continue to thicken as it sits in the fridge.
- You can stir in the separated liquid or pour it off for a thicker yoghurt. You can also strain the yoghurt in a nut milk bag to make coconut labne.
- Some lumps and bumps are normal as we are making coconut yoghurt without gums or starches. Some batches will be thicker than others.
- Store the yoghurt in the fridge in an airtight container in the fridge. Eat within a week.
Notes
- Yoghurt needs warm temperatures to ferment. It will be harder and take longer to make this yoghurt in a winter climate and/or cold kitchen. The inverse is also true: it will be quicker to make this yoghurt in a hot or humid climate or kitchen.
- The type of coconut milk and cream you use has a huge bearing on the result. I like to use Ayam in Australia as it has the highest percentage of coconut (significantly higher than other brands which use more water). It is also gum free and starch free. Read the labels and Google the highest coconut percentage products where you live.
- You can experiment with other brands, but Ayam is all I have tested. Keep in mind you will be adding more ingredients to your yoghurt if you use a brand with more ingredients than just coconut.
- This recipe works with store bought coconut yoghurt and store bought Greek yoghurt or plain yoghurt. Make sure you choose a plain, unflavoured and unsweetened variety. Store bought coconut yoghurt often contains sugar but do not choose a flavoured or overly sweetened one.
- Some batches are better than others! Some can be a bit grainy, a bit thick or a bit thin. I have been making this for months and I have noticed that tins of coconut product vary wildly in their consistency, even though I only use Ayam brand.
- Add any flavourings at the end of the 2 day process.
- I have tested seeding new yoghurt with homemade yoghurt and I found it to be a bit of a wild card. Sometimes it works, sometimes it over ferments very quickly. Personally, I prefer to buy a small tub of plain Chobani and seed my yoghurt with new yoghurt every time. I prefer to use dairy yoghurt because it contains no starches or gums, which are off limits for me on the SIBO diet. Choose what works best for you.
No Comments