Homemade coconut yoghurt (starch free)
Dairy free option, vegan option
Ingredients
- 400 ml coconut cream (I recommend Ayam, see notes)
- 400 ml coconut milk (I recommend Ayam, see notes)
- 75-125 g store bought plain yoghurt, dairy free or dairy based (if you don't need your yoghurt to be dairy free/gluten free, see notes)
Instructions
- Whisk the ingredients together in a medium/large glass or plastic bowl. Cover with cling film or a lid and place in a warm spot for up to 24 hours. I use my bread proofer and set the temperature anywhere from 26C-30C (79-86F). How long you leave the mixture depends on your preferences (how sour you like, how thick you like it) and the ambient temperature. Leave it longer for thicker and more sour yoghurt and test intermittently if you like less sour yoghurt.
- Once you are happy with the tanginess of the yoghurt, transfer it to the fridge for another 24 hours. In this time it should thicken up and should continue to thicken as it sits in the fridge.
- You can stir in the separated liquid or pour it off for a thicker yoghurt. You can also strain the yoghurt in a nut milk bag to make coconut labne.
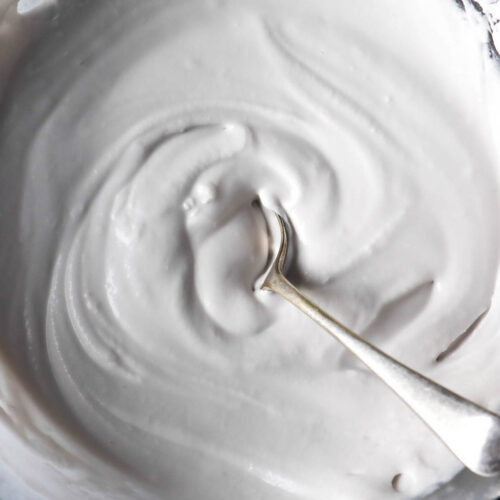
- Some lumps and bumps are normal as we are making coconut yoghurt without gums or starches. Some batches will be thicker than others.
- Store the yoghurt in the fridge in an airtight container in the fridge. Eat within a week.
Notes
- Yoghurt needs warm temperatures to ferment. It will be harder and take longer to make this yoghurt in a winter climate and/or cold kitchen. The inverse is also true: it will be quicker to make this yoghurt in a hot or humid climate or kitchen.
- The type of coconut milk and cream you use has a huge bearing on the result. I like to use Ayam in Australia as it has the highest percentage of coconut (significantly higher than other brands which use more water). It is also gum free and starch free. Read the labels and Google the highest coconut percentage products where you live.
- You can experiment with other brands, but Ayam is all I have tested. Keep in mind you will be adding more ingredients to your yoghurt if you use a brand with more ingredients than just coconut.
- This recipe works with store bought coconut yoghurt and store bought Greek yoghurt or plain yoghurt. Make sure you choose a plain, unflavoured and unsweetened variety. Store bought coconut yoghurt often contains sugar but do not choose a flavoured or overly sweetened one.
- Some batches are better than others! Some can be a bit grainy, a bit thick or a bit thin. I have been making this for months and I have noticed that tins of coconut product vary wildly in their consistency, even though I only use Ayam brand.
- Add any flavourings at the end of the 2 day process.
- I have tested seeding new yoghurt with homemade yoghurt and I found it to be a bit of a wild card. Sometimes it works, sometimes it over ferments very quickly. Personally, I prefer to buy a small tub of plain Chobani and seed my yoghurt with new yoghurt every time. I prefer to use dairy yoghurt because it contains no starches or gums, which are off limits for me on the SIBO diet. Choose what works best for you.
Tried this recipe?Let us know how it was!