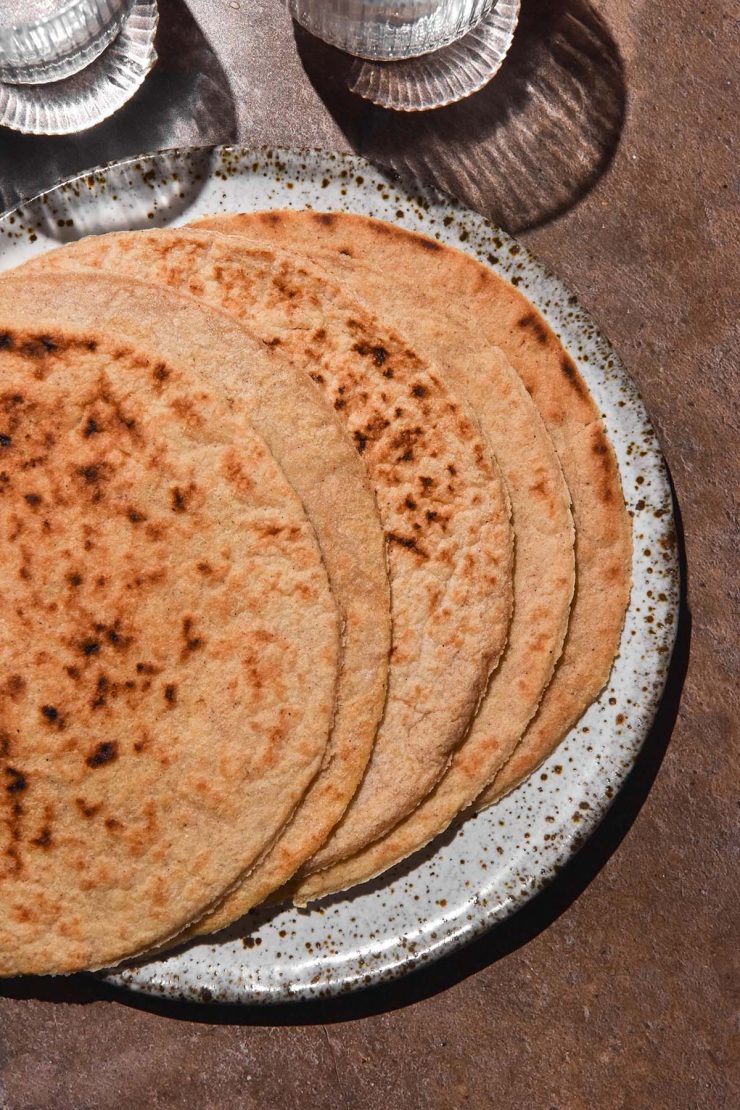
My inspiration for these oat wraps is twofold: firstly, my forever favourite buckwheat wraps and secondly, my recent foray into oat bread. It has taken me a while to learn the ways of baking with oat flour (and I still have a lot to learn) but I am obsessed with these wraps. They are incredibly flexible and soft (dare I say, more flexible than the buckwheat variety?).
Oat wraps (gluten free)
These oat wraps are gluten free or wheat free (more on this in a minute), xanthan gum free, egg free, nut free and easily dairy free/vegan. Each wrap contains approximately 5g fibre and 6g protein, which isn’t too shabby at all.
The wraps are made with freshly ground wheat free/gluten free oats. In Australia, oats are not considered gluten free because of a protein they contain (avenin) that is very similar to gluten. You can buy wheat free oats in Australia (Red Tractor is the brand I used) which are grown and manufactured in a wheat free environment. Elsewhere, oats are considered gluten free if they are grown and manufactured in a gluten free environment.
The wraps use majority oat flour with a small amount of tapioca flour. Tapioca flour adds elasticity and seems to respond much better to the scald than oat flour alone. The result is incredibly flexible gluten free wraps.
What is a scald, you ask? Simply put, scalding flour involves pouring hot or boiling water over the flour. This gelatinises the starches in the flour and creates a much more elastic dough that is easily rolled out into a thin sheet which is cut into a wrap shape.
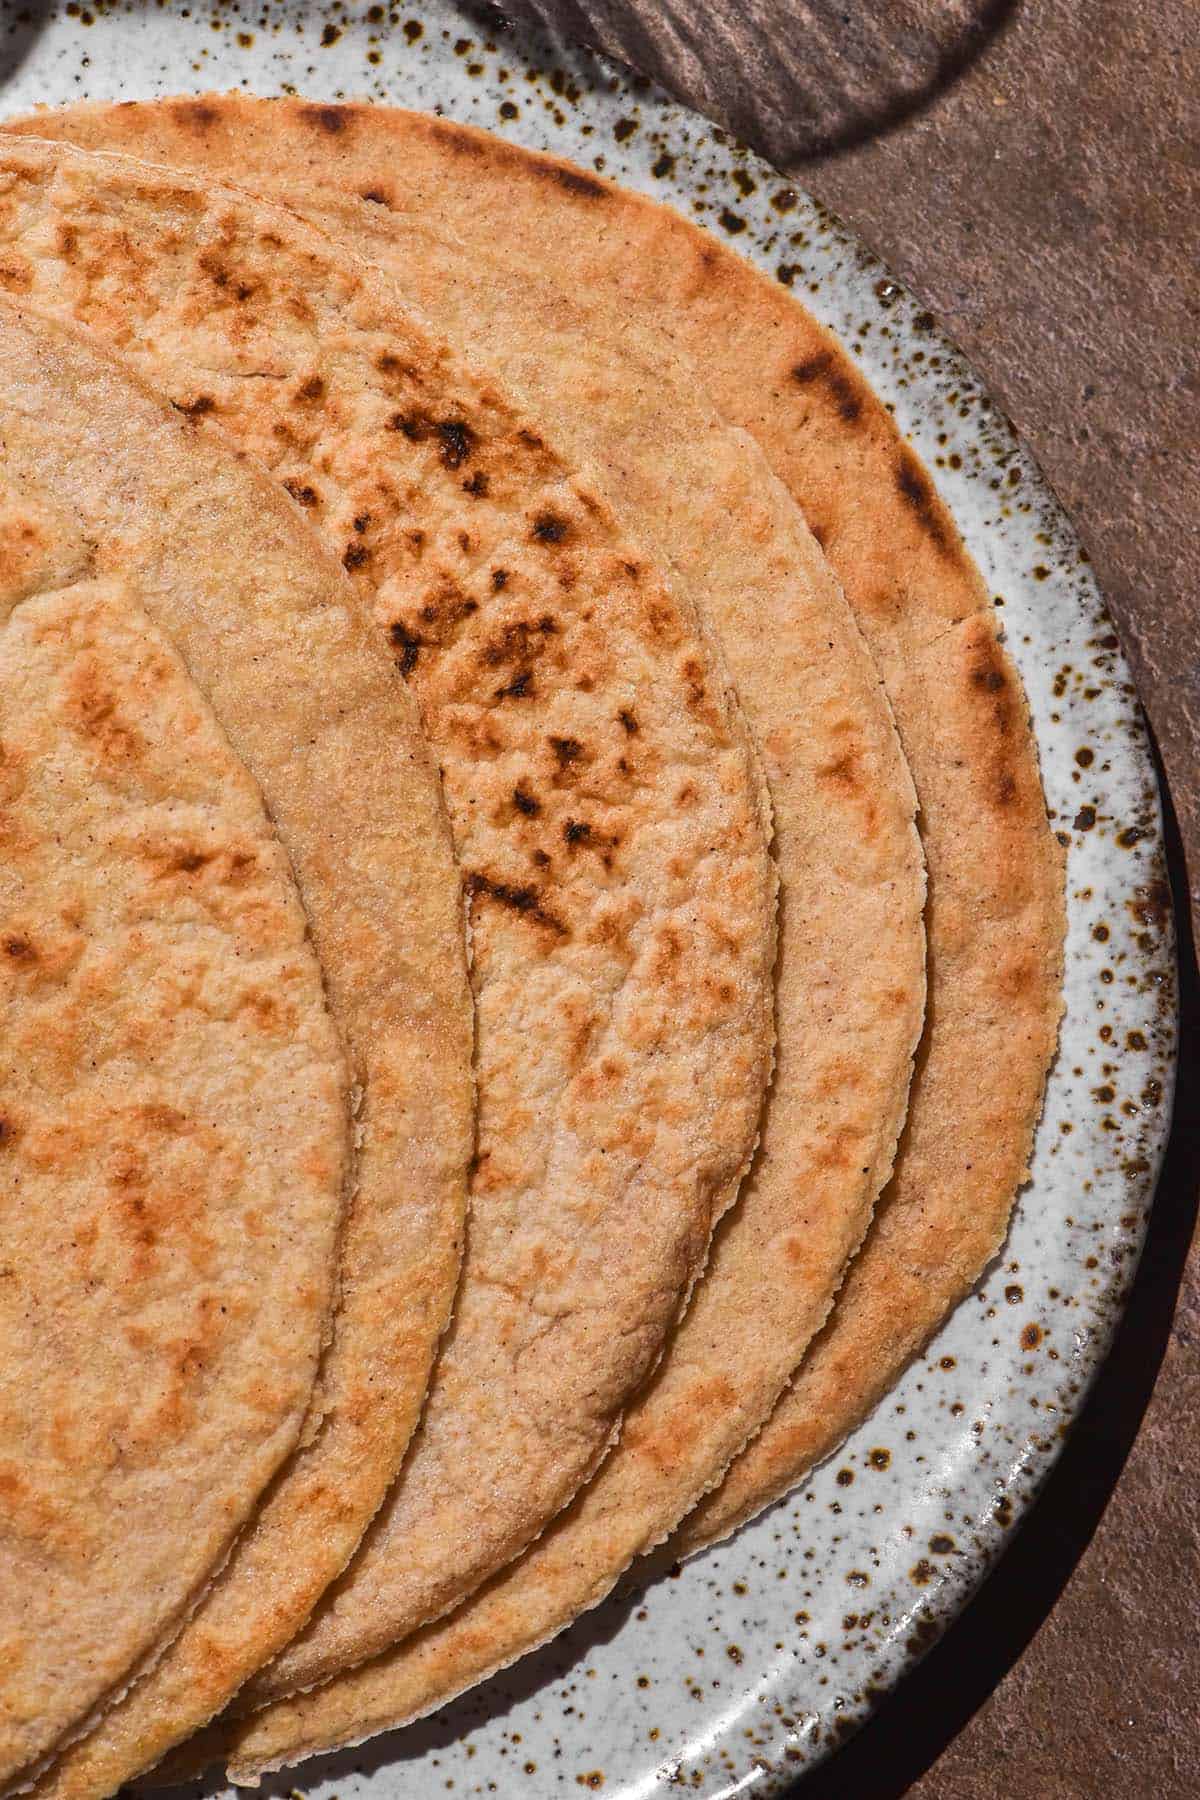
Aside from the scald, psyllium husk powder and yoghurt (plain Greek yoghurt or coconut yoghurt) aid in developing elasticity and flexibility. Everything comes together beautifully for my most flexible wrap to date!

Recipe tips for your oat wraps
- Oat flour performs very differently when compared to other gluten free flours. It absorbs a lot of water and requires double the water that my buckwheat wrap recipe does.
- The dough will look way too wet as you first pour in the water – more like a batter. As you continue to stir, though, it should firm up quite quickly. Continue stirring until the dough forms a nice smooth ball.
- To ensure the wraps roll out easily, you need to make sure the flour is ground finely. I grind my oat flour in my NutriBullet using Red Tractor wheat free oats. I process it for one cycle, open the lid for 2-3 minutes to allow the steam to escape and process it again for another cycle.
- Make sure there are no whole oats leftover in the flour as these might make your wraps crack and break.
- Personally, I prefer to grind about 300g oats for 200g flour. You might end up with too much but grinding under 50g if you don’t grind enough is an absolute nightmare.
- Your dough needs to be a bit sticky and you should need to flour the bench here. A stiff dough that doesn’t need much flour will be too stiff to roll out and prone to breakage. See the section below on how much water to add.
- If it it too wet, simply divide the dough into 6 balls and allow them to dry out a little on the bench as you roll each wrap out.
More tips for your oat wraps
- Roll each piece of dough into a smooth ball before rolling out. This minimises the risk of the dough rolling out in an uneven and annoying shape, which is harder to cut into a circle and involves more work.
- On that note, incorporate any dry and textured bits of dough back into the ball of dough before you roll it out. If the ball has dried out, knead it to restore a juicy texture before you begin rolling it out. This will help avoid any craggy and dry bits on your wrap.
- I highly recommend using a medium/large bowl with a sharp lip or a springform cake tin to cut the wraps out. This makes the edges nice and neat and aesthetically pleasing.
- Yes, you need to use some elbow grease to roll the wraps out to the right thinness. It takes about 15-20 minutes and is worth it, I promise. Rolling thick and craggy wraps is only depriving yourself of a thin and flexible wrap, so take your time. 3-5mm is an ideal thinness for a super flexible wrap.
- The dough is incredibly flexible and can take being rolled incredibly thinly. Just make sure you have patience and plenty of tapioca flour.
- I recommend tapioca flour to roll out the wraps because it is super soft and fine. Other flours are more course and contribute flavours/dryness to the wraps. Tapioca flour is a neutral, soft enough to roll on and even adds a bit of bonus elasticity.
Ideal hydration for your wrap dough
As I have mentioned, oat flour works very differently to the gluten free flours I am accustomed to working with. It needs a lot of liquid to form a dough, but subsequently creates a very moist end result.
Your dough should initially be more like a batter. As you whisk it, it should look frighteningly thin. I find it easier to whisk with a fork here because oat flour is quite sticky and tends to bog down a real whisk very quickly.
If you keep mixing, the dough should roll itself into a smooth ball. This is the ideal consistency. It should be smooth with no flour in the bowl and just bit sticky when you pull off some dough from the ball.
The dough should need flour on the bench to roll out. However, it should roll out smoothly and easily. It does take a bit of elbow grease to roll these wraps finely, but the dough should easily flex and roll under the rolling pin. If it feels impossibly stiff and too fragile to be rolled thinly, you need to add more water.
Although I can’t foresee an instance in which your dough is much too dry, there’s a chance your flour is much different than mine. As always, every bag of flour will have a different absorbency level. This also goes for every bag of oats (and the oat flour made from said oats). Be open to adjusting the hydration as necessary to create your dream oat wrap.
Note on the above hydration notes
It is worth noting that, by all accounts, commercial oat flour works differently to homemade oat flour. This is because rolled oats are steamed which partially scalds them. Commercial oat flour doesn’t use steamed oats so it has not been scalded. I have only tested homemade oat flour here. As such, all of these tips relate to a batter made with homemade oat flour.
More gluten free bread recipes (all either dairy free or with a dairy free option)
- Gluten free wraps
- Gluten free buckwheat bread
- Gluten free bread without yeast
- Gluten free bagels without yeast from my yeast free e-book
- Buckwheat focaccia from my Substack

Oat wraps (gluten free)
Ingredients
- 200 g oat flour (freshly ground from wheat free/gluten free rolled oats) (see notes)
- 20 g tapioca flour/starch (plus plenty more for rolling the dough out)
- 20 g psyllium husk powder (see notes)
- 5-7 g fine salt, to your tastes
- 125 g plain thick Greek yoghurt or coconut yoghurt
- 20 ml (1 tablespoon)* oil of choice
- 250 ml (1 cup)* boiling water
- oil of choice, for cooking the wraps
Instructions
To make the dough and roll out the wraps:
- Whisk together the dry ingredients in a medium/large mixing bowl. Add the yoghurt and oil and use a fork to distribute it onto the dough a little.
- Have your fork ready and 'whisk' the dough as you pour in the boiling water. The scald gets to work thickening the dough straight away, so we want to ensure everything is incorporated.
- Continue whisking until the dough creates a smooth, juicy ball of dough around your fork. There should be no dry flour in the bowl. See hydration notes in the body of the post for more information.
- If the dough is much drier than this, add more boiling water gradually and to suit.
- Allow the dough to cool for 5-10 minutes. It should be comfortable to pull apart and roll out without being too hot. It should also be a bit sticky as you pull it apart. If the dough is too wet, set it aside for an extra 10 minutes. You will incorporate some tapioca flour into the dough as you roll the wraps out, but you can sprinkle a bit more into the bowl if your dough is really too wet after 15-20 minutes.
- Flour a clean bench space lightly but thoroughly with tapioca flour. Divide the dough into 6 balls.
- Take the first ball and place it on the floured work surface. Use a rolling pin to roll it out to a little larger than your 25cm (10 inch) bowl lip or springform pan ring. This will be your cutter to cut each wrap out.
- Take your time to roll the dough to an approximate 3-5mm width – it should be very thin. A chunky and thick wrap will not bend nicely and won't taste as good. Take the time to do it right – I promise the results are worth it and I promise the dough can easily be rolled this thin. If yours can't and feels too stiff, dry or fragile, see the hydration section in the body of the post.
- Use the cutter to cut the wrap. Pull off the dough around the edges or use a knife if it is not cut clean off the wrap. Repeat with the remaining dough and wraps, incorporating the scraps into another ball of dough as you work. You might get 7 wraps with this volume of dough.
To cook the wraps:
- Thoroughly preheat a large skillet over a medium heat. The skillet really needs to be larger than the circumference of the wraps so that it can lie flat as it cooks. This allows the sides to cook evenly with the rest of the wrap.
- Once the skillet is thoroughly heated, add a scant amount of oil. Place the first wrap down. Give the top of the wrap a little spray of oil and brush it evenly over the top with a pastry brush.
- Cook the wrap for a couple of minutes, depending on how high your heat is. These wraps don't bubble up like the buckwheat ones so you may need to lift it up a little and check. The underside should have plenty of golden spots on it. When it does, flip the wrap and cook for half the time on the second side. We don't want to overcook the wraps as they can easily become too dry, so don't leave it for too long on the second side.
- If your wrap gets stuck, stop and allow the pan to heat for longer before continuing.
- Transfer each wrap to a cooling rack and repeat with the remaining wraps.
- Allow the wraps to cool completely before transferring them to an airtight container or the freezer. I like to put a sheet of baking paper between each wrap and freeze them. This way I can use one at a time and they don't get stuck together after freezing.
Notes
- Oats are not considered gluten free in Australia. If you buy a dedicated wheat free brand, they are considered wheat free. I used Red Tractor brand which I bought at the supermarket.
- In many countries, oats are considered gluten free if they are grown and manufactured in a gluten free environment. Do what works for you and your digestive system.
- Wherever you are and whatever you are using, make sure you grind the flour yourself using rolled oats.
- A lovely reader informed me that commercial oat flour has a different absorbency level to homemade oat flour because rolled oats are steamed, which gelatinises the starches (like a scald). I have not tested this recipe with store bought oat flour – I will at some point, but for now I recommend making your own oat flour for success.
- The absorbency of your oats will vary and what works perfectly for me might be too much/too little for you. Always be open to experimentation and use your intuition to ensure your dough is as described in the recipe.
- I grind my own psyllium husk powder from whole flakes using a Breville spice grinder. I find store bought psyllium husk powder to be too fine and feel it clumps up too easily. Use what works for you.
- If your wraps are a bit grey or purple, that is your psyllium husk. Some brands are more grey/purple than others, so you can try a new brand and see if there is any improvement.
No Comments