Another day, another Ninja Creami recipe. I have posted recipes for the classic trifecta: vanilla ice cream, strawberry ice cream and chocolate ice cream. I’ve published a high protein Ninja Creami e-book, posted a mint chocolate chip recipe; heck, I’ve even made a mango kombucha sorbet. Today I want to add another classic flavour to the mix with this Ninja Creami coffee ice cream recipe.
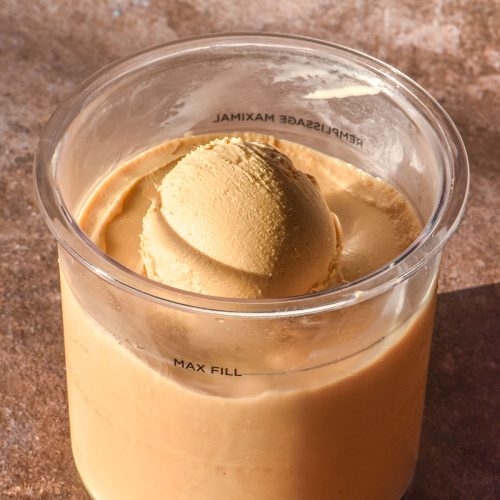
Ninja Creami coffee ice cream
This coffee ice cream is made from a very simple combination of ingredients. Sweetened condensed milk, cream, milk and espresso are all that is necessary to create this creamy, gorgeous ice cream.
Each ingredient serves a purpose in this ice cream. Sweetened condensed milk adds the sweetness but also the viscosity. Cream and milk add the bulk of the ice cream and the creamy, decadent mouthfeel. Espresso, of course, adds the flavour (and the caffeine!).
This simple recipe takes 5 minutes to whip and should only need one spin in the machine. Delicious Ninja Creami coffee ice cream with under 10 minutes of hands on time!
Tips for your ice cream
- The more I work with the Ninja Creami, the more patterns I see emerge. I have found that cream based ice creams really need to be balanced formulas to ensure they don’t need lots of spins to reach the desired texture. Think of whipped cream: you can easily over whip and split the cream. In my experience, too many re-spins of a cream based ice cream will split the cream, creating a gritty and fatty mouthfeel.
- The more I work with liquid sweeteners in Ninja Creamis, the more I appreciate them. As per Serious Eats, liquid sugars add body, creaminess and stability to ice cream recipes. As someone who is a comparative beginner in the world of ice cream making, I find liquid sugars so much easier to work with than regular sugar when it comes to a Ninja Creami.
- There is such a thing as too much butterfat in ice cream. I recommend sticking to 35% butterfat cream in this recipe.
- Coffee changes flavour as it cools, so I also recommend making the ice cream as soon as you have pulled the shot. I have only tested this recipe with fresh espresso from my Barista Express.
How to know when your ice cream is ready
I want to touch on this briefly because I find cream based ice cream is at risk of being over processed. The more you spin a cream based Ninja Creami, the more likely it is to split.
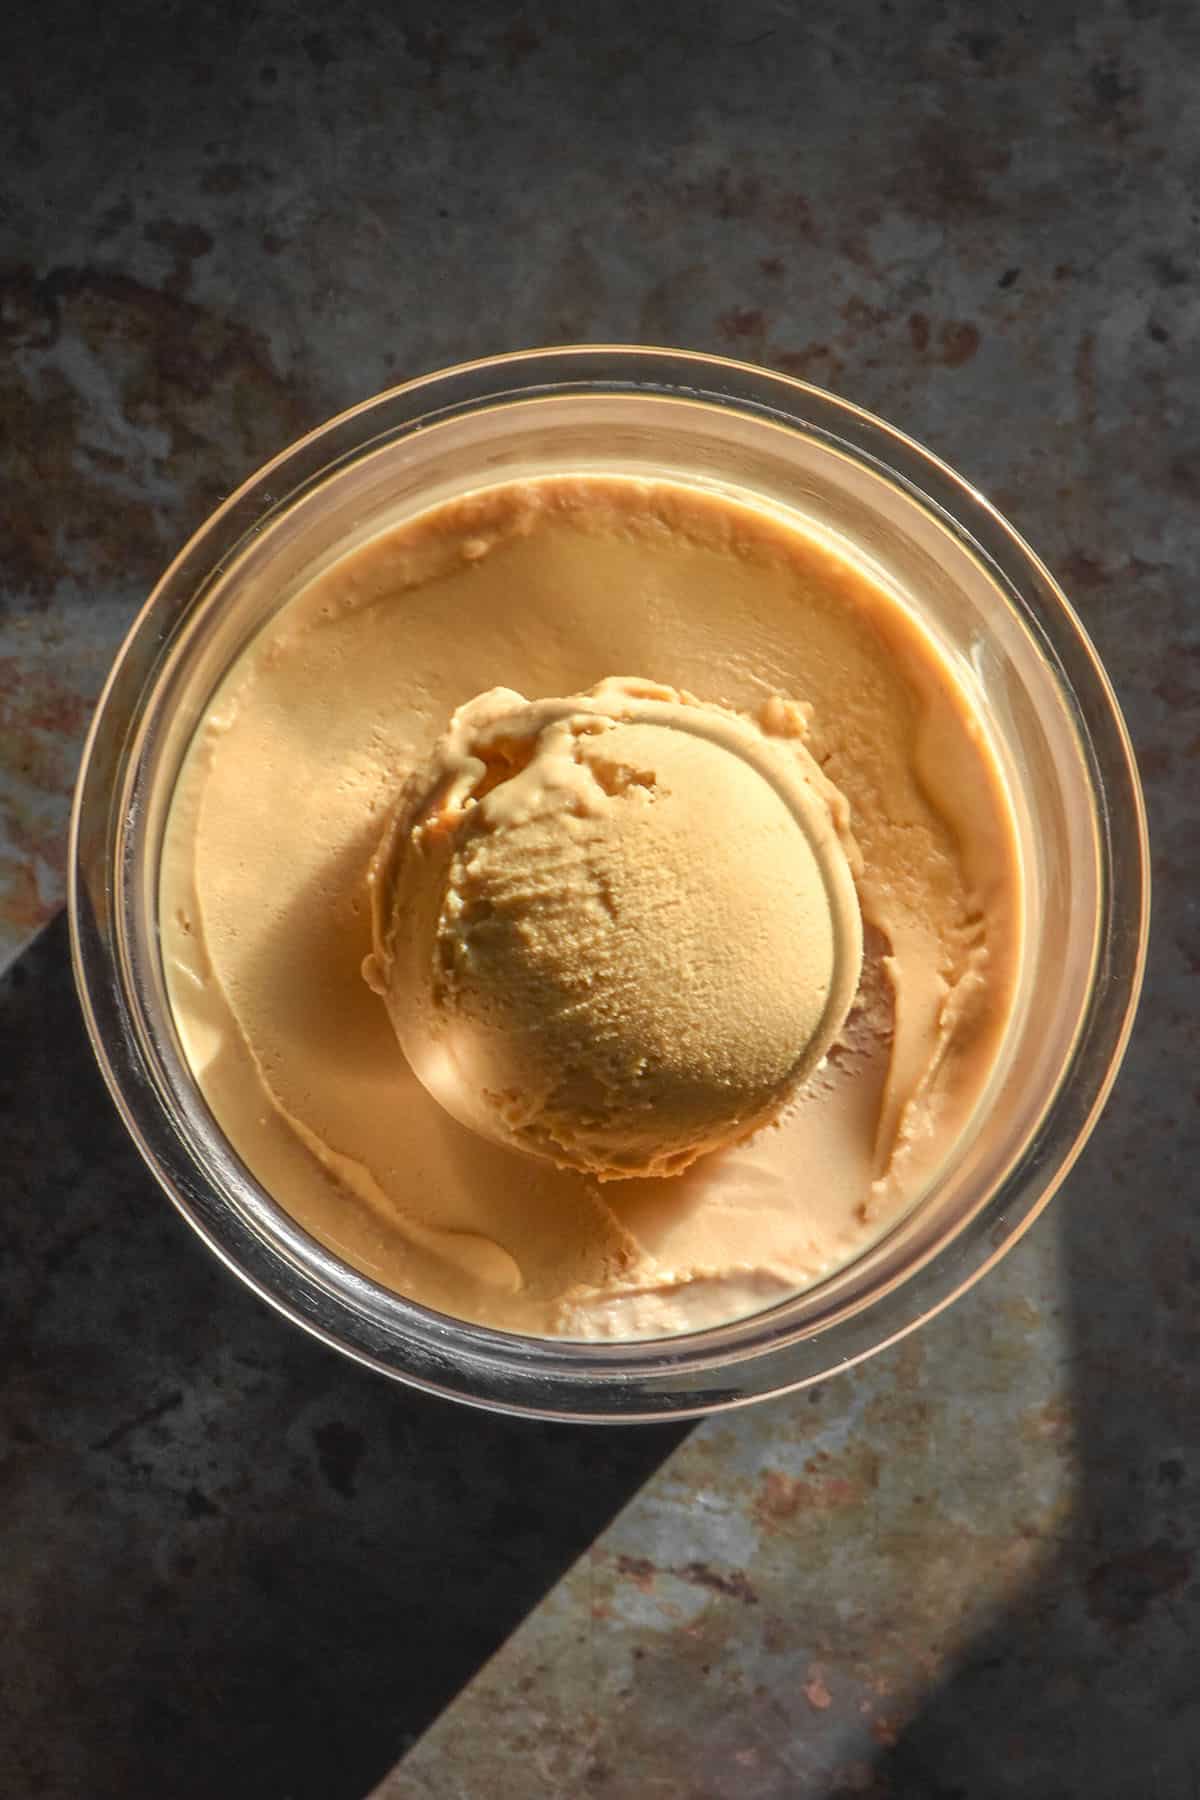
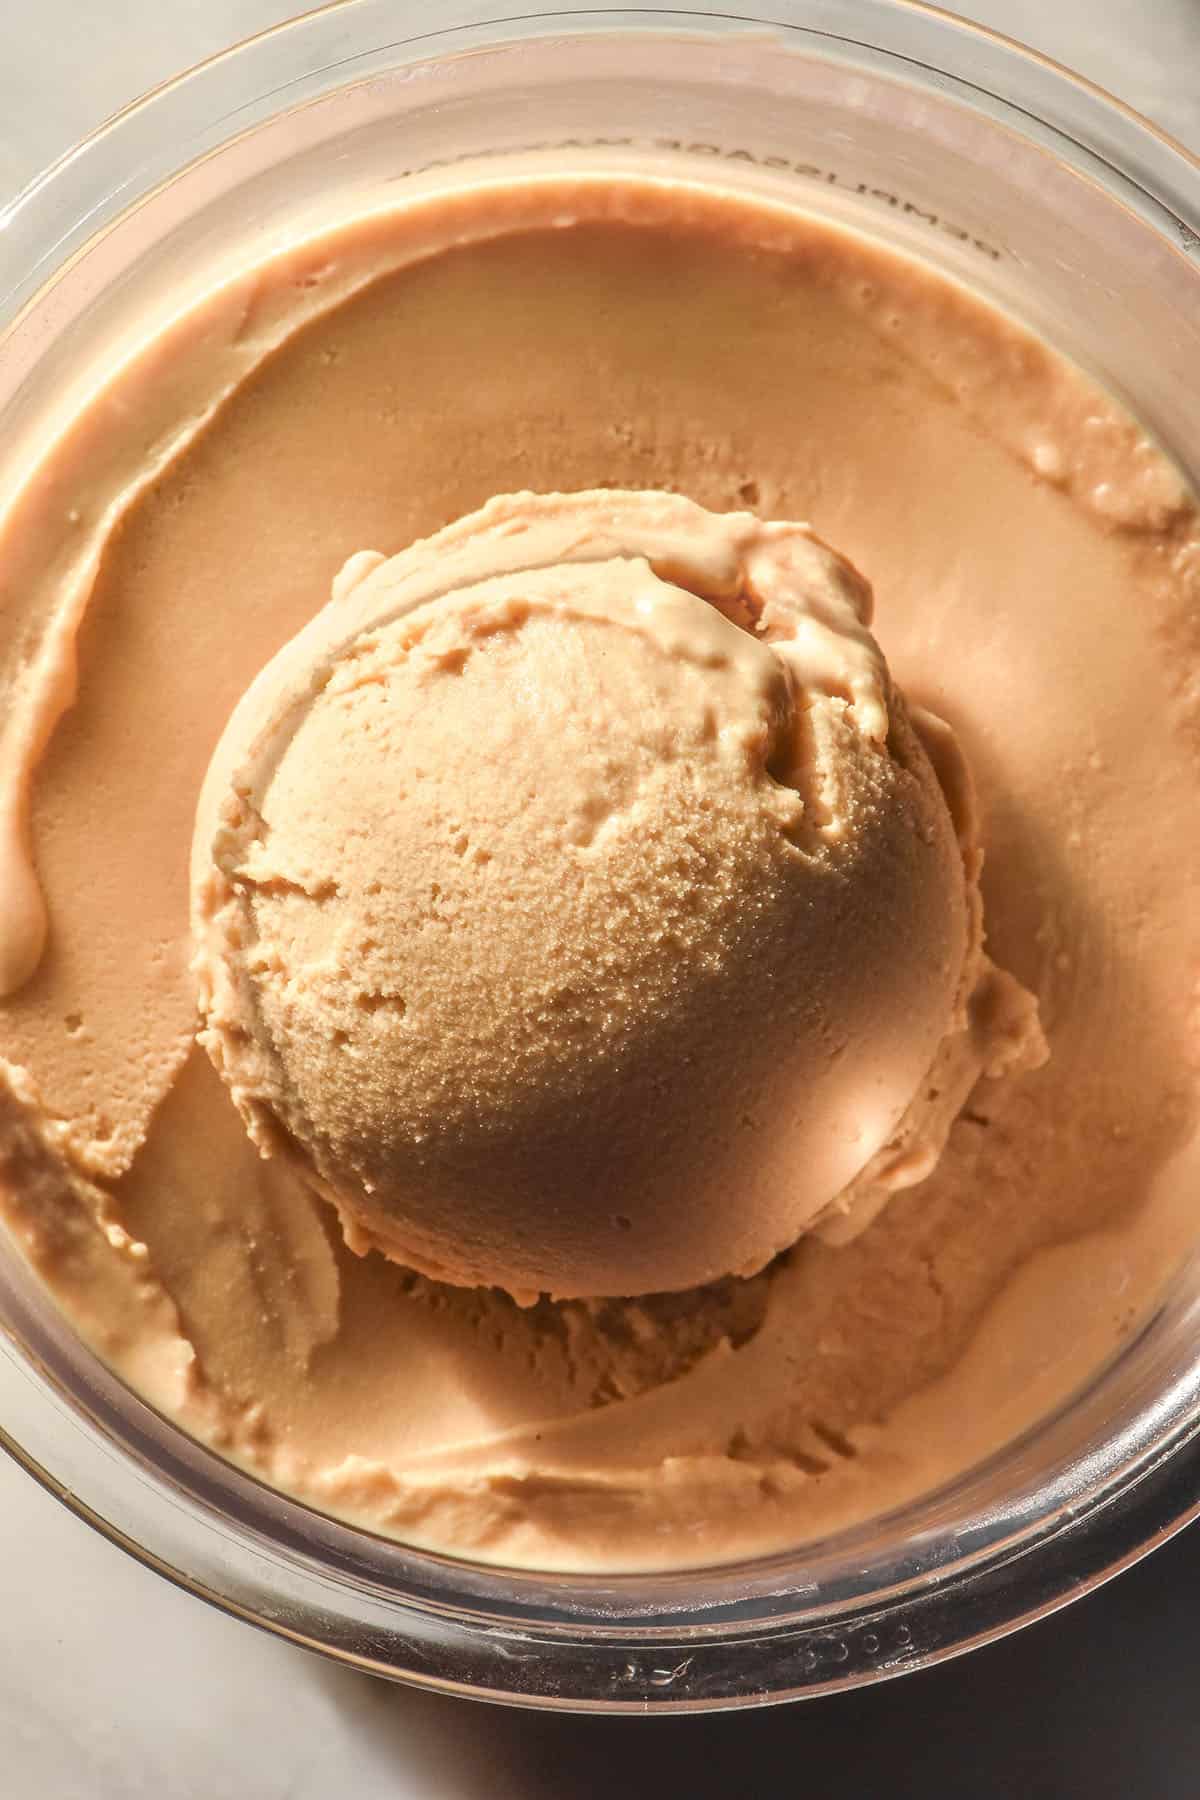
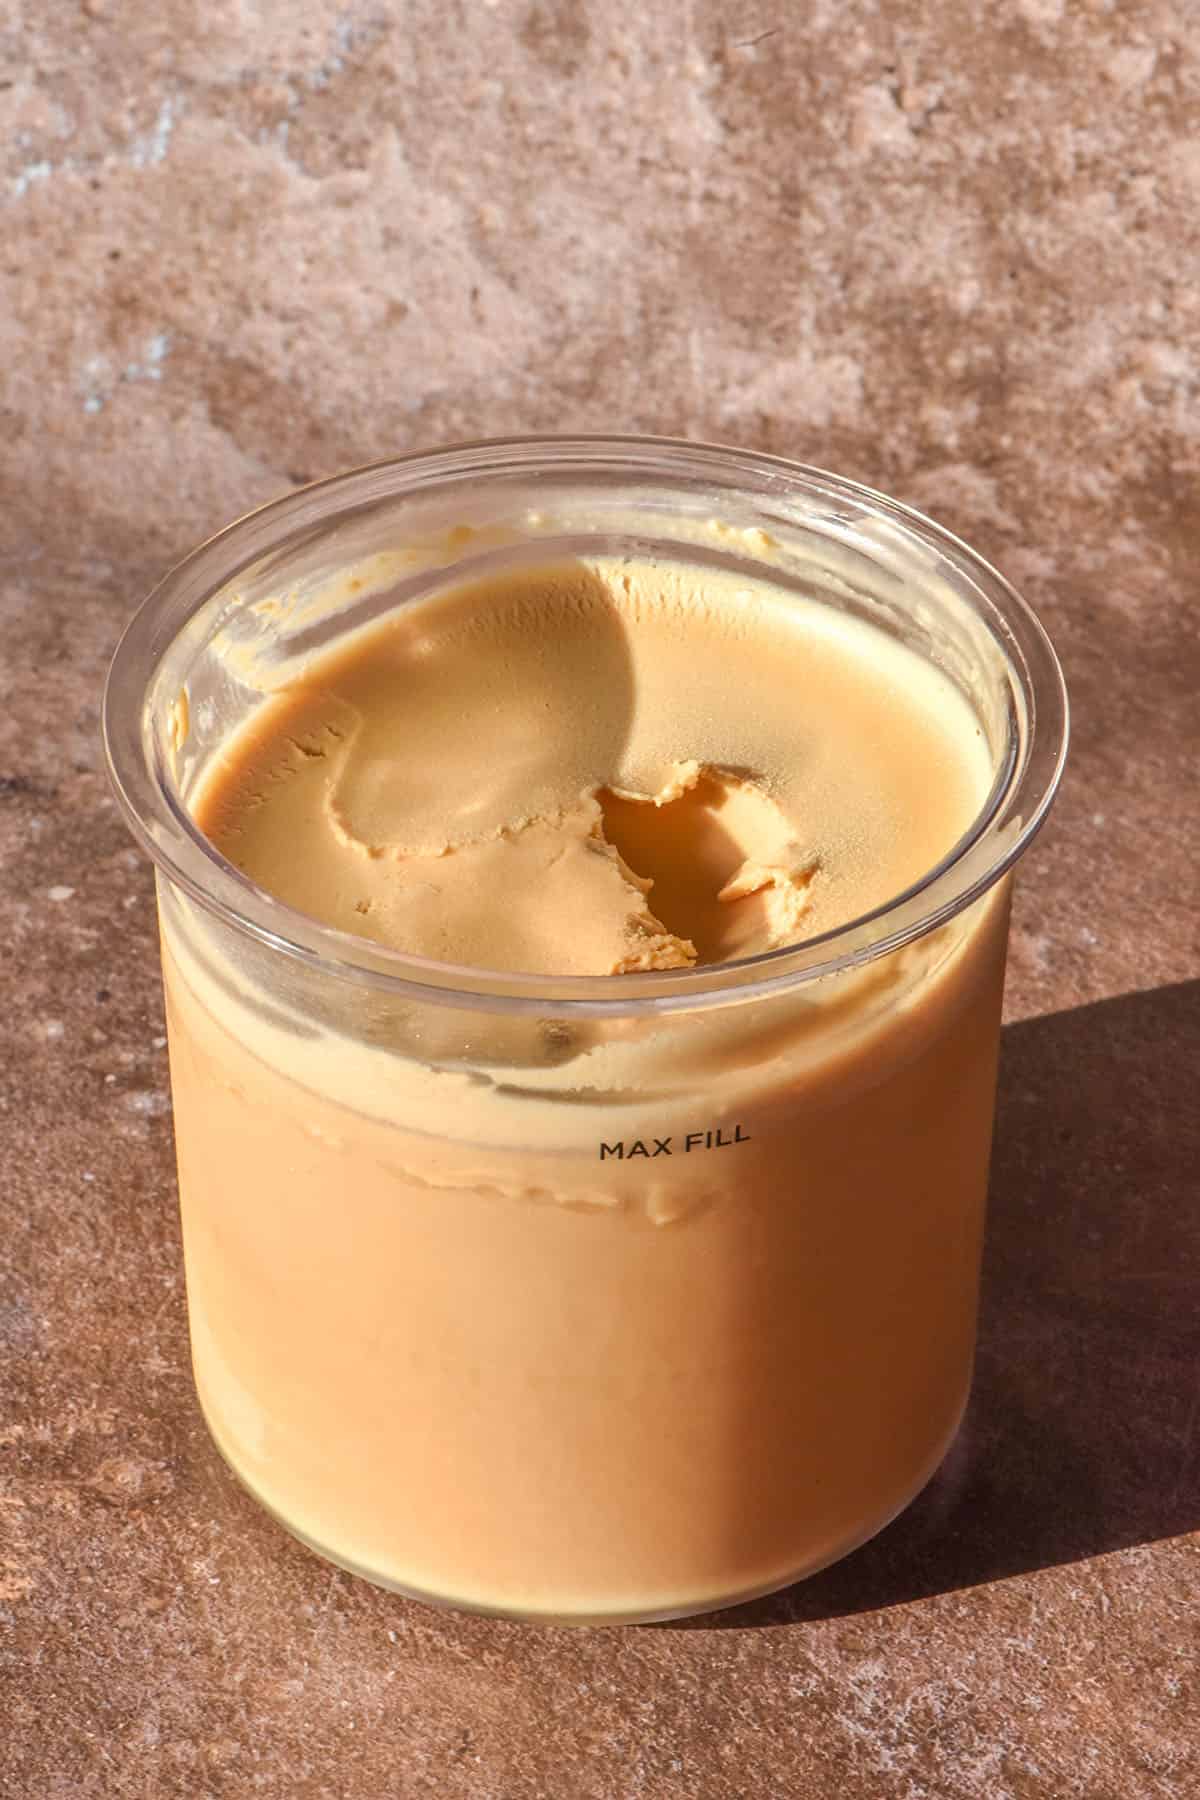
In my experience of testing this ice cream, it appears firm with tight balls of ice cream on top after the first spin. This is different to an icy, powdery looking ice cream.
I find that the tight balls of ice cream are merely a leftover texture on top. The ice cream is fully spun, and you can use a spoon to flatten the top. You should have the perfect textured ice cream.
An ice cream that would benefit from another spin is the latter. Powdery, icy textured ice cream that you cannot simply flatten down with a spoon. I find it rare for this to occur in a cream based ice cream, but it can happen.
Sometimes an ice cream that is too cold can take longer to process as the machine is essentially cutting through ice. This is something to consider if you are consistently having trouble getting good ice cream from your machine. Experiment with freezing your tubs for a shorter period of time to see if that improves them. You can also get your tubs out of the freezer 5-10 minutes before processing.
All this to say: re-spin the ice cream if you feel it is truly necessary, but try to spin it the least amount of times possible to achieve your result. This will ensure your ice cream doesn’t split.
How to make lactose free Ninja Creami coffee ice cream
You can make a lactose free Ninja Creami coffee ice cream by using lactose free condensed milk, lactose free cream and lactose free milk.
Although lactose free condensed milk is not widely available (in Australian supermarkets, at least) you can either make your own (I have a recipe here) or use coconut condensed milk.
A quick Google tells me that you can also add lactase drops to regular condensed milk, which is an easy way to make lactose free condensed milk with regular dairy. Note that you do not need to add lactase drops to any milk other than a dairy milk – there is no lactose in plant milks.
In terms of lactose free cream and milk, you can easily buy both of these in Australian supermarkets. If they are not available where you live, you can buy lactase drops (I bought mine online) and add them 24 hours before use.
For more information, you can see my guide to lactose free milk here. I have a recipe for lactose free whipping cream here – use steps 1 and 2.
Can I make dairy free coffee ice cream?
I have been testing dairy free recipes and I don’t feel I have nailed them just yet. I promise I will update the post when I do.
In the interim, you can experiment with using my vegan vanilla ice cream base. Replace 50g of the water with 50g fresh espresso. Note that I haven’t tested this yet, but I daresay it will make a delicious dairy free substitute.
More Ninja Creami recipes and resources
- Ninja Creami raspberry sorbet
- High protein Ninja Creami (53g protein)
- Ninja Creami vegan vanilla ice cream
- Ninja Creami cookies and cream ice cream
- How to use a Ninja Creami machine
- 10 brand new dairy free/vegan Ninja Creami recipes, including Pistachio ice cream and sticky date ice cream
Ninja Creami coffee ice cream
Equipment
- NC300 Ninja Creami machine with 470ml size tubs
Ingredients
- 150 g sweetened condensed milk (NOT evaporated milk or any other product)
- 50 g fresh espresso cooled for 5 minutes
- 200 g full fat cream (35% butterfat, check the label to ensure you have the right variety)
- 100 g full fat milk, regular or lactose free (you could also use light milk)
Instructions
- Combine all the ingredients in a medium mixing bowl and whisk until completely smooth. I prefer to do it this way to ensure the sweetened condensed milk doesn’t get stuck in the grooves of the Ninja Creami tub.
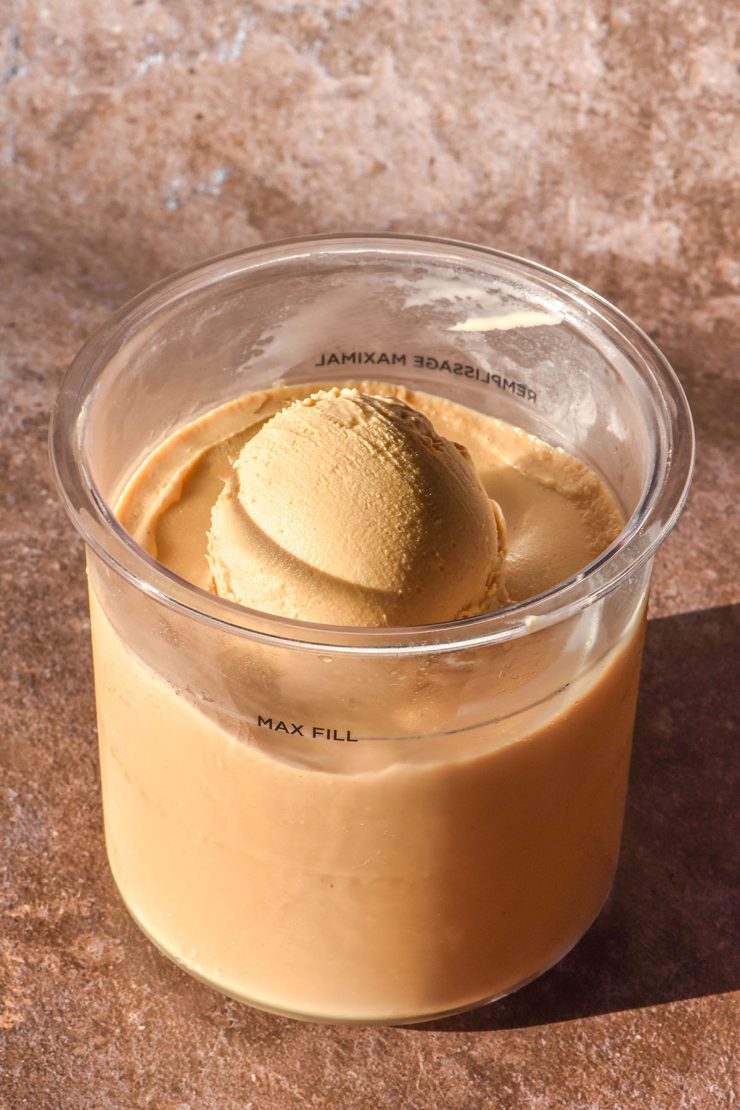
- Decant the mixture into your 470ml Ninja Creami tub. You can chill it in the fridge for 3 or so hours to minimise the hump if you like (just remember to put it in the freezer before you go to bed!).
- Freeze the mixture with the lid off for 16-24 hours.
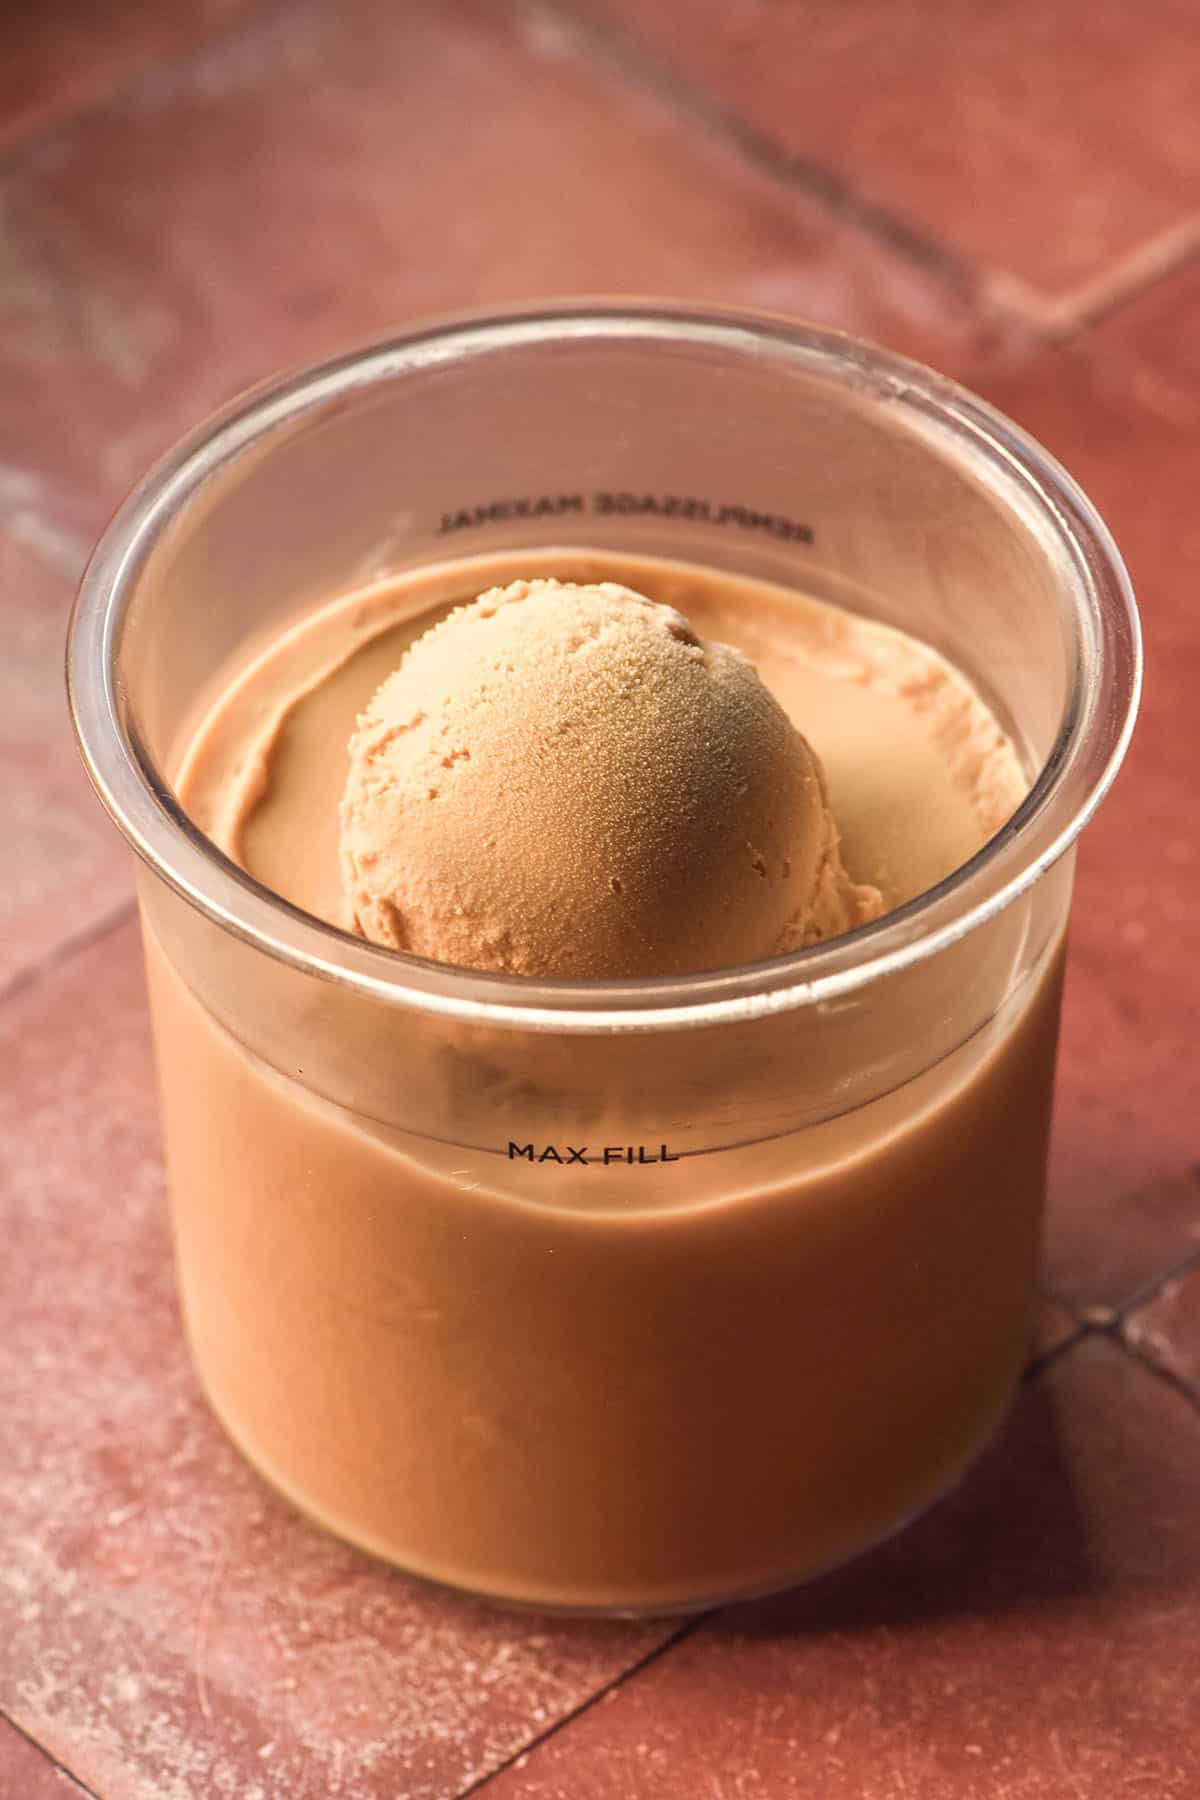
- When ready to consume, process the mixture on the ice cream function. If the top is a little balled up (but not powdery or icy) simply smooth it down with a spoon. We want to avoid over processing the mixture at the risk of splitting the cream.
- If the top is powdery, re-spin the mixture once.
- Return any leftovers to the freezer with the lid on. Allow to soften slightly on the bench before consuming.
Notes
- See the notes in the body of the post for tips, tricks and method for making this ice cream lactose free.
- I have not tested a vegan version of this recipe. I will update the post when I do.
- Avoid over processing cream based ice cream or you will split the cream.
The recipe sounds delicious, but can you explain how you decant the mixture or what the process involves. Thanks