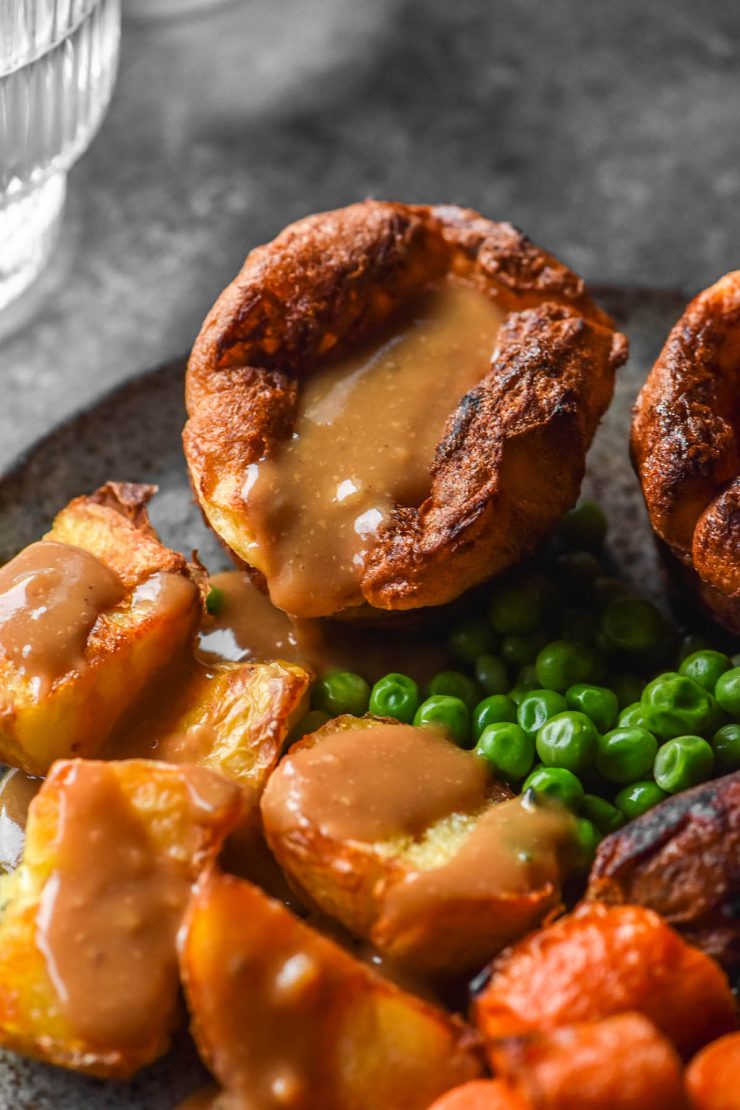
If you have my second book, you’ll know that there is a recipe for gluten free Yorkshire puddings in my cookbook, Intolerance Friendly Kitchen. That recipe was designed to be majority wholegrain flour, for those of us who don’t fare well with too much starch.
Unfortunately cookbooks don’t give me the opportunity to be as verbose as I like, so I wanted to post a Yorkshire pudding recipe here. I have tinkered around with the ratios and flours to find my ideal recipe, and here it is.
Gluten free Yorkshire puddings without xanthan gum
These gluten free Yorkshire puddings are made with a simple mix of two starches or a wholegrain flour (white rice flour) and a starch. Together, these mimic the neutral flavour and elasticity of wheat flour.
Eggs, salt and a low FODMAP milk of choice are added to the batter to complete the puds. All that is left to do is thoroughly preheat some oil in muffin tins and pour in the batter to kickstart the rising process.
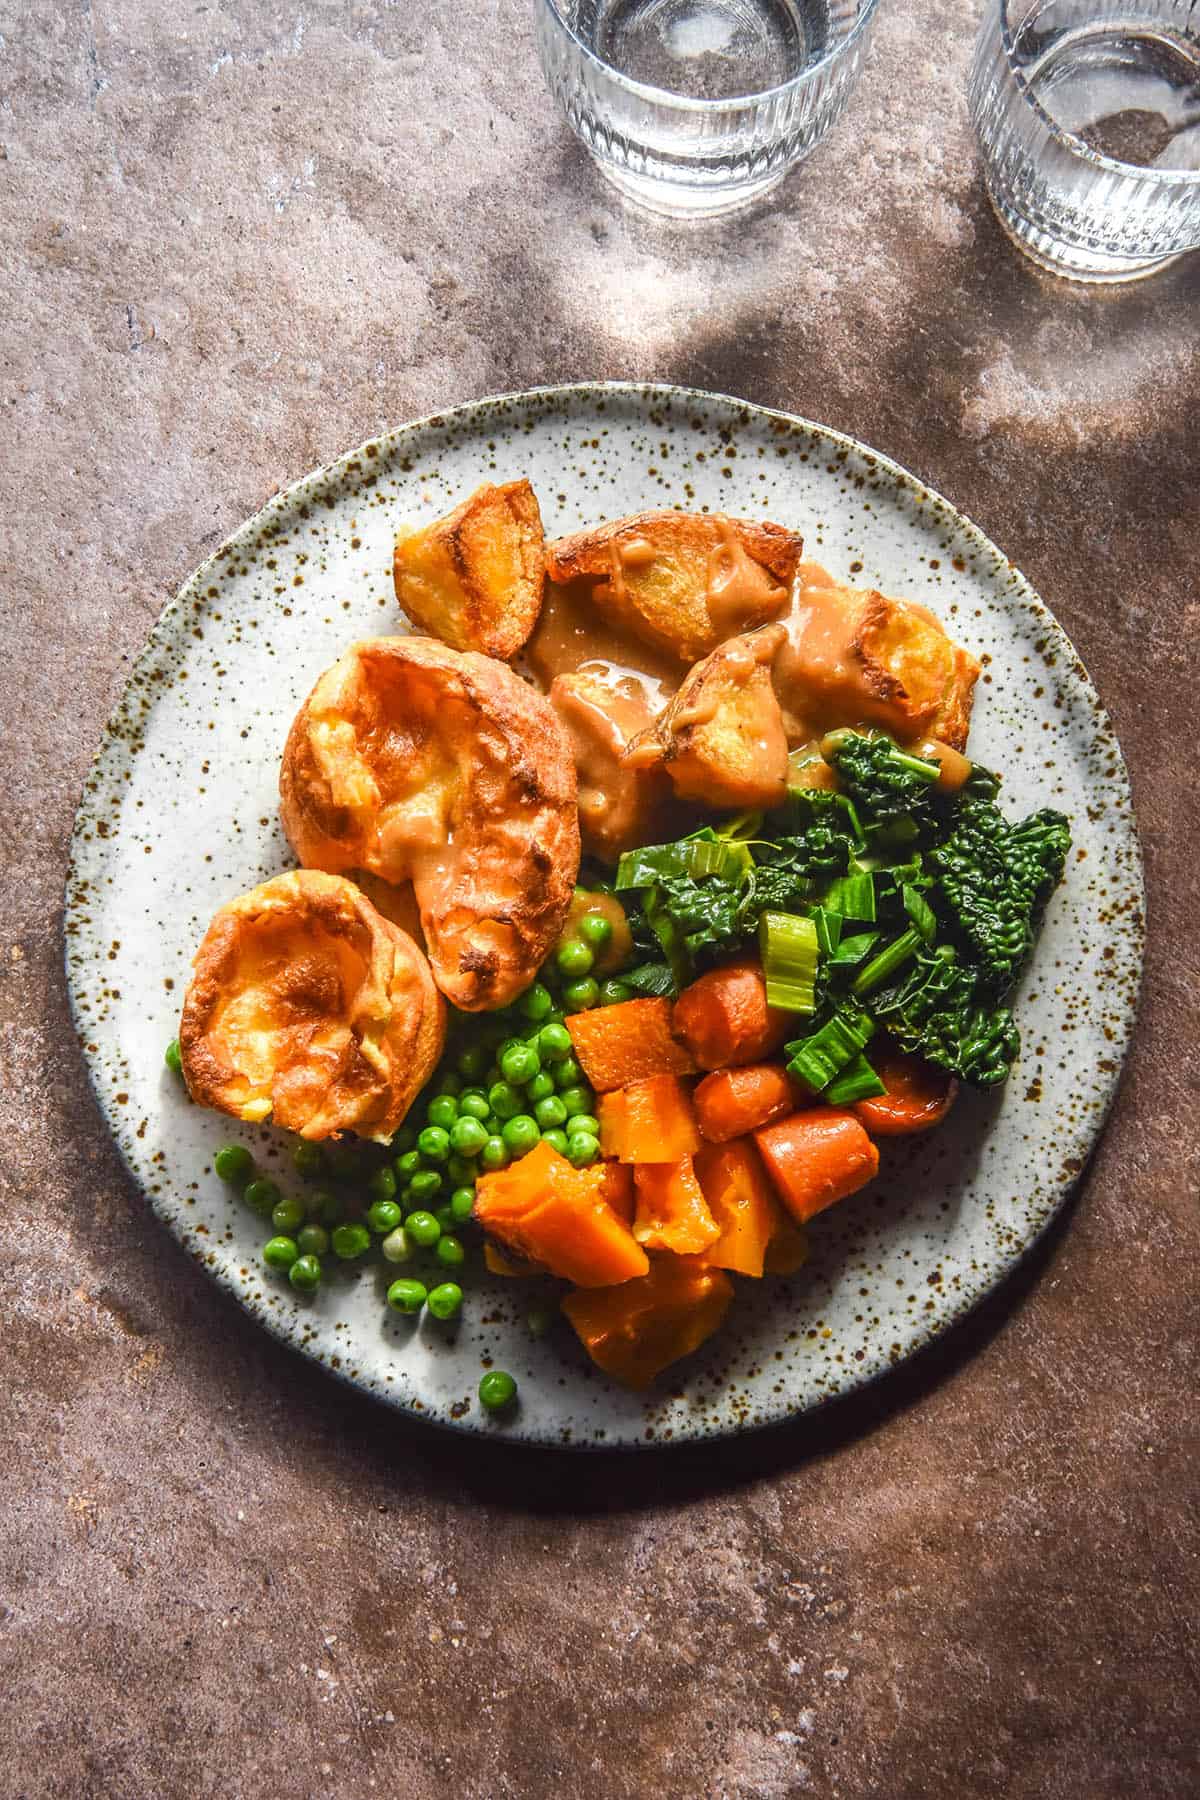
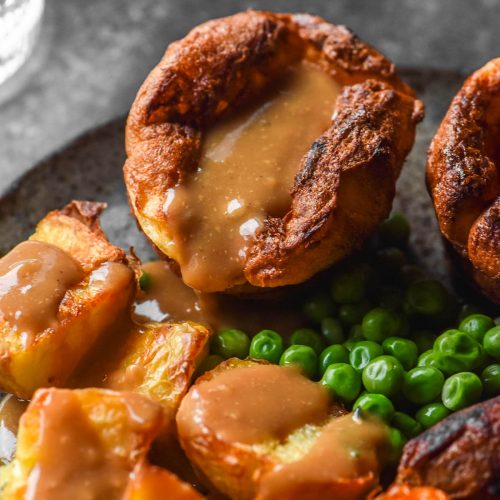
The result? Crispy, chewy and tall Yorkshire puddings that rival the regular variety.
These puddings are xanthan gum free and nut free and can easily be dairy free and or grain free. There’s something for everyone!
Substitution options
I have tested a wealth of flour and milk combinations for this recipe. In terms of flours, I have tested rice flour and corn starch, rice flour and tapioca and corn starch and tapioca flour. I am also working on a cassava flour version, but it is not ready yet.
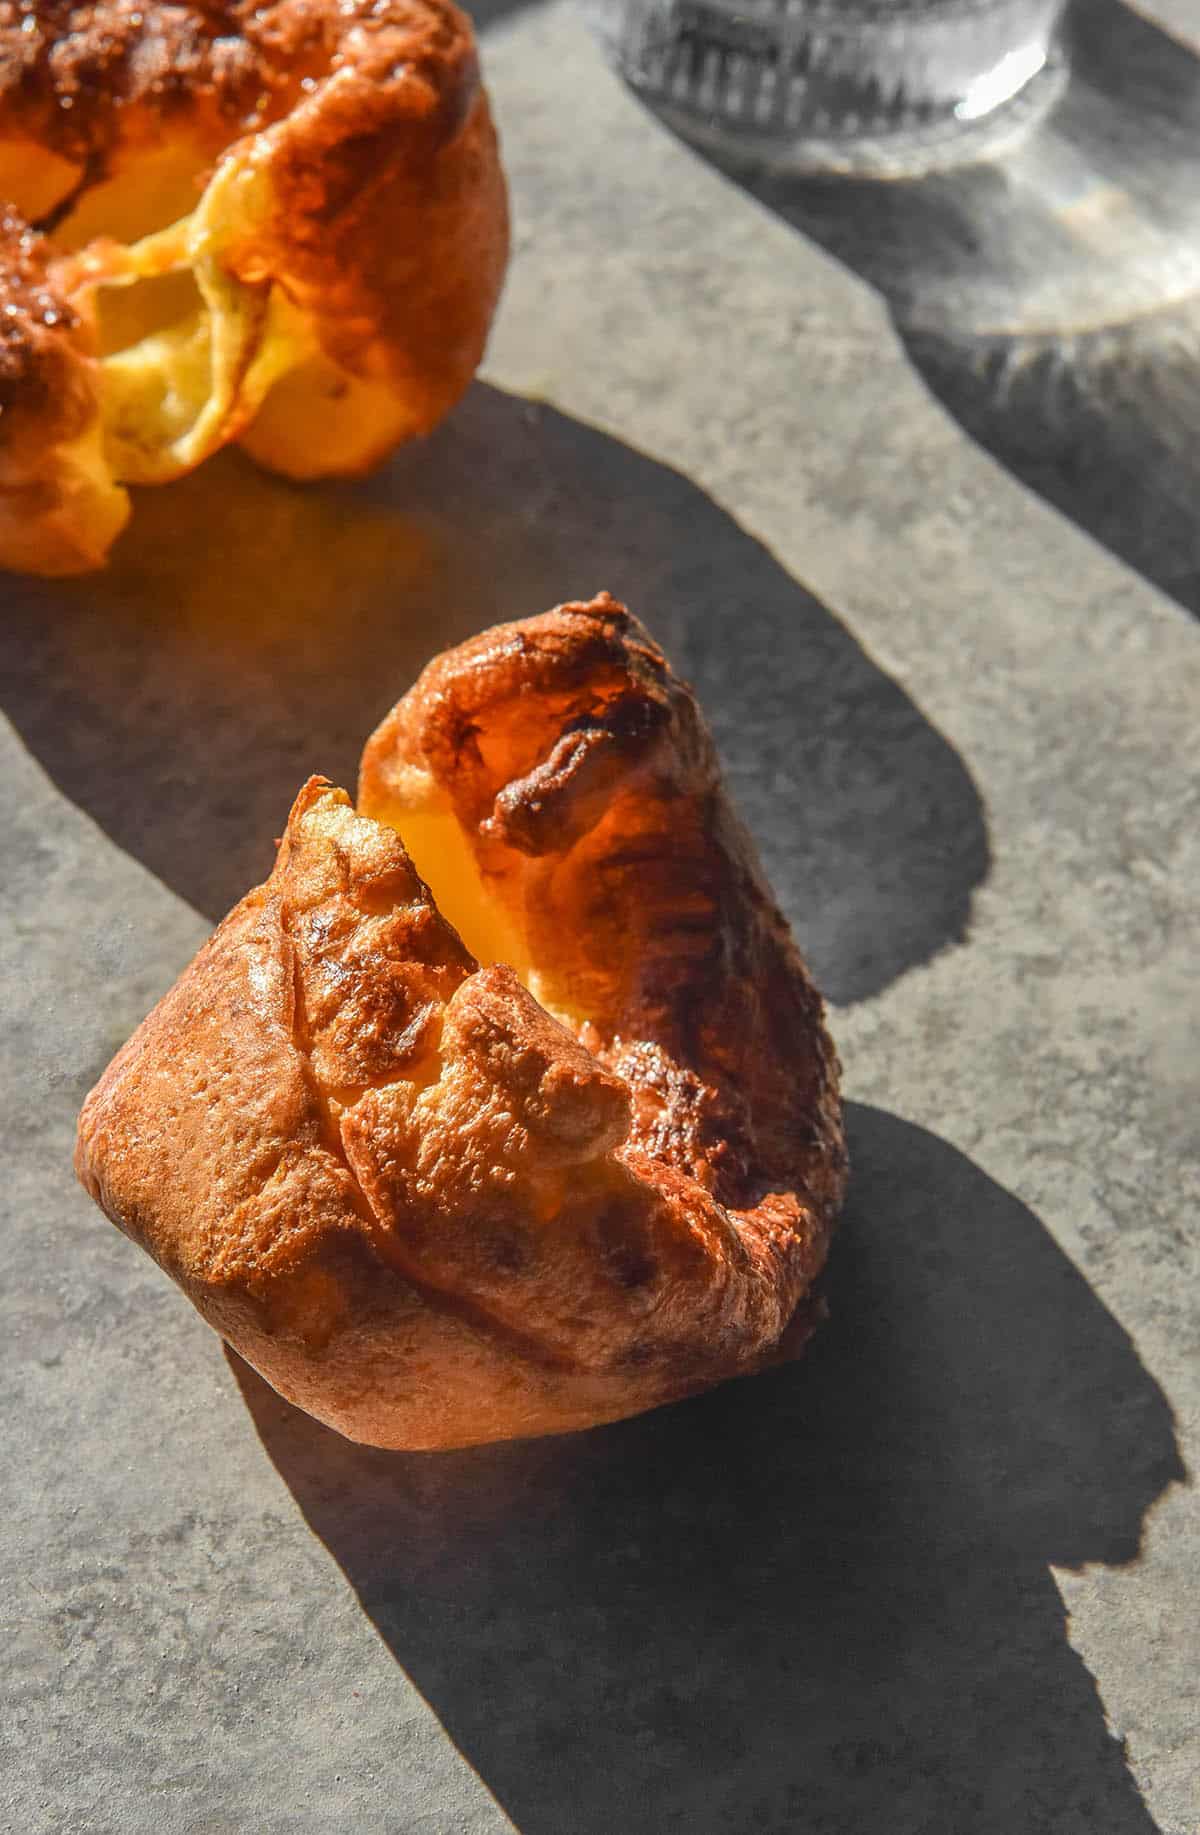
I have to say (if starches aren’t an issue for you or these are a pure treat) that the corn starch and tapioca flour combination was superior, in my opinion. Even the puddings that didn’t rise dramatically had a delicious fluffy interior as opposed to a dense one. The tall puddings had an ethereal, cottony texture that I rarely experience with gluten free baking. I highly recommend the double starch variety if you are looking to impress.
In order to make this recipe FODMAP aware and/or dairy free, you can use a plant based milk of choice. I recommend soy milk made from soy protein (as opposed to whole soy beans) because it has a nice creaminess to it that some other plant milks can lack. However, other low FODMAP plant based milks (like macadamia milk and rice milk) should also work. If you don’t need the recipe to be low FODMAP, you can use whatever milk you prefer.
In my experience, the dairy based ones didn’t puff up quite as much as the regular ones. They were delicious regardless, though.
Personally, I like to use lactose free full fat milk. I find it gives me a nice flavour and crispy brown edges.
Unfortunately, eggs are not optional in this recipe. I’d love to develop a vegan version at some point, but at the moment this recipe does not have an egg substitute.
Tips for making the best gluten free Yorkshire puddings
Yorkshire puddings require an aerated batter, hot oil and a hot oven for the physics to work. All of these things work together to create a fall, puffy structure that could otherwise be a dense and squat piece of pastry. As such, it is very important to get all the elements right.
Every single bag of flour will have a different absorbency level. It can be tricky to know whether your batter is too thin, so I have included a section on the ideal batter consistency below.
Personally, I find that preheating the oven and oil is super important, but opening the oven to check on the puddings isn’t a deal breaker as many recipes suggest. Kenji says this and I believe everything he says.
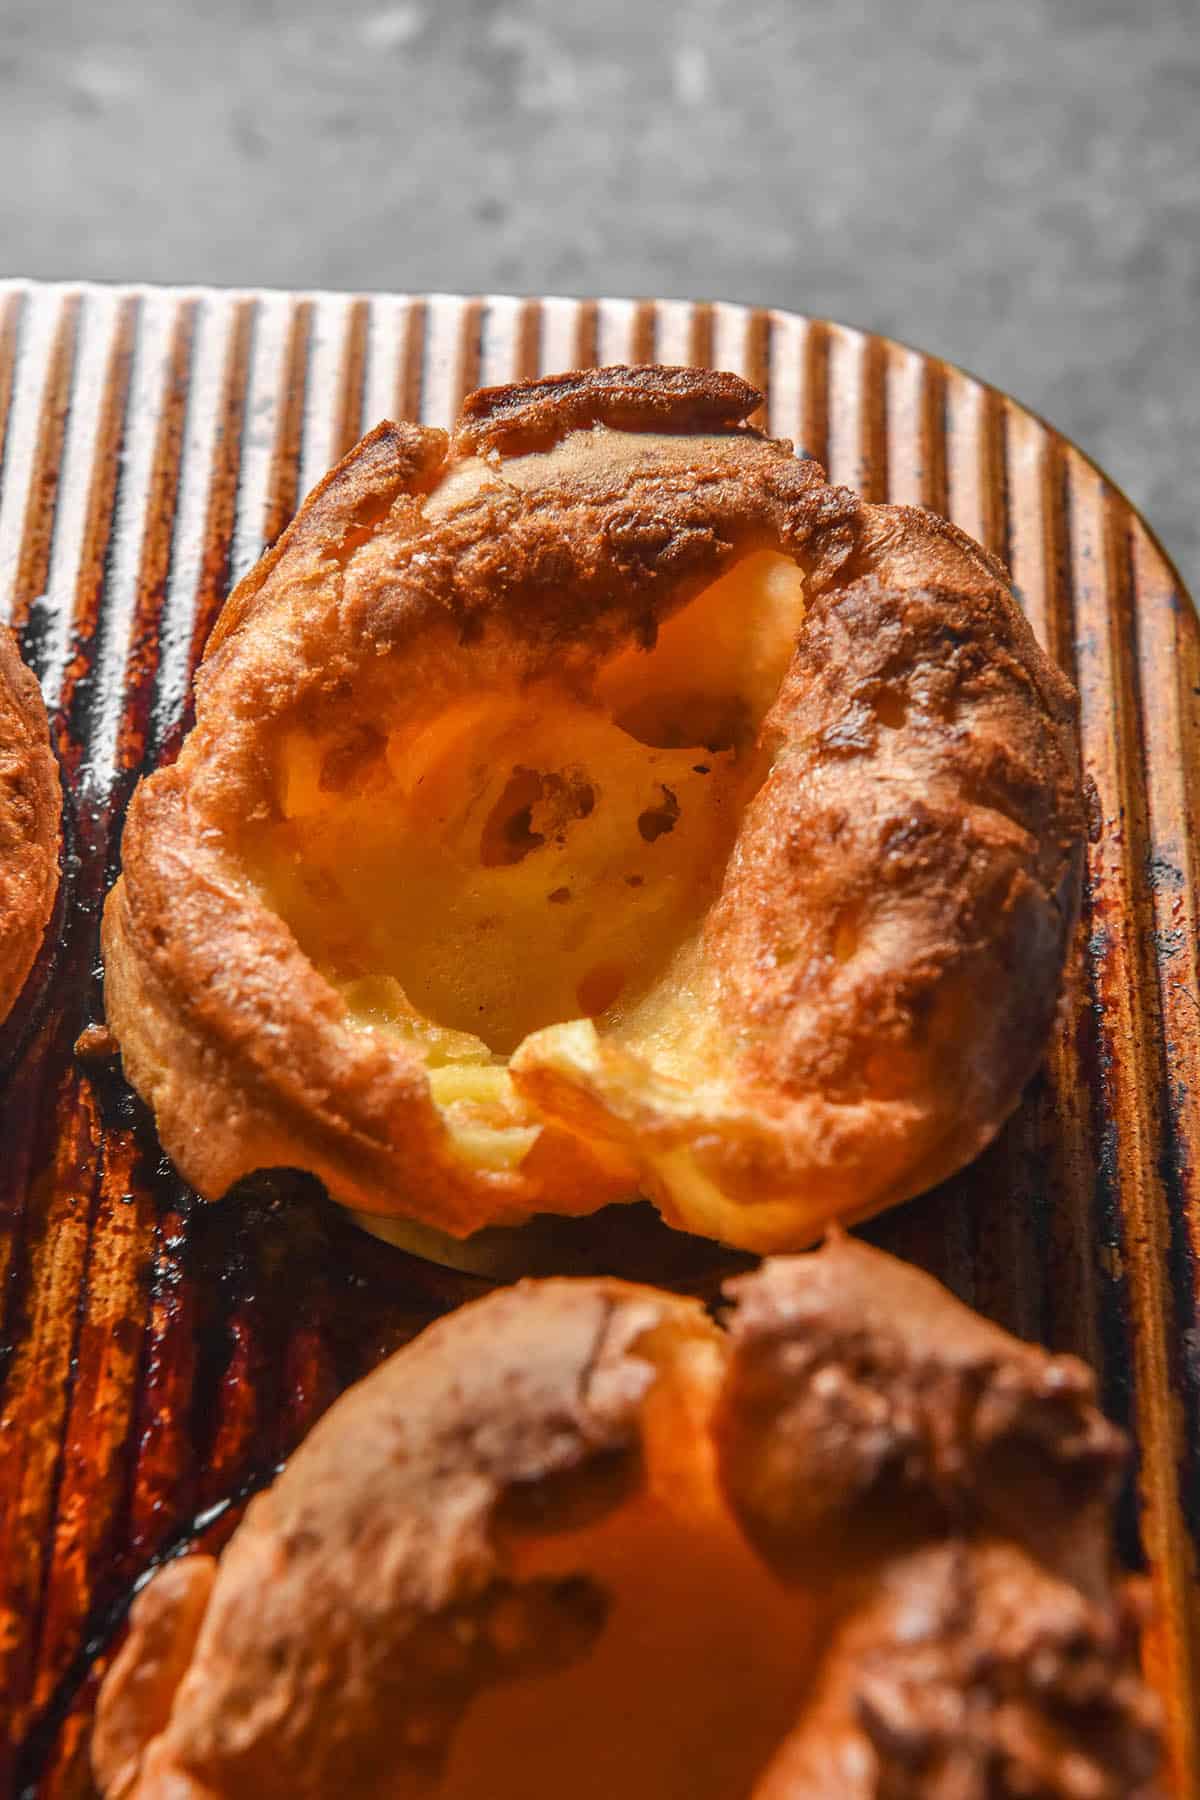
My experience with these puddings is that you need to grease just over the lip of each muffin tin as well as the insides. I find that as the pudding grows up, it can get stuck to the outsides and be torn as it is removed.
With that in mind, don’t use your best pan here. As you can probably see from some of the photos, my USA Pan took an absolute beating in the recipe development process.
Starches sink to the bottom of your mixing bowl if left to their own devices. This is normal and to be expected. Make sure you whisk your batter prior to pouring it into the hot oil to ensure everything is evenly distributed.
Ideal batter consistency for your gluten free Yorkshire puddings
It took me forever to figure out the ideal consistency for the batter so I want to dedicate a bit of space to this. Hopefully this will help you if you ever want to experiment with different flours.
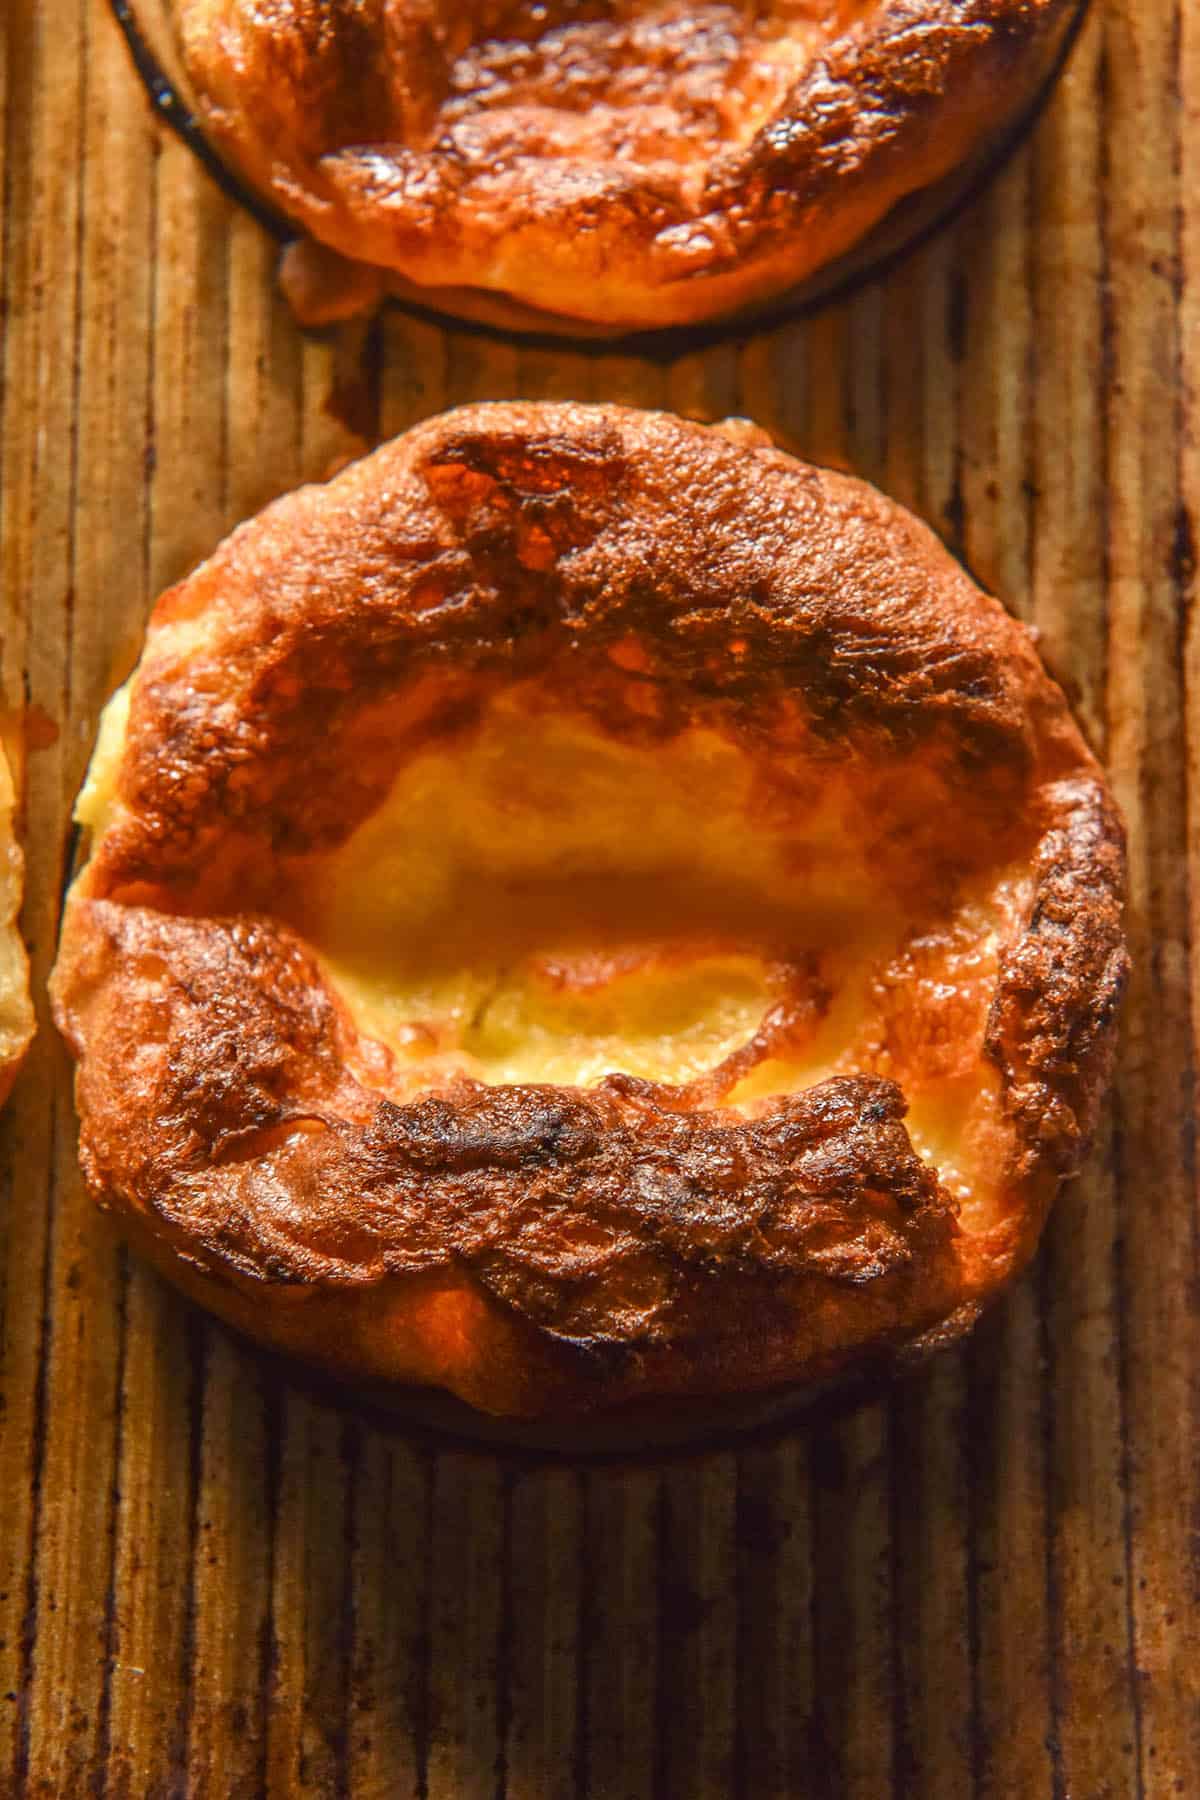
The ideal consistency for this batter is thin but not liquid. It should look liquid, but feel like there is a tiny bit of resistance as you whisk. Under the whisk, it should feel like there’s just a bit of pull as opposed to whisking water.
The batter should also feel like there is clearly eggs in it. You know how egg whites stick to the whisk a little and the little clear egg white bits follow the whisk around? You want to be able to see and feel this. In my experience with this recipe, a thinner batter doesn’t show evidence of added egg (which in turn means it is too thin).
If you lift the whisk up, there should be little egg white bits trailing it. The batter itself should fall off in individual droplets, but again, it shouldn’t feel like water under the whisk.
In my experience, this consistency of batter will give you gluten free Yorkshire puddings that puff up every time.
What I tested and observed in developing this recipe
I think this section is helpful to include for those looking to make a recipe their own. I tested a whole heap of these Yorkshire puddings so I have some insights on what worked and what didn’t.
- I tested adding baking powder which I felt almost made the puddings shorter?
- I tested a whole variety of different milk to flour ratios before settling on this ratio.
- I tested half milk and half water but didn’t notice a tangible difference.
- In some tests, I used 60g flour (30g of each) and 250ml (1 Australian cup) milk. This produced very custardy Yorkshire puddings. I quite liked them, but my taste tester (Mum) said they tasted like scrambled eggs.
- On that note: puddings with more milk take longer to cook. The batches with less flour and more milk took around 25 minutes, whereas the batches with more flour and less milk took 12-15 minutes.
- Scaling up the flour and scaling down the milk produced taller Yorkshire puddings. This surprised me as I assumed more milk would create more of a rise.
- Anecdotally, I noticed that the batter that sizzled dramatically as it was added to the hot oil made the tallest puddings. This highlights the importance of preheating your oil thoroughly.
- I wanted this recipe to include a wholegrain flour and not rely wholly on starch. However, I did test a half corn starch and half tapioca flour recipe which worked the best of them all. So, I have given you the option for both styles.
Troubleshooting gluten free Yorkshire puddings
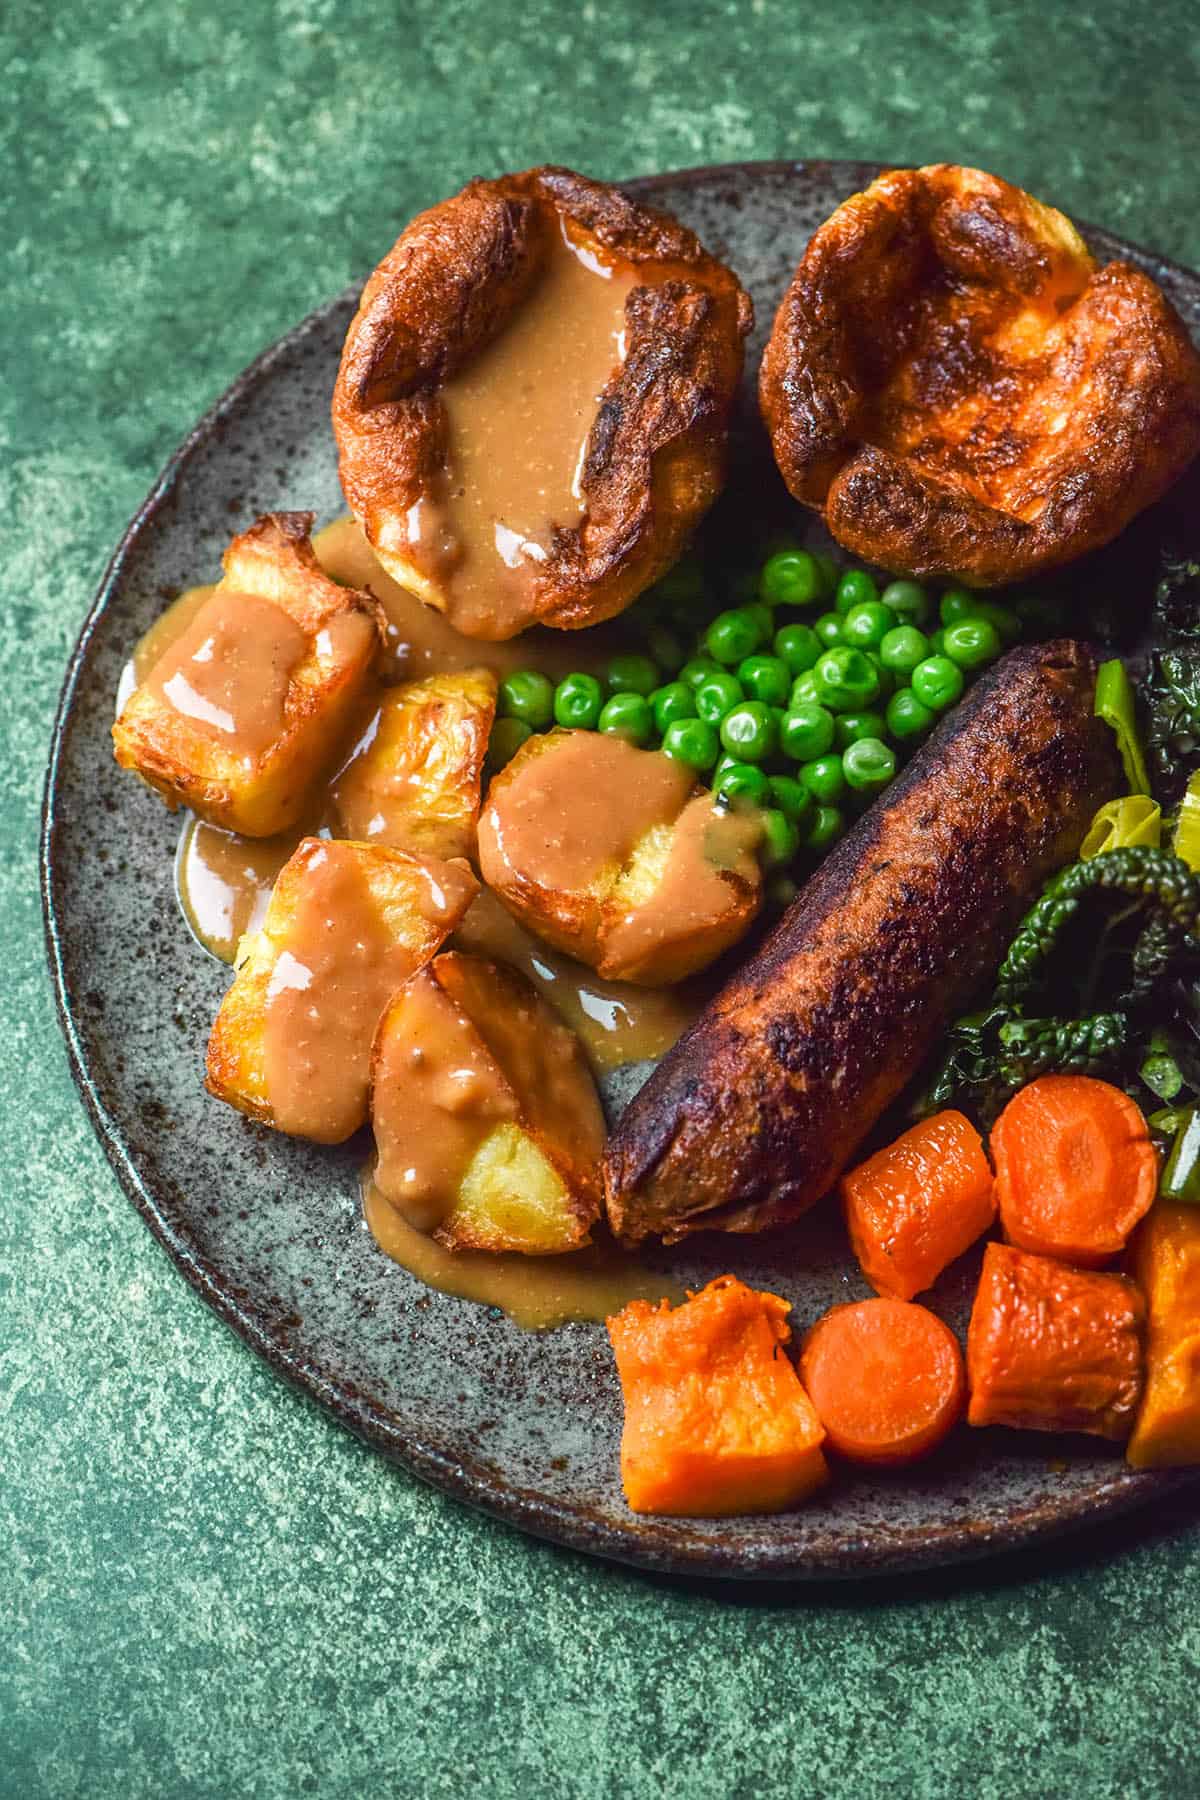
I have tested a whole host of these gluten free Yorkshire puddings now. I have encountered eggy ones, flat ones, over-baked ones and everything in between. With that in mind, here are some of my top tips.
- If your Yorkshire puddings are dense, it can be the oil heat (too low) oven temperature (too low) or too much milk. In my testing, I found that the puds with too much milk were more likely to have a thick stodgy layer of pudding at the base. The versions with less milk (to an extent) were more likely to be tall and cupped.
- Similarly, if your puddings didn’t get any height, it can be the oven heat, oven temperature or too much milk. I like to crank the heat to the highest setting to heat the oil, then turn the oven down to 220C/428F to bake the puddings.
- In my experience, too much milk makes flatter puddings that look more like muffins. So, to an extent, less milk = more height (provided the batter looks as described in the section on batter consistency).
- Oven temperature gauges are notoriously inaccurate, so your oven might not be quite hot enough which will in turn impact how hot the oil is.
- If your batter is thick, add more milk. See the section on achieving the ideal batter consistency.
- If your puddings shrink a little bit, this can be normal. I found that the amount of cooking time to set the puds in shape often meant they were dry. I would rather a softer pudding than a dry one, so this doesn’t worry me. However, if they have shrunken very dramatically it means you have either added too much milk or under-baked your puddings. Personally, I’d rather slightly under-baked puddings rather than over baked, but that’s just me.
More gluten free and low FODMAP recipes
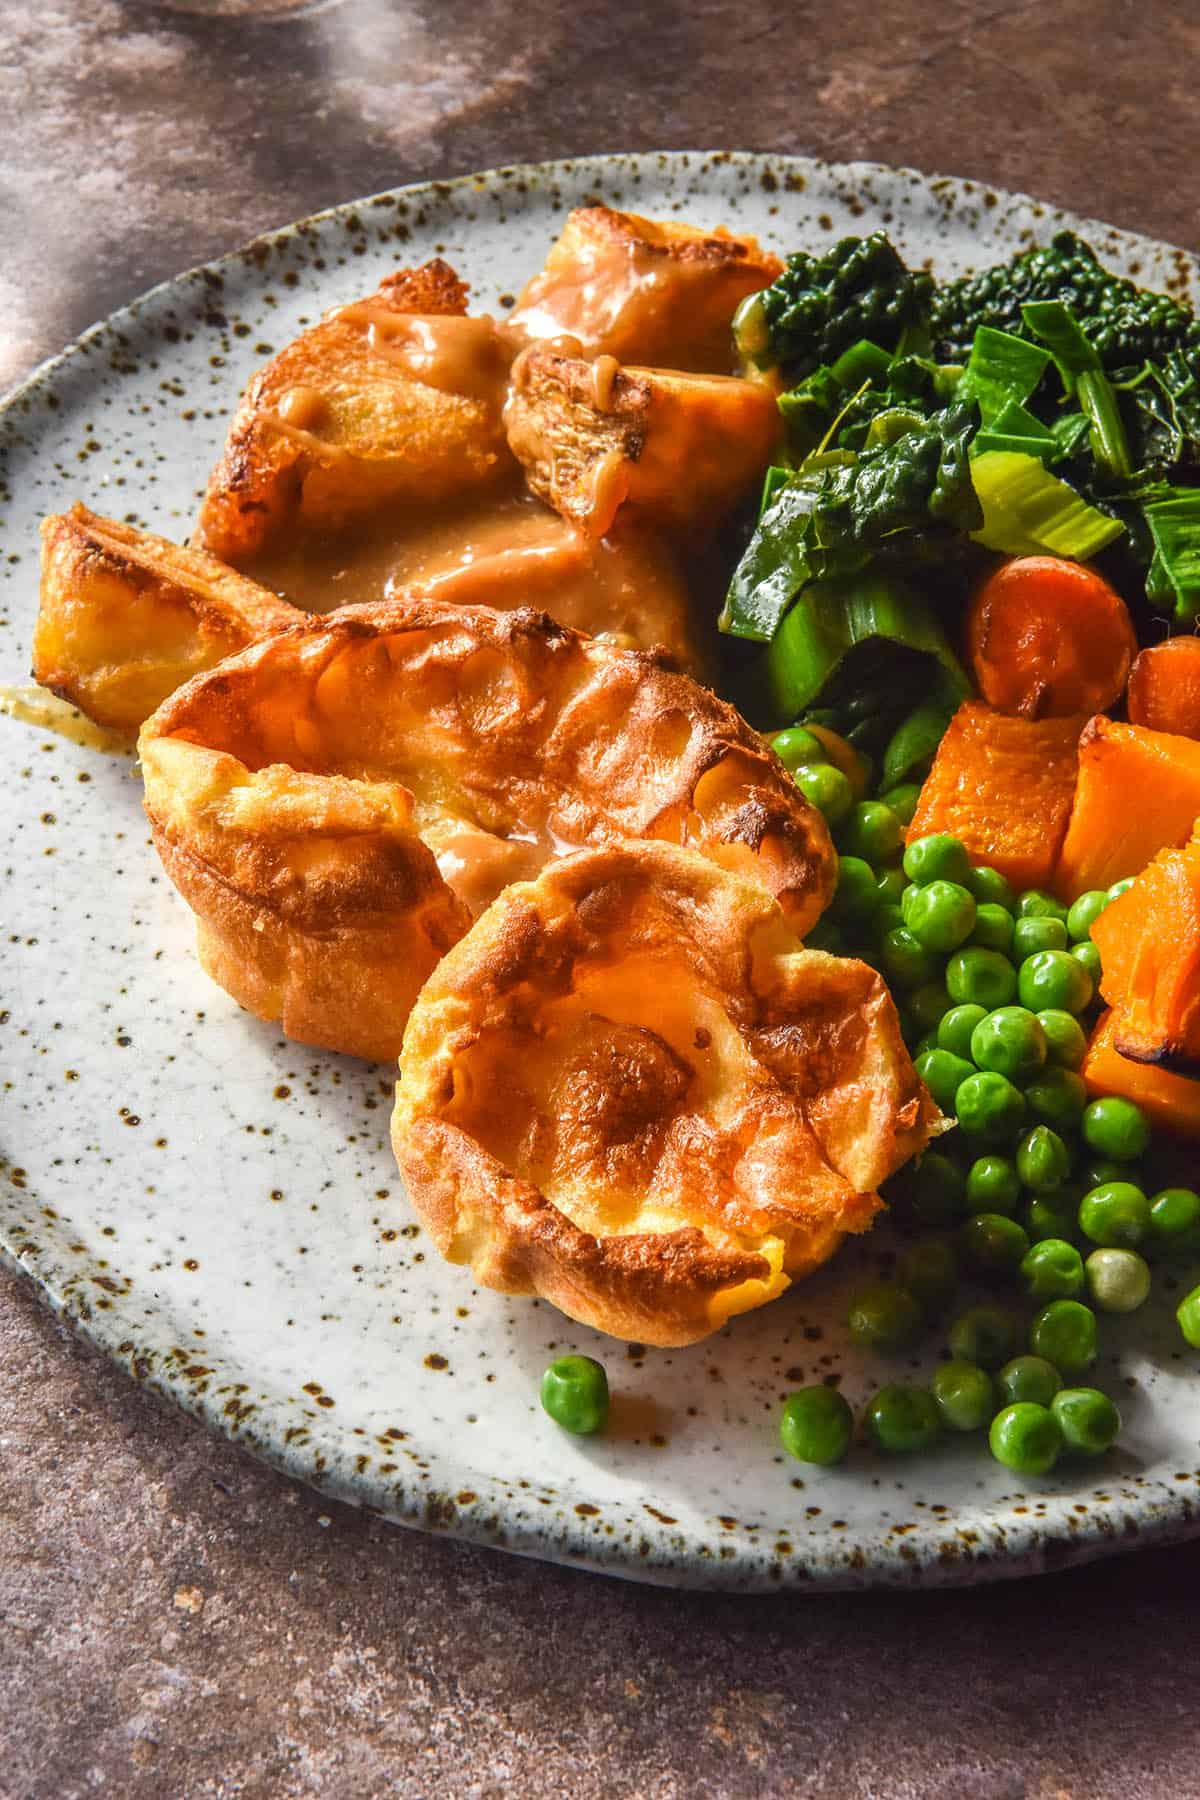
- Low FODMAP garlic mashed potatoes
- Low FODMAP vegan gravy
- Low FODMAP garlicky green beans
- Low FODMAP vegan sausages
- Low FODMAP caramelised onion
Gluten free Yorkshire puddings
Ingredients
- 8 teaspoons high smoke point oil (I used sunflower oil) approximately 40ml oil
- 60 g gluten free corn starch (see notes for flour combination options)
- 60 g tapioca flour (see notes for flour combination options)
- 1.5-5 g (1/4 – 1 teaspoon)* fine salt, added to taste
- 125 ml (1/2 cup)* milk of choice (see notes)
- 3 extra large eggs 45-55g, weighed out of shell
Instructions
- Preheat the oven to 250C/482F. Set a heatproof mat or a chopping board close to your oven to sit the hot tray on later.
- Grease 8-9 X 80ml (1/3 cup) muffin holes, ensuring you grease up the edges and just over the lip. I use about ½ – 1 teaspoon per hole.
- Once the oven is ready, place the muffin tin on a large baking tray and into the oven to preheat for 15-20 minutes.
- Whisk together the flours and salt, then whisk in the milk. If you use the all starch version, it will resist combining with the milk and sit in clumps on the side and bottom of the bowl. Continue to whisk until all the lumps have dissolved. Taste for salt and adjust as necessary.
- Add the eggs and whisk until combined.
- The ideal consistency for this batter is thin but not liquid. It should look liquid, but feel like there is a tiny bit of resistance as you whisk. Under the whisk, it should feel like there's just a bit of pull as opposed to whisking water. The batter should also feel like there is clearly eggs in it. You know how egg whites stick to the whisk a little and the little clear egg white bits follow the whisk around? You want to be able to see and feel this. In my experience with this recipe, a thinner batter doesn't show evidence of added egg (which in turn means it is too thin).
- Pour the batter into a jug with a lip. You should have about 1 ½ (Australian) cups of batter. Give it one last stir to ensure there is no flour sediment on the bottom of the jug.
- Stand to the side of the oven and open it to remove the muffin tin. Hot oil creates smoke that will sting your eyes, so be sure to stand to the side. I like to wear my glasses and a hood tight over my forehead to prevent any smoke from getting in. You need to work quickly so the oil remains hot, so there is no time to sit around and wait for the smoke to clear!
- Working very quickly, pour the batter into 8 or 9 muffin tin holes until about half way full. Depending on which version you use, they will puff up dramatically so filling each hole halfway is fine.
- Quickly return the tray to the oven and turn the heat down to 220C/428F.
- Bake the Yorkshire puddings for 12-15 minutes or until puffed up and golden brown.
- Serve immediately as the puddings shrink as they cool.
Notes
- Your options for the flour are: 60g white rice flour and 60g corn starch, 60g white rice flour and 60g tapioca flour or the recipe in the recipe card.
- You can use plant based milk in this recipe – I have tested soy milk. I found they puffed up a little less than the regular variety but they were still delicious.
- Read the body of the post for tips and tricks – I have included as many as I can to help you make the best Yorkshire puddings possible.

The best yorkshires I’ve ever made! And that includes wheat ones. These are fantastic!! Thanks for the recipe!