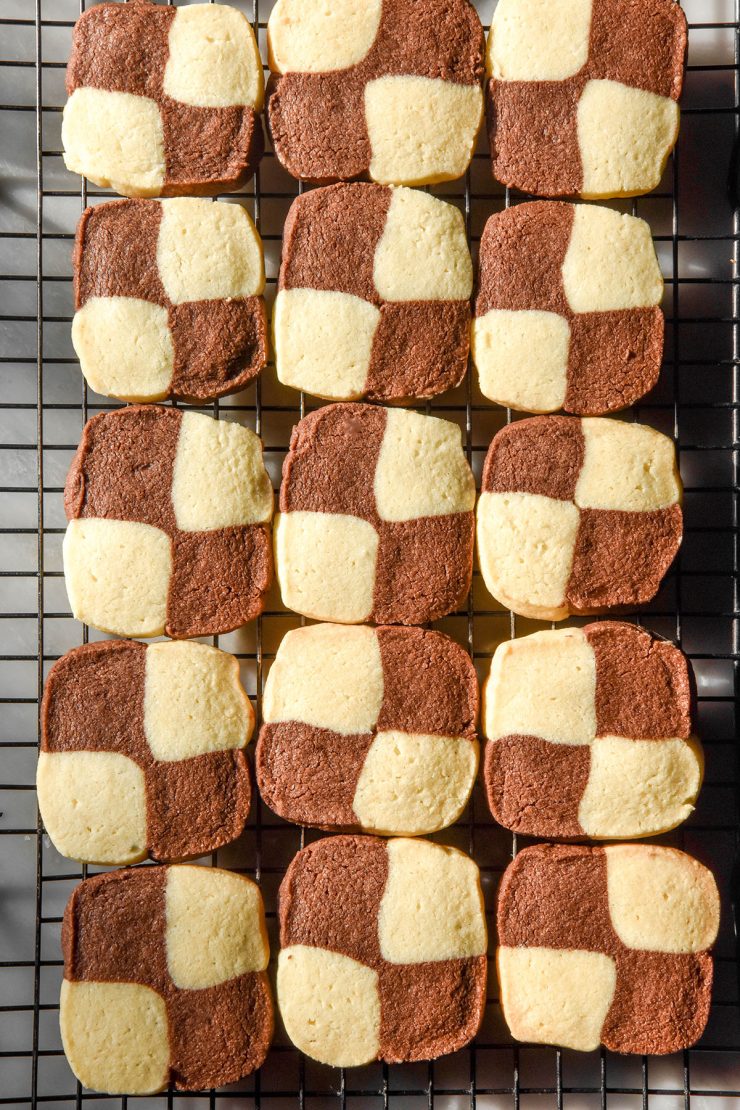
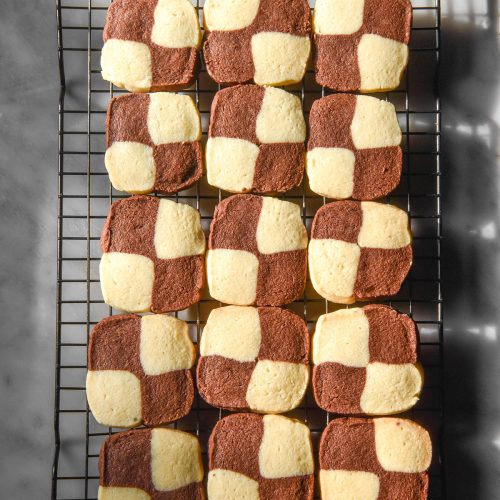
These gluten free checkerboard cookies came about after I posted my gluten free sugar cookies recently. Having seen checkerboard cookies on TikTok and Instagram every festive season, I knew I wanted to give them a go. Turns out they are incredibly easy to make with this sturdy, slightly tweaked gluten free sugar cookie dough.
Gluten free checkerboard cookies
These gluten free checkerboard cookies are egg free and nut free*. They can potentially be dairy free/vegan, but it took me so many attempts to nail these that I haven’t tested vegan butter yet.
The cookies use rice flour and tapioca flour for the base. We are leavening the dough with a small amount of baking powder to ensure they are nice and crisp. White sugar (I use caster/superfine sugar) is our sugar of choice. Next, we’re using xanthan gum to ensure the cookies keep their shape yet remain sweet and snappy.
Butter is rubbed into the flour mixture to form a fine, sandy crumb. A small amount of milk and a teaspoon of oil bring everything together. Finally, the dough is flavoured with vanilla and optional almond extract. See more in the section below on almond extract and catering to nut allergies.
Next, we’re dividing the dough into two. The slightly smaller piece of dough is mixed with melted dark chocolate, a bit of oil and some optional peppermint extract.
The two flavours of dough are formed into two equal sized rectangles of dough. Our final trick is to stack the rectangles of dough on top of each other in opposing flavours. And that’s it! An easy and delicious cookie that looks harder than it is.
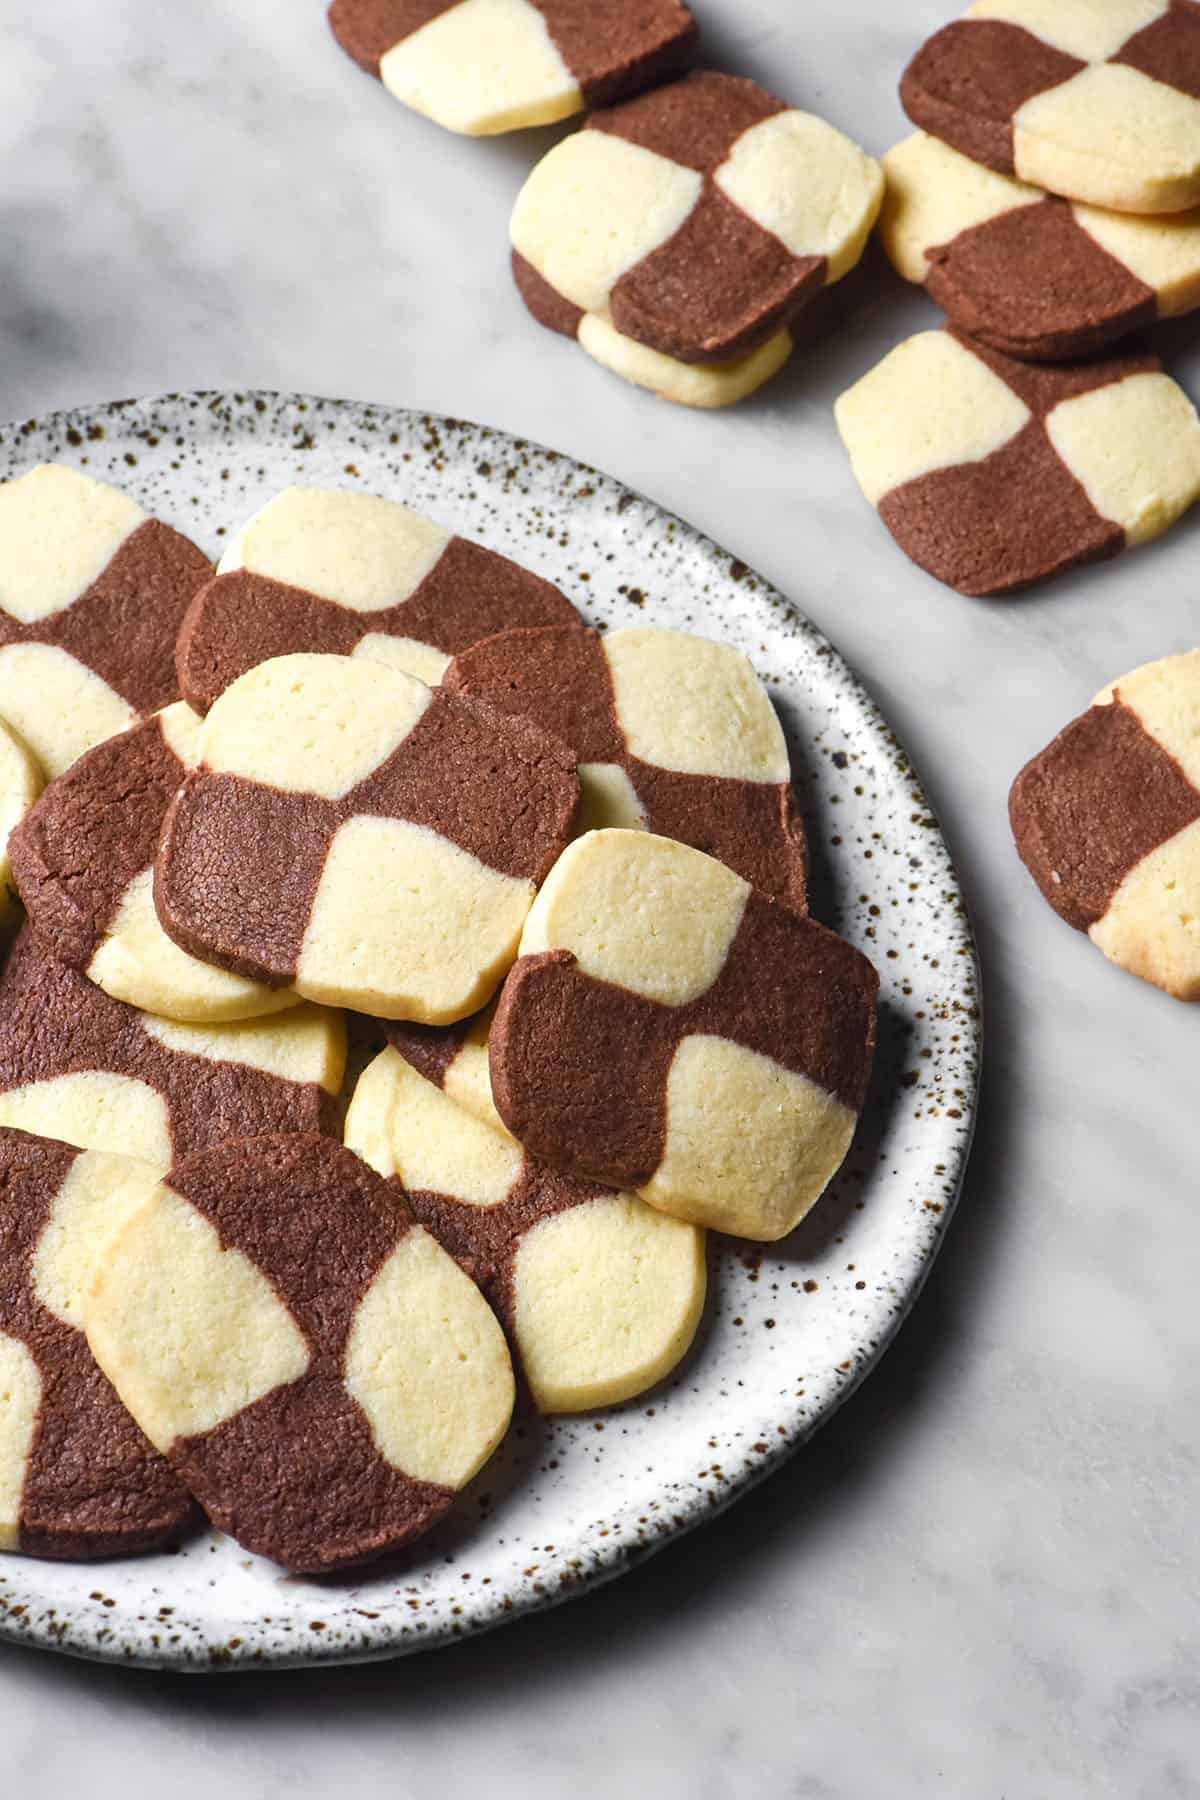
Ingredient notes for your gluten free checkerboard cookies
There is no substitute for the flours I have used in this recipe. Similarly, I can’t offer any advice on sugar substitutes.
I have successfully tested the original sugar cookie recipe with vegan stick butter. Although I daresay it would also work here, I haven’t tested the theory yet. I used Flora stick butter which is new in Australia (or at least, this was the first time I have seen it). Whichever brand you choose, make sure that it is nut free if it needs to be and contains around 80g fat per 100g. This mimics butter in terms of it’s fat to water ratio and should behave in the most similar fashion.
Another thing to consider if baking dairy free is the chocolate. I would recommend something like Lindt 70% as it is made in a similar style to regular chocolate. A coconut oil based chocolate won’t work here.
Pure almond extract is not nut free. There are, by all accounts, imitation almond extracts available on the market that are nut free. If you want to use almond extract but cannot include nuts, make sure you choose an imitation style almond extract that specifies it is nut free. This is important when baking for schools or anything like that.
Almond extract adds a very grown up flavour that I absolutely love. You can omit it, but I feel it really brings a lot to these cookies.
On the topic of nuts: if you are baking nut free, you will obviously need to ensure that the butter and milk you use are nut free as well. A few vegan butter brands use nuts and there are a lot of nut based plant milks out there, too.
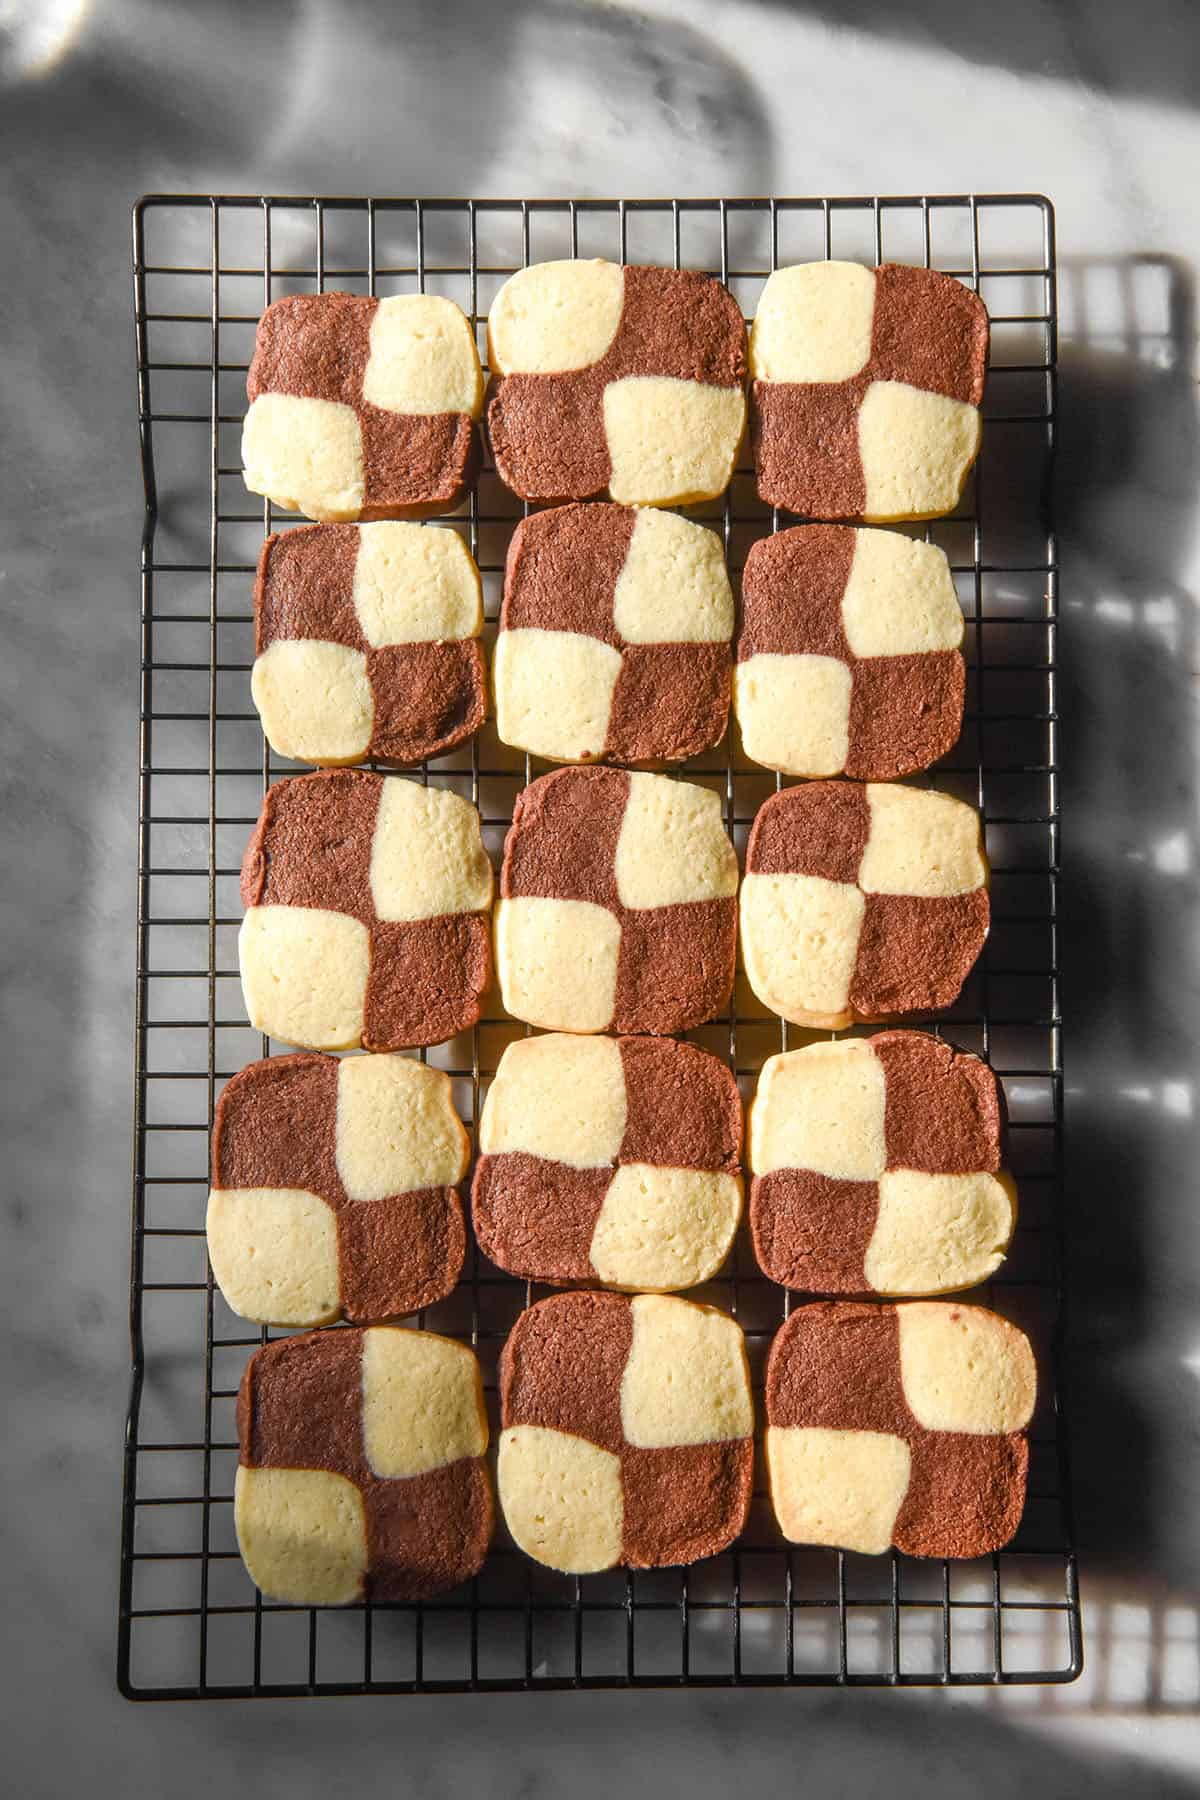
How to shape your checkerboard cookies
Quite frankly, I loathe measuring things precisely. Ironic since I love gluten free baking which demands precision, but I digress.
This dough is easy to work with and I recommend winging it when it comes to shaping the dough. First, divide the dough into two even pieces. You can weigh them if you prefer precision. If you’re into precision, use about 30-40g more dough for the vanilla log to account for the chocolate adding volume to the chocolate flavour.
Add the dough for the chocolate flavour and the melted chocolate to a bowl. Use your hands to massage the chocolate into the dough. You’ll panic that it will form a mushy, wet dough, but I promise it firms up for whatever reason (maybe the absorbency of cocoa).
Chilling and shaping
You can wrap either both pieces of dough up and place in the fridge to chill or shape straight away. The shaping process might only take 15 minutes in a cold kitchen or up to an hour in a hot kitchen. It also depends if you like to live dangerously – this dough can handle being a little warm if you are game to try. See the notes on the ingredients section for more details.
Once the dough is chilled, divide each piece of dough into two even pieces (for a total of four pieces, two chocolate and two vanilla). Use your hands to shape each piece into a rectangle log on a lightly floured surface. Shunt the sides in to form a log, then flatten the top to form a square shaped log. Turn the dough log onto it’s side and repeat to get a smooth square of the right length. For me personally, my log was about 18cm long and the square shape was 2x2cm.
Repeat with the remaining pieces of dough – you will finish with four evenly shaped and sized rectangle logs.
Place one chocolate log of dough and one vanilla log of dough next to each other on a the bench. Light brush the inner side of each log with a tiny bit of milk, then gently press them together to seal. Secure them together thoroughly but without squishing the square shape.
Repeat the process of brushing the inner sides of the dough with a tiny bit of milk. Top the bottom vanilla log with the remaining log of chocolate dough. Top the bottom chocolate log with the remaining log of vanilla dough. Et viola! Checkerboard cookies. See the picture below if you are more of a visual learner.
Troubleshooting and tips
Make sure the cookies are very firmly pressed together. You don’t want to start warping the dough, but the logs need to be very firmly stuck to one another (hence the milk).
If the logs aren’t pressed together, the cookies might not bake up together at all. They might also have a tiny little hole in the centre (as mine did). This just means that you haven’t squished the logs together enough. It’s a balance!
This dough is very amenable to being stored in the fridge or freezer ahead of time. Make sure it is thoroughly wrapped to ensure it doesn’t dry out.
The dough with 25g more sugar is a slightly more advanced dough to shape. Sugar is a wet ingredient in baking, which means it makes the dough more moist and a little trickier to shape. Because these cookies don’t get icing, I prefer them to be sweeter. Sugar also helps crisp up the cookies and makes them a little less dry. See more in the section below.
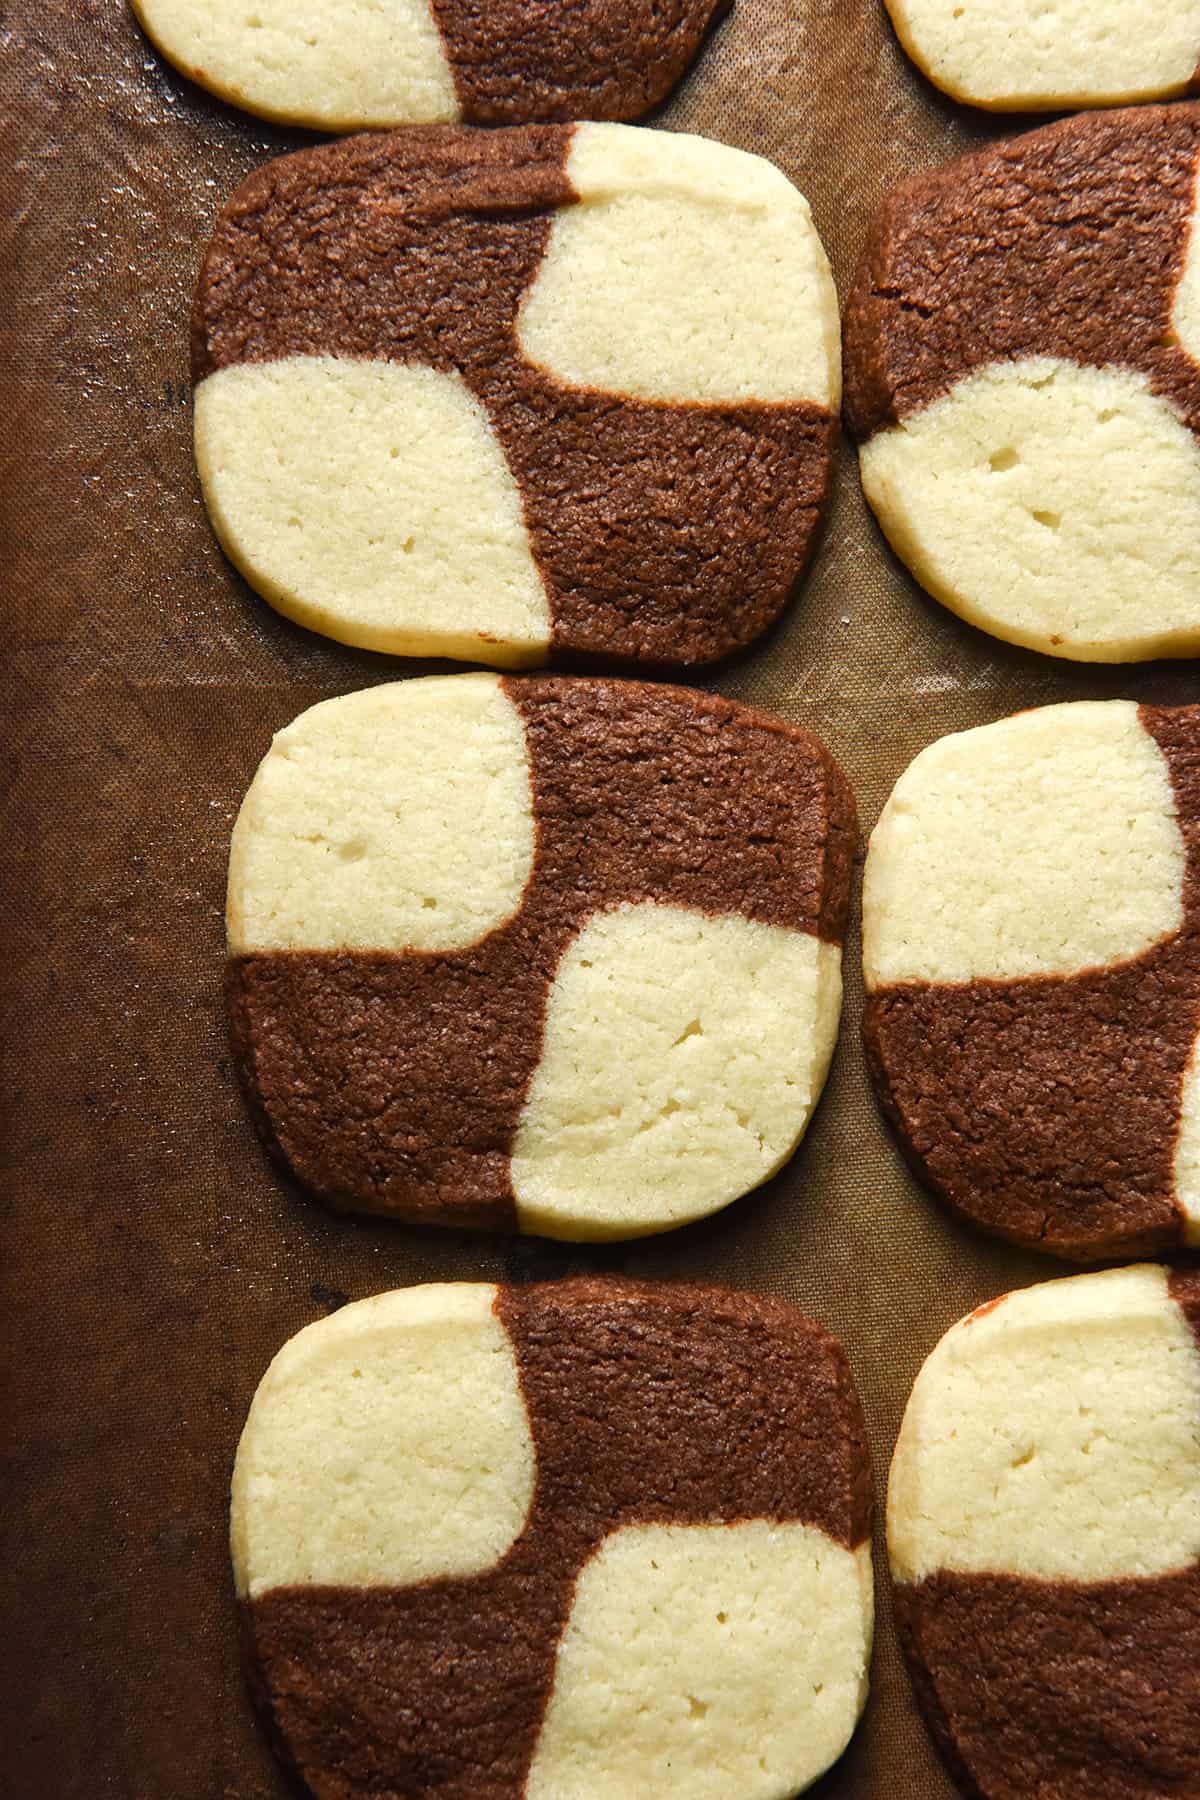
How much sugar should I add?
Cookies that need to hold their shape are slightly trickier to make than cookies that are allowed to spread. This is because fat (ie butter) is a spreading ingredient and so is sugar.
What this means in practice is that you can’t just keep adding more sugar and butter and expect the cookies to hold their shape.
In testing this recipe, I experimented with adding more butter. I found that the vanilla flavour spread too much. My next addition was the teaspoon of oil which I think adds some needed moisture.
Something I feel made a positive impact as well was adding more sugar. These cookies are not designed to be iced, so they need to have sufficient sweetness on their own. Sugar retains moisture while also crisping up the cookies, two benefits in one.
However, this does come (a little bit) at the expense of ease of shaping. In a somewhat warm Melbourne (Australia) kitchen in summer, I find I can shape the dough straight after mixing with the lesser quantity of sugar. I can still do this with the higher quantity of sugar, but it is a little bit trickier.
So, if you’re a beginner and you want to shape the cookies immediately, use less sugar. You could experiment with adding an extra teaspoon of oil to the main dough to compensate. If you’re happy to chill the dough a little first, use more sugar.
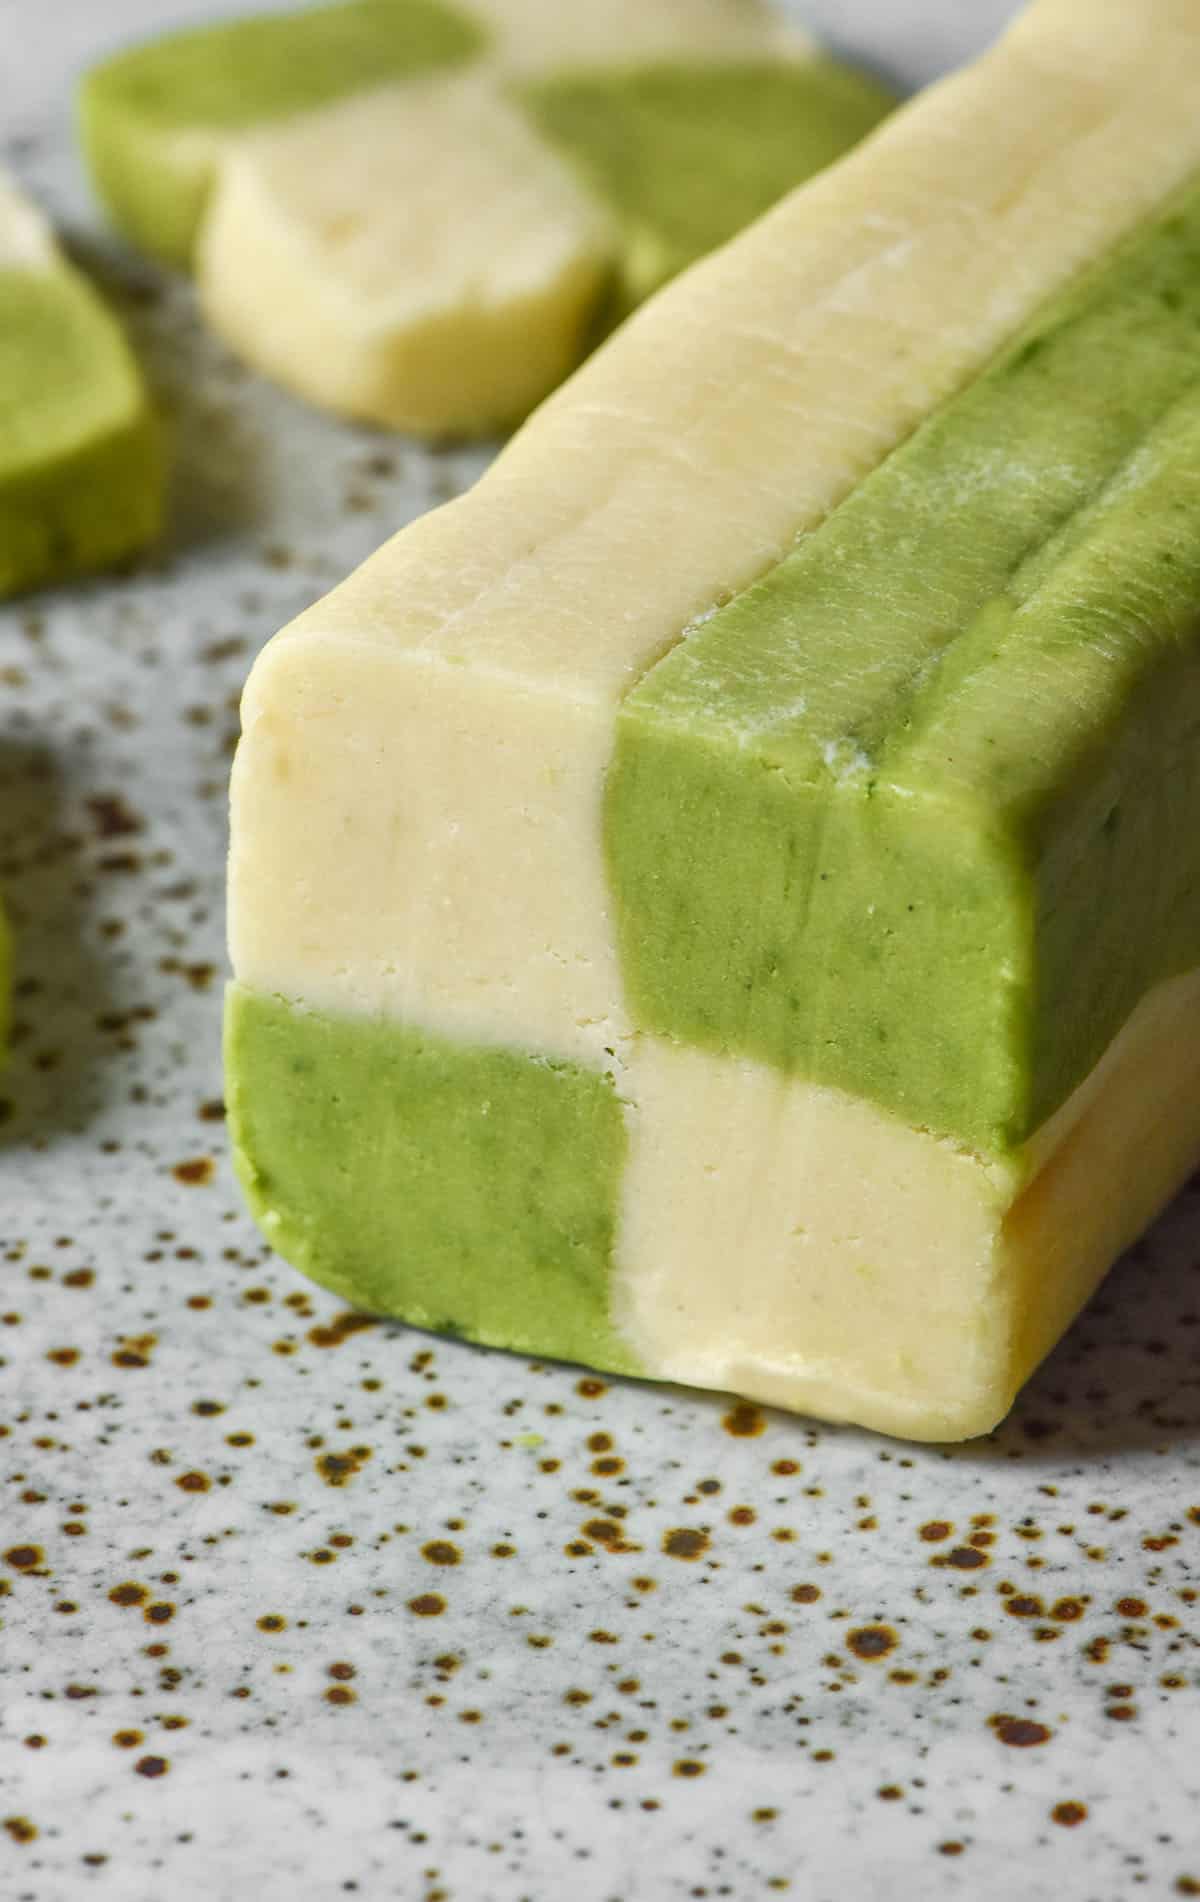
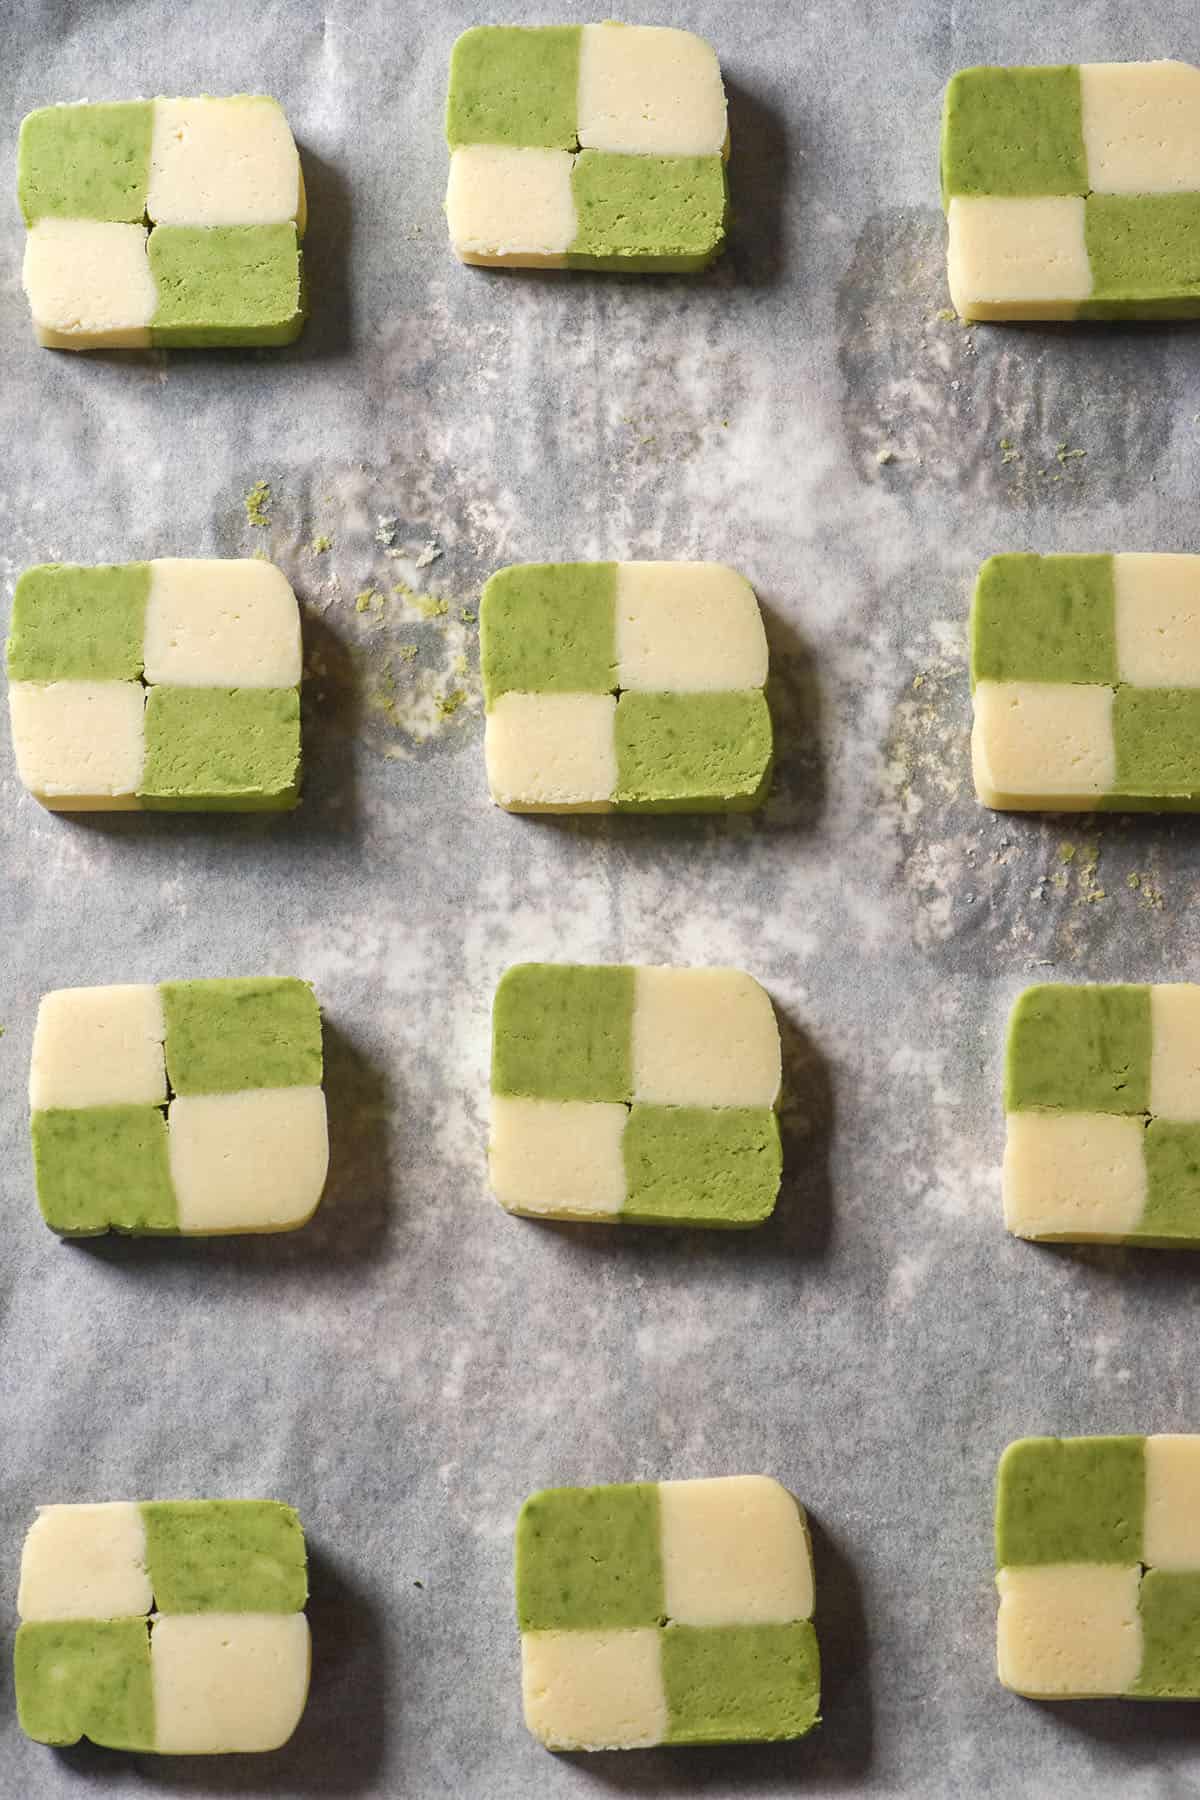
Can I make other flavours of these gluten free checkerboard cookies?
I have used iterations of this dough to make a vanilla and matcha flavour. I simply added 1 teaspoon of matcha powder to half the dough and proceeded with the recipe.
Another recipe I am currently working on is a gluten free strawberry matcha checkerboard cookie. Stay tuned for those!
More gluten free holiday baking recipes
- Gluten free sugar cookies
- Gluten free choc chip shortbread cookies
- Grain free gingerbread cookies
- Gluten free vegan brownie cookies
- Gluten free vegan choc chip cookies
Gluten free checkerboard cookies
Ingredients
For the dough:
- 175 g fine white rice flour
- 100 g tapioca flour/starch
- 5 g xanthan gum
- 3.5 g baking powder
- 125-150 g caster/superfine sugar (see notes in body of post)
- 150 g butter (salted or unsalted, I prefer salted)
- 1/2 teaspoon vanilla bean paste (optional)
- Splash of almond extract (optional, see notes for nut free)
- Pinch fine salt (optional)
- 40 ml (2 tablespoons)* milk, as necessary
- 5 ml (1 teaspoon) neutral oil
For the chocolate dough:
- 50 g dark cooking chocolate (45-70% cocoa)
- 15-20 ml (3-4 teaspoons) neutral oil, as needed
- 1/2 teaspoon peppermint extract (optional, you can use more regular oil instead)
Instructions
To make the dough:
- Whisk the dry ingredients together in a medium/large mixing bowl.
- Use your hands to rub the butter into the flour. Completely rub the butter into the dough until you have a sandy textured mixture. Add the vanilla, optional almond extract, optional salt, 20ml (1 Australian tablespoon or 4 teaspoons elsewhere) milk and 1 teaspoon oil. Use your hands to keep working the dough, squishing it through your fingers.
- Continue adding milk as necessary until the dough is smooth and all pieces of flour have been picked up from the bowl. It should look and feel juicy and moist. If you squish a ball of dough in your hands, the edges should not crack as you press on it. If they do, add a teaspoon or so more milk to reach the described consistency.
- Divide the dough into two even sized pieces of dough (I weigh mine). Make one piece about 30-40g larger than the other (to account for the chocolate being added).
- If your kitchen is cold, you can leave the vanilla dough (the larger piece of dough) on the bench. If it's really hot, pop it in the fridge while you work on the chocolate flavour.
- Melt the chocolate with the oil. Once melted, add the peppermint extract. Allow it to cool, then pour into a bowl with the smaller piece of dough. Use your hands to squelch the chocolate through the dough until is it is completely incorporated. It will feel too moist, but I promise it comes together. Place the bowl in the fridge for 10-15 minutes if you really feel it is too soft to bring together.
- Take the chilled dough pieces out of the fridge. Divide each coloured piece of dough into 2 pieces (again, I like to weigh mine). Very lightly flour your work space with tapioca flour if need be (I try not to use any flour as the dough tends to be move freely without it). Use your hands to shunt the the dough into a long log of dough with a square shape. Mine was about 17-18cm long and 2cm x 2cm wide.
- Repeat with the remaining pieces of dough, ensuring they are all pretty much the same size and length.
- Place one log of chocolate dough and one log of vanilla dough next to each other on the bench. Use gentle pressure to adhere them together – you can also brush a tiny bit of milk or water between them if you like. Keep them in their square shapes as you push them together.
- Brush the tops of these pieces with a tiny bit of milk or water. Place the remaining log of chocolate dough on top of the bottom log of vanilla dough. Place the remaining log of vanilla dough on top of the bottom log of chocolate dough.
- Use gentle but firm pressure to adhere everything together. Press in the sides of the log and press down on the top gently. Wrap the log of dough and place it back in the fridge until thoroughly chilled. I find it easiest to make the dough the night before. You can also make this ahead and leave it in the fridge or even the freezer.
To bake:
- Preheat the oven to 170C/338F. Line two large heavy based baking trays.
- Use a sharp, non-serrated knife to slice the cookies. I sliced mine 1/2cm thick as they come out nice and crisp. Keep in mind that the cooking time will change depending on how thick you slice your cookies (and so will the inside texture).
- Arrange the cookies, with space for a little spread, on the baking trays. Note that the more sugar you use, the more they will spread, so keep that in mind. Bake for 12-17 minutes or until the cookies feel firm on top. They might be slightly golden around the edges but the vanilla flavour should remain mostly pale.
- Allow the cookies to cool before serving or transferring to an airtight container. Leftovers keep well in airtight container for a few days.
Notes
- I used Ito En matcha which is available at the supermarket. Reddit suggested it was a good entry level matcha and it does have a lovely green colour. If you use a muddy green matcha, your cookies will take on that hue. Just something to be aware of.
- Read the body of the post for tips and tricks.
- Read the body of the post for dietary substitutions (or lack thereof).
- Note that pure almond extract is not free. Use a purpose bought imitation almond extract that specifically says nut free if you are catering to nut allergies.
- I am working on more flavour combinations and will add them to the post when I finish them.

No Comments