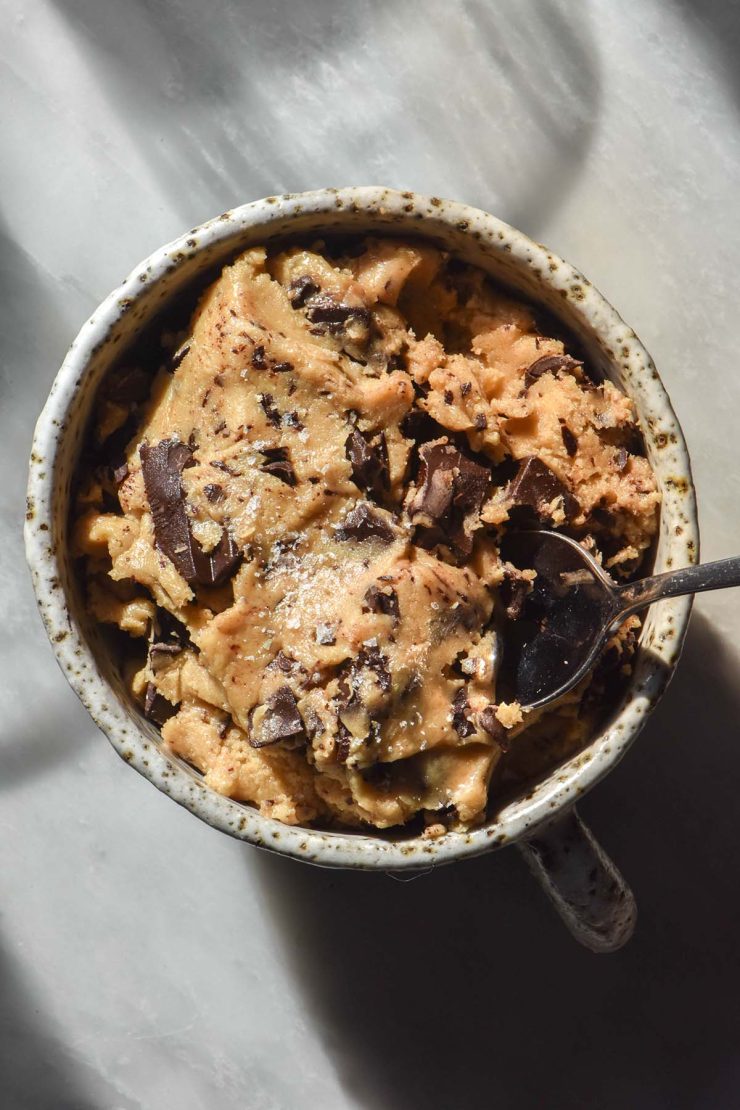
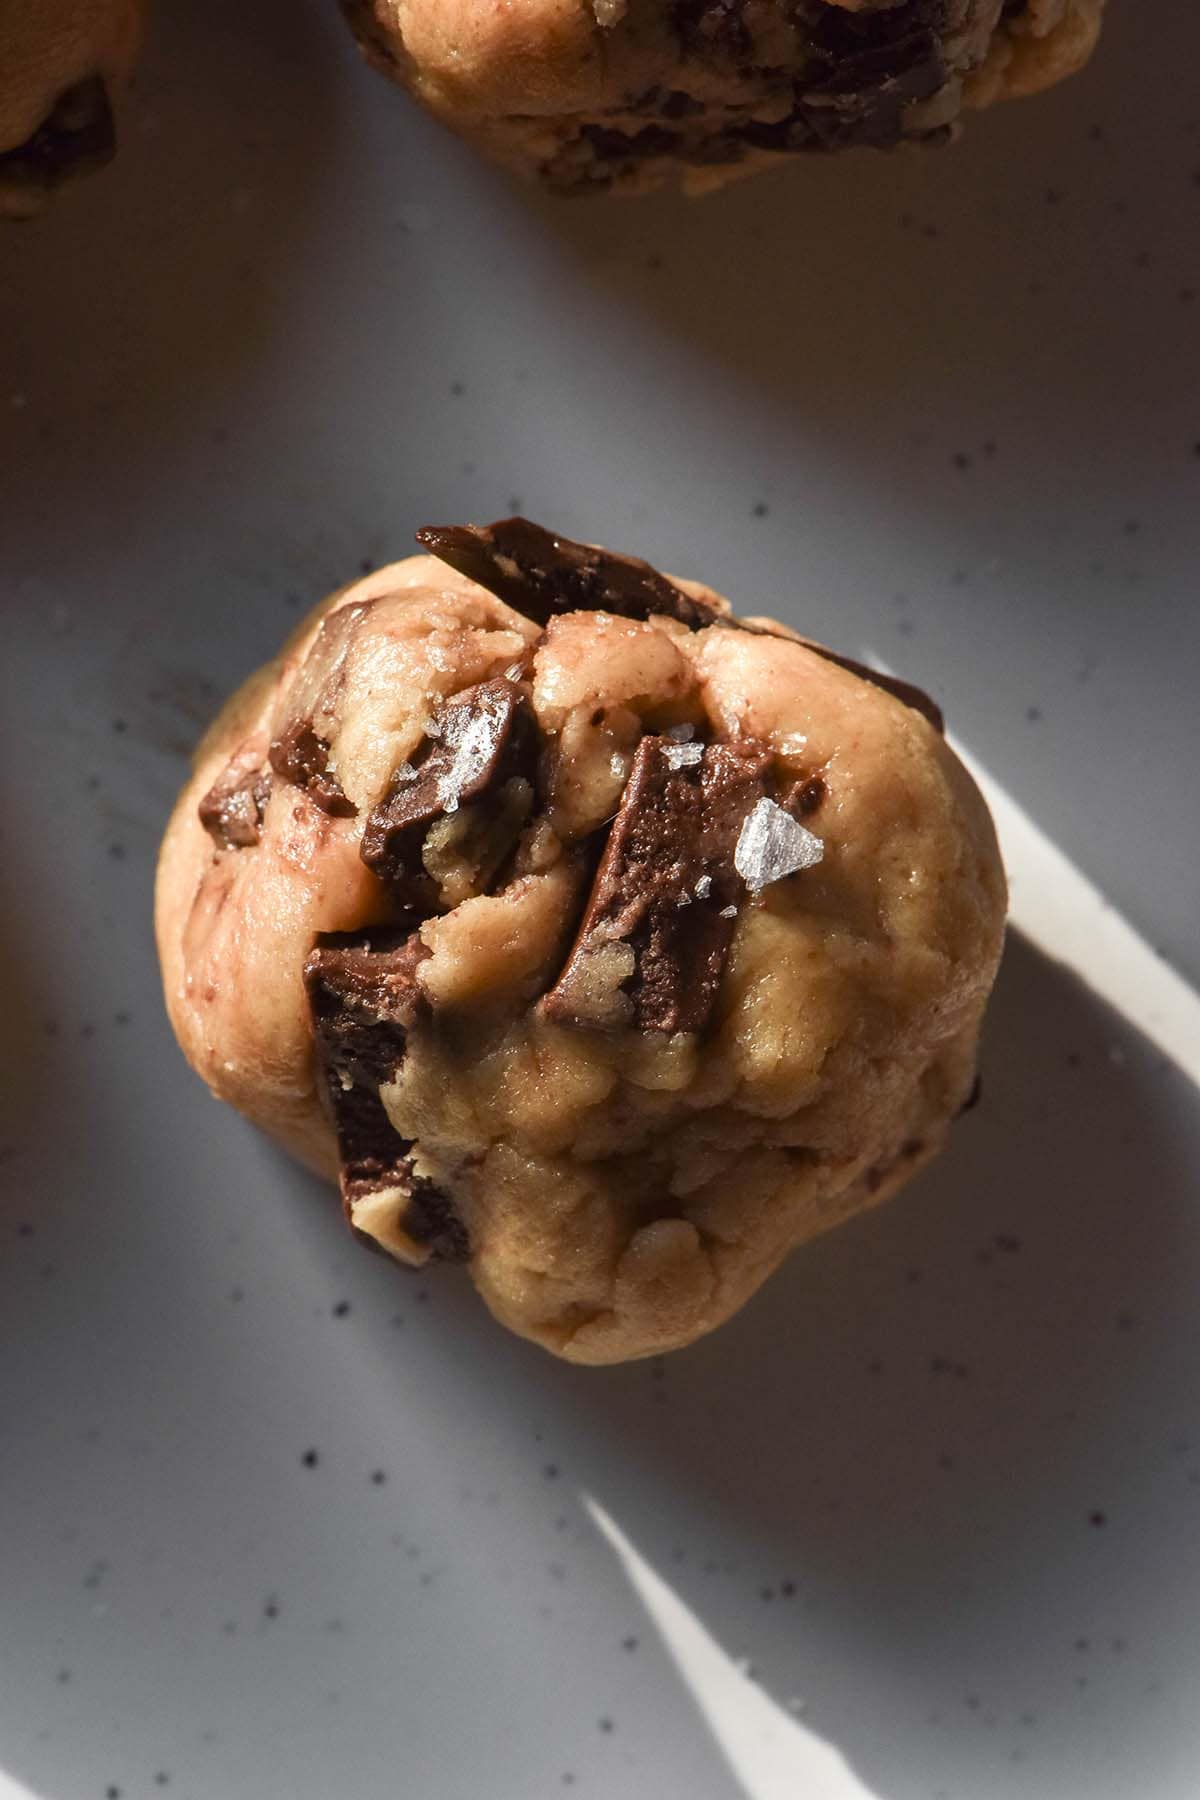
One of the recipes on my to-do list is a cookie dough Ninja Creami ice cream. To make this, of course, I had to develop a gluten free edible cookie dough recipe. Turns out this is incredibly easy to do, absolutely delicious and accidentally grain free. Let’s get straight into it.
Gluten free edible cookie dough
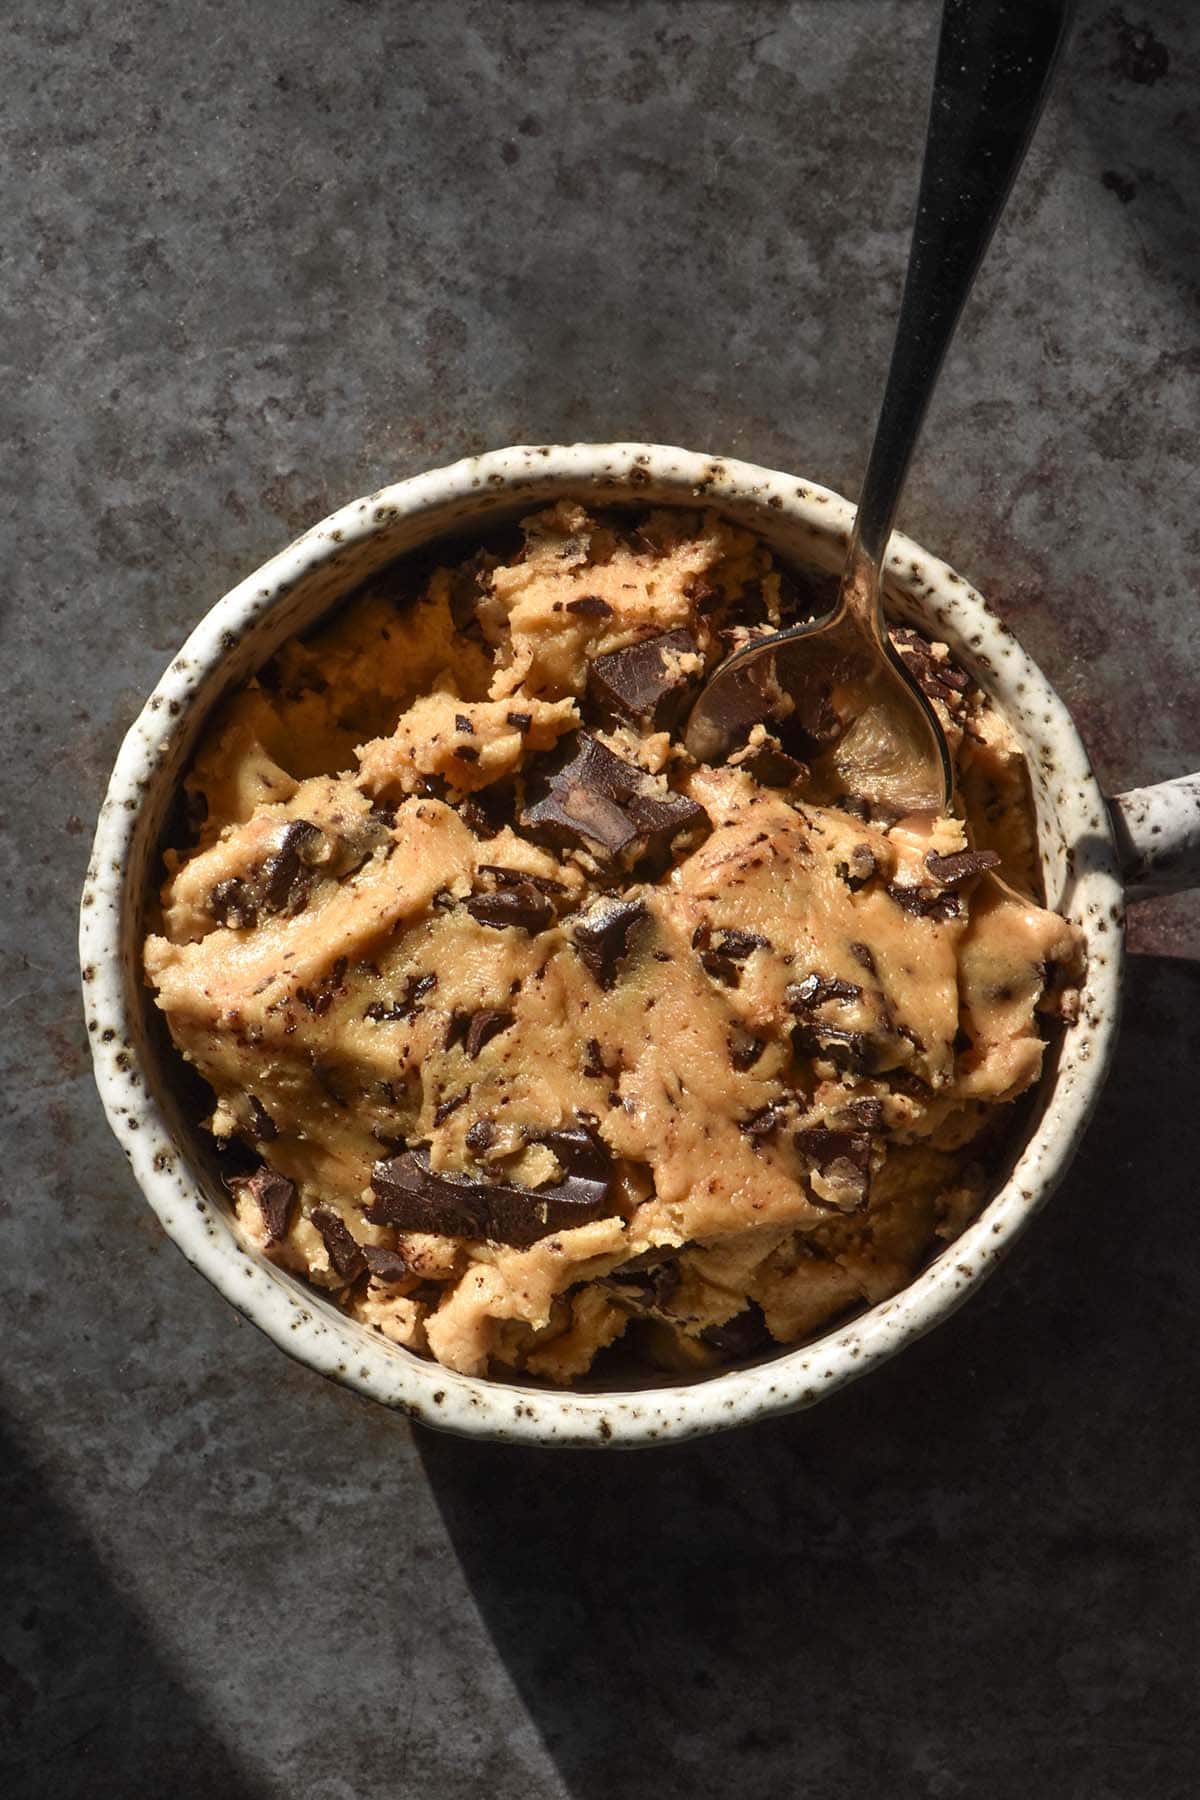
This edible cookie dough is egg free, xanthan gum free, nut free and accidentally grain free. It uses tapioca starch/flour as the flour because it is cheap, accessible and has a very smooth and soft consistency. It also imparts no taste into the cookie dough, which was important to me in making it taste like the version I remember.
Browned butter is mixed with light brown sugar before we add milk, salt, vanilla bean paste or extract and tapioca flour. The recipe is designed so that you can eat the cookie dough straight away (after the chocolate goes in, of course) or chill it slightly and serve later.
This recipe couldn’t be easier to make and tastes absolutely delicious. It reminds me of my youth eating Aunty Kath’s cookie dough straight from the log of dough (Australian here).
Tips for your gluten free edible cookie dough
My number one tip for this edible cookie dough is to ensure you heat treat your flour prior to using it. This is easy to do and ensures there is nothing untoward in your raw flour. This is so important that I have dedicated a section to heat treating the flour before you use it.
When you bake a cake, the baking process is heat treating your flour. Because this is raw flour, we need to apply the same safety precaution before we eat it.
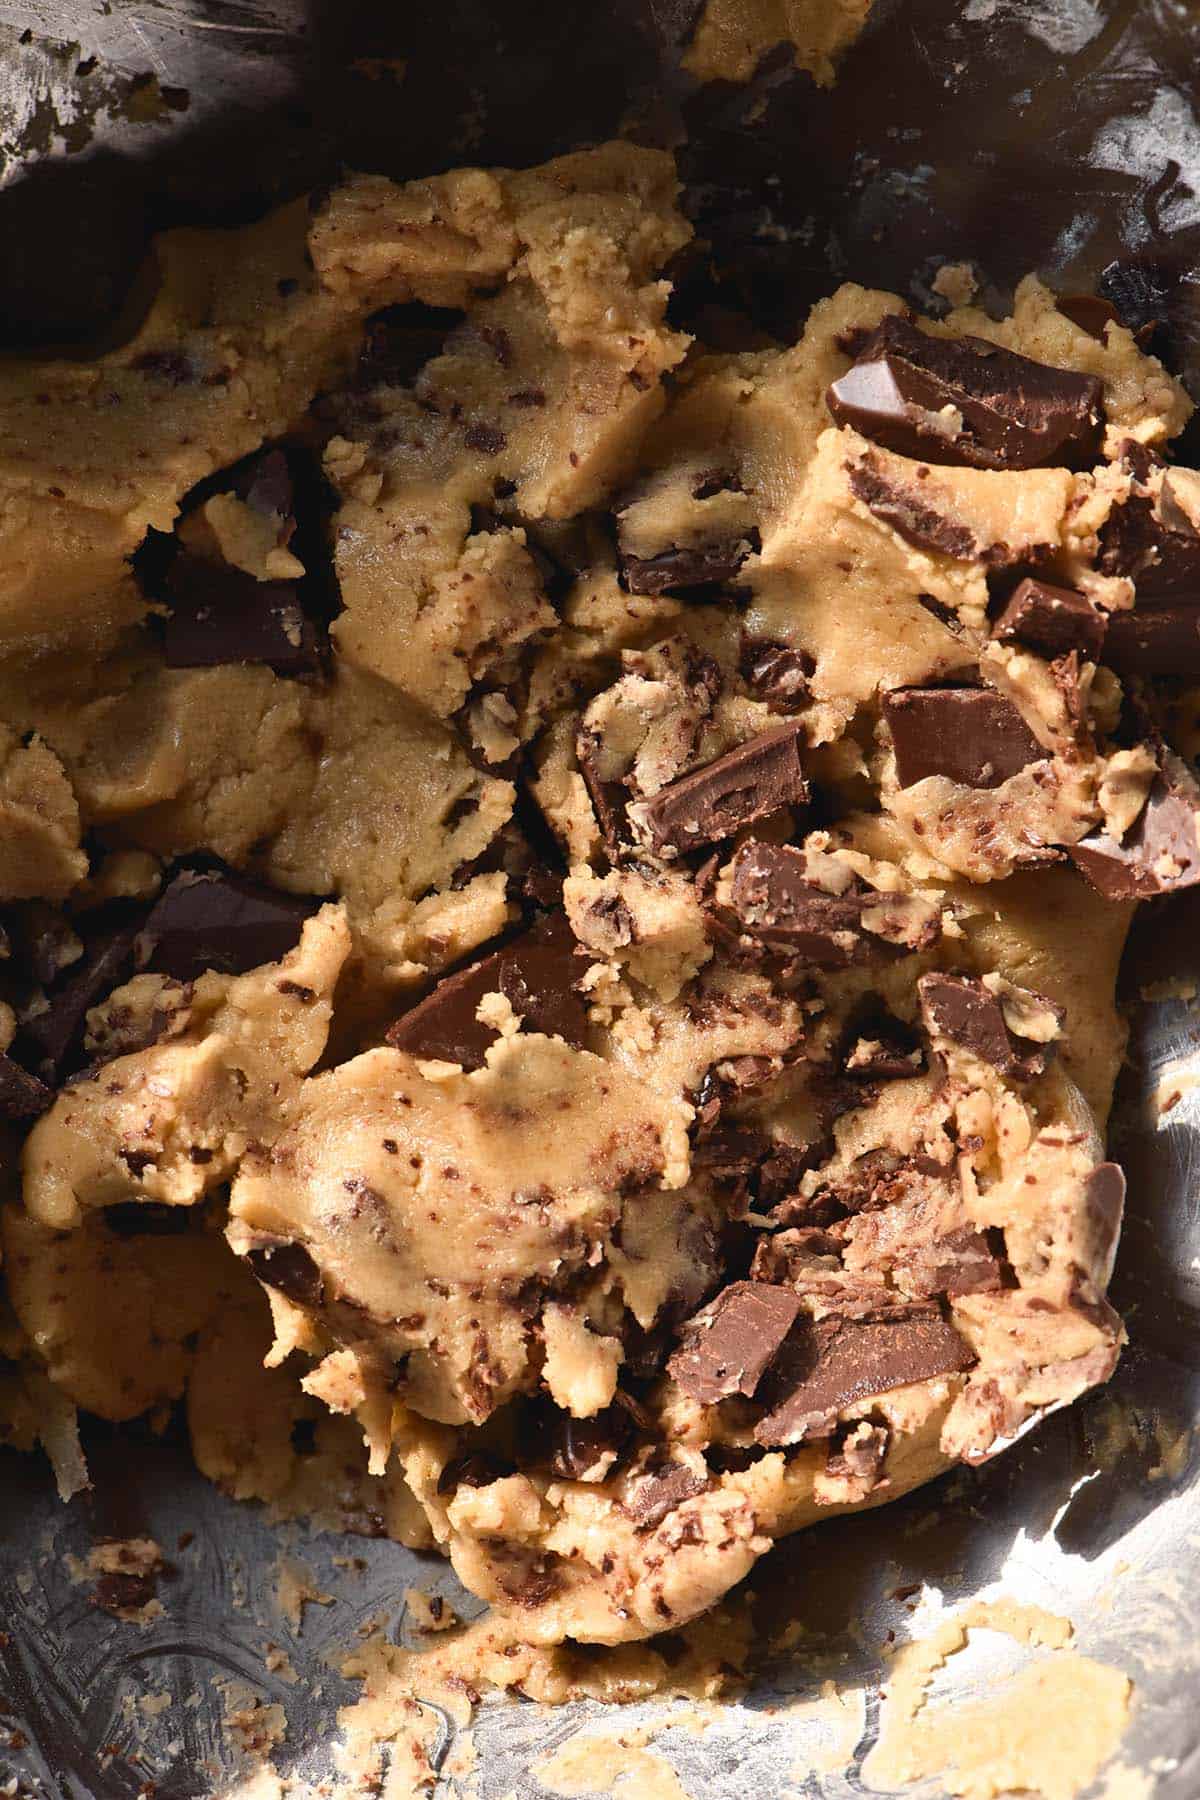
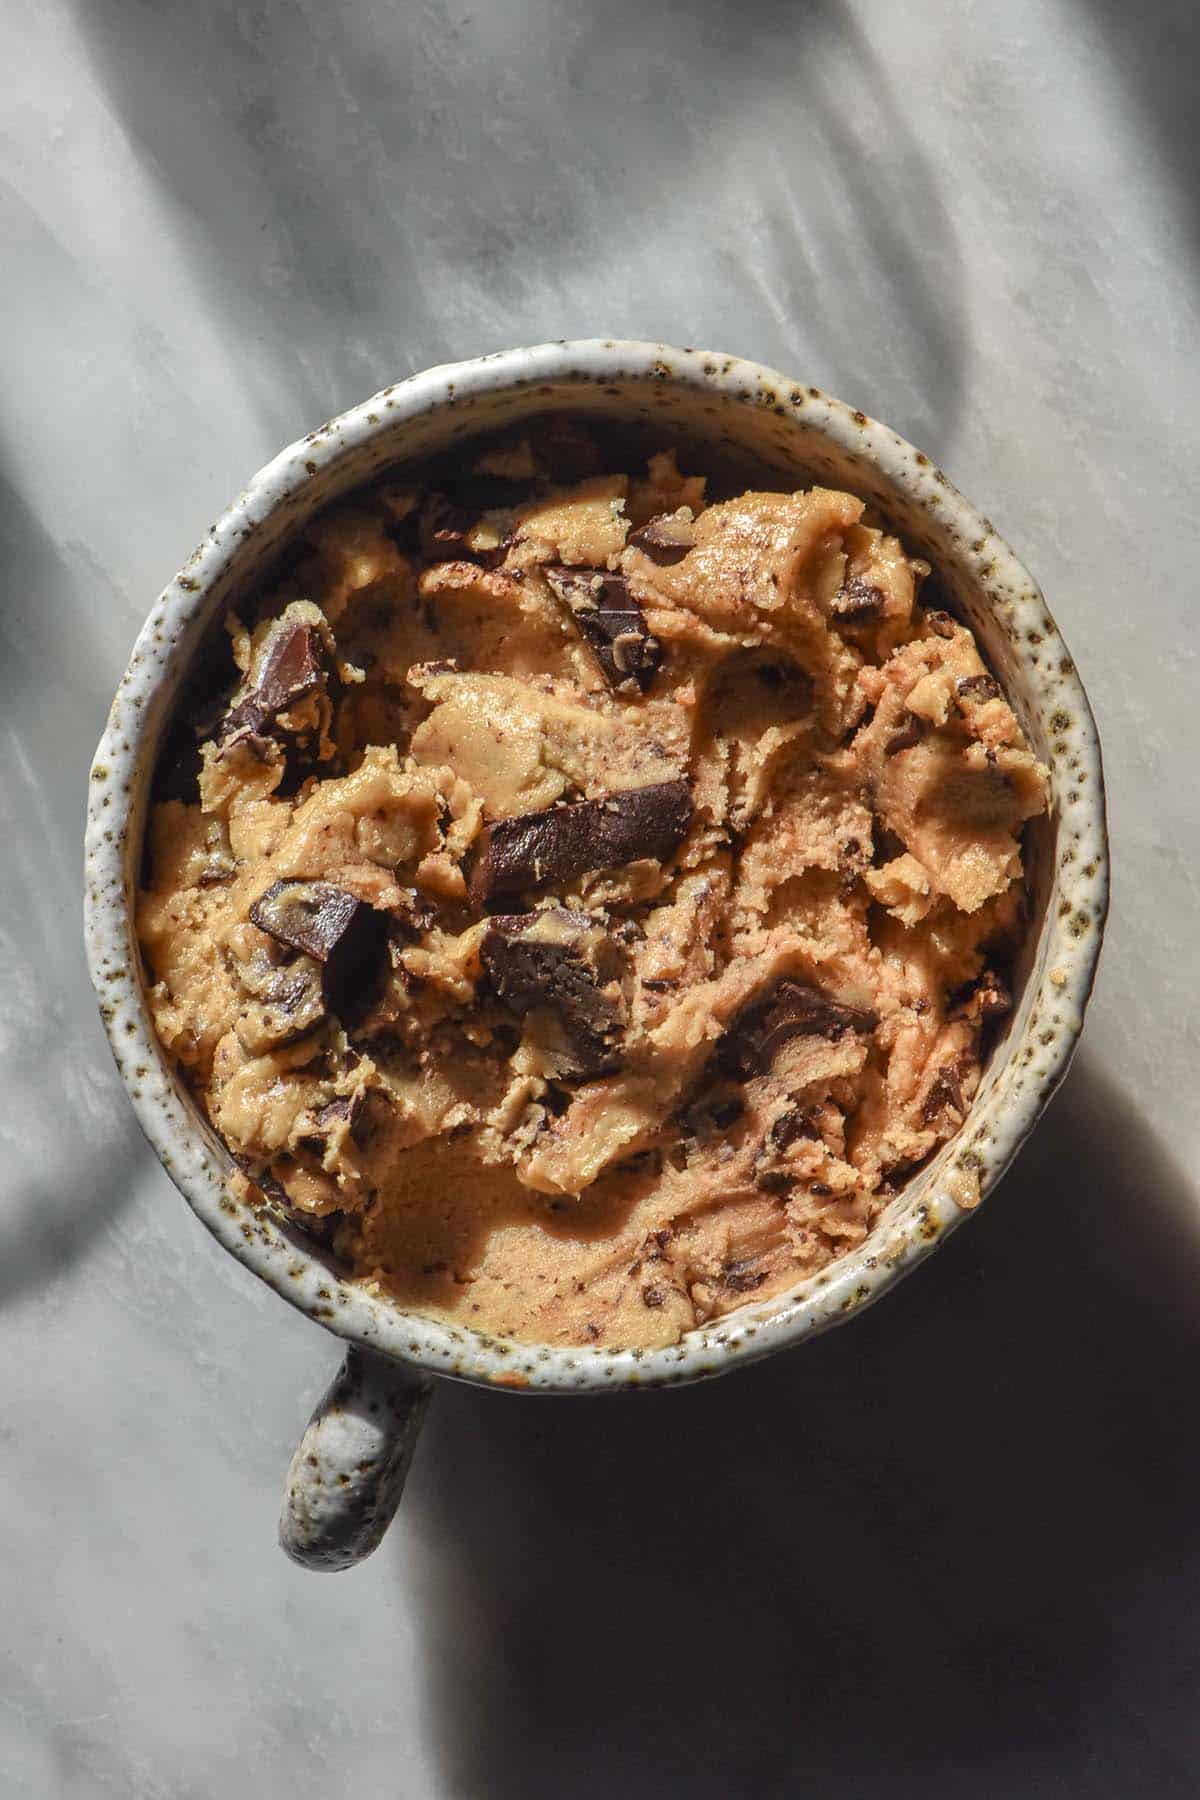
My number two tip is to add the flour in increments. You want a dough that is pliable, easily handled and ‘cookie dough’ like in consistency. However, adding too much flour will make for a pasty and floury bite.
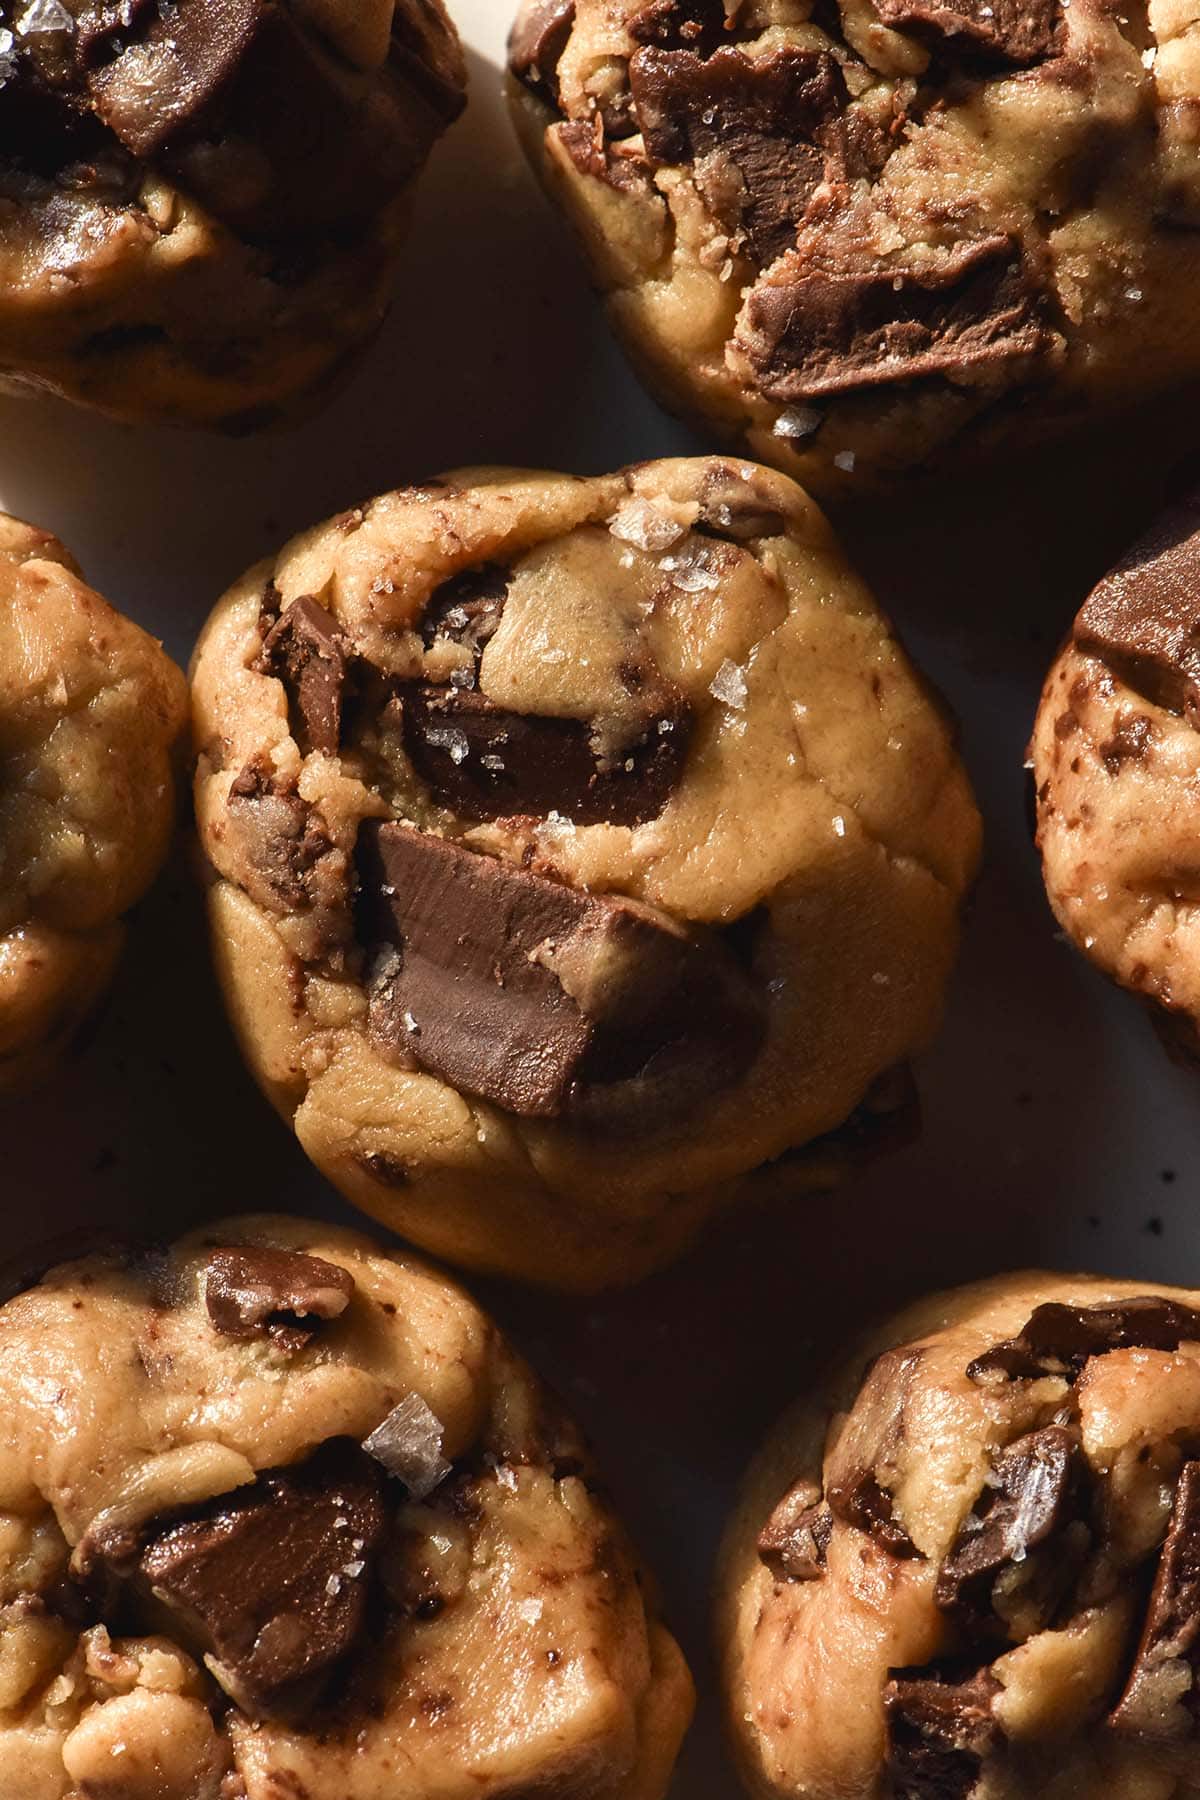
Keep adding flour until the dough is no longer oily and you can scoop it with a spoon or pick up a ball in your hands. The absorbency and consistency of flour varies globally, so you might need more or less than I did to achieve this consistency.
I use Erawan brand tapioca starch/flour which is made in Thailand. I buy it at the supermarket but you can also find it in Asian grocers. It has a lovely fine consistency, neutral taste and is very inexpensive.
If you are experimenting with using a different flour, you will need to pay attention to your dough even more.
If your dough gets to the stage where it is no longer oily but you prefer a more spoonable consistency, you can add in a little bit of milk to reach your desired texture.
Heat treating flour to make edible cookie dough
There are two ways of heat treating flour to make edible cookie dough. Firstly, you can do it in the microwave. If you don’t have a microwave, you can also do it in the oven.
Microwave method:
- Place the flour in a heatproof bowl. Microwave it on high in 15 second increments for a total of 1 minute 30 seconds. Stir the flour between each increment to encourage even cooking.
- Generally all recipes specify that the flour temperature needs to reach 71C/160F. I have a Thermapen, but I realise a lot of people probably don’t. It’s up to you whether you are comfortable treating the flour without knowing that it has reached a sufficient temperature for killing the bacteria. I would not recommend this method for anyone with a compromised immune system.
- Allow the flour to cool before use. This shouldn’t take long as it’s not a large volume of flour. I recommend heat treating your flour and then browning the butter while you wait for it to cool.
Oven method:
- Preheat your oven to 180C/350F. Line a large baking tray and evenly spread the flour on the baking paper. Place a small cake tin filled with boiling water in the base of the oven.
- Bake the flour in 5 minute increments and stir well in between to distribute the heat. Bake the flour for about 5-10 minutes or until it reaches 71C/160F. Mine only took 5 minutes to reach 80C/176F, but every oven is different. Again, it’s up to you whether you are comfortable doing this without a thermometer to check it has reached an adequate temperature.
A quick but important note on heat treating tapioca flour in the oven
A few batches of my gluten free edible cookie dough had a little bit of a pasty taste to them. I soon figured out this was for a few reasons – one of them being that I had heat treated the tapioca flour in the oven.
My suspicion is that oven treating tapioca flour dries it out in such a way that it becomes a little bit pasty. The microwave works differently as the flour is almost steam heated rather than heat heated. One is a moist environment, one is a dry environment.
So, to counteract this, I highly recommend placing a cake tin (not a spring form one, obviously) filled with boiling water in the base of the oven about 5 minutes ahead of time. This will help create a nice steamy environment and ensure the flour is minimally pasty in the cookie dough.
Tips for the oven baked method
- Lining the baking tray ensures the flour isn’t A) hard to remove and B) doesn’t clump up quite as much (because you can move it around more efficiently).
- I find it easiest to whisk the flour on the baking tray. I find this redistributes it much more efficiently than just stirring with a spoon.
- To measure the temperature of your flour, use the baking paper to scoop it into the centre into a mound. Then, measure the temperature of the centre of the mound without touching the baking tray. Mine only took 5 minutes to reach 80C/176F.
- If you are doing the oven baked method without a thermometer, I would maybe suggest baking it at 170C/338F for 10-15 minutes, stirring in between.
- Baked flour is a little clumpy. I recommend sieving it into your cookie dough for best results.
- If you have leftover heat treated flour, you can use it anywhere you would regular flour. For that reason, I suggest baking the full 125g and then using however much you need.
Ingredient notes
- I used all light brown sugar here to keep the recipe simple. You can experiment with some white sugar and some light brown, if you like. I personally like the warm, caramel flavour of the brown sugar here.
- Salt is critical here! It adds flavour complexity and balances out the sweetness.
- I also really recommend using vanilla bean paste or extract here. It really helps add another layer of flavour to your cookie dough.
- This will differ for everyone, but I love using a serious dark chocolate here. I think the juxtaposition against the sweet dough works really well.
- At the moment, I don’t have a substitute for tapioca flour. I chose it because it’s lovely and soft, unlike flours with a courser grain.
- I tested rice flour and found it too gritty to eat instantly. You would need to rest the dough before eating, which defeats the purpose of edible cookie dough to some extent.
- You are welcome to experiment with the flour used in the recipe but I can’t guarantee the results.
- This recipe doesn’t contain baking powder or soda and is not formulated to be baked. You can’t make cookies with the leftovers. Well, you can try but I would be a bit scared of the results.
Gluten free cookie recipes without eggs
- Gluten free choc chip cookies without eggs
- Gluten free vegan brownie cookies
- Gluten free vegan tahini cookies
- Gluten free sugar cookies without eggs
- Gluten free banana cookies without eggs
Gluten free edible cookie dough
Ingredients
- 75 g butter (I like salted but unsalted is fine too)
- 75 g light brown sugar
- 20ml (1 tablespoon)* milk of choice
- 125 g heat treated tapioca starch/flour
- 1/2 – 1 teaspoon vanilla bean paste or extract
- Pinch of fine salt (more if you use unsalted butter, less if you use salted butter)
- 75 g finely chopped dark chocolate or mix in of choice
Instructions
- Place the butter in a small pot over a low heat. Cook, stirring intermittently, until the butter is a medium brown colour and smells deeply nutty.
- Measure the sugar into a small mixing bowl on the scales. Tare the scale and pour in the brown butter, which should weigh 60-65g once browned. Make sure to scrape all of the little brown butter solids into the bowl as they contain all the flavour.
- Add the milk, vanilla bean paste and salt. Adding the milk before the tapioca flour is CRITICAL to ensure it doesn't develop a pasty and chalky texture. I made this mistake a few times while developing the recipe – never again. Milk MUST go in first or you'll ruin the batch.
- Mix to combine, then gradually add the heat treated flour. Stir it in and continue to add flour until the dough is no longer oily. It should have a firm (but not too firm) cookie dough texture and you should be able to pick up a ball of it in your hands. If it is firmer than this, crumbly or floury, add a dash of milk or water to correct the consistency. Add milk to correct the consistency if the dough is too firm for you, rather than adding less flour.
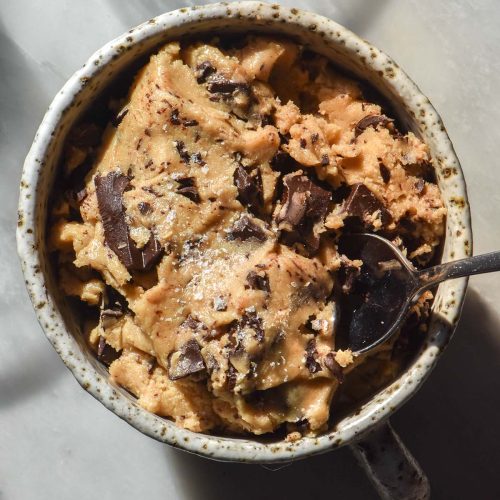
- Once you are happy with the consistency, stir in the finely chopped chocolate. You can eat as is or chill in an airtight container in the fridge for 20 minutes or so.
- Leftover cookie dough can be stored in the fridge in an airtight container. It will firm up in the fridge, so you will need to warm it up (I roll the ball in my hands) to restore it to it's former texture.
- Best eaten within a few days.
Notes
- This recipe makes approximately 350g cookie dough. I am not sure how Americans eat cookie dough because the photos accompanying recipes seem to imply you guys eat a bowl of it at a time? If this is the case, you might want to look into doubling this recipe.
- This recipe is not formulated to be baked so leftovers can’t be cooked. I see no reason why they couldn’t be frozen and defrosted, though.
- Heat treating flour is important when you intend to eat it raw. Do not skip this step. See instructions for heat treating flour in both the microwave and oven in the body of the post.
- I haven’t tested vegan butter here. I assume it would work, but add 60-65g of melted vegan butter and skip the melting step. You will also need to choose a dairy free vegan chocolate.
- See notes in the body of the post for tips and tricks.
- I have not successfully tested a flour other than tapioca starch/flour here.
- For the purposes of this recipe, tapioca starch and flour are interchangeable.
- You can experiment with using some white sugar in place of light brown sugar, if you prefer.
- You can also use whatever mix ins you like. I used to love the Aunty Kath’s cookie dough with m&ms. I am not sure whether there are any gluten free versions these days, but feel free to use whatever gluten free goodie you prefer.
No Comments