Yes, another Ninja Creami recipe! I’ve done vanilla and chocolate, so today we’re kind of combining the two with this easy recipe for Ninja Creami cookies and cream ice cream.
This recipe uses a creamy, egg free ice cream base and delicious Oreo crumbles. The ice cream can be made lactose free (and thus low FODMAP) and gluten free with the right ingredients, too.
Ninja Creami cookies and cream ice cream
This recipe uses a very simple mix of white sugar, thickened cream, milk and vanilla bean paste. Because the recipe needs to be nice and creamy with lots of thickened cream, it uses sugar instead of sweetened condensed milk. Sweetened condensed milk is an easy and delicious way to sweeten a Ninja Creami, but it does contribute fat. There is such a thing as too much fat in an ice cream base which will lead to a split, grainy and fatty mouthfeel.
So! We mix the milk with the sugar and allow it to dissolve. The cream and vanilla are added and voila! That is our simple ice cream base.
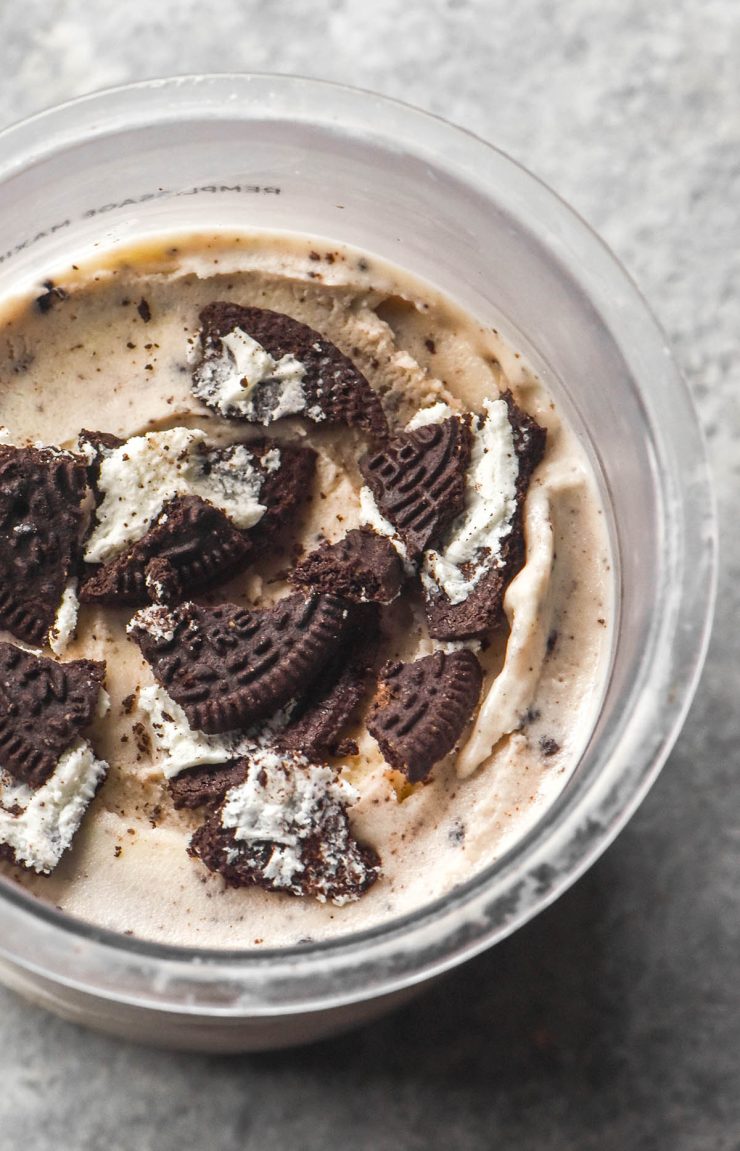
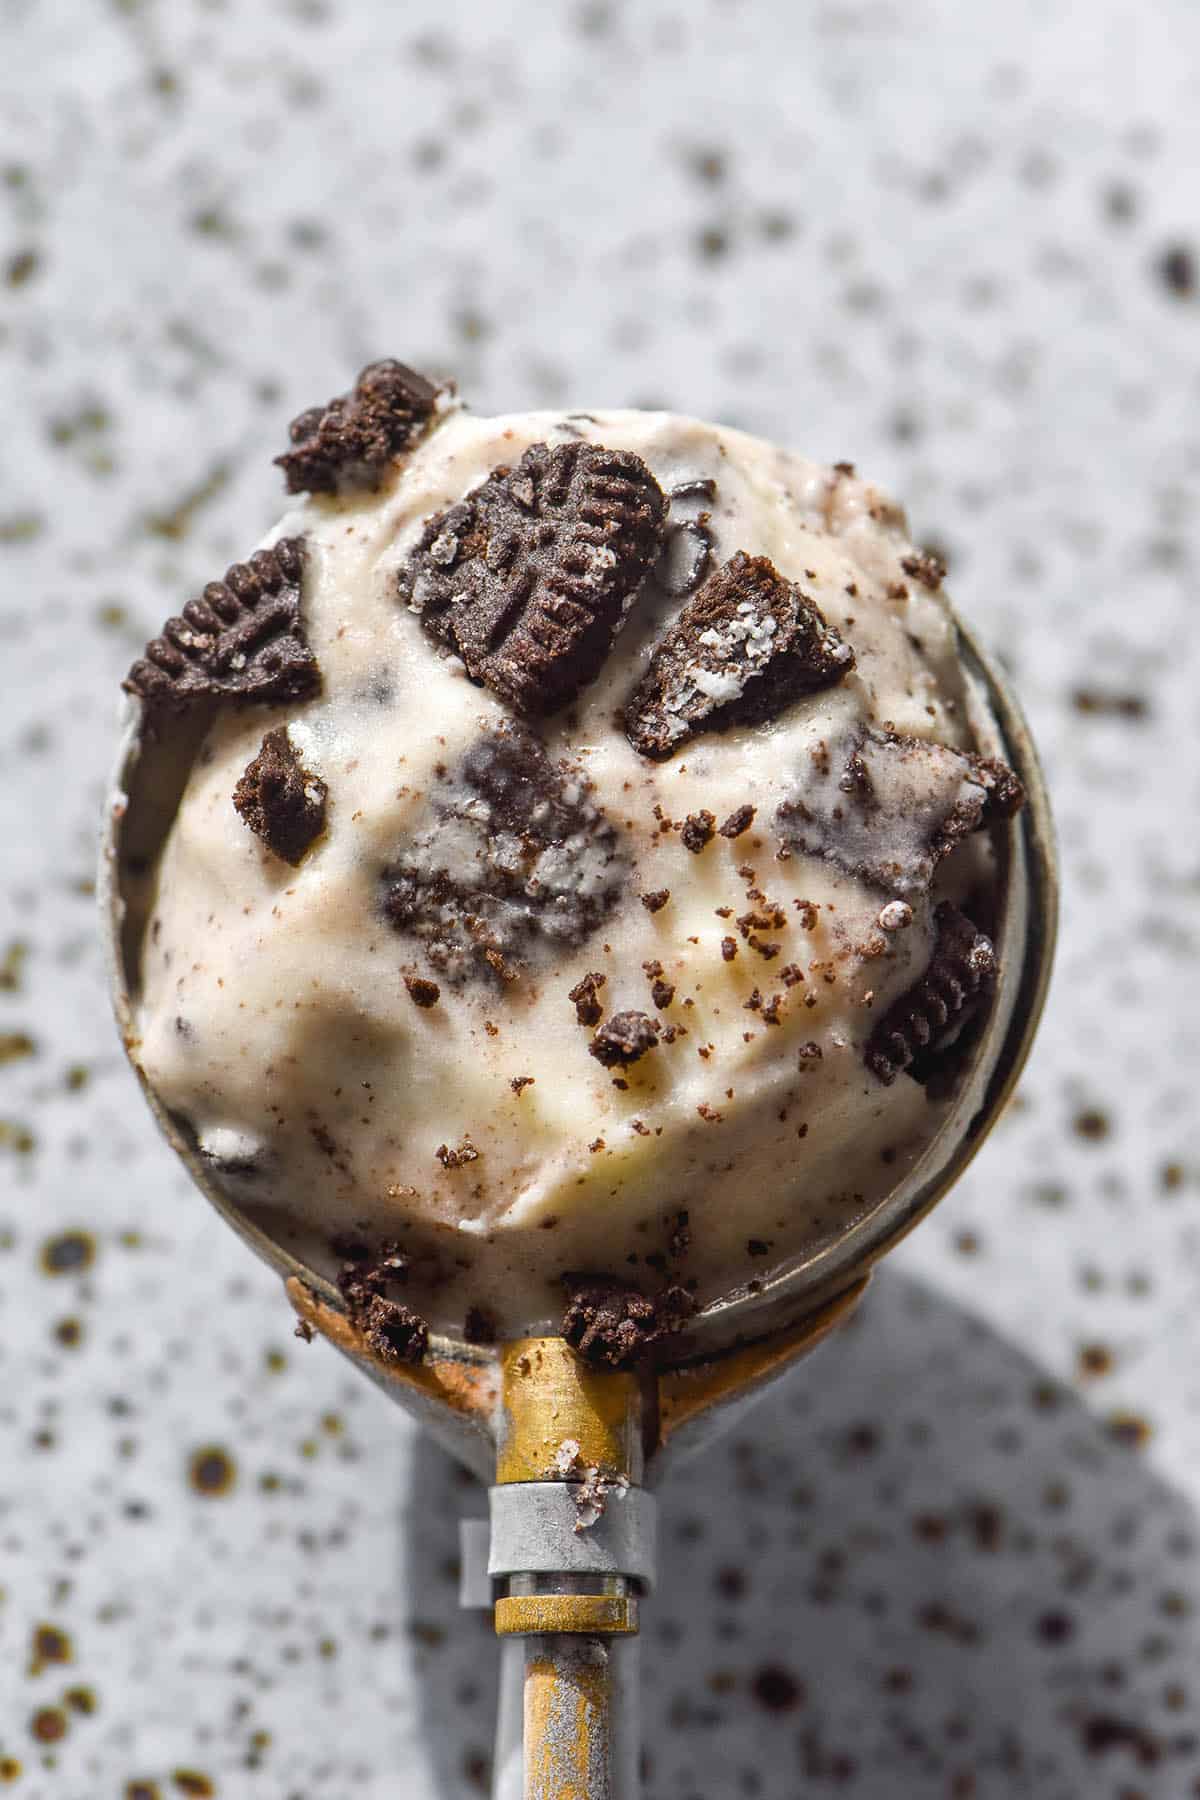
Next up, we’re adding some Oreo or chocolate sandwich cookies. Chocolate cookies are traditional to a good cookies ‘n cream – they add the perfect texture, colour and flavour. You can use regular Oreos or gluten free Oreos here (more on that below).
All up, this is an easy and delicious Ninja Creami recipe that takes 5 minutes to mix up. It also makes a great Ninja Creami vanilla ice cream if you don’t want to use sweetened condensed milk.
Fat content and ice cream
In my Ninja Creami experiments, I have come across a few issues that regular ice cream makers would be familiar with. Namely: that there is such a thing as too much fat in ice cream. Plenty of cream seems like a logical ingredient for a creamy ice cream, but you can have too much of a good thing.
My research suggests that 20% milk fat is roughly the most you want to use in an ice cream recipe. I am not sure if this applies to Ninja Creami or whether the technology of the machine changes that up a little. Either way, if you have made an ice cream that felts like it’s separating, gritty or leaving a fatty coating in your mouth, it likely contains too much fat.
If you’d like to learn more about the science of ice cream and fat, I found this website incredibly helpful. If you’d like to play around with your own recipes, this calculator is a great jump off point as well.
This recipe uses sugar instead of sweetened condensed milk. This is because we want the cream element of the ice cream to be front and centre. To achieve that, we have to balance the fat content. Because condensed milk contributes fat while white sugar does not, we’re using white sugar.
Tips for the best Ninja Creami cookies and cream ice cream
- There is such a thing as too much sugar in ice cream. If your ice cream is soft or liquid, it might be that you have added too much sugar. I recommend keeping the sugar content as is for this recipe.
- A tiny pinch of salt helps develop flavour and add a layer of complexity. Don’t add too much, though, as too much salt can also prevent ice cream from setting.
- I haven’t tested light cream or milk in this recipe. I daresay it would work, but I will attempt it and update the post. One thing I have found with light Ninja Creami recipes is that they generally require an hour or so of setting time after you process them. They come out of the Creami machine quite soft, but they have a traditional ice cream consistency after time in the freezer.
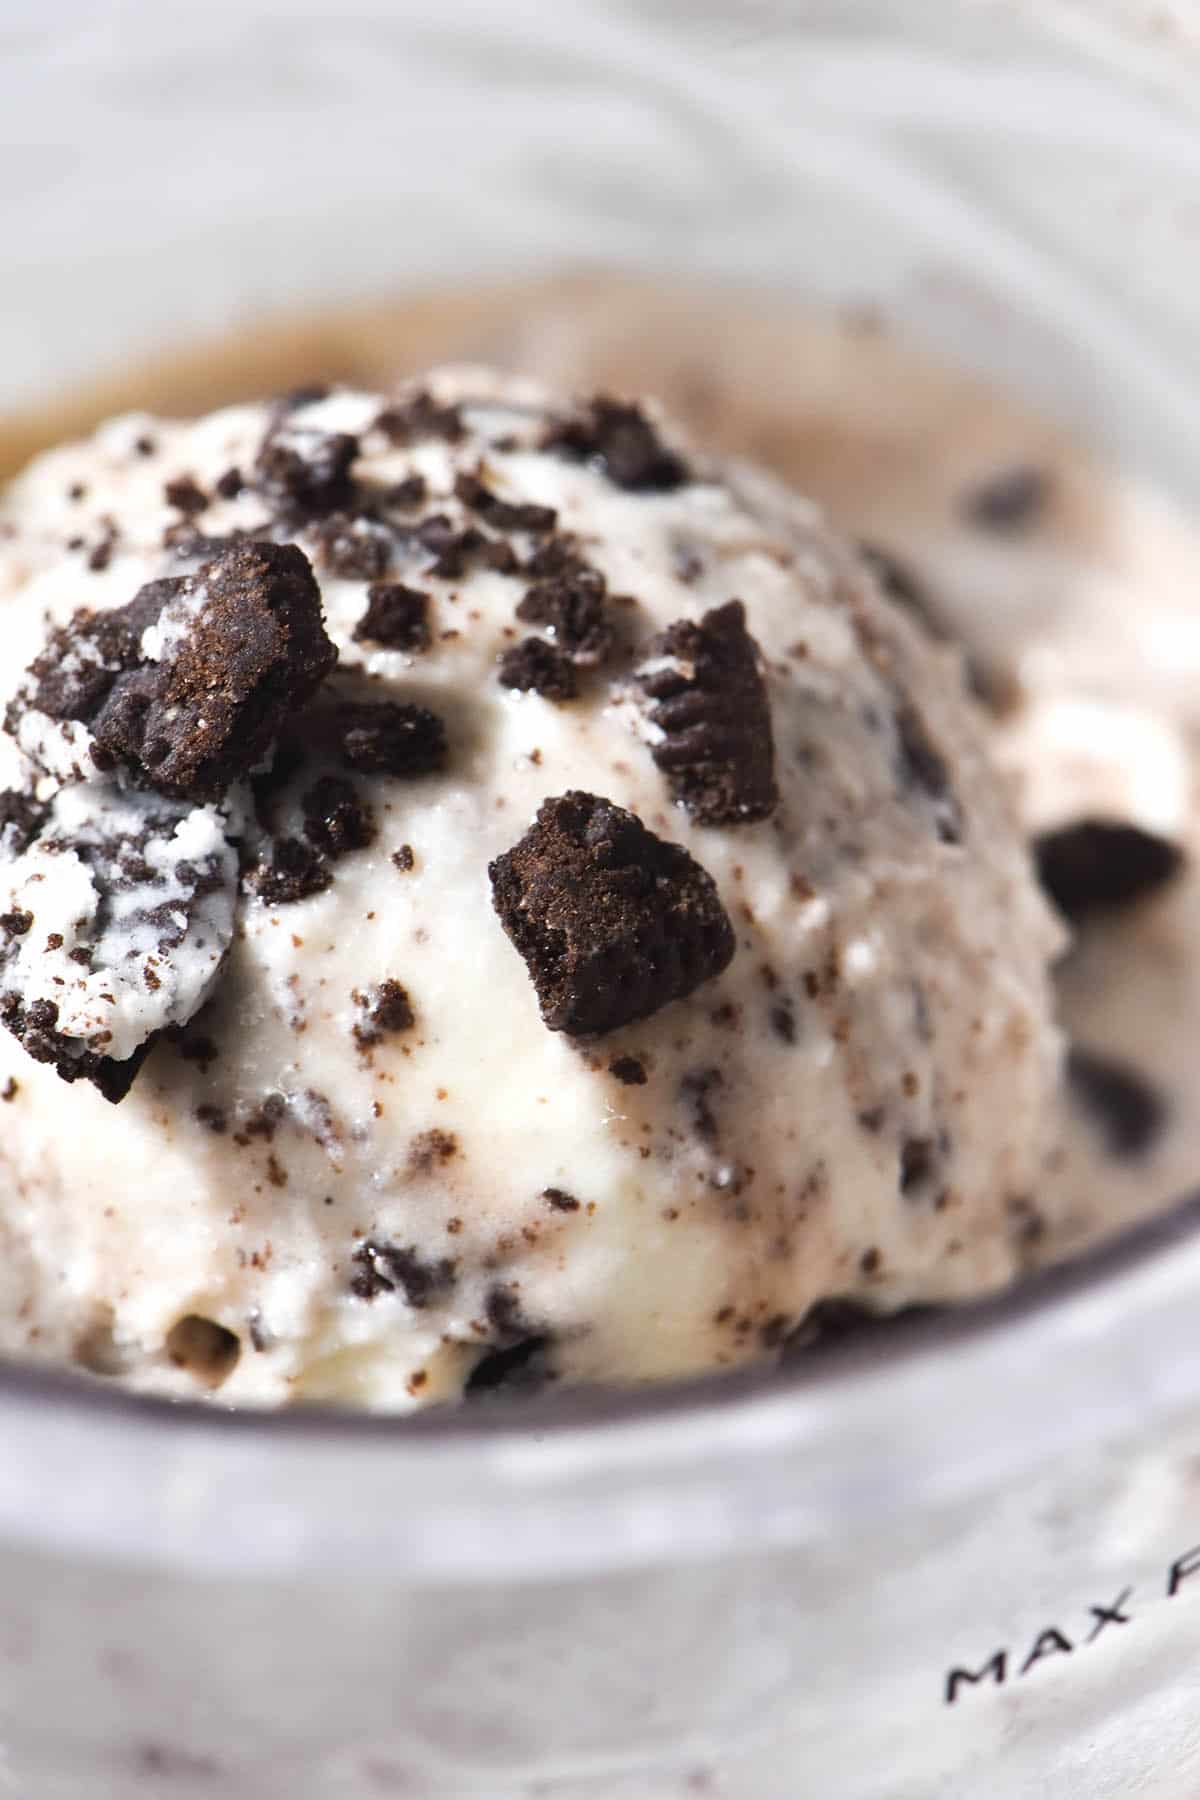
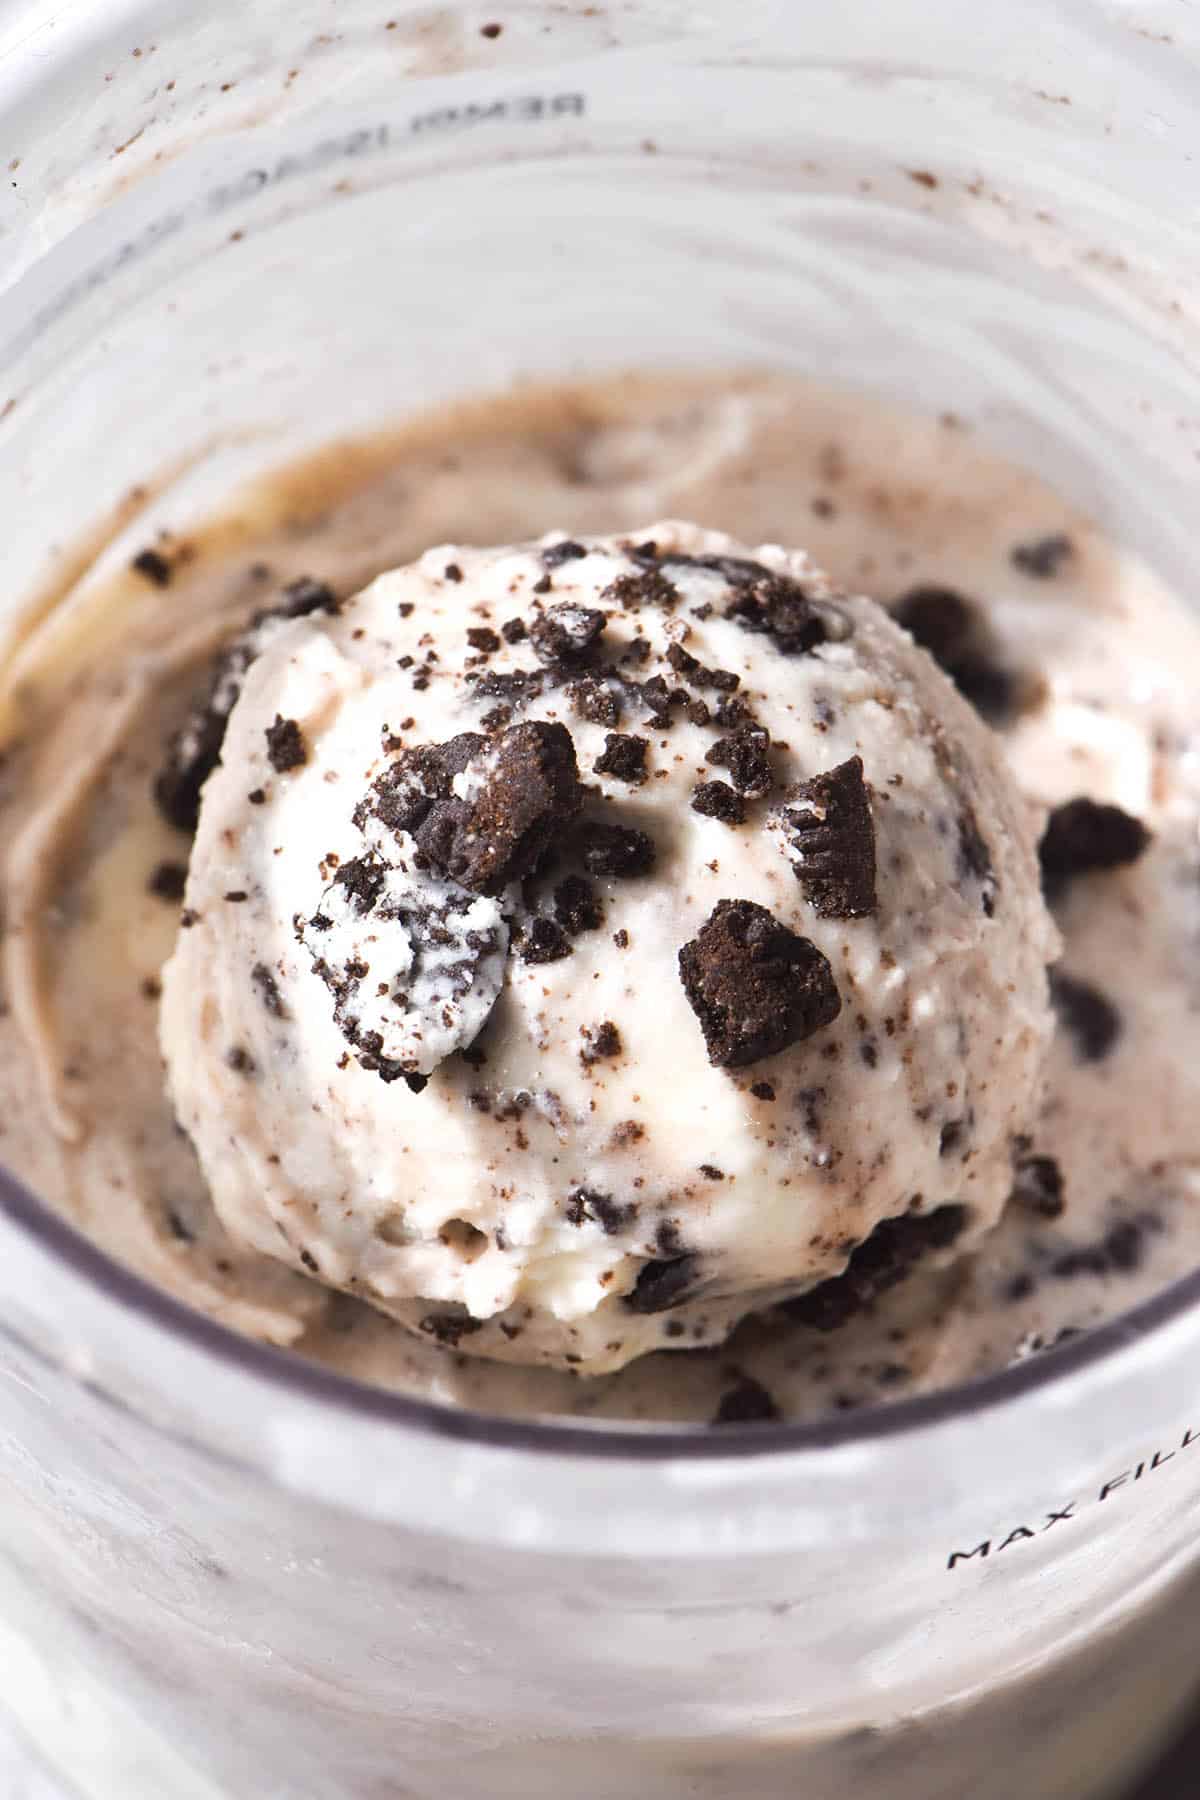
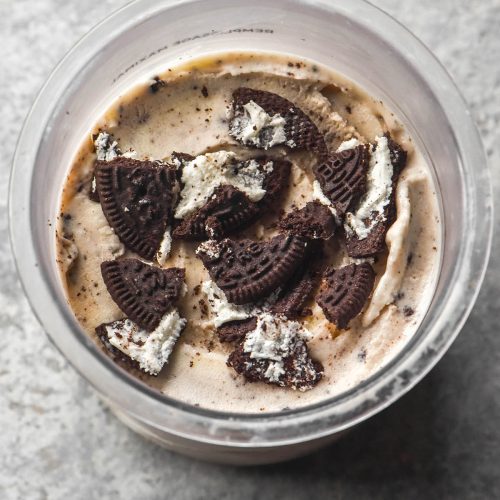
- You can experiment with adding cookies in different ways. Personally, I like to add two gluten free Oreos and respin the mixture, before adding 1-2 more in thick chunks. I don’t spin the chunks – I like to keep them as is, in large pieces of cookie. I feel this gives you the best of both worlds – that classic cookies and cream appearance and taste with the bonus of extra cookie chunks. Play around and see what suits your preferences.
- Sometimes the lack of cookie dispersion from the Ninja Creami leaves something to be desired. If you find that the top of your ice cream is dark brown (aka: all the cookie has stayed at the top) simply stir it through. You can also try and respin but I find this softens the ice cream and I prefer a firmer texture.
Dietary notes and substitution options
Because this ice cream is made without sweetened condensed milk, it is very easy to make lactose free ice cream. Simply buy lactose free full fat milk and lactose free thickened cream (ensure it has 35% milk fat). If you don’t have access to these products where you live, you can easily make your own.
I have a guide on making your lactose free milk here. I also have a recipe for making lactose free thickened cream for whipping here. Don’t whip it (obviously!) but use the instructions for making the cream lactose free.
As a gluten free gal myself, it’s not often that we have a gluten free cookies and cream flavour available. That changes today!
You can use Gluten free Oreos here, but I will note that they contain oat flour. In Australia (where I live) oat flour is not considered gluten free. Oats contain a protein called avenin which is similar to gluten. Many coeliacs react to oats, which is why they are off limits.
Another issue as an Australian is that gluten free Oreos are not readily available. I bought some at USA foods in Melbourne. There are a number of ‘chocolate sandwich biscuits’ available in the health food aisle at the supermarkets. I also have a recipe for 100% buckwheat flour chocolate sandwich biscuits which you can find here.

More Ninja Creami ice cream recipes
- Ninja Creami vanilla ice cream
- Ninja Creami chocolate ice cream
- Ninja Creami high protein ice cream
- Ninja Creami strawberry ice cream
- High protein Ninja Creami recipe e-book (including a high protein cookies and cream recipe)
Ninja Creami cookies and cream ice cream
Equipment
- NC300 Ninja Creami machine with a 470ml tub
Ingredients
For the ice cream:
- 75-100 g caster/superfine or white sugar
- 200 g milk I used full fat but I daresay light would also work
- 200 g full fat thickened cream 35% milk fat, also known as heavy whipping cream or whipping cream in other places
- ½ – 1 teaspoon vanilla bean paste or extract to your tastes
- Tiny pinch of fine salt
To finish:
- 2-4 Oreos or chocolate sandwich cookies regular or gluten free if needed
Instructions
- Combine the sugar and milk in a medium mixing bowl. I find this easier as the sugar won’t get stuck in the little grooves of the Creami tub. Allow the sugar to dissolve (this will only take a minute if you use caster sugar; it might take a little longer if you use regular white sugar as the granule is bigger).
- Add the cream and flavourings and whisk to combine.
- Pour the mixture into the 470ml Ninja Creami tub – it should come up to just below the fill line.
- Freeze the ice cream mixture for 16-24 hours with the lid off.
- Process the ice cream using the ice cream function. I find this mixture comes out with a great texture on the first spin.
- Dig a hole in the middle of the cream and crumble 2 biscuits into the ice cream. Place the lid back on and process the ice cream on the mix in function. If the cookies are still at the top, you can either stir them through or try respinning the ice cream. Note that respinning tends to soften the ice cream, so you might need to chill it again after more than one respin.
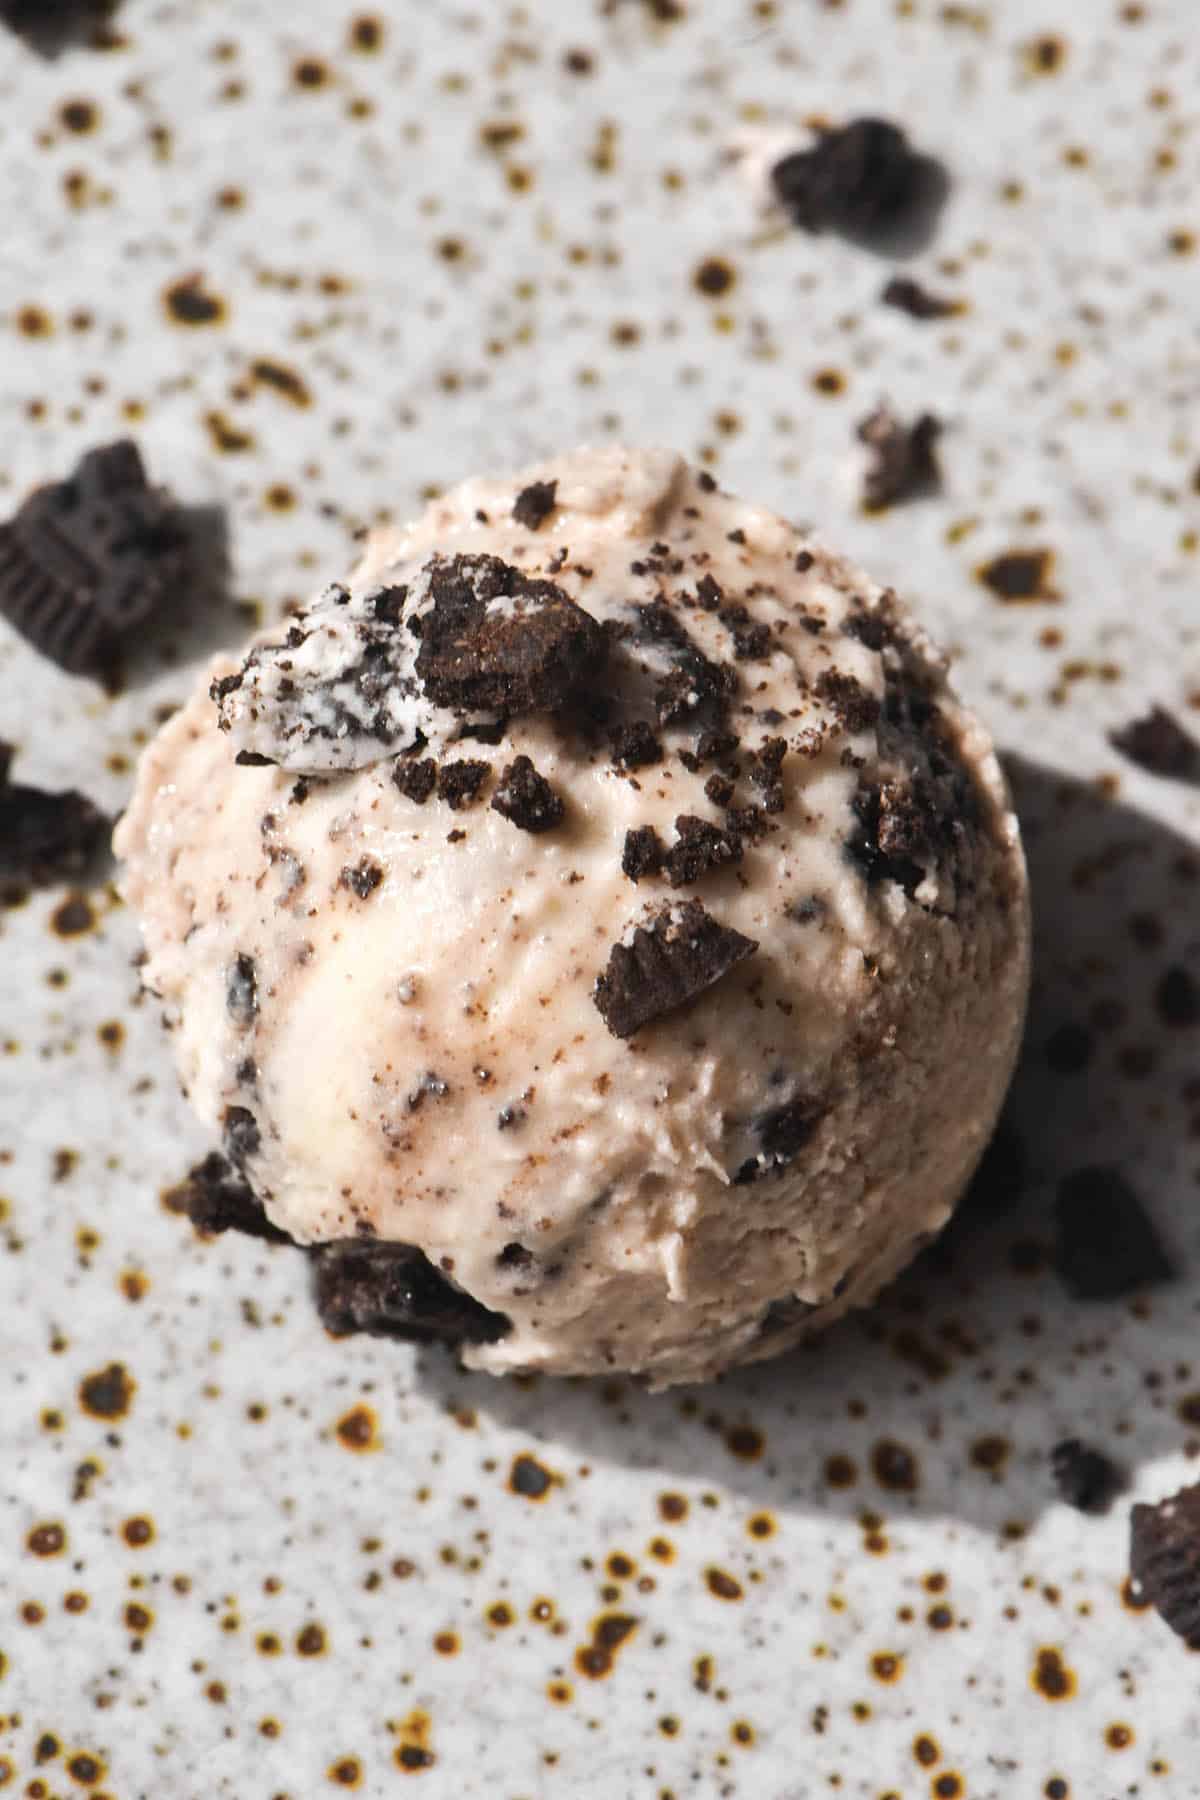
- I like to serve my ice cream with larger crumbles of 2 additional cookies but this is optional.
- Return any leftovers to the freezer with the lid on. I find ice cream recipes with a cream base don’t require respinning when you want to eat the leftovers.
Notes
- I haven’t tested any sugar alternatives in this recipe.
- I have a dairy free/vegan Ninja Creami vegan vanilla ice cream recipe here. The instructions to make it into a vegan cookies and cream flavour are in the post.
- Store bought gluten free Oreos can be hard to come by (particularly here in Australia). It’s also worth noting that they contain oat flour, which isn’t considered gluten free in Australia.
- If you need the cookies and cream to be gluten free, there are some gluten free chocolate sandwich biscuits available in supermarkets. I also have a recipe for gluten free chocolate sandwich cookies here.
Would it be possible to use a plant-based milk instead of a lactose-free one?
If you can, are there ones that you would recommend?
Hi Frania, I haven’t tried that but you would also need to replace the cream which can be tricky.
I do have a recipe for a vegan vanilla Ninja Creami here – https://georgeats.com/recipes/ninja-creami-vegan-vanilla-ice-cream/
You could add cookies to that mix instead 🙂
Hello can I use granulated sugar instead? And if so is it the same measurements?
Hi Natasha,
I assume you are referring to regular white sugar here? If so then yes, it can be used. Follow the instructions in the recipe card for white sugar (basically just ensure it has dissolved as it is a larger granule than caster/superfine sugar)
🙂
Why freeze with lid off ?
It helps to minimise a frozen hump in the mixture which can damage or even break the blades of your machine