

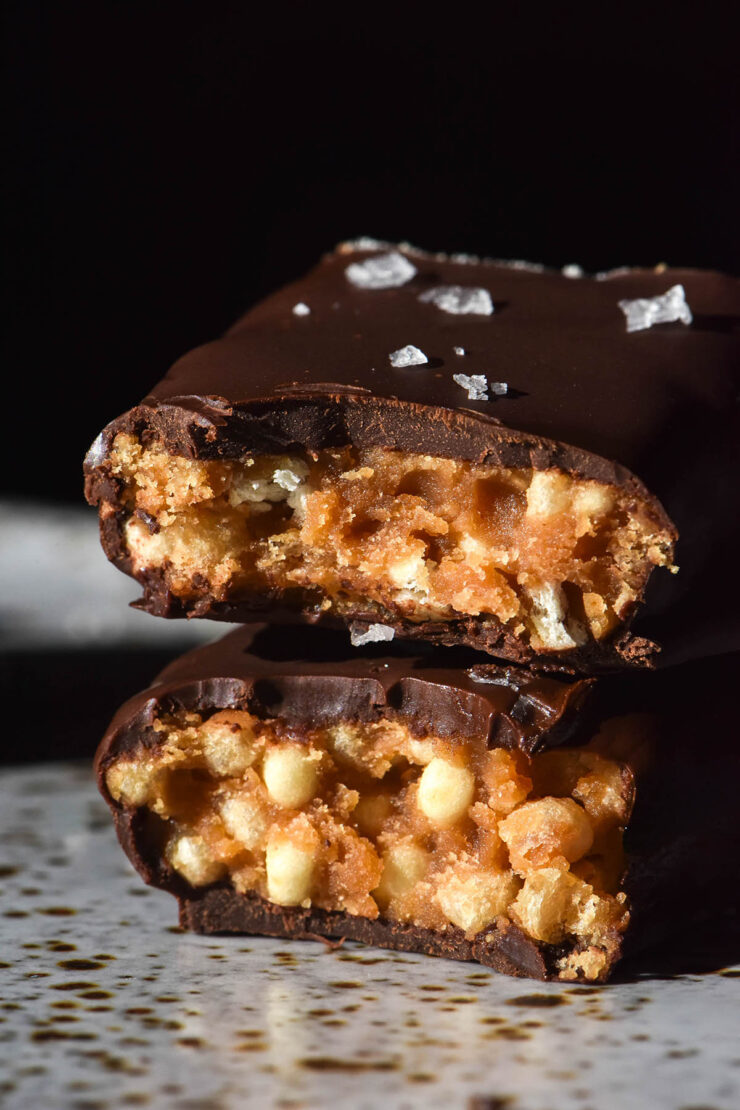
I recently saw that the supermarket started selling whey protein crisps. Intrigued (as I work on the assumption that soy crisps are not low FODMAP and thus haven’t tried them) I bought a packet. The result? These delicious protein crisp bars (that can also be made with soy protein crisps).
The bars are made from a simple mix of peanut butter and maple syrup. You can add some protein powder if you need to (I used pure peanut protein) to create a pliable mixture you can shape by hand. In go your protein crisps of choice before the bars are shaped and dipped into some good quality dark chocolate. Easy and delicious.
A note, before we dive in. I am in a low calorie girl or a calorie counter. Personally, I’d class this recipe as a sweet treat that happens to contain protein crisps. A bit of fun, you know?
Ingredient notes
This recipe uses either whey protein crisps or soy protein crisps. Use whichever is best for your dietaries and needs. For the vegan option, use soy protein crisps.
I have used smooth, natural peanut butter (Mayvers dark roast here in Australia). A nice oily peanut butter is fairly critical to success here (more on this later). I do not recommend any dry homemade style peanut butter varieties here.
Personally, I think maple syrup is the best sweetener for the job in this recipe. It adds a good amount of sweetness while helping to thicken and bind the bars together. I haven’t tested other sweeteners – they may work but you will be experimenting. Artificial sweeteners are not something I work with that often and I haven’t tested any of those.
The dark chocolate shell helps hold everything together even if the bars are falling apart in the chocolate. I don’t recommend omitting this for practicality but also for the added deliciousness.
Recipe tips
The mixture being stiff enough to shape is what this recipe relies on. You need to use a nice smooth yet oily peanut butter and a bit of elbow grease. If your mixture is not thickening, add a teaspoon of water. The peanut butter should seize up with the addition of liquid (as it does with the maple syrup, albeit gradually) and thicken the mixture.
If the protein crisps aren’t sticking to your bars as you shape them, add a splash of water to stick them on. Same goes if the mixture is a little dry as you shape it – add a tiny amount of water.
Use force to shape them into bars. The mixture needs to be packed tightly to hold form. If you are not confident with shaping bars, make them into balls instead. You might need a bit more chocolate to coat balls but the recipe is otherwise the same.
If your mixture is too thin to shape, add a bit more protein powder or keep stirring. You should be able to squeeze and shape the mixture with relative ease.
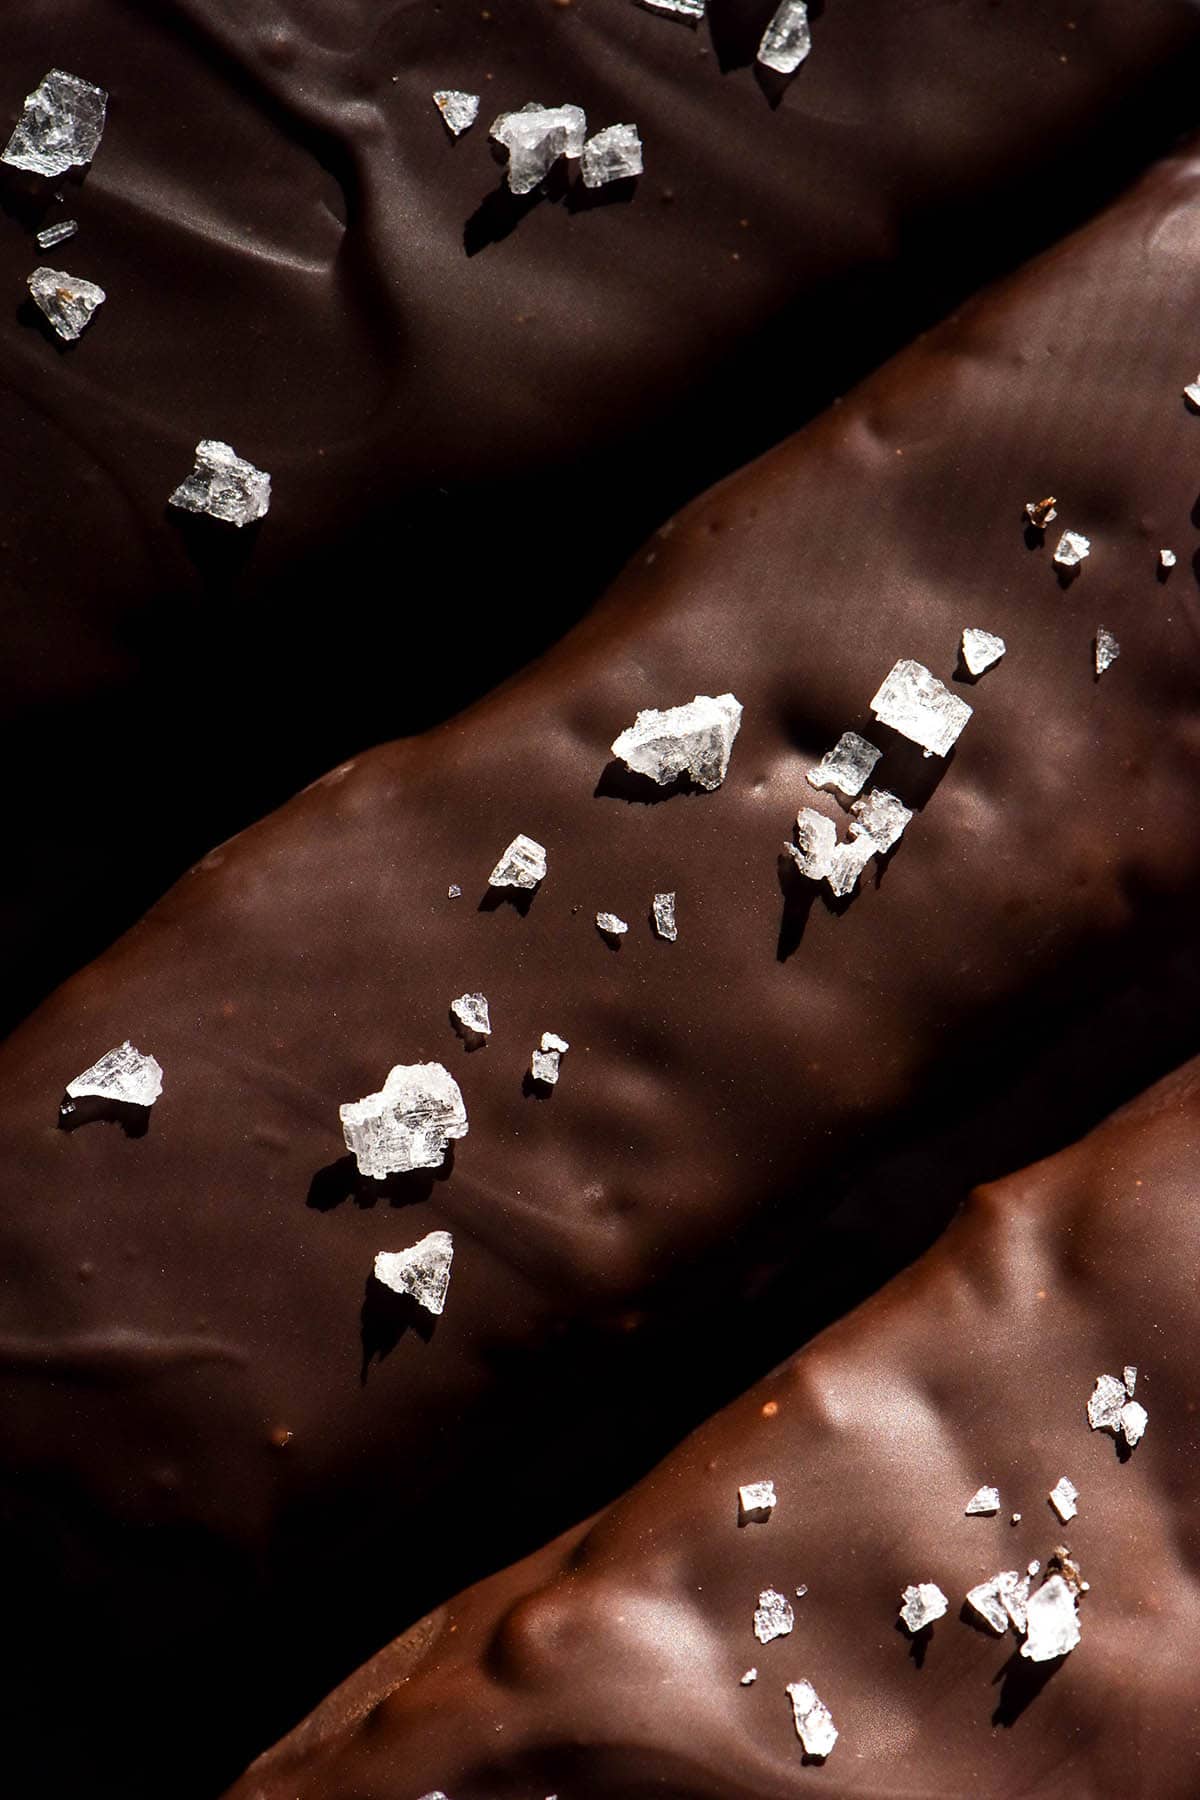
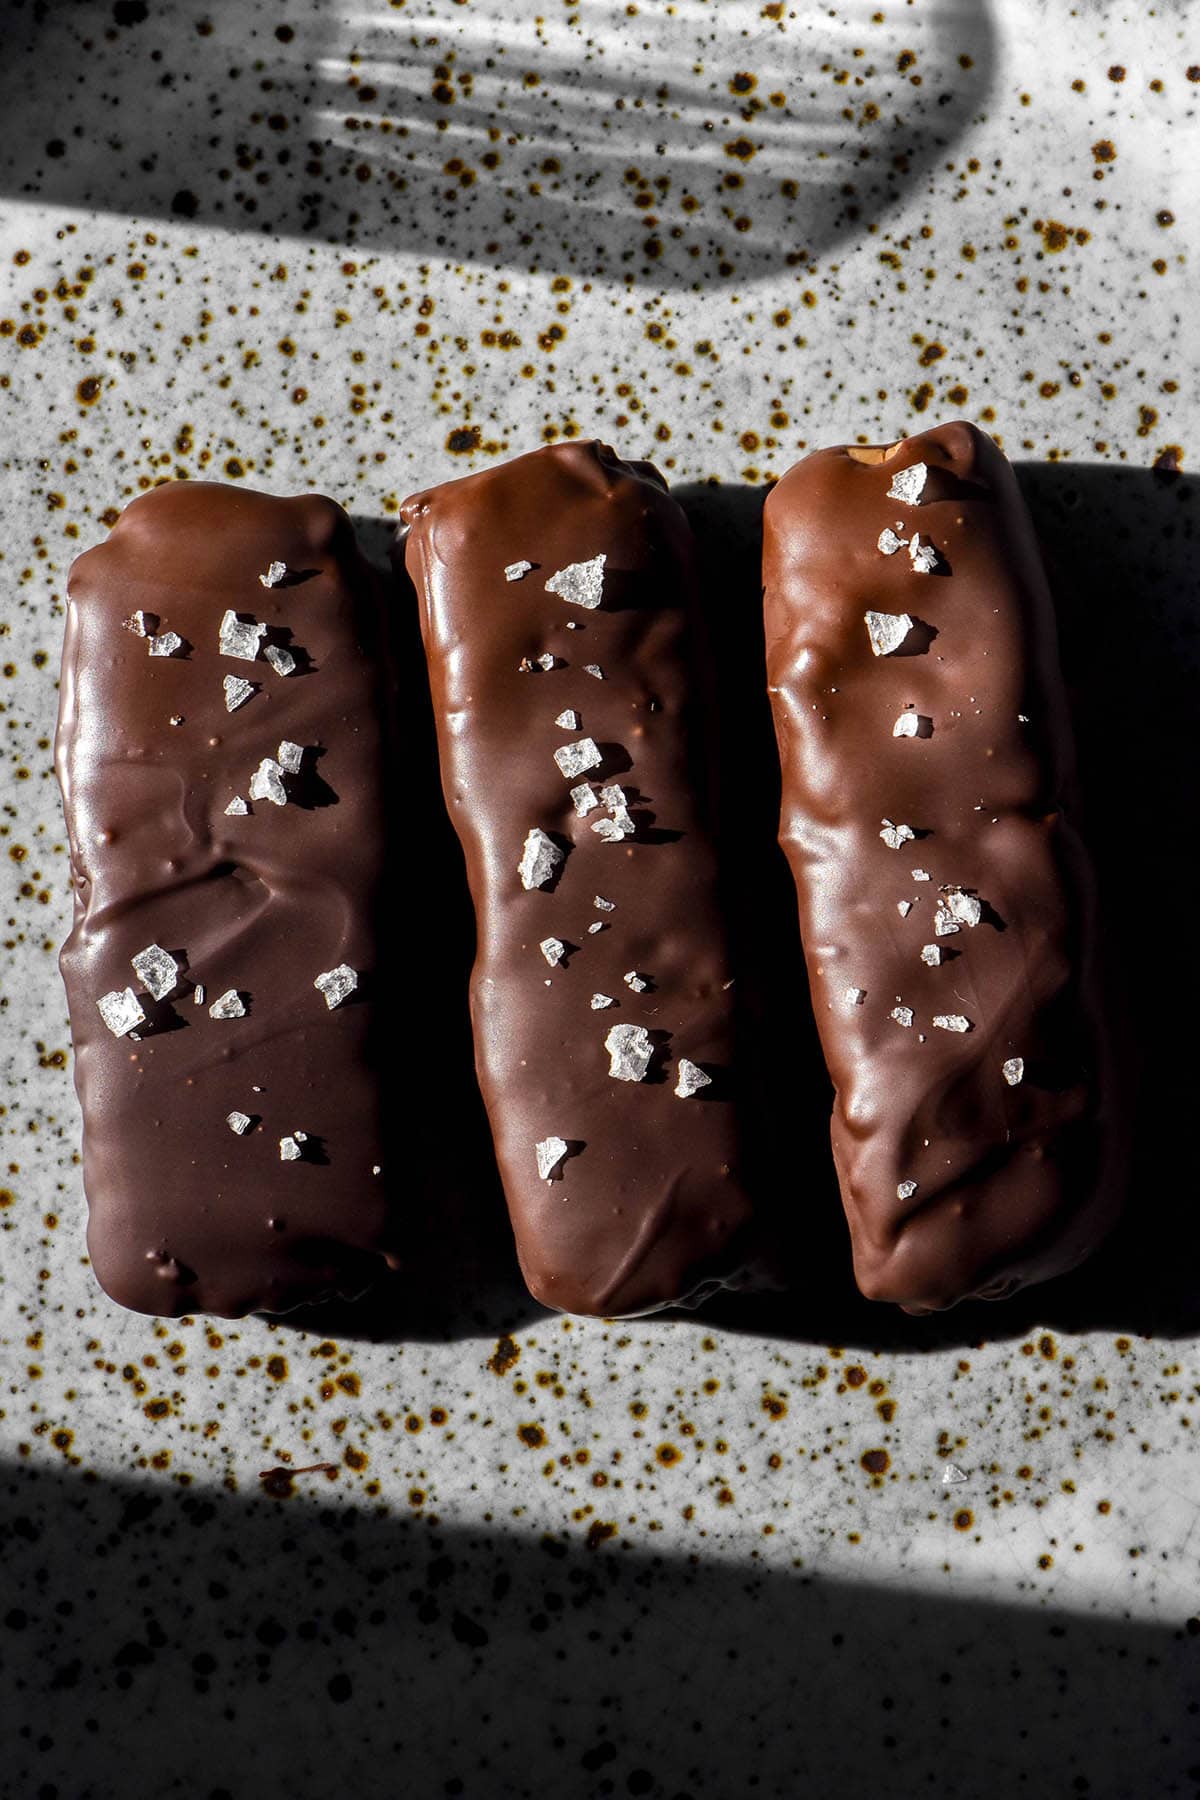
Topping chocolate coated things with sea salt flakes (if you want to) is a bit of an art. The chocolate needs to be 99% set and dry before you sprinkle the sea salt so that it doesn’t soak up liquid and dissolve. For everyday eating it is easier to omit but it does look pretty for photos!
How much protein is in these bars?
Let me preface that I have not developed this recipe to be low calorie. I’d classify it as a sweet treat that happens to contain sources of protein. I don’t count calories and I can’t offer any advice on low calorie options.
How much protein these bars contain depends on your protein powder and could vary slightly based on where you live. I am calculating the protein based on the ingredients I used which are listed in the recipe card.
This recipe contains approximately 91g protein. Divided between 6 bars, each bar contains approximately 15.1g protein. Divided between 8 bars, each bar contains approximately 11.3g protein. Again, these values are based on the ingredients I used. For values specific to you and your ingredients, plug them into something like My Fitness Pal.
More protein recipes
- Ninja Creami high protein sticky date pudding ice cream
- High protein porridge recipe
- Gluten free protein pancakes without protein powder
- Chocolate protein chia pudding
- Gluten free vegan high protein bread
Protein crisp bars (gluten free, vegan option)
Ingredients
For the bars:
- 125 – 150 g smooth natural peanut butter with a good amount of natural oil (I used Mayvers)
- 50-75 g maple syrup (according to your sweet tooth and the sweetness of the chocolate you use
- 50 g soy crisps or whey protein crisps
- 1 teaspoon water (as needed to seize up the mixture)
- 10-20 g protein powder (important: see notes)
- Pinch of fine salt
For the chocolate coating
- 150- 200g dark chocolate (important: see notes)
Instructions
To make the bars:
- Line a large baking tray and set aside.
- Measure the peanut butter and maple syrup into a medium mixing bowl. Stir and keep stirring until the mixture seizes up into a cookie dough consistency. This might be quick or it might take a bit of time. If it isn't seizing up, add a teaspoon of water and keep stirring.
- Once you can pick up a piece of the mixture without it sticking to your hands, add the remaining ingredients for the bars. Stir well until completely combined. You should be able to pick up mixture and roll it into a ball with your hands easily. If it is too thin for this, add a bit more protein powder. If it feels too dry or crumbles if you squeeze a ball of it, add a small splash of water.
- When the consistency is easy to work with, divide the mixture into 6-8 balls. 6 is easier to work with, but I found the bars were a bit too substantial. I generally divide it into 8.
- Use your hands and a clean, dry surface to shape each ball into a log. Shunt in the long and short sides with firm pressure to create rectangular bars. If you pick it up, it should hold shape easily. The size will be dictated by how many bars you are making and you preferences, but mine are generally around 8-10cm long, 2cm tall and 3 1/2 – 4cm wide (3-4 inches long, 0.7 inches tall and 1.3-1.5 inches wide).
- Arrange each shaped bar on your lined baking tray. Once you have finished shaping them, put the tray in the freezer for 10-20 minutes to make the chocolate coating easier.
To finish:
- Melt the chocolate using a double boiler. Once completely melted, take the bowl of chocolate off the pot and retrieve your bars from the freezer.
- Drop the first bar gently into the melted chocolate. Use two forks to flip the bar around and coat it in the chocolate on all sides. Work quickly but decisively as the bars can soften and snap. When you take the bar out of the chocolate, support the middle of the bar with one of the forks.
- Allow the excess chocolate to drip off before transferring the bar back to the lined tray. Repeat with the remaining bars until they are all coated.
- Once you have coated all the bars, return them to the fridge to set for at least half an hour. The bars keep nicely in a cool environment but the chocolate will melt in warm climates. I recommend keeping them in an airtight container in the fridge.
Notes
- You need a nice oily peanut butter for these bars to work. Dry varieties will not have enough oil to make the dough like consistency.
- Use a natural peanut butter without any sweeteners.
- Because these bars have plenty of sweetness from the maple syrup and dark chocolate coating, I recommend using an unsweetened protein powder. I used Coles brand peanut protein which is just 100% protein powder. You can’t taste it but it thickens the mixture and adds protein. A win win.
- Different types of protein (whey, pea, rice etc) have different consistencies and different thickening abilities. I have only tested peanut protein so I recommend adding any other variety conservatively until you reach the right consistency.
- If your protein is sweet, you might find these bars too sweet. I recommend using a protein powder with minimal or no sweeteners. Use the 50g maple syrup instead of 75g.
- How much chocolate you need for coating depends heavily on how many bars you make (less bars = less chocolate) and whether or not you are making balls instead (balls = more chocolate). Personally, I prefer to melt a bit too much and save it. Coating bars with your hands or a spoon leaves a dull matte finish and a very homemade look (not that it’s important, but still).
- If there is leftover chocolate, line a small bowl with cling wrap. Once the chocolate is cool but still liquid, use a silicon spatula to transfer the leftovers into the cling wrap. Wrap it up and put it in the fridge.

No Comments