I’ve published my Ninja Creami vanilla and chocolate ice cream recipes, so now it is time to complete the Neopolitan trifecta with this Ninja Creami strawberry ice cream. It is incredibly easy to make and requires only 4 ingredients – strawberries, sugar, lemon juice and thickened cream.
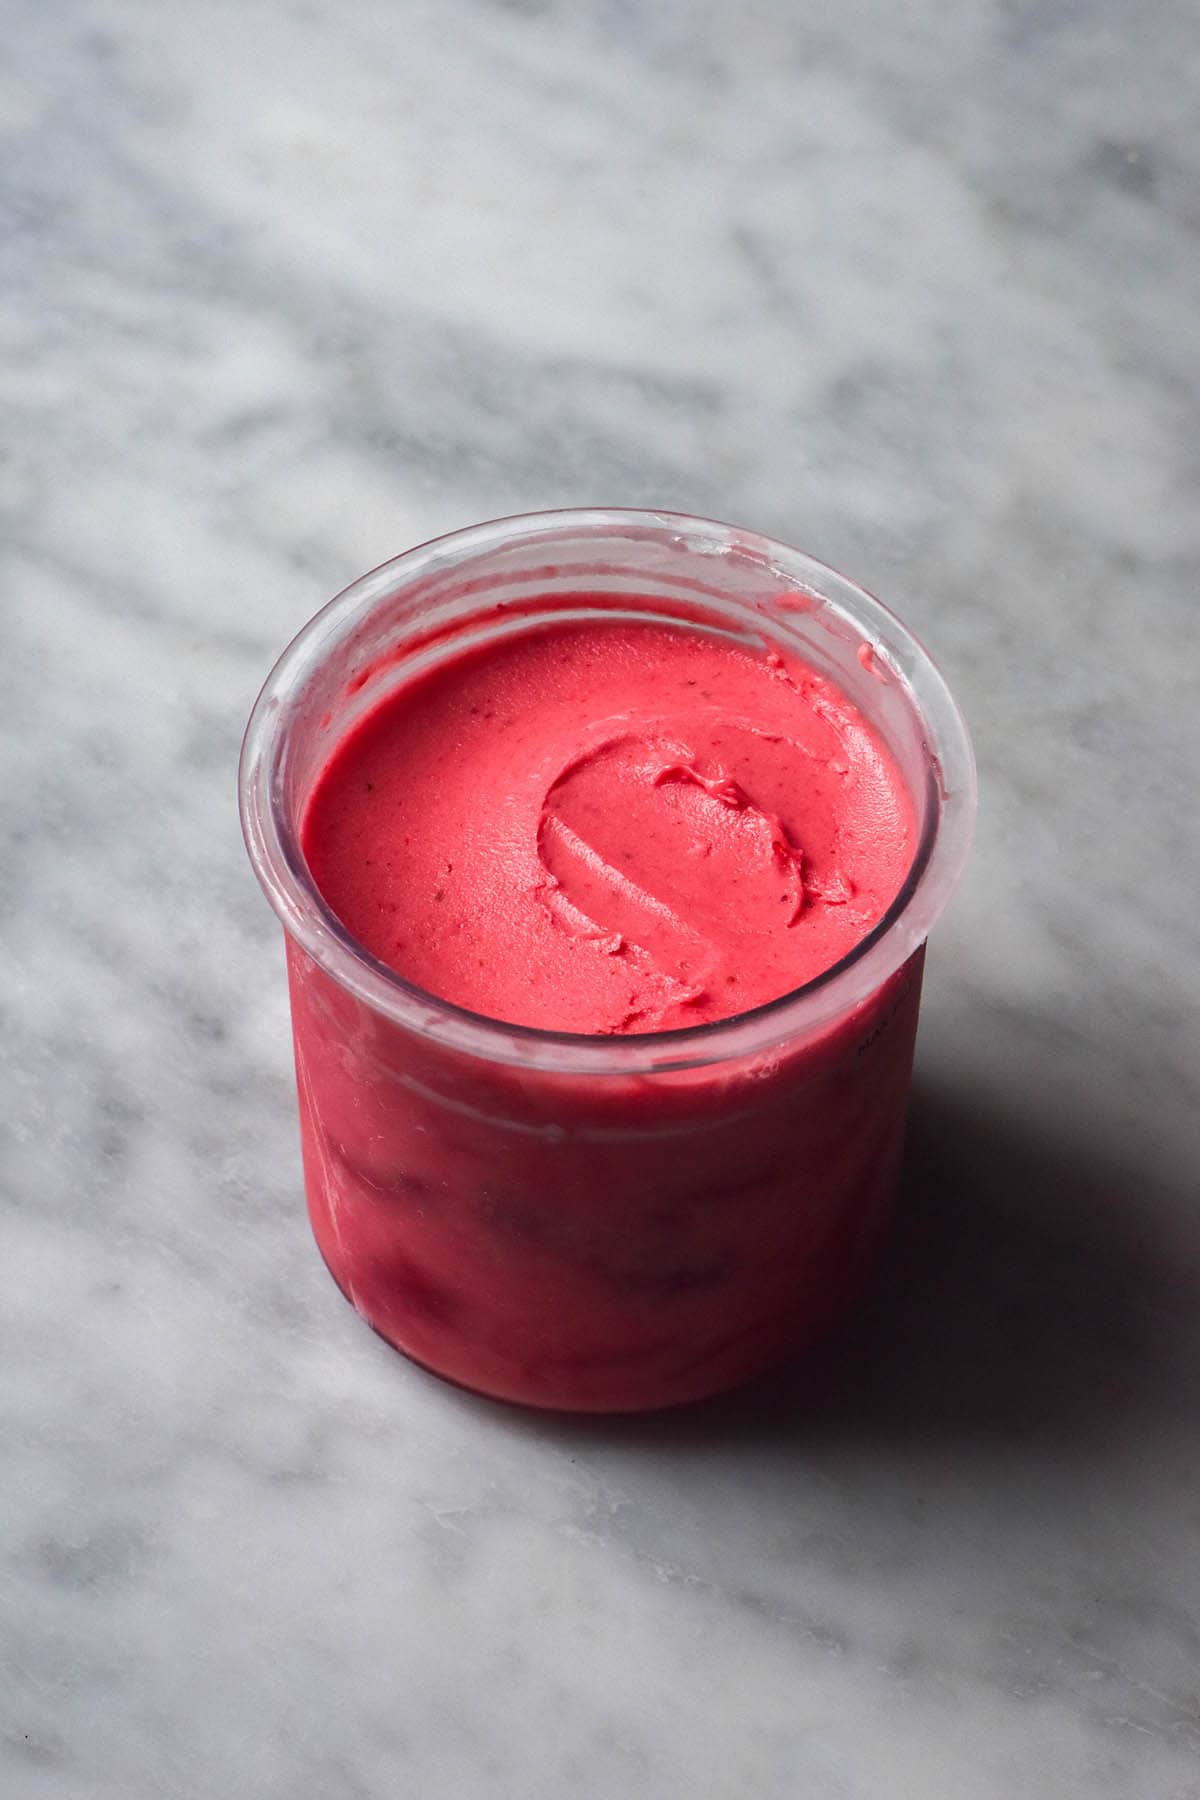
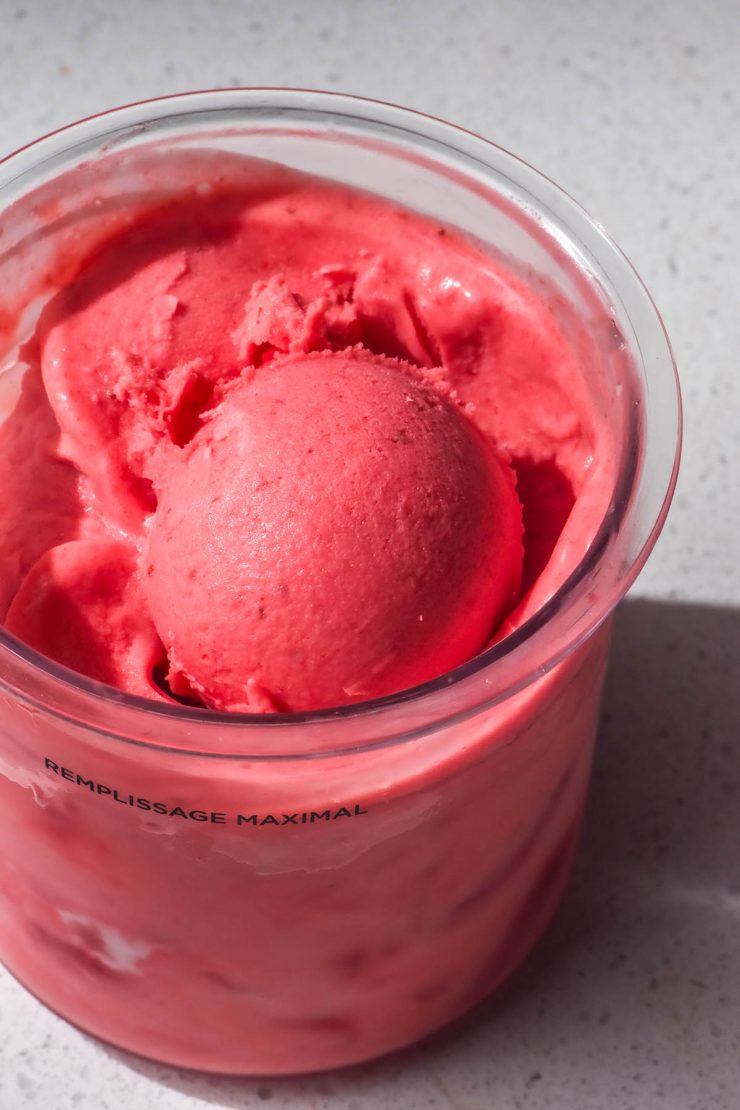
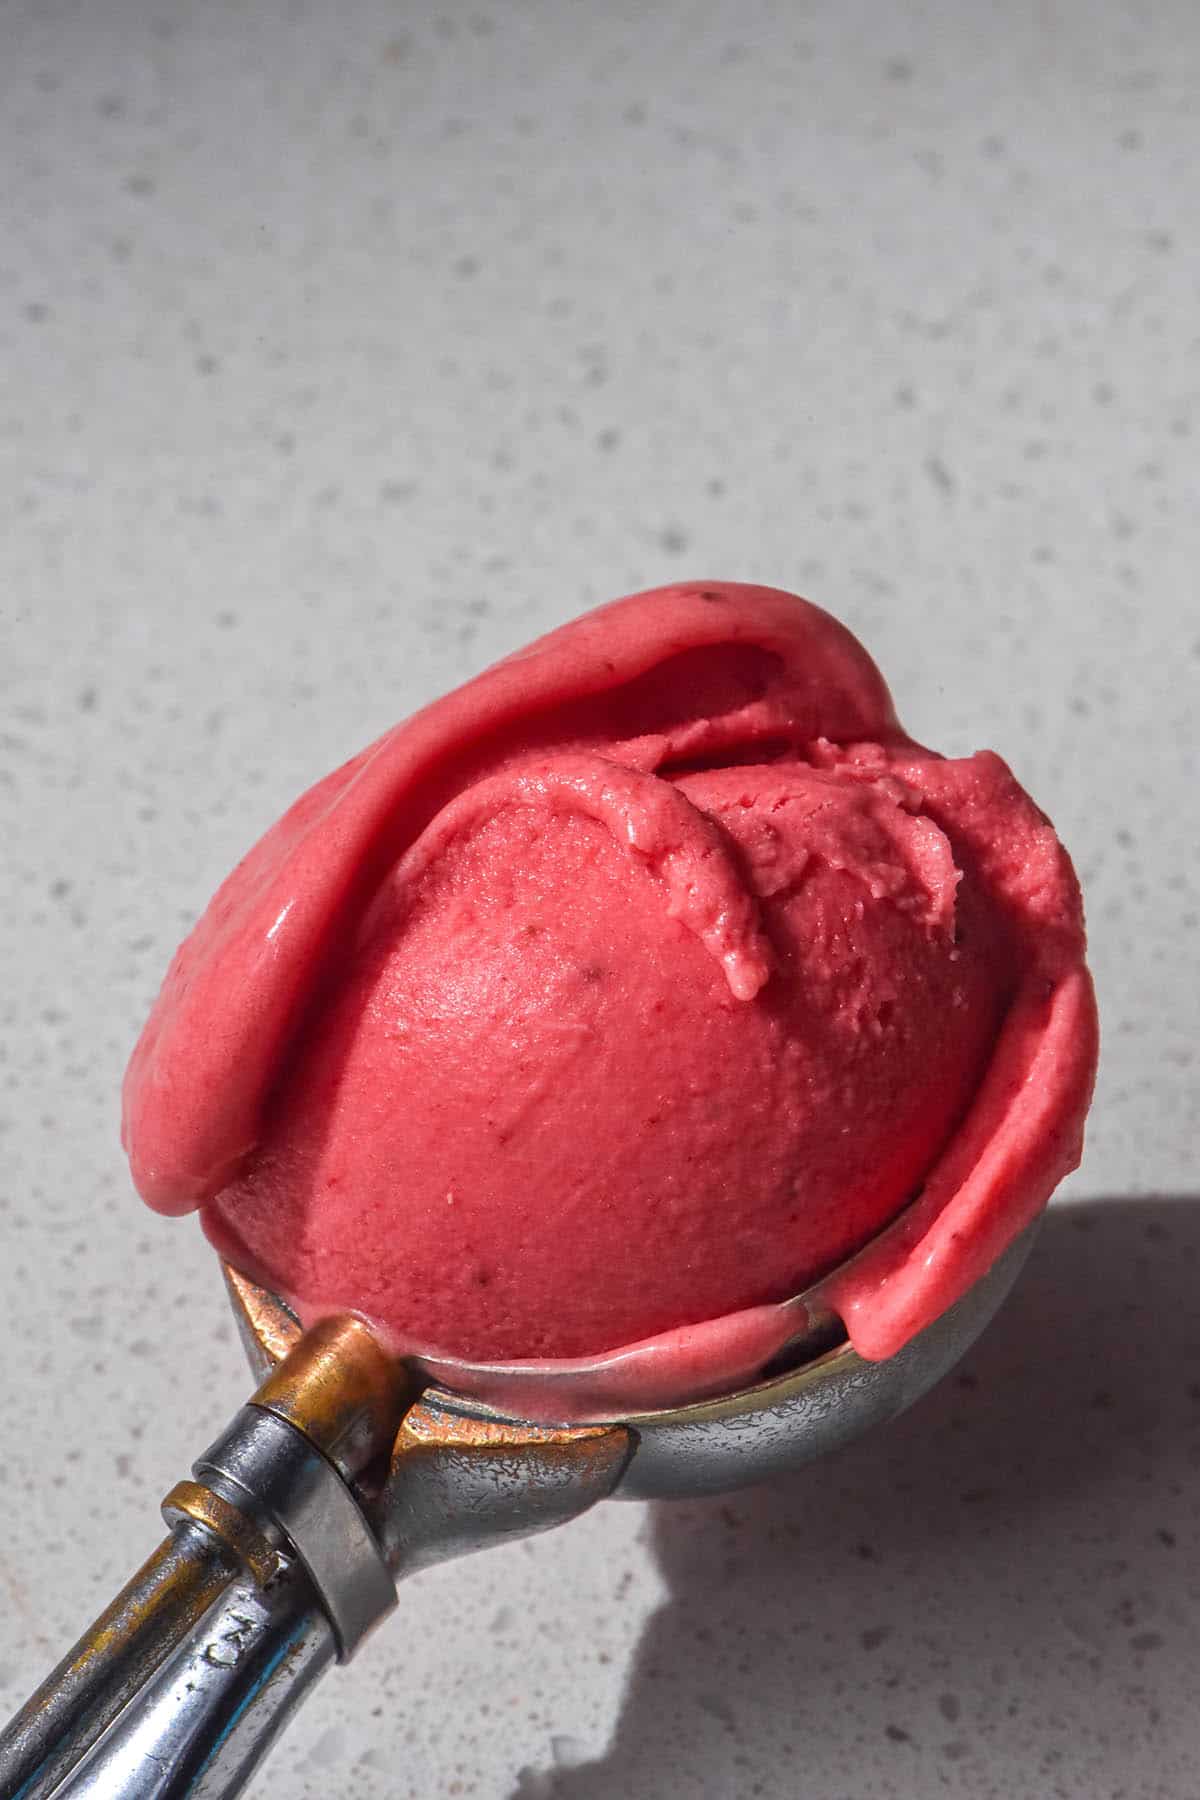
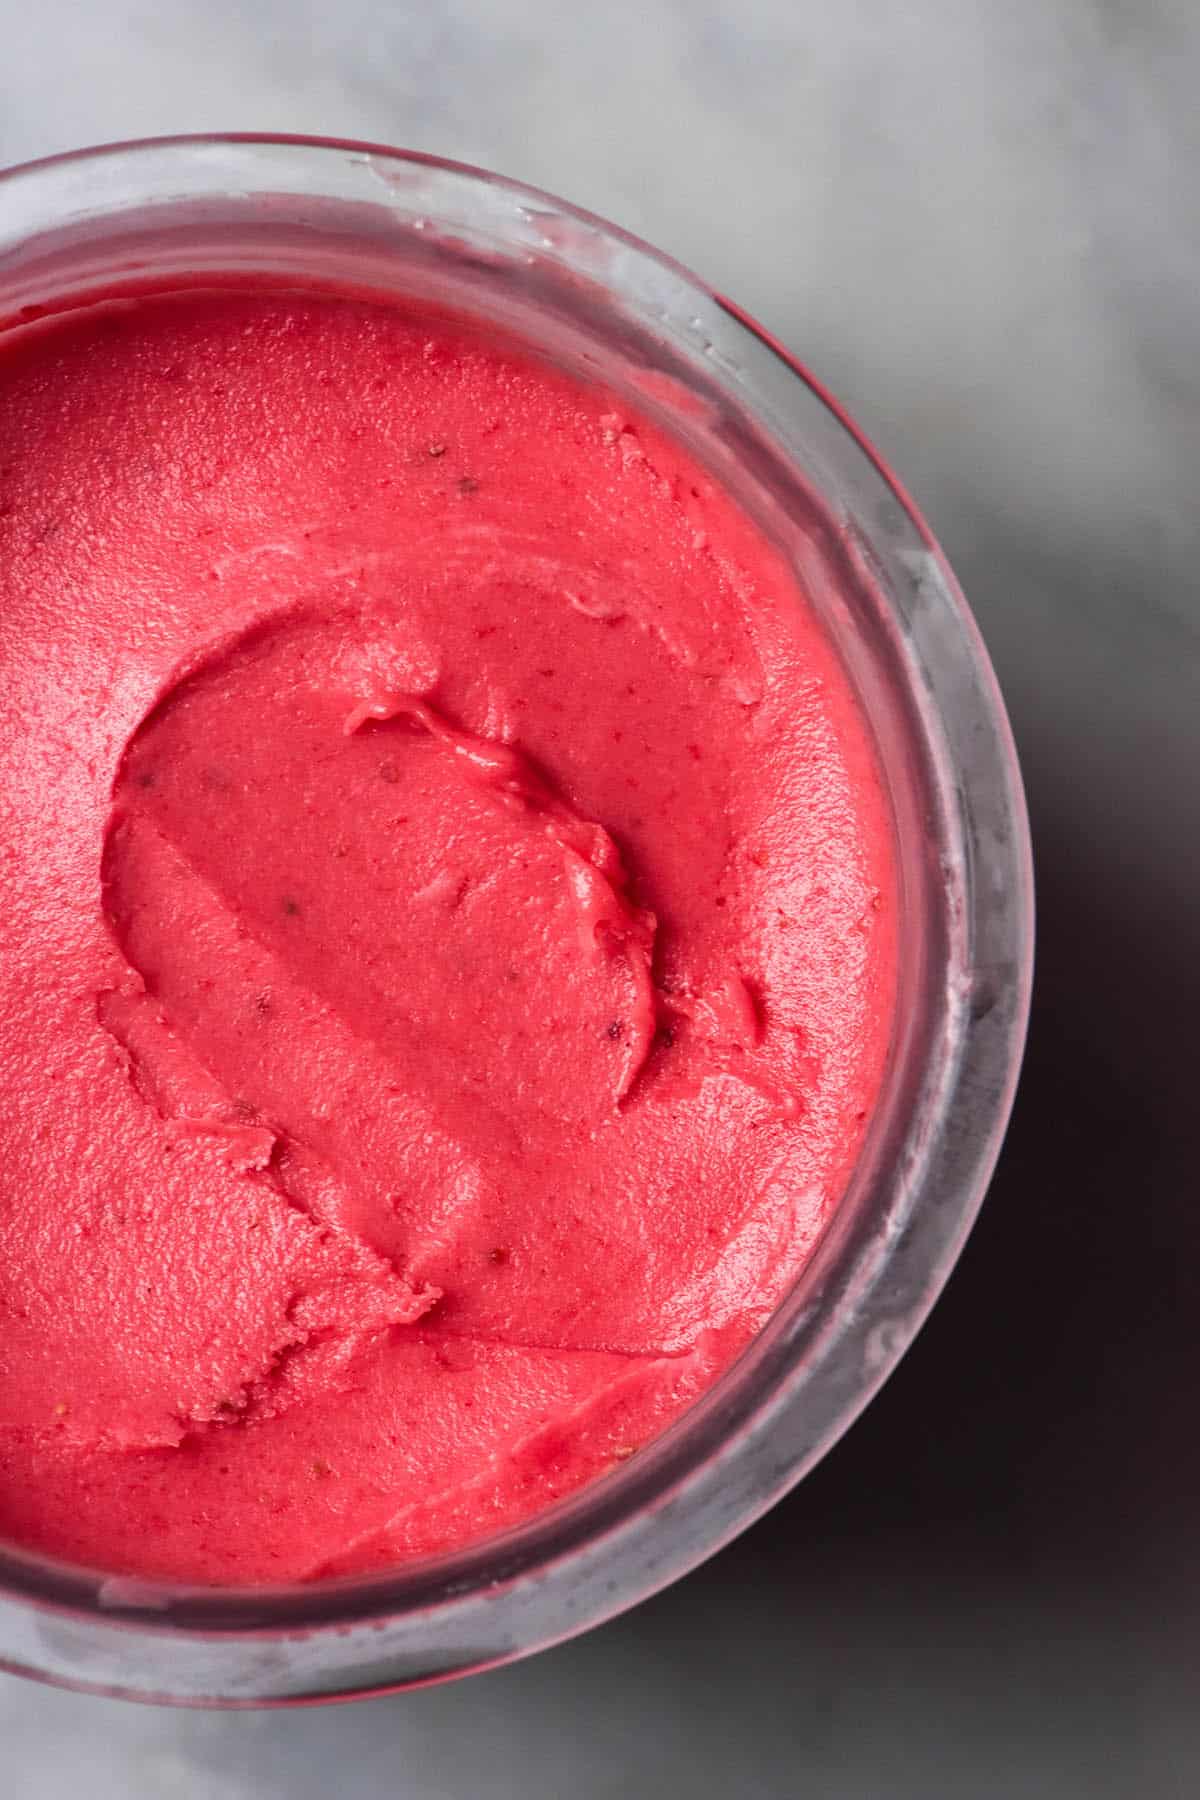
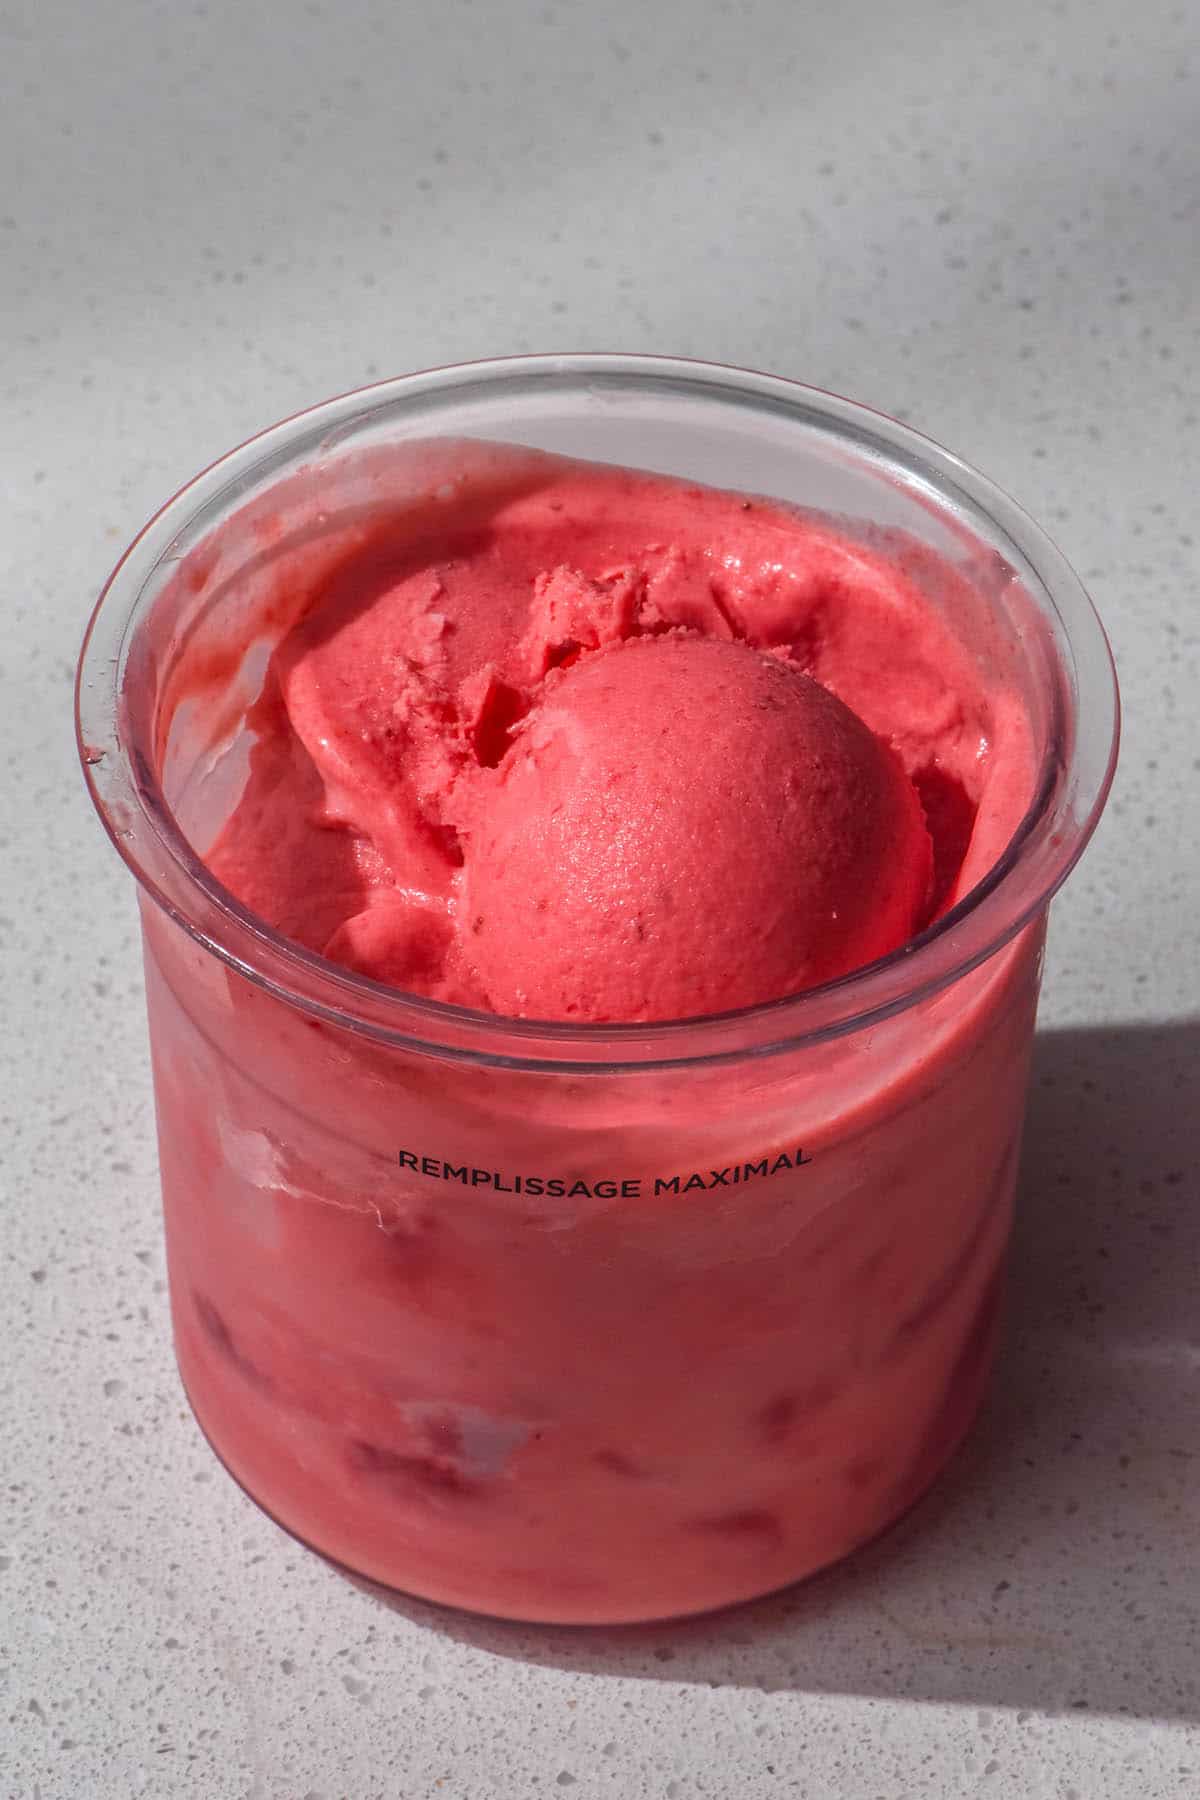
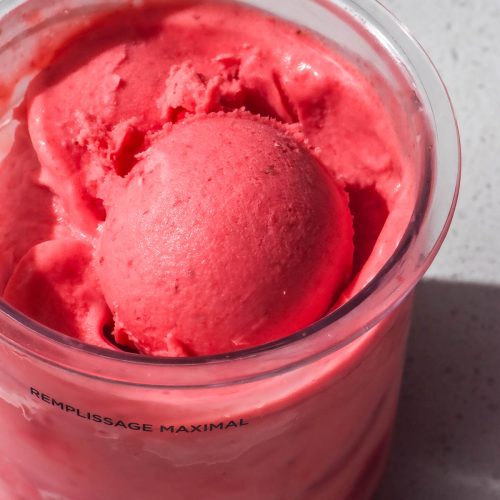
Ninja Creami strawberry ice cream
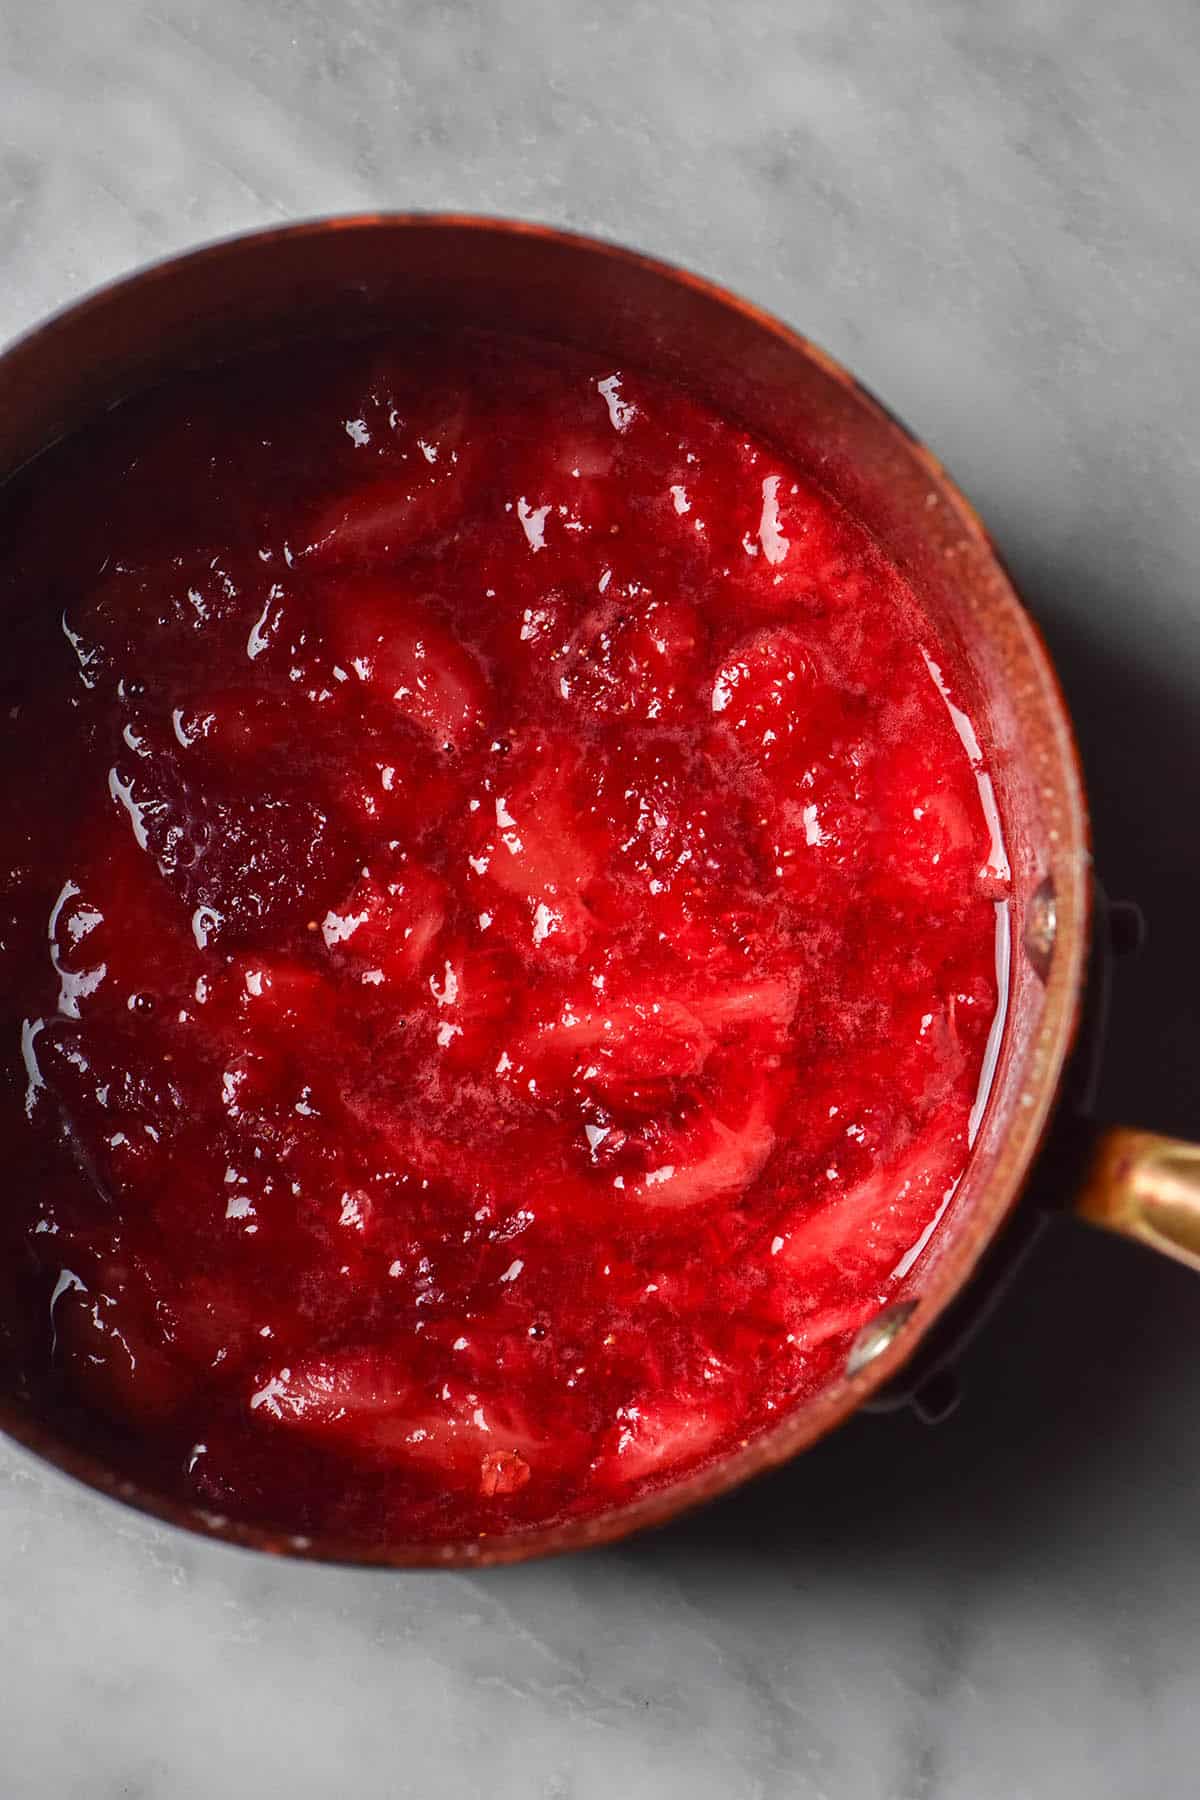
This strawberry ice cream requires only 4 ingredients, as we have discussed. Vibrant fresh strawberries are chopped and cooked with sugar and lemon juice. Not only does this create a vibrant colour and flavour, it also breaks down the strawberries so there is no need to blend the mixture.
Using the sugar and lemon juice creates the perfect balance of sweet and tart; just as a strawberry (and strawberry ice cream) should be.
Finally, thickened/heavy/whipping cream is added for creaminess, flavour balance and texture.
The result? A bright, fresh and boldly strawberry flavoured ice cream that is full of flavour yet still creamy.
This recipe is naturally egg free and gluten free. With the right ingredients, you can make lactose free strawberry ice cream as well.
Tips for making your ice cream taste of strawberries
I couldn’t think of a more succinct way to word this, so here we are. There are a few ways to ensure you get the most strawberry tasting ice cream possible here.
- Buy fresh summer strawberries. I know, sorry! But fresh and seasonal are always the best. They will be the sweetest and taste most like strawberries. I haven’t tested this recipe with frozen and defrosted strawberries, but I will give a taste comparison when I do.
- In testing, I found that the version with gently cooked berries was the most vibrant in taste and colour. It only takes 5 minutes, but really brings out the vibrancy of the berry. As an added bonus, it dissolves the sugar.
- The sugar and lemon juice added to the cooked berries layer the flavour and bring a contrasting element. They bright a brightness and fresh strawberry flavour to your ice cream.
- Add a splash of vanilla and a pinch of salt. Both of these will help bring out the flavour of the ice cream and add some contrasting elements.
- Finally, a quirky one: cracked black pepper. In researching this recipe, I discovered that black pepper brings out strawberry flavour. I added two cracks of black pepper to my ice cream and I recommend you give it a whirl too. Another option is to add a tiny splash of balsamic vinegar. Weird, but it works.
How to make lactose free strawberry ice cream
If you want to make lactose free ice cream, you have options. Lactose free thickened cream is easy enough to buy in Australian supermarkets. If you are not based in Australia and lactose free dairy is not available, fear not.
I have a recipe for lactose free thickened cream here (only use the first instruction, don’t whip the cream).
Once you have your lactose free cream and condensed milk sorted, you can proceed with the recipe as written. Deliciously rich and creamy lactose free strawberry ice cream, at your fingertips!
Can I make Ninja Creami vegan strawberry ice cream?
Yes, you can! I made this recipe using Flora Plant thickened cream and it worked beautifully. The texture was arguably even better than the cream version courtesy of the gums in the vegan cream. The plant cream, for anyone interested, tasted pretty much just like regular cream – no weird flavours.
I’m based in Australia, so I could only buy the Flora thickened cream in the Tetra Pak. The version in Australia contains 31g of fat per 100ml.
This Flora double cream in the UK contains the same fat content per 100ml, so it should be suitable here. The ingredients seem to be pretty much the same.
Flora plant cream seems to be available in the US, but perhaps only in niche stores. The other alternative I found is Country Crock. The fat content is 30g per 100ml, which is pretty much on par with the cream I used. The ingredients also look similar, with lentil protein as the primary ingredient.
I daresay this recipe would be open to a bit of experimentation of the cream side. While I haven’t tried either, you could perhaps use coconut cream or coconut yoghurt. These will change the flavour and maybe the texture, which is something to keep in mind. If I do test either of these alternatives, I will update the post.
More Ninja Creami ice cream recipes
- Ninja Creami vanilla ice cream
- Ninja Creami chocolate ice cream
- Ninja Creami high protein ice cream
- Ninja Creami pistachio ice cream
- High protein Ninja Creami recipe e-book (which includes a high protein strawberry ice cream recipe)
Ninja Creami strawberry ice cream
Equipment
- NC300 Ninja Creami machine with a 470ml tub
Ingredients
For the strawberry ice cream:
- 300 g fresh strawberries weighed after hulling (about 350-400g strawberries)
- 125 g white sugar (I use caster sugar, but any white sugar is fine)
- 20-40 ml (1-2 tablespoons)* lemon juice, to your tastes
- 125 g thickened cream (30-35% milk fat – also known as heavy cream, heavy whipping or whipping cream)
Optional flavour boosters:
- Tiny pinch of salt
- ½ teaspoon vanilla bean paste or extract
- 2 cracks of fresh black pepper see body of post
Instructions
- Slice your washed and hulled strawberries and place them in a medium pot with the sugar and lemon juice.
- Cook the mixture on a low medium heat until the mixture is bright red and the strawberries have started to break down. Use a fork to mash the strawberry pieces up and then set the mixture aside to cool. Stir in any optional flavour boosters here.
- Once the mixture is at a hand comfortable temperature, stir in the cream. Stirring it in while the mixture is hot runs the risk of curdling the cream which will make for unpleasant ice cream.
- Pour the mixture into your Ninja Creami 470ml tub. It should come up to just below the fill line.
- Freeze for 24 hours with the lid off before processing the ice cream on the ice cream function. Return any leftovers to the fridge with the lid on.
- I find that this ice cream doesn’t require re-processing when you eat the leftovers. Simply allow it to come to a scoopable temperature on the bench before serving.
Notes
- I haven’t tested frozen strawberries in this recipe. I will update the post if I do.
- I have not tested any sugar substitutes in this recipe and have no experience working with them so can’t offer any advice.
- The flavour boosters are optional but help to develop the strawberry flavour.
- Because this ice cream is majority strawberries, I recommend using 35% fat cream or thereabouts. Using light cream might result in an icy ice cream.
I loved this recipe! While the recipe calls for fresh strawberries, I had a freezer full of frozen ones and a serious craving for strawberry ice cream. So, I decided to give it a shot with what I had on hand.
Let me tell you, using frozen strawberries was definitely not a miss! The ice cream turned out absolutely delicious. Sure, fresh might have an edge, but this was still a home run in my book.
Even though the recipe doesn’t mention it, I sieved the strawberry purée after adding the cream. This extra step gave the ice cream an even smoother texture that I really enjoyed.
Bottom line? This recipe is a keeper. I’ll definitely be making this one again… and again… and again!
This is my new go to strawberry ice cream recipe.
I love this recipe!!!! Gold!!! I did a batch of ice cream with lactose free cream & strawberries- excellent. I didn’t d a batch with apricots & another batch with raspberries! All were divine!! I used a Kenwood hand held chopper to liquidise after the fruit sugar & lemon were cooked. I also used two good tablespoons of lemon juice as I wanted the tang. It was awesome. It my go to ice cream recipe ????
Oh my gosh apricot sounds divine, I will have to try it! So glad you’re enjoying it Cindy, I really appreciate your kind review :)M
This was sensational! Loved by all and just wishing we had 2 tubs to share around at the time. I used the Flora Plant Cream and I used Lakanto Monkfruit sweetener in place of sugar, which worked out beautifully. Even those that detest such sweeteners couldn’t tell.
Do you or any of your audience know if I can ever use the standard ice cream (rather than lite) function sweeteners along with a fuller fat cream? Or are they as much of an issue? Thanks.
Hi Louisa,
I’m so glad you enjoyed it! Great to know it works with an alternate sweetener too, I don’t have any experience using those.
Generally speaking I find the Ninja Creami settings interchangeable (I do wonder if they are more of a marketing thing) but in terms of the cream, I’m not entirely sure what you are asking. Did you use a light cream? If so, the way I tested it was with full fat whipping cream.
You can’t go richer than full fat whipping cream (which is around 30-36%) fat without altering the recipe (and I don’t have any suggestions on how to do it).
If an ice cream has too high of a fat content it separates and creates a greasy film in your mouth.
Does this answer your question? 🙂
The most delicious strawberry icecream I have ever tasted – honestly, the best recipe, followed exactly as written. Thank you! 🙂
I am so glad to hear you enjoyed it! I appreciate the lovely feedback 🙂
I made this recipe, the taste was delicious and a beautiful strawberry taste. However the mixture came out very soft once spun and melted quickly, not sure why that happened.
Hi Amanda! Sorry to hear that. Strawberries vary on their sugar content depending on the season, variety, luck etc. Too much sugar in an ice cream gives it a soft consistency because sugar lowers the freezing temperature of the mixture. So in this case I would say your strawberries contained more sugar than would be ideal for the ratio of sugar in this recipe.
Next time I would recommend dropping the sugar back by 25-50g. This should result in a firmer ice cream texture 🙂