


I am a big fan girl of my Ninja Creami vanilla ice cream recipe. Huge, in fact. But I’ll never say no to the opportunity to develop more Ninja Creami recipes. So, as I was recently developing Ninja Creami protein recipes, it occured to me that I had never posted an egg based Ninja Creami vanilla flavour. Enter: this heavenly, delightful Ninja Creami custard ice cream recipe.
This recipe uses whole eggs, caster/superfine sugar, thickened cream (35% fat) milk and vanilla bean extract. It is rich and beautiful and there are no random egg whites left – we’re using 3 whole eggs. Which brings me to my next point: this is a high protein ice cream recipe. It isn’t low calorie, low sugar or low fat, but it can conveniently contain approximately 39-46g protein per tub. Not bad for dessert!
Ice cream science
Sorry, yes – we’re having a quick science lesson. Why? Because sugar and fat are absolutely key to a good Ninja Creami ice cream. We need to ensure they are in balance so that the ice cream is creamy, rich and perfectly textured.
Sugar is responsible for flavour, creaminess, texture and lowering the freezing point of an ice cream mixture. This last part means that too much sugar will result in an ice cream that cannot set. It will come out of the machine with a slushy or milkshake texture. On the other hand, too little sugar can produce an ice cream that is icy in texture and freezes too solid to process well.
As per Ice Cream Science, fat has a number of roles in an ice cream. It is responsible for creamy texture, flavour release and flavour intensity, stabilising air bubbles in the ice cream, reducing the melting rate of the ice cream and minimising ice crystals during storage. Important stuff, essentially.
Too much fat in a Ninja Creami recipe will result in an ice cream that tastes split and has a greasy, fatty mouthfeel. Too little fat and your ice cream may have an icy texture that lacks cohesion or chewiness. So, we need to balance the fat content and the sugar content to come up with the perfect Ninja Creami recipe.
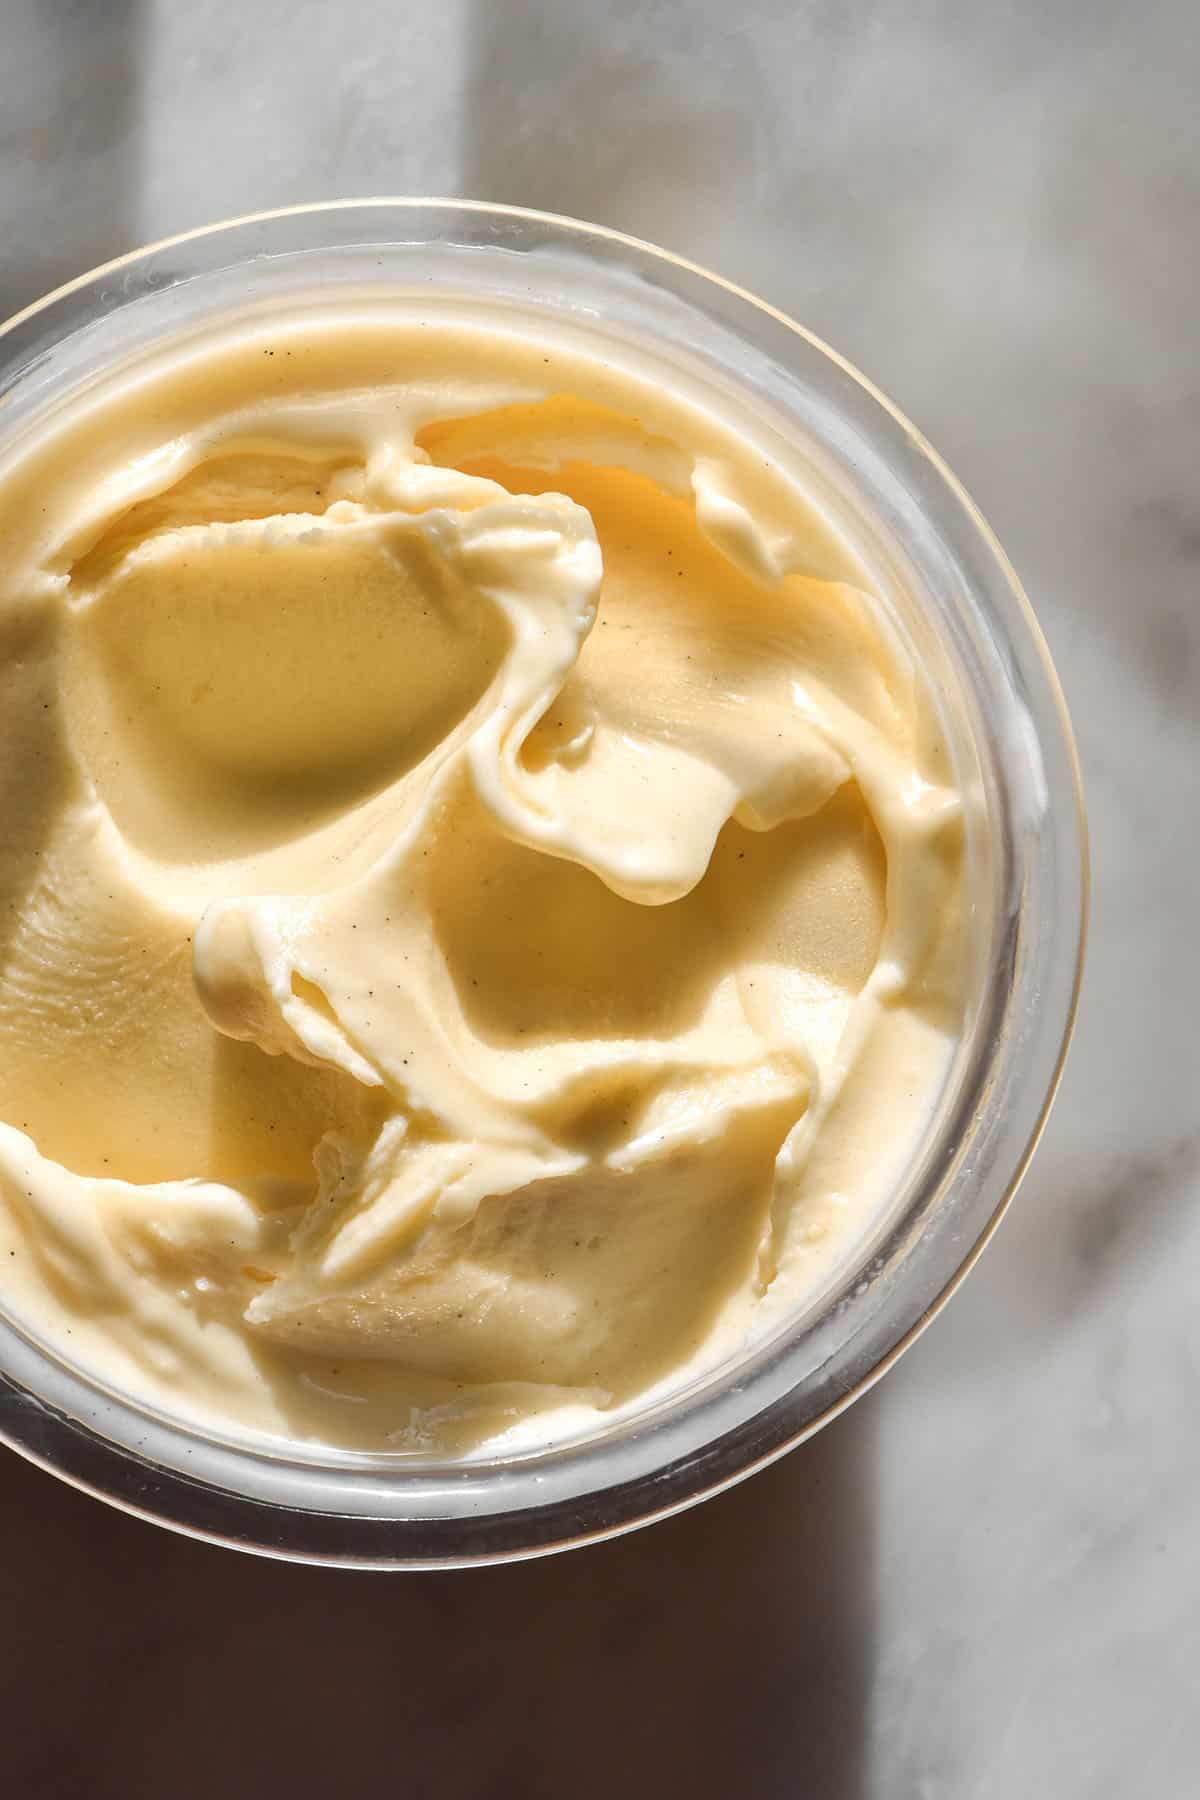
Tips for this recipe
This recipe uses 3 whole extra large eggs – around 150g weighed without the shell. Extra large eggs contain approximately 5g fat per egg, so the eggs in this recipe contribute around 15g fat.
I have tested this recipe using light milk and full fat milk. Both work nicely because we already have the fat content from the eggs and the cream. However, I do think that the full fat milk makes for a creamier ice cream.
I have also tested this recipe with 75g caster/superfine sugar and 100g caster/superfine sugar. With the vanilla extract (which I must insist on you adding) I found the 75g sugar version to be perfectly sweet. The version with 100g sugar was too soft for my liking and that is because sugar lowers the freezing point of the mixture, making it harder for it to freeze. My experience with Ninja Creami recipes is that you can push the fat content a little bit if the sugar content is lower and vice versa. You cannot go all out on both sugar content and fat content (again, in my experience).
If you’re looking for a protein hit, this recipe works with 4 whole eggs. I would recommend subtracting 50g milk to compensate for the volume of the egg. Light milk is also a safe option here as we’re using more fat from the extra egg.
I highly recommend the vanilla extract. In my experience, it adds extra sweetness to a Creami and means you can add less actual sugar. A pinch of salt is always a flavour booster too.
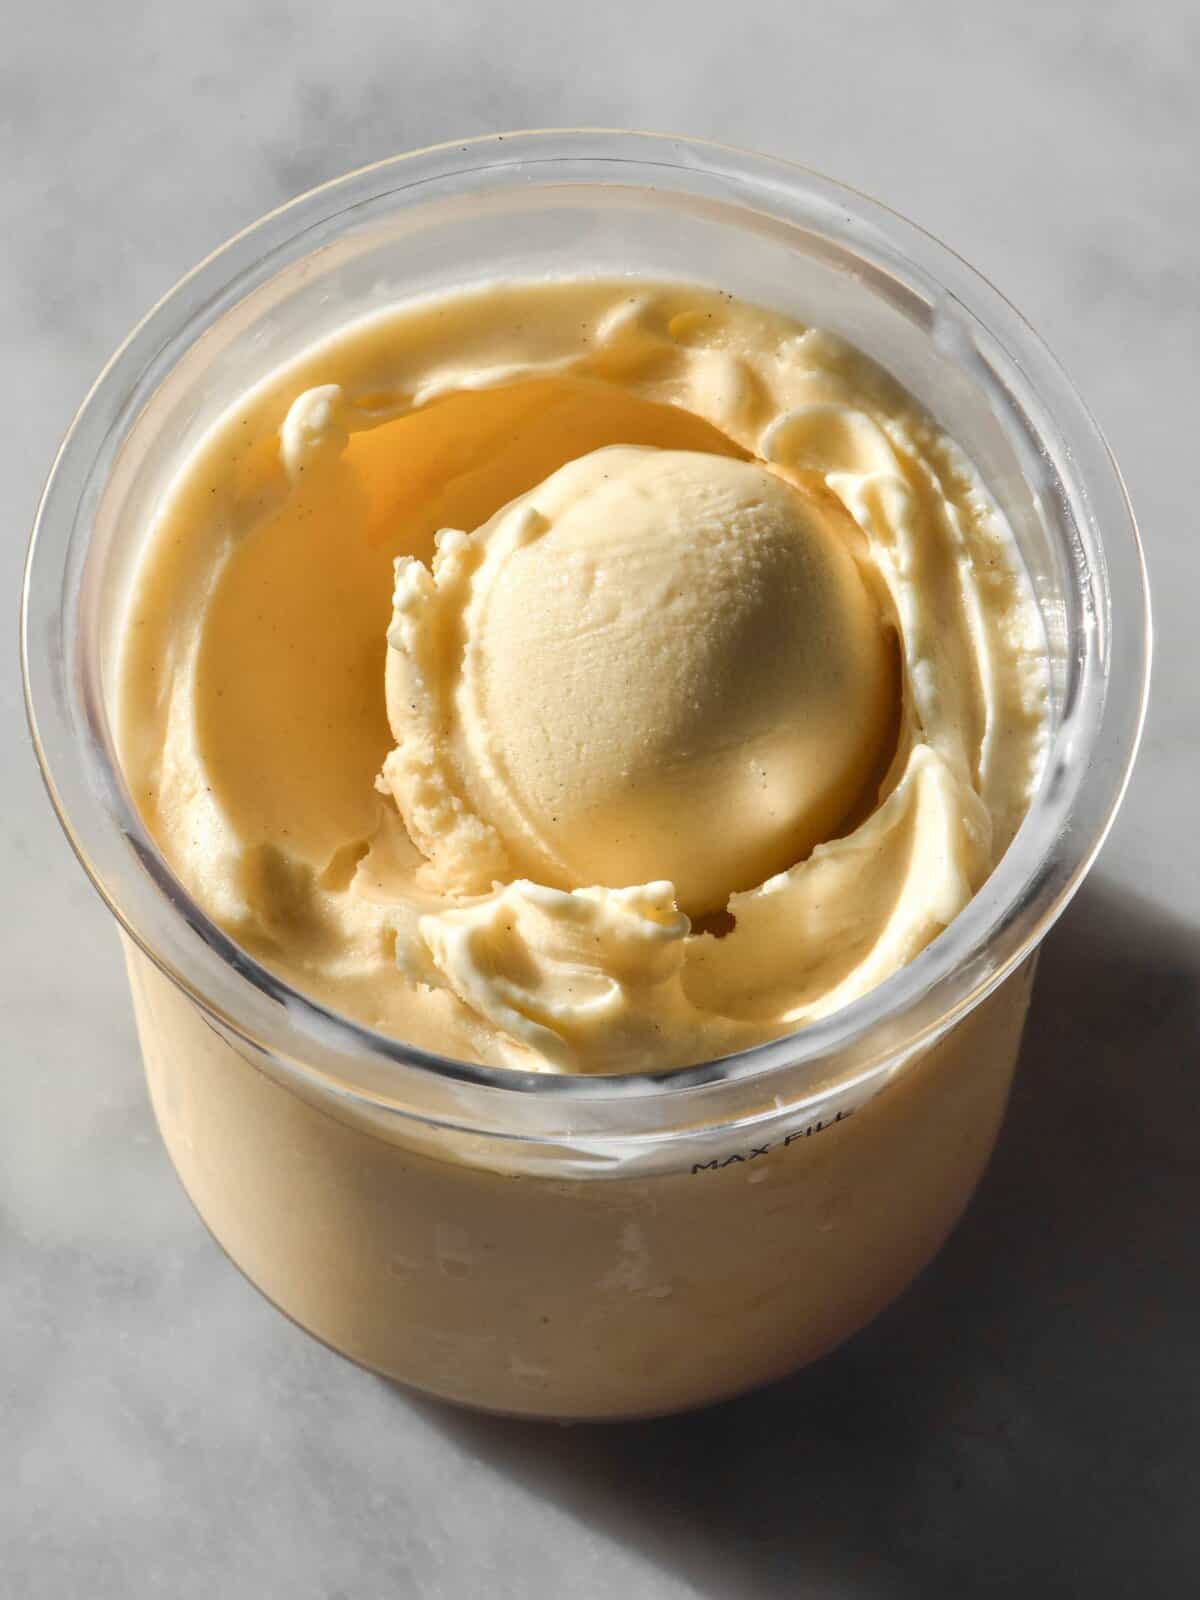
More Ninja Creami recipes
- Ninja Creami chocolate ice cream
- Ninja Creami pistachio ice cream from my Ninja Creami e-book
- Ninja Creami coconut ice cream
- Ninja Creami coffee ice cream
- Ninja Creami banana ice cream
Ninja Creami custard ice cream
Equipment
- NC300 Ninja Creami machine with 470ml size tubs
Ingredients
- 3 extra large eggs (150g total weighed out of shell) see notes
- 75 g caster/superfine sugar see notes
- 75 g thickened cream (30-35% fat content) heavy/whipping in US/UK
- 300 g full fat high protein milk (see notes)
- 1 teaspoon vanilla bean extract
- Pinch fine salt
Instructions
- Weigh the eggs into a heat-proof mixing bowl and add the sugar and cream. Whisk thoroughly to combine.
- Place the milk, vanilla and salt in a medium saucepan over a medium heat. Allow the milk to heat up, stirring regularly, until it is hot and just below a simmer.
- Take the milk pot off the heat and set the pot aside (we are using it again in a minute). Pour the hot milk into a jug with a pouring lip to make it easier.
- Take your whisk in one hand and the jug of hot milk in the other. Very slowly pour the hot milk into the egg mixture, whisking as you go. This will slowly bring the eggs up to temperature so they are less likely to scramble.
- Once you have poured all of the milk into the eggs, pour all of the mixture back into the saucepan. Place it over a low/medium heat. Cook, stirring constantly (I like to use a silicon spatula for this so I can keep the bottom from over-cooking) for 5 minutes.
- The mixture should feel a little different as you stir – slightly thicker but not fully thickened. If you have a thermometer, you want the mixture to reach 70C/158F to be food safe. Worry more about the consistency though as the mixture reaches this temperature easily within 5 minutes.
- If the egg mixture starts to develop clumps, immediately take it off the heat and whisk very quickly. Transfer it from the pot it was in straight away to remove the residual heat.
- Allow it to cool a little before transferring to the Ninja Creami and into the freezer. Freeze for 16-24 hours with the lid off. Freezing with the lid off helps ensure the mixture doesn't form a hump during freezing which can damage the machine.
- When ready to consume, spin the ice cream using the ice cream function. I find this recipe needs two full spins to be perfect.
- Return any leftovers to the freezer with the lid on.
Notes
- The colour and flavour intensity depends on your eggs. Bland, pale egg yolks will result in a neutrally flavoured and pale ice cream.
- You can use 4 eggs for a higher protein content. See the notes in the body of the post.
- I haven’t tested any sugar alternatives in this recipe and I can’t offer advice at the moment.
- For a lactose free and low FODMAP ice cream, use lactose free cream and milk.
- You don’t have to use high protein milk in this recipe – regular full fat milk also works well.
- For an egg free Ninja Creami vanilla ice cream, see my recipe here.
- In my experience, the cooked egg custard starting to clump a little doesn’t affect the end product. Absolutely take it straight off the heat and decant it, but don’t worry too much about the texture as the blending tends to correct it.
- That doesn’t give you license to wander off and drastically over-cook the mixture, though 🙂
- If your mixture is constantly developing a hump as it freezes, try chilling it in the fridge before freezing it. Just make sure you don’t forget to transfer it to the freezer!
- If your mixture is too soft, lower the sugar to 50g. Sugar lowers the freezing point of a mixture which prevents it from freezing hard enough for the right ice cream texture. Milk and cream also contain (natural) sugar, so it may be that your milk and cream contain more natural sugars than the versions I tested. It also depends on the climate, the temperature of your freezer, etc. A slightly soft ice cream is easily rectified with 15-20 minutes in the freezer after spinning. This is why I generally recommend spinning your ice cream a little ahead of time.
No Comments