I have recently caved and bought a Ninja Creami. After seeing so many delicious looking creations on TikTok, it was inevitable. And let me tell you – it is 100% worth the hype. As you might know from my high protein bread and protein pancakes, I have been told to increase my protein intake. While I don’t enjoy protein shakes as they are, protein ice cream? Sign me up. There’s something about an ice cream version that makes the protein powder flavour much less obvious (in a great way). So without further ado: let’s make a high protein Ninja Creami.
If you’re after more of a treat? I have a full fat, full on delicious recipe for Ninja Creami vanilla ice cream and chocolate ice cream, too.
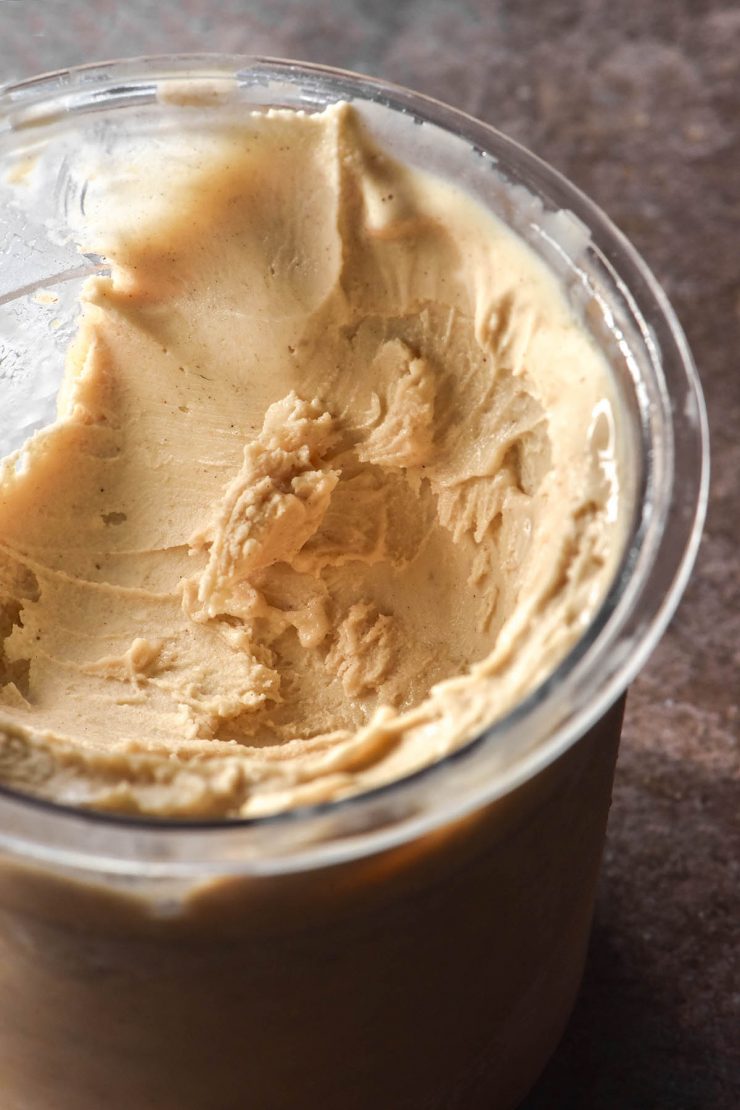
High protein Ninja Creami
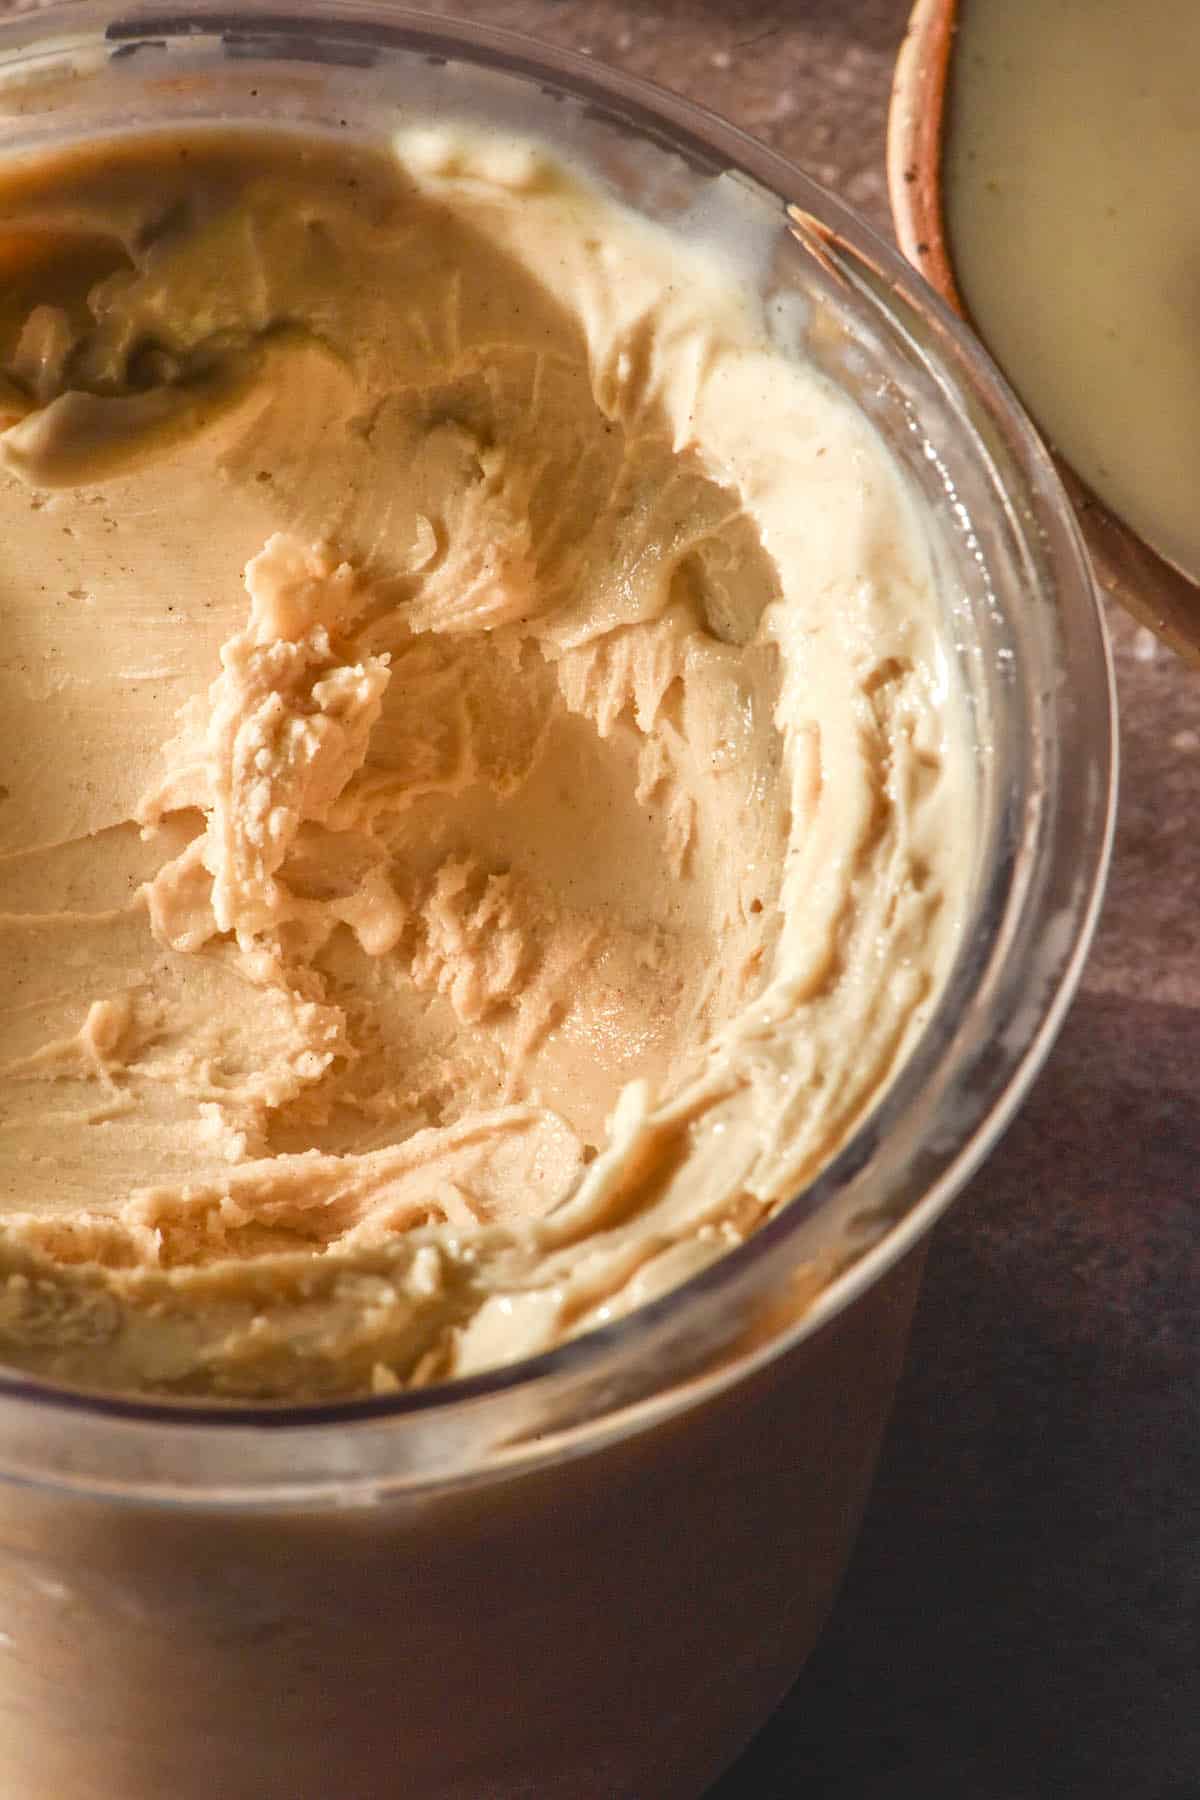
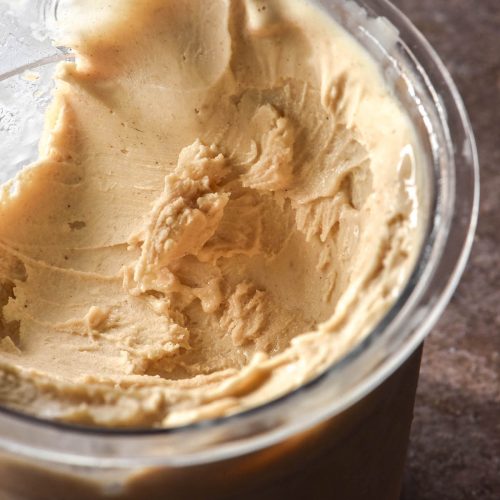
This recipe for a high protein Ninja Creami contains nearly 54g of protein per tub. It is essentially a banana peanut butter protein shake in ice cream form.
The recipe starts with 40g of whey protein isolate. I use Bare Blends vanilla WPI as the ingredients list is lovely and short. It uses stevia which is SIBO appropriate, too. I found that WPI had a positive impact on making a cohesive, non icy Ninja Creami, which is why I use 40g as opposed to the serving size of 30g.
The high protein Ninja Creami is flavoured with 100g banana, 25g (1 Australian tablespoon) of peanut butter and 20ml (1 Australian tablespoon) of maple syrup. 50g of Greek yoghurt and 1 cup (250ml) milk finish everything off for a delicious and creamy finish.
More high protein recipes: My high protein Ninja Creami recipe e-book
I have recently published a new high protein Ninja Creami recipe e-book with 12 brand new high protein recipes. With flavours like matcha, cookies and cream, strawberry matcha, choc raspberry and pumpkin spice, there’s something for everyone!
You can read more about the e-book here or find a link to quick purchase below.
How much protein is in this recipe?
Protein content does vary a little from brand to brand, but the amount in your Ninja Creami should be close to 53g. Here is a breakdown with the ingredients I used, which comes to 53g protein (all complete protein, too).
- 40g of Bare Blends WPI = 35g protein
- 25g of Mayvers peanut butter = 5g protein
- 50g of Chobani high protein Greek yoghurt = 5g protein
- 250ml of full cream lactose free milk = 8g protein
How much sweetener should I add?
Firstly, this depends on your protein powder. If your protein powder is super sweet (whether this sweetness comes from real or artificial sweetener) you might not need to use any. I use Bare Blends Vanilla WPI which only contains stevia and isn’t hugely sweet, which is why I add some maple syrup to mine.
If you are using a protein powder without any sweetener at all, you will likely need to use more maple syrup.
Secondly, it depends on your sweet tooth. If you like things super sweet, I would probably suggest 40ml maple syrup. I like it with one tablespoon (20ml here in Australia) but my taste tester (Mum) would have preferred it a bit sweeter.
I plan to test other protein powders (and thus their individual sweetness levels) as time goes on.
Personally, I find that a Creami mix tastes slightly less sweet after processing than it does before freezing. Keep that in mind when you are mixing up your Creami.
Tips for your Ninja Creami
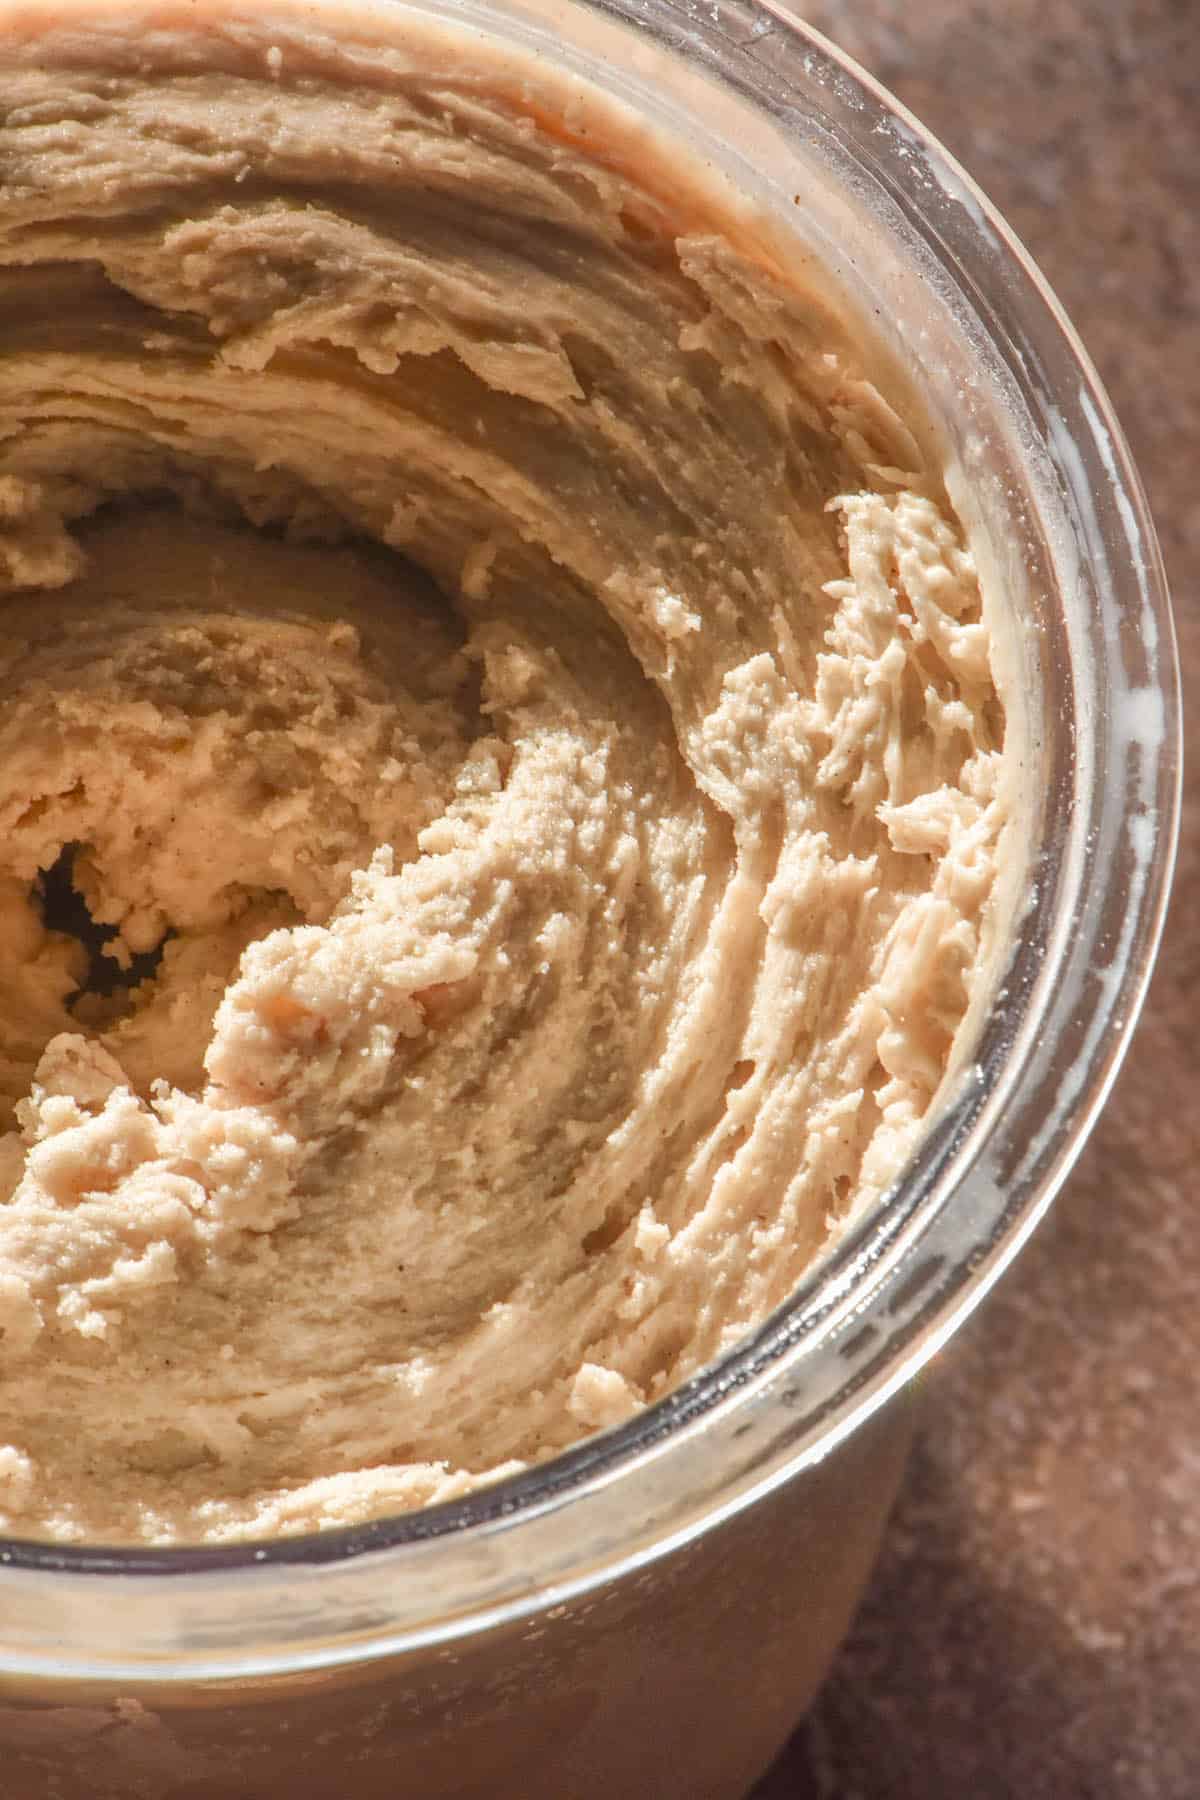
I thought I might include what I have learned so far in terms of Ninja Creami making. I know a lot of people using xanthan gum and pudding mix to achieve their ideal consistency, but I think this can be done without them. Just like baking gluten free without xanthan gum, it takes a bit of tweaking but it is entirely possible.
Firstly, I think a non-cream based Creami really benefits from adding some thick Greek yoghurt. I tested this recipe with and without the yoghurt. With yoghurt, I found it was so nice and creamy on the first spin. The version without yoghurt took a bunch of spins and ended up quite icy.
On that note: I know the instructions say that you need to chill the mixture for at least 24 hours. This depends on how cold your freezer is, however. I have found it also depends on the mixture. This high protein Ninja Creami didn’t need 24 hours for me, but other recipes I’m working on (namely, vegan McFlurry) did need at least 24 hours.
Having your classic binder ingredients and fats – banana, yoghurt, peanut butter, etc – helps enormously with the texture. I have tried pure fruit versions which didn’t achieve the ice cream with a bit of bite to it that I enjoy. My next attempt will be fruit and yoghurt to see if I can make a majority fruit Creami with a bit of yoghurt for texture.
I also think that extra protein (namely, WPI) really adds great texture and bite to your Creami. The brand I used contains no xanthan gum or any sort of gums, either. If your protein contains gums, your result might be different (maybe better, maybe not).
Substitution options
All protein powders are different, so I can’t guarantee the results of every protein powder will turn out the same. A lot of them have loads of ingredients, whereas I try to pick brands with minimal additives.
If your protein is very sweet or high sugar, you might want to omit the maple syrup or add it to taste. My protein only has stevia added. It’s worth noting that too much sugar prevents ice cream from freezing, so you don’t want to use a protein that has lots of sugar added.
Although I haven’t tried it yet, I daresay you can also use dairy free yoghurt and milk. Make sure the variety you choose has a decent fat content for best results.
Any nut butter should work here, although it will change the flavour profile and perhaps also the protein content. Peanuts are a high protein nut.
For a low FODMAP option, choose a low FODMAP protein (WPI is a good choice) and firm banana or a ripe sugar banana. Use lactose free yoghurt (Chobani Fit is lactose free) and lactose free milk or a low FODMAP plant milk (like macadamia).
More high protein recipes
- Protein pancakes without protein powder
- Gluten free high protein bread
- Gluten free vegan high protein bread
- Gluten free vegan protein pancakes
- Gluten free high protein bagels
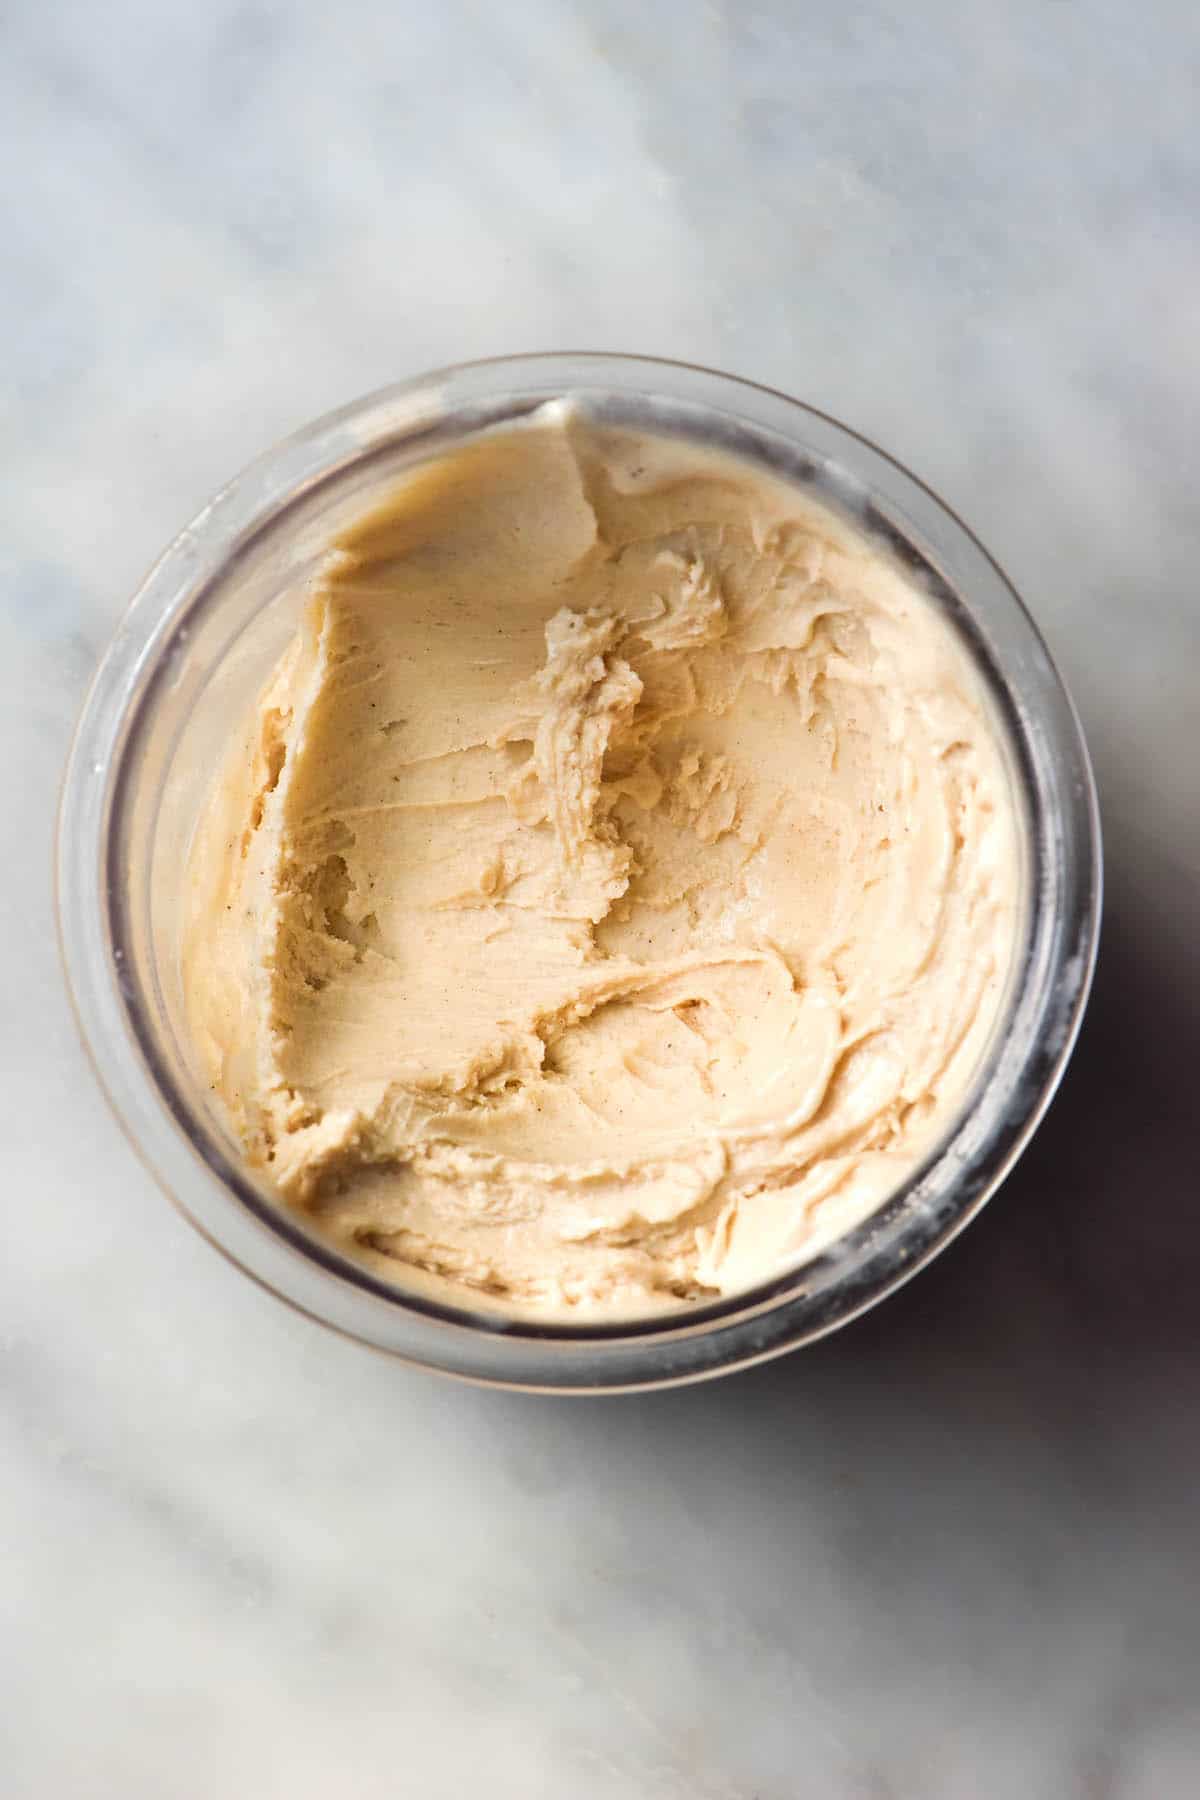
High protein Ninja Creami
Ingredients
- 40g whey protein isolate (I used Bare Blends Vanilla WPI)
- 50g high protein Greek yoghurt (I used Chobani Fit in natural flavour)
- 100g mashed banana (firm or ripe, see notes)
- 25g (1 tablespoon) natural peanut butter (I used Mayvers smooth)
- 20-40ml (1-2 tablespoons)* pure maple syrup
- 250ml (1 cup)* full fat regular or lactose free milk
Instructions
- Combine all the ingredients in a medium mixing bowl or your Ninja Creami tub. You can also blend them beforehand, but I don't find that necessary with this recipe.
- Place the tub in the freezer for up to 24 hours. I find overnight is fine for me, but it depends on the temperature of your freezer. I leave the lid off to prevent a lump in the top of the frozen tub.
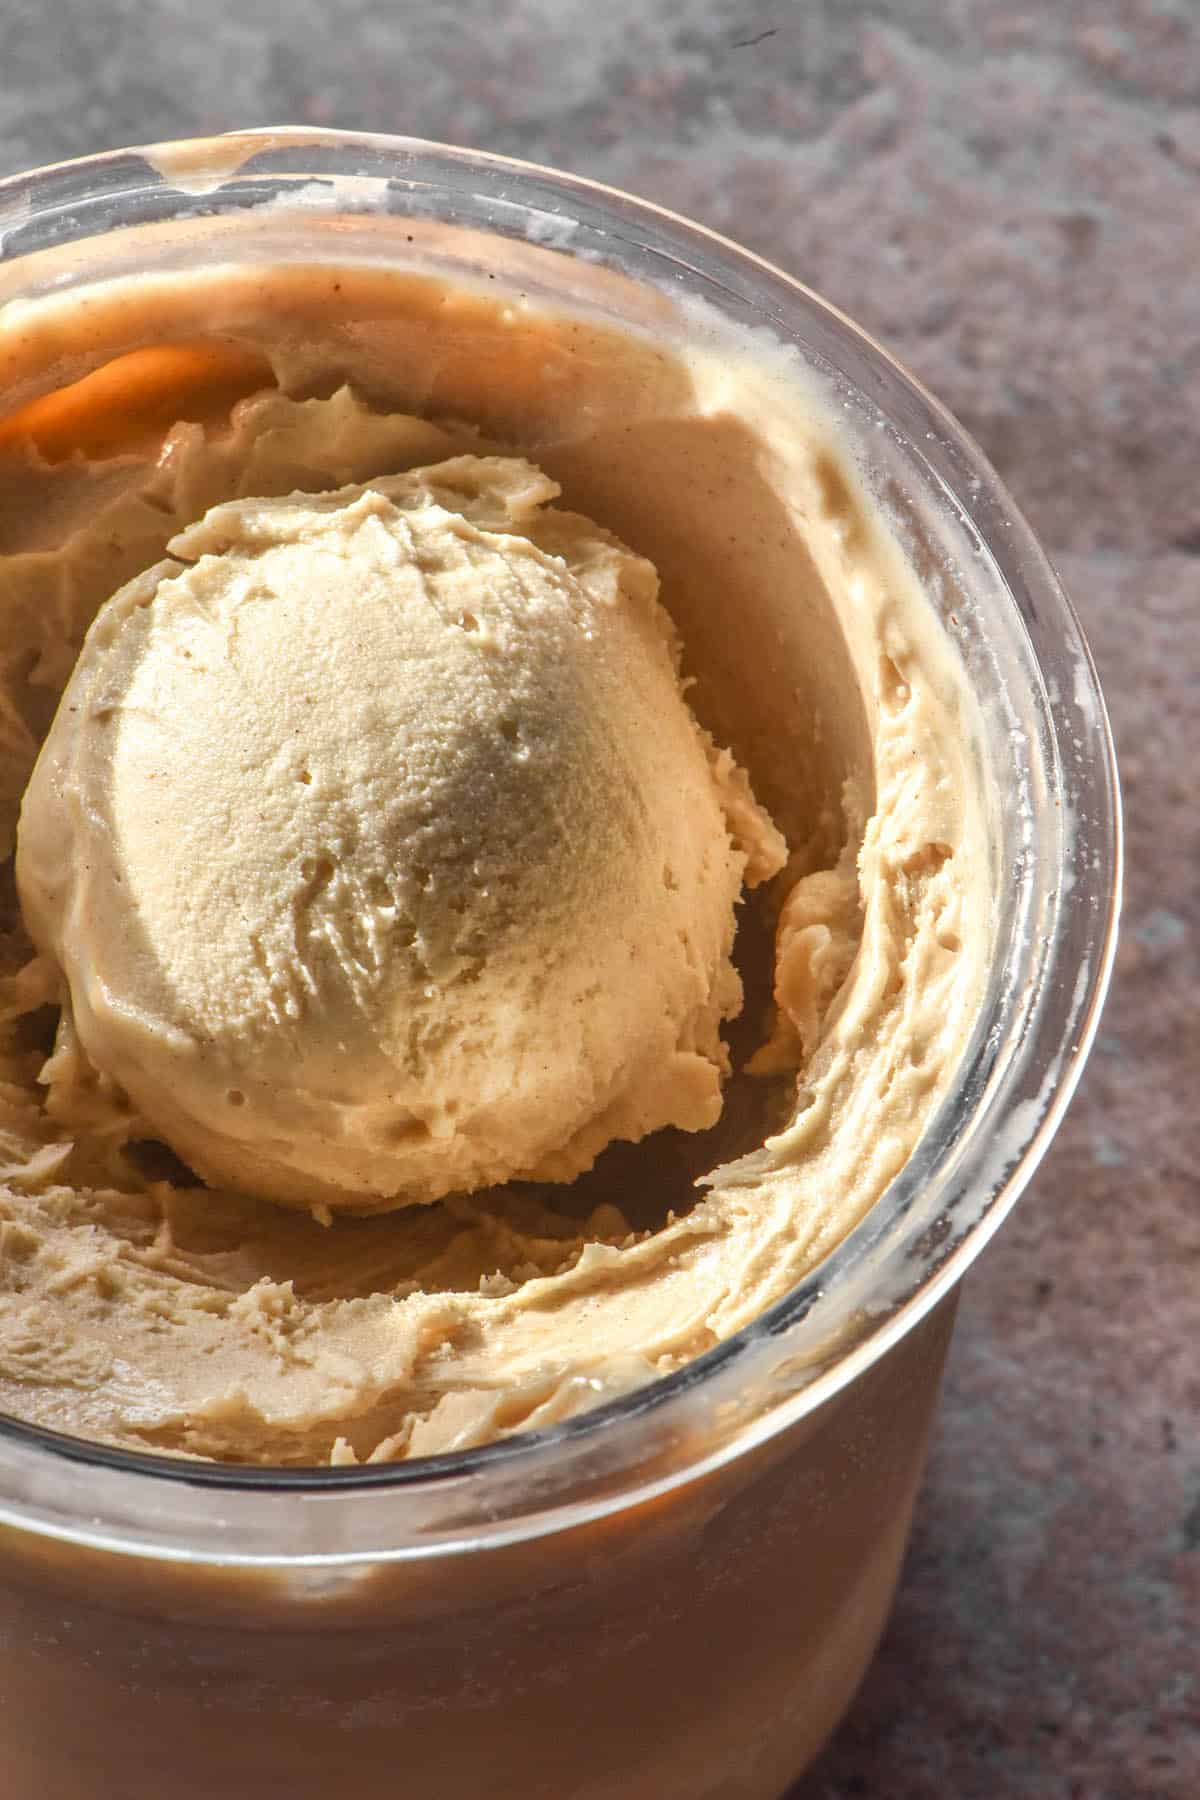
- When you are ready to eat, blend your Ninja Creami using the lite ice cream function. I find this recipe only needs a single blend. If your mixture looks lumpy or icy after one mix, repeat the process. You can also use the respin button.
- Serve immediately. You can refrigerate any leftovers but you will need to process them again. Store leftovers with the lid on.
Notes
- See the notes on how much maple syrup to add to your Creami.
- I haven’t tested any other sweeteners and have no experience with any artificial sweeteners.
- I haven’t tested other protein varieties in this recipe. I do intend to develop a dairy free/vegan high protein Ninja Creami, so stay tuned for that.
- See the body of the post for the protein breakdown.
- I do not calculate calories or other macros. You can input the ingredients into My Fitness Pal if you would like, but this is not a specifically low calorie recipe.
No Comments