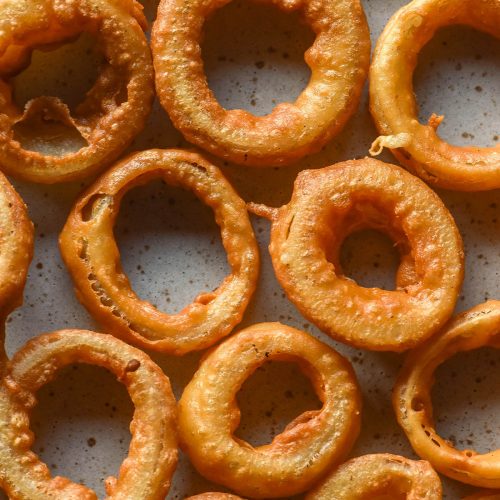
Yes, you read that correctly. Low FODMAP onion rings. Onion rings that are low FODMAP. Better yet? They’re also gluten free, xanthan gum free, egg free, easily made dairy free/vegan and have a corn free option. Something for everyone!
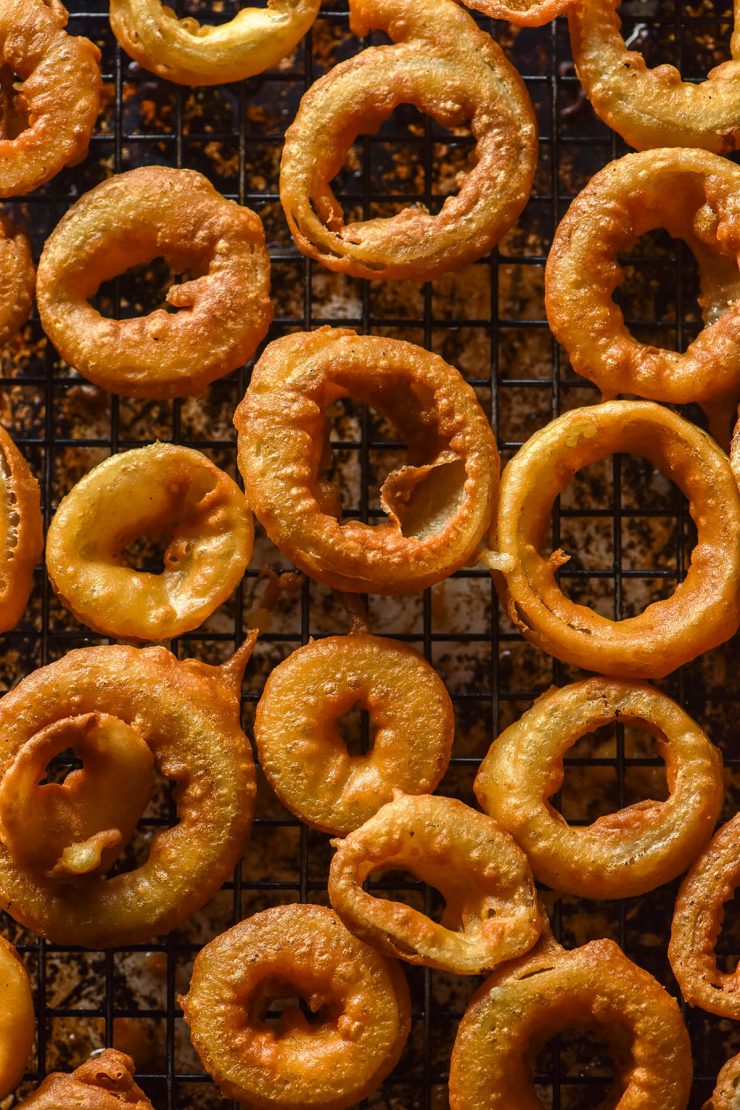
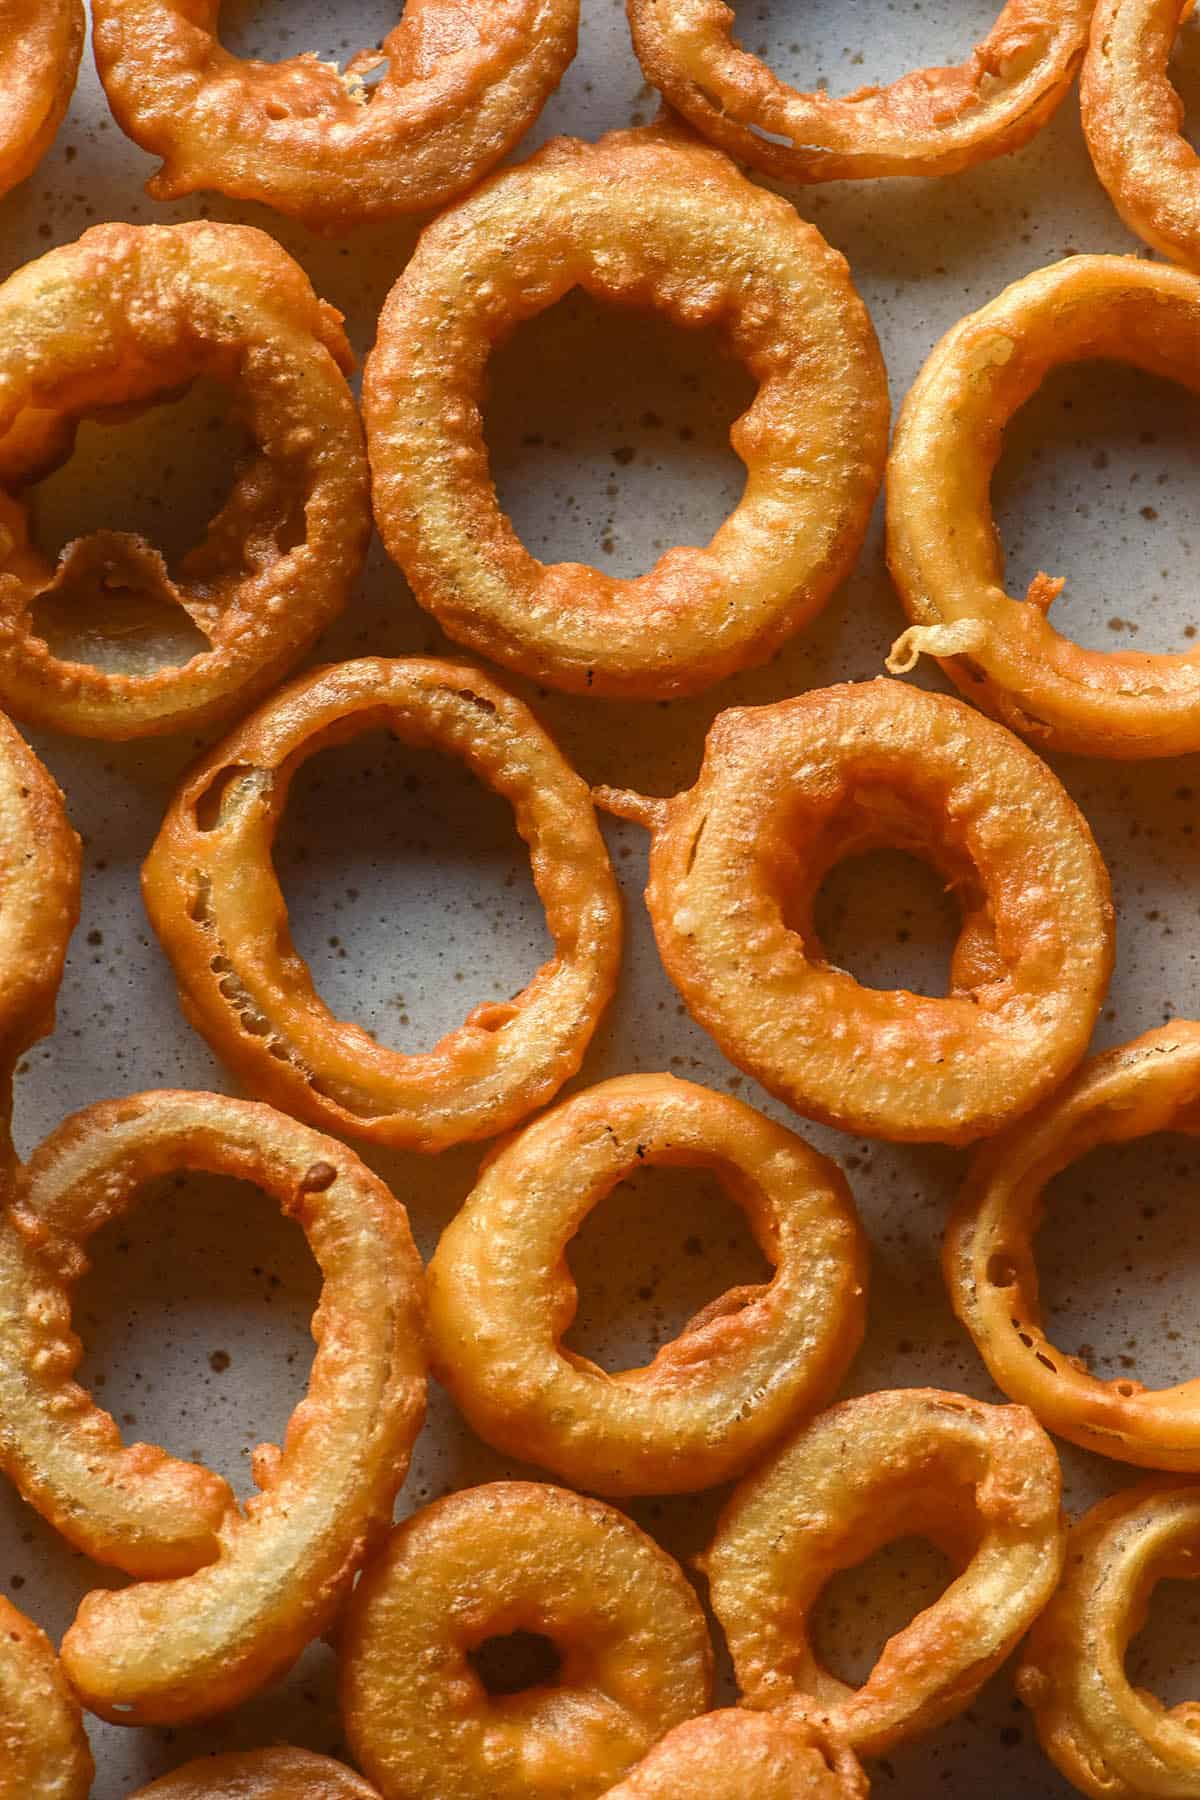
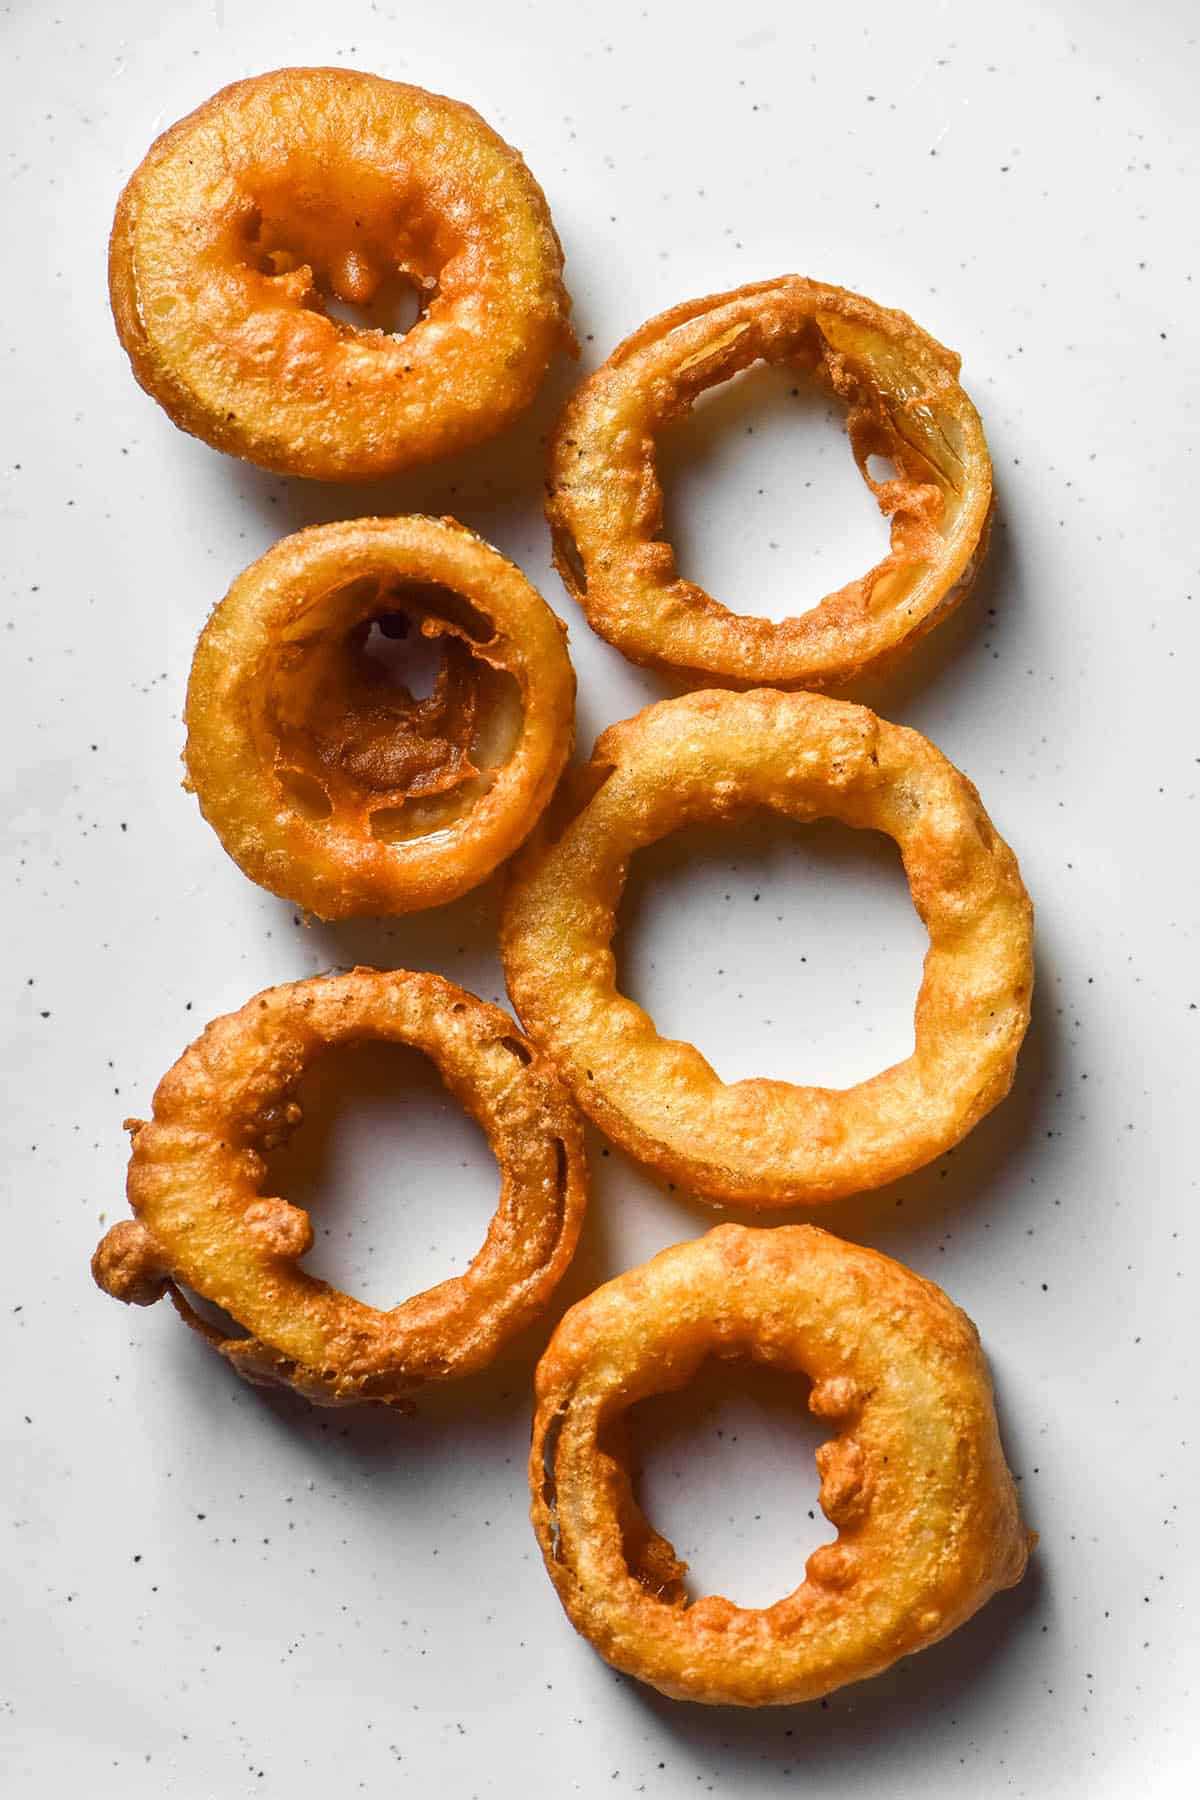
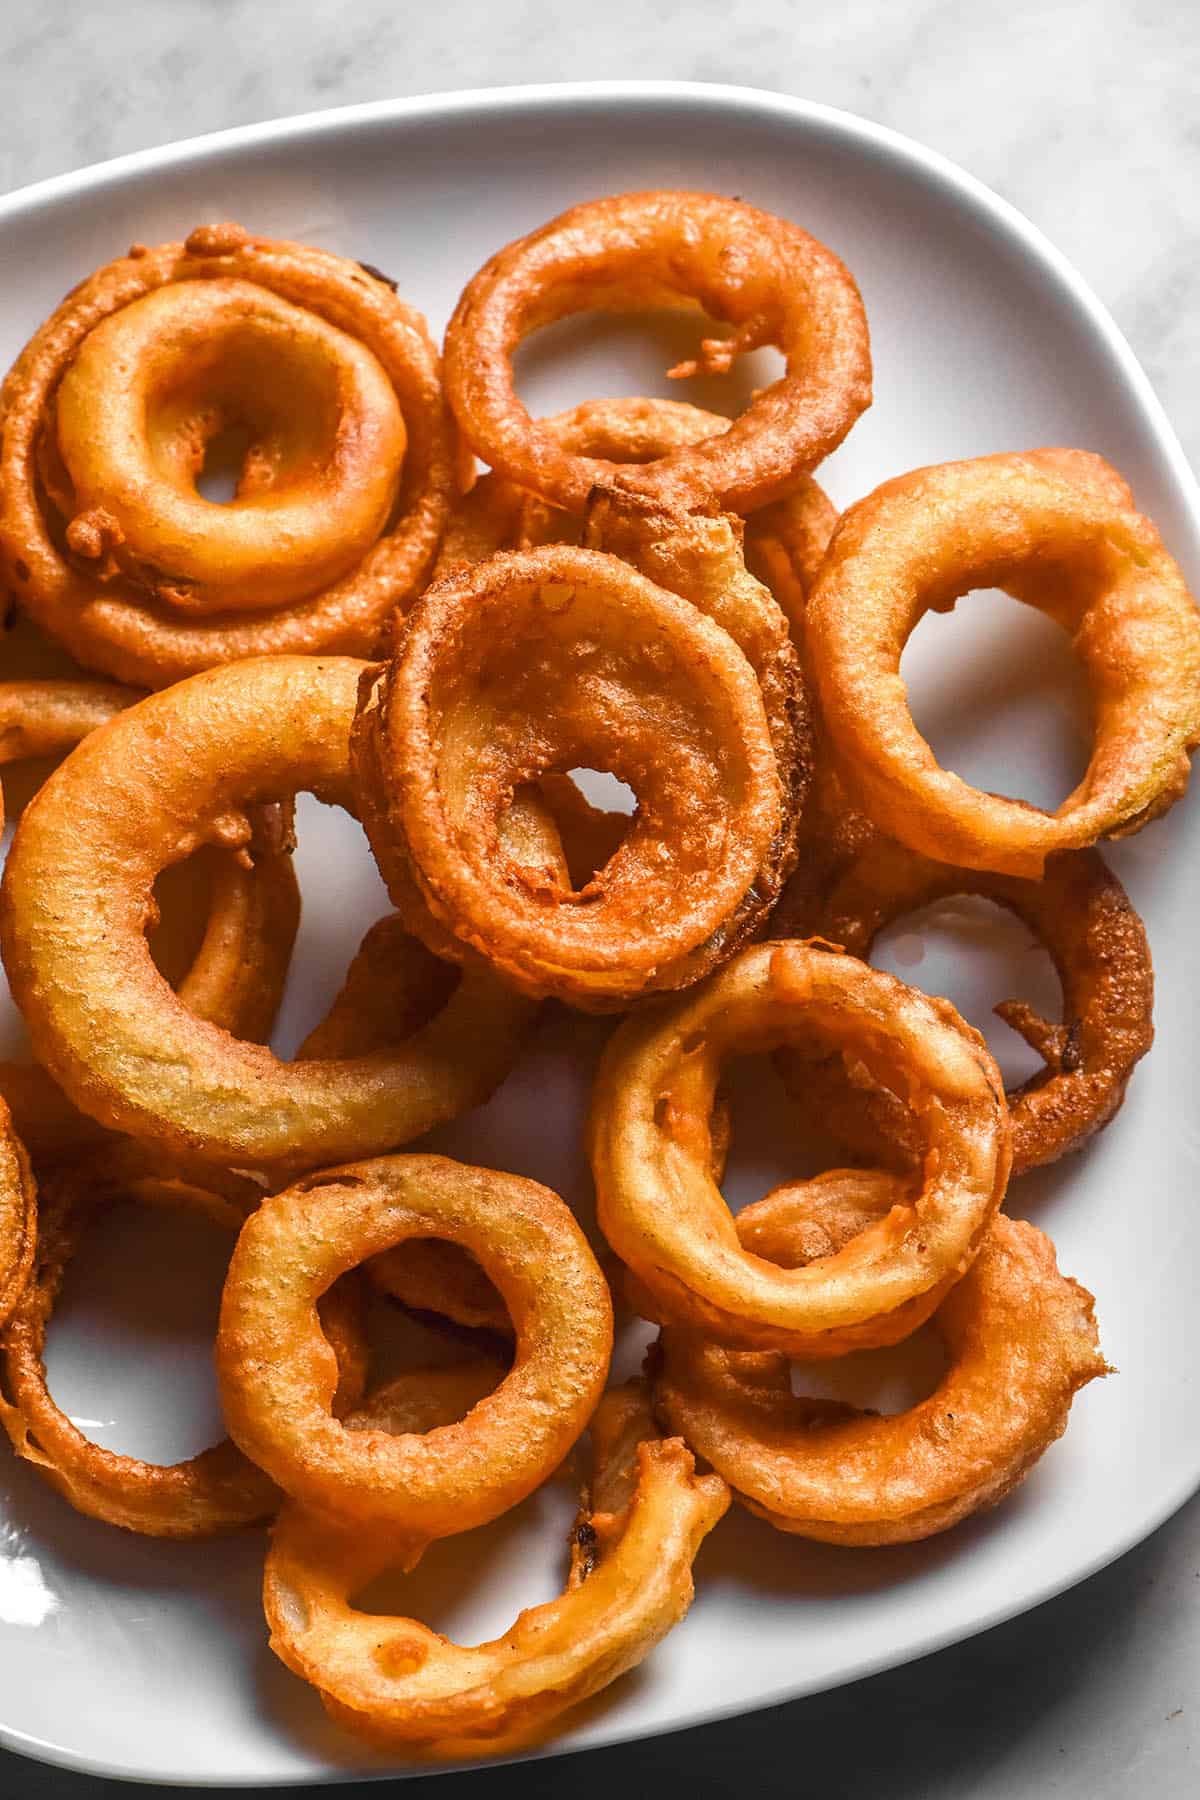
Low FODMAP onion rings (gluten free)
How does one make low FODMAP onion rings, you might ask? Simple! By using pickled onion. After developing my low FODMAP pickled garlic recipe, I realised that pickled onion also has a low FODMAP threshold. In 60g serves (and provided there are no other high FODMAP ingredients) pickled onion is low FODMAP.
Pickled onion is easy to make, so I recommend making your own for this recipe. That way, you can pre-slice your onion rings into exactly the right shape and size. Then all you have to do mix up the batter and deep fry to golden glory!
The batter in question is made from a simple mixture of white rice flour, corn starch or potato starch, baking soda, salt, vinegar and milk. We will go into the reasoning behind each ingredient in the notes below.
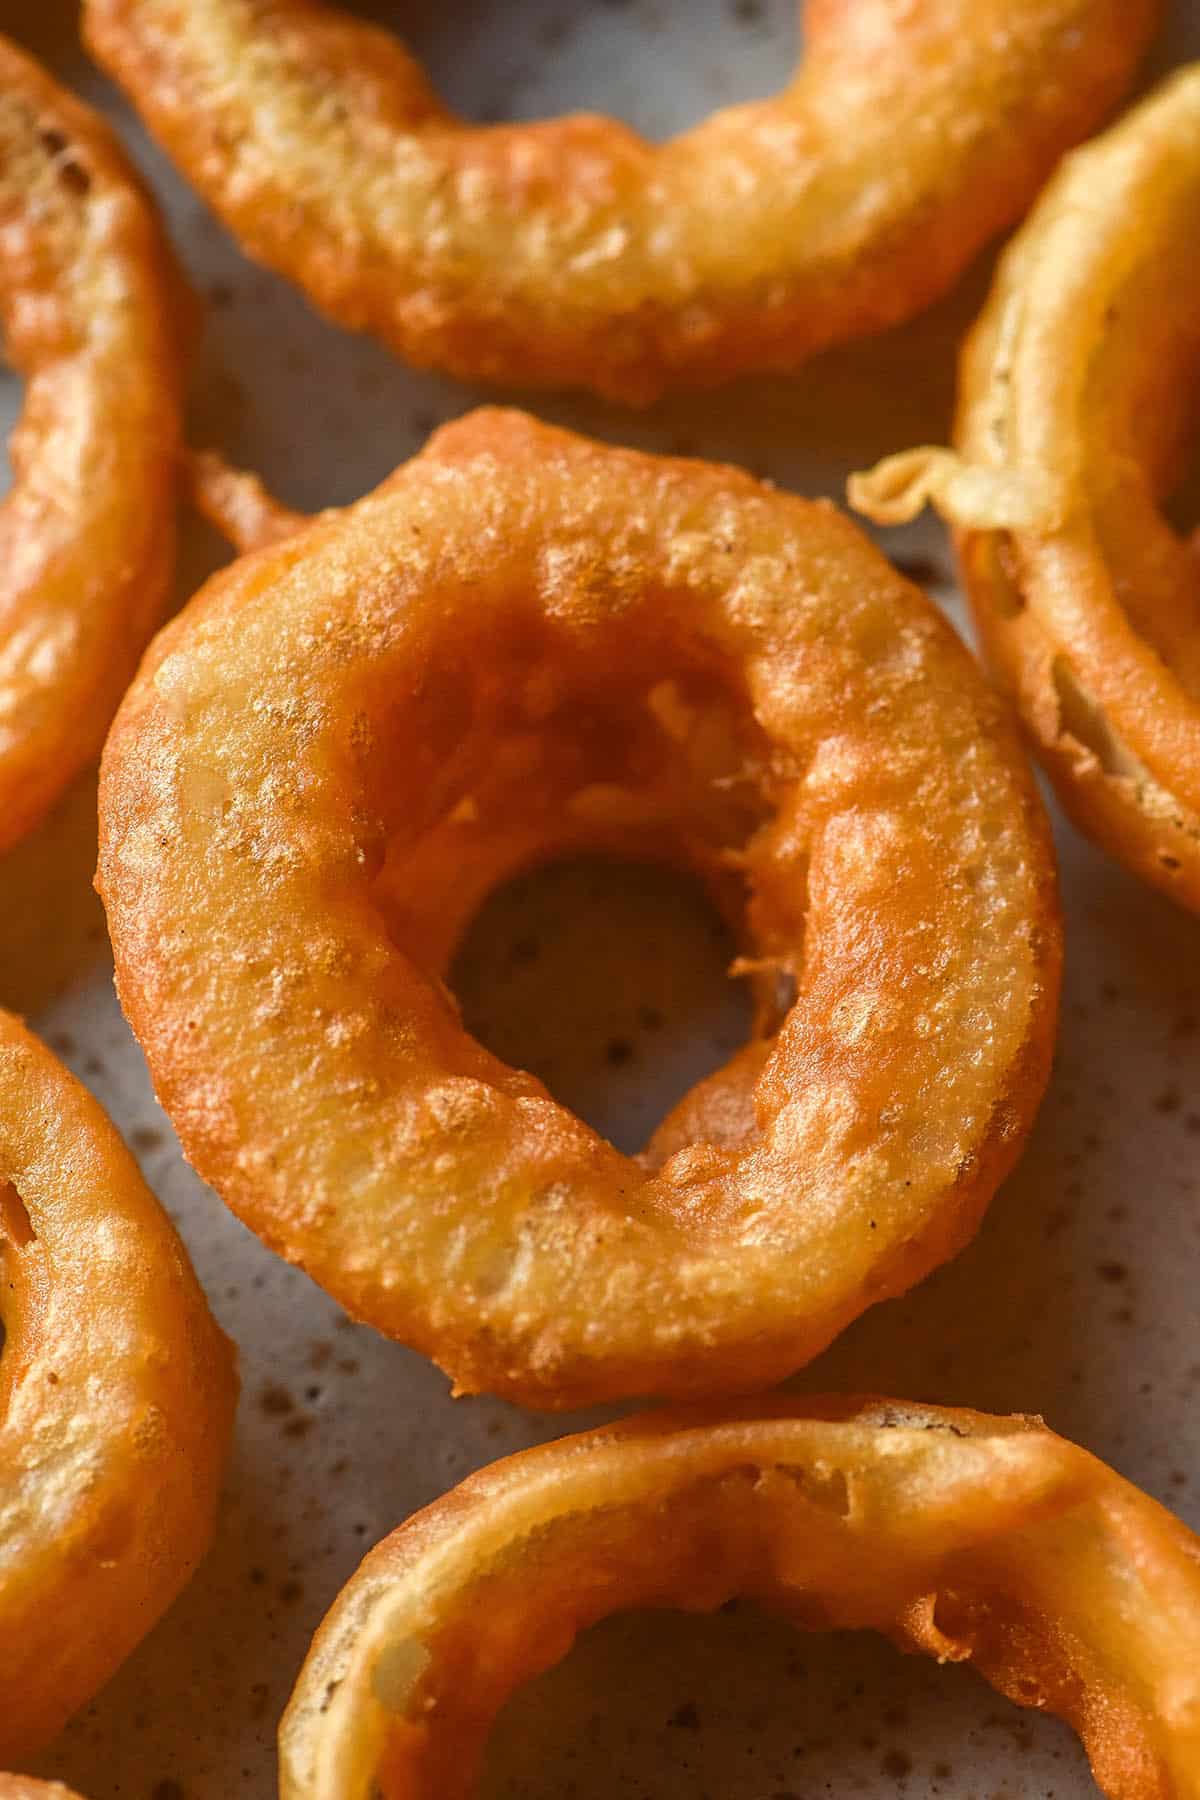
It is a very simple batter that has the perfect amount of crispiness and golden crust. It goes without saying that these are not the breaded style of onion rings – they’re the crispy fish and chip shop style.
FODMAP notes for your low FODMAP onion rings
These FODMAP thresholds are current as of June 2025. They will be periodically reviewed to ensure they remain current.
As we have briefly discussed, Monash has listed large pickled onions (ie: not cocktail onions) as being low FODMAP in 60g per serve. They have recently updated the app to specify that 85g is a moderate serve and the FODMAP in question is fructan.
When I developed this recipe, the low FODMAP threshold was 45g. So, it is great news that they have upped the threshold!
This recipe uses 300g pickled onion. This means that a batch of onion rings needs to serve 5 people. You can measure out 60g worth of pickled onion and set it aside for your portion, if you like. I generally just eyeball it, as Monash have previously specified they pad their FODMAP thresholds (so you can likely get away with a little extra). Do whatever works for you and whatever you feel comfortable with. If fructan is a big issue for you, measure out the onion beforehand.
The only other ingredient of note FODMAP wise is the milk. I used full fat lactose free milk here to keep the FODMAP content down. In my recipe for gluten free onion rings, I also tested soy milk which worked nicely. If you would like to use soy milk, choose a variety made from soy protein as opposed to soy beans. Soy protein based soy milk is low FODMAP in 257g serves, which is more than this recipe uses.
The purpose of each ingredient
- We’re using pickled yellow/brown or white onion. As discussed above, pickling the onion gives it a low FODMAP serving. It also makes for a delicious salt and vinegar style onion ring.
- White rice flour is an easy wholegrain backbone flour in gluten free baking. However, it is also renowned for its crisping abilities when it comes to deep frying. It is also a low FODMAP gluten free flour (and lower FODMAP than brown rice flour). I have not tested an alternative for white rice flour at this stage.
- Corn starch is another flour known for making things crispy and delicious. As rice flour doesn’t have any elasticity, cornstarch also adds chew to your onion rings. I have successfully tested potato starch as an alternative. I have not yet tested tapioca flour (there’s only so many onion rings a girl can eat!).
- Baking soda aids in crispiness and is very helpful in browning. I found that the versions I tested with baking powder were not as brown or as crisp.
- Because baking soda needs an acid to create a bubbly reaction, we’re adding vinegar. This neutralises any baking soda taste and makes for a deliciously crispy batter.
- Salt is for flavour, of course! It does also help a little with browning.
- Finally, milk. I tested varieties of these low FODMAP onion rings with fizzy water and I found milk to be superior here. It adds a soft crunch to the batter and makes the rings brown beautifully and evenly.
Substitution options
Although we have touched on them briefly above, I wanted to go into the substitutions I have tested.
First, I have tested sunflower oil and vegetable oil for frying. Any super neutral oil with a high smoke point will work here.
As discussed, you can use corn starch or potato starch for these onion rings. I haven’t tested tapioca flour, nor have I tested glutinous rice flour. My experience with glutinous rice flour is that it makes things taste very ‘ricey’ when used alongside rice flour, so I don’t think I would recommend it.
You don’t taste the vinegar too much in my opinion. As such, I daresay you could use lemon juice or apple cider vinegar in place of white vinegar. Keep in mind, though, that the onion is already pickled. That adds a tang before we even get to the batter.
Finally, the milk. I have tested full fat lactose free dairy milk and soy milk made with soy protein. I haven’t tested any other varieties. Although I don’t see why they wouldn’t work, I can’t strictly guarantee them.
Regular (lactose free) milk contains milk fats which brown in such a lovely way, developing the flavour. Vegan versions will be a little different, but still delicious.
Can I pan fry or shallow fry these onion rings?
I don’t think either of these options would work, but I haven’t tried them.
The batter is quite liquid and needs instantaneous heat to hold everything together. Without that heat, I daresay the batter will struggle to hold onto the onion ring or crisp up nicely.
You could potentially ‘shallow fry’ your onion rings in about 2-3cm of oil in a frypan or larger pot. However, the larger surface area might make it harder to keep the oil at the right temperature. Remember: cold oil equals soggy onion rings.
Another thing I haven’t tried is air frying these onion rings. I don’t own an air fryer and I also think the batter would be way too wet to be successful. Again, it needs that instant heat to hold itself up and in.
Can I make onion rings ahead of time?
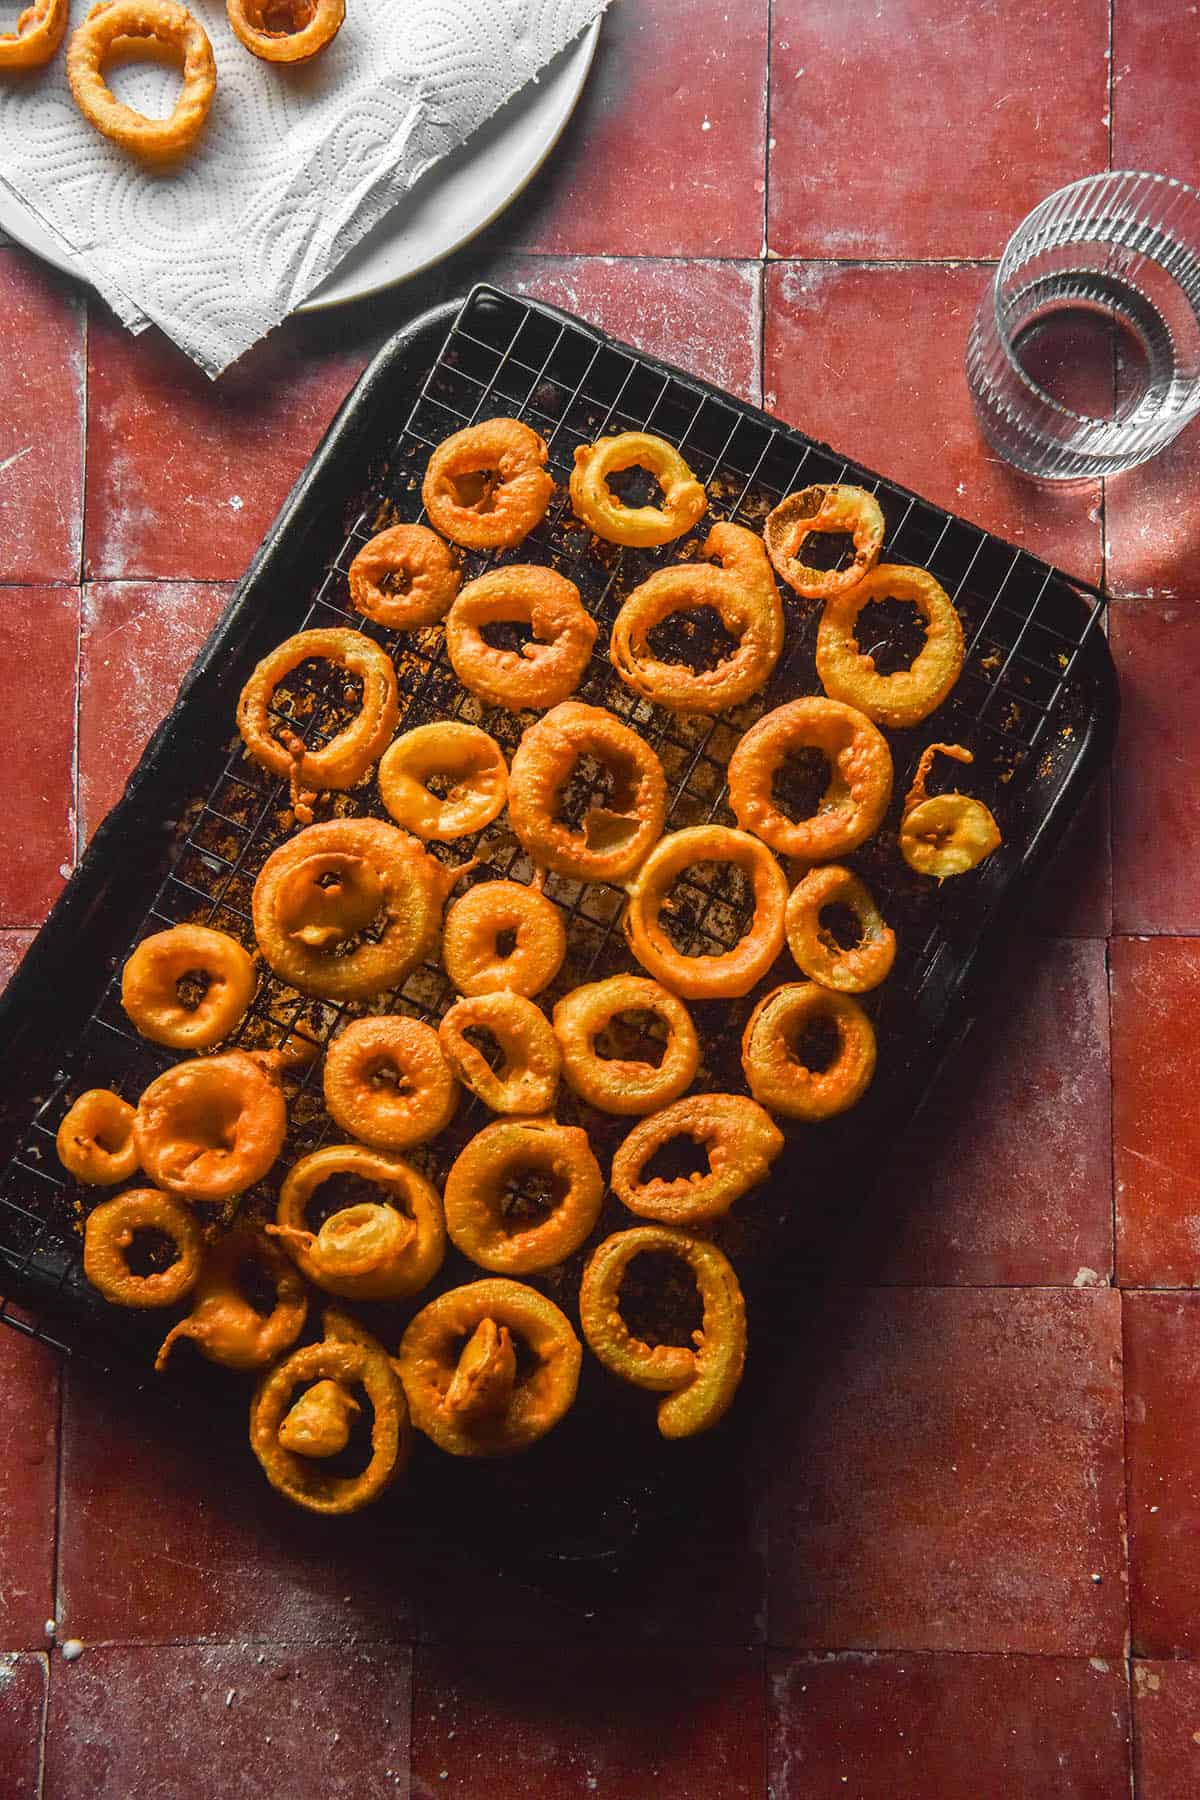
Unfortunately not! When left to cool, onion rings gradually become quite soft and eventually soggy. For best results, I highly recommend eating them fresh.
In a deep frying forum I noticed that someone recommend re-frying them to bring them back to their crispy goodness. This is something you could try. I wouldn’t recommend dipping them in batter again, as I found that made for quite hard yet doughy rings in my earlier tests. Simply repeat the frying process before you are ready to eat the rings.
Ideal consistency for your batter
In my testing, I found that different combinations required differing amounts of milk. The corn starch versions needed less milk than the potato starch versions, and the soy milk versions needed more than the cow milk versions.
Your ideal batter consistency drips off the spoon in thin ribbons, but isn’t so thin that it struggles to hold onto the onion ring. It should coat each ring quite generously, while still dripping off the ring in ribbons. I have found that thinner batters tend to be crispier while thicker ones tend to end up quite pasty, so getting the liquid content just right is somewhat of an art.
When adding the milk, you’ll notice that the batter may start as chalky or as having a solid lump of starch at the bottom of the bowl. This is to be expected given the starch content of the batter. Add the vinegar, then add more milk 4 teaspoons (20ml) at a time.
Continue adding milk and mixing until you reach the consistency described above. If you fry off a few rings and your batter has thickened, add more milk (or water, if you have run out) to return to the original consistency.
If you find your batter is too thin, add 10-20g more rice flour and stir to combine.
It shouldn’t be a struggle or feel like effort to swirl your onion rings through the batter. If it is, your batter is too thick. Add a splash of milk or water before continuing.
One last thing to keep in mind: the batter will thicken as you work, both because the flour will soak up the liquid and because the rice flour used to coat the onions will thicken it. Add a splash of water whenever you feel it is necessary.
Tips for your low FODMAP onion rings
If you would prefer not to have your rings taste too vinegary, you can very gently rinse and dry them prior to dipping them in batter. This will just get some of the excess vinegar off the rings. I actually prefer them pickled, but the choice is yours.
In my experience, dipping the onion rings in some plain rice flour prior to the batter helps the batter grip the onion ring better. This is applicable for both recipes – this one and my gluten free onion ring recipe.
The ideal deep frying temperature is somewhere between 170-190C (340-375F). I have a Thermapen to test the temperature prior to frying and it is worth every cent. If you don’t have a thermometer, I still have some tips. When a coated onion ring touches the oil, it should sizzle immediately. Anything less than a vigorous bubbling is a sign that your oil is not hot enough. If your oil isn’t hot enough, your onion rings will soak up oil and become very greasy. Stop and allow the time time to come to the right temperature.
After this, keep an eye on how quickly your onion rings are browning. If they brown very quickly or start to burn in some spots, turn the heat down. The rings should take about 30 seconds to 1 minute to cook on either side. Anything too quick means your oil is too hot.
I recommend cooking around 4 rings at a time if you are using a small pot. Each ring added to the oil lowers the temperature and you don’t want it it to drop too much or else your rings will be oily.
More low FODMAP recipes
- Low FODMAP caramelised onion
- Low FODMAP French onion dip
- Low FODMAP garlic chips
- Low FODMAP gluten free falafel
- Low FODMAP gluten free arancini
Low FODMAP onion rings (gluten free)
Ingredients
- 300 g pickled yellow/brown onion sliced into rings before pickling (see notes for recipe)
- 200 g white rice flour use divided
- 50 g corn starch or potato starch (see notes)
- 8-10 g fine salt
- 2 g baking soda
- 125-180 ml lactose free full fat milk (see notes for alternatives)
- 10 ml white vinegar
- Generous neutral high smoke point oil for frying (I used sunflower seed oil)
Instructions
- Remove your pickled onions from their brine and gently rinse to remove excess vinegar. Carefully pat dry. If you have made your own pickled onions (recipe in notes) they should be sliced into rings already. If you are using store bought, try to buy whole pickled onions and slice them into rings as best you can.
- Place 50g white rice flour in a small bowl and set aside for a pre-batter flour coating. This helps the batter stick to the onion rings.
- Add the remaining 150g white rice flour, corn starch or potato starch, salt and baking soda to a medium mixing bowl and whisk to combine.
- Add 125ml milk to your flour and starch mix along with the vinegar. Whisk to combine, then leave it for 10-15 seconds. When adding the milk, you'll notice that the batter may start as chalky or as having a solid lump of starch at the bottom of the bowl. This is to be expected given the starch content of the batter. Add the vinegar, then add more milk, 4 teaspoons (20ml) at a time.
- Your ideal batter consistency drips off the spoon in thin but solid ribbons. It should easily coat an onion ring without struggling to cling to the ring, but it shouldn’t be so thick that it falls off in clumps or coats the onion rings unevenly. It should be closer in consistency to a crepe batter than a pancake batter – never dry or chunky.
- Thoroughly preheat your oil in a small – medium pot (see notes at the bottom of the recipe). The oil should be about 4-5cm high. The ideal temperature for deep frying is 170-190C (340-375F). It helps enormously to have a thermometer (I have a Thermapen) but see notes in the body of the post if you don’t.
- Briefly coat your separated onion rings in the bowl of rice flour. This will just help the batter grip the onion a little better.
- Depending on the size of your oil pot, coat 4+ onion rings in the liquid batter at a time. Allow each ring to drip off excess batter, then transfer to the hot oil. Wait about 10 seconds between adding each onion ring to ensure they don’t get stuck together. Be careful of any spitting oil as pickled onions have more liquid content than regular onions.
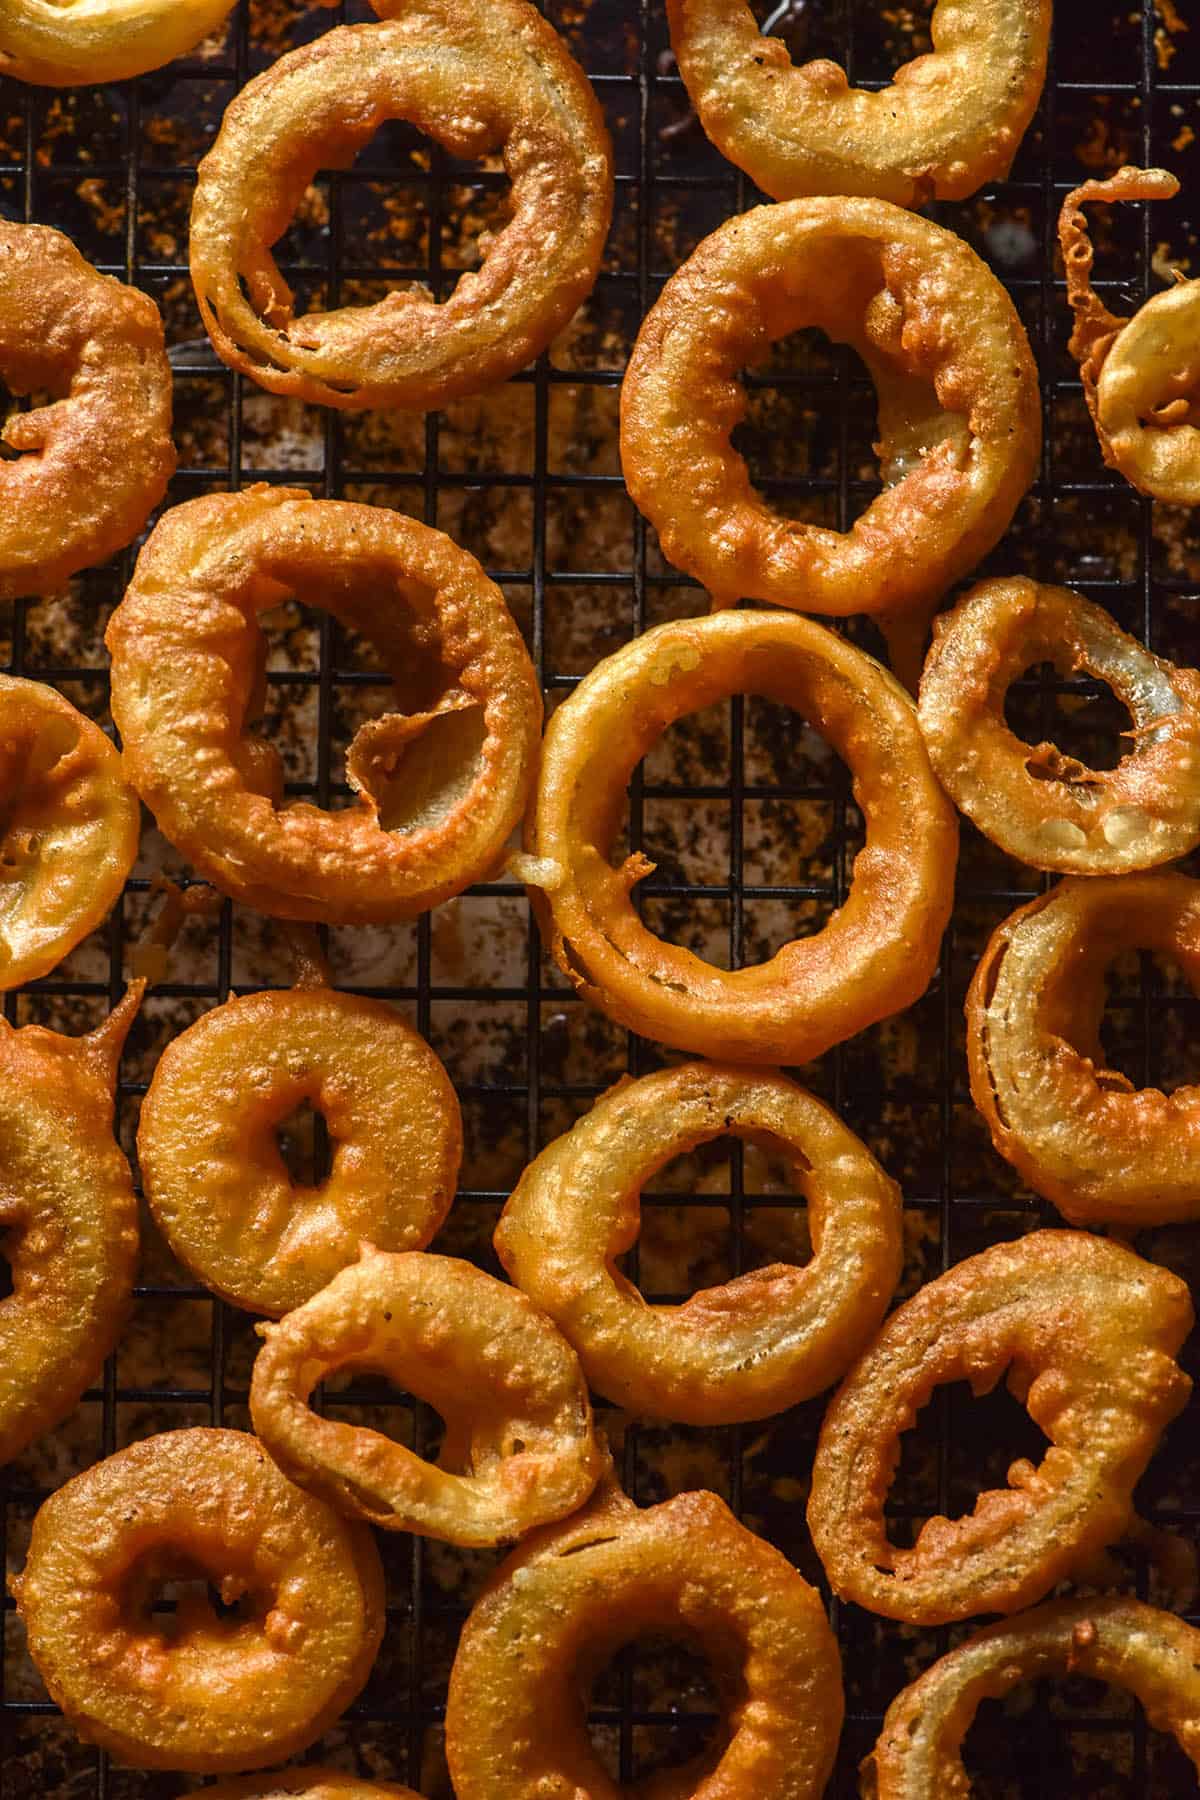
- Cook the rings for about 30-60 seconds per side or until they are a light golden brown. Flip with tongs and repeat, then transfer the cooked rings to a cooling rack.
- If you can wait, allow an onion ring to cool a little before testing it to see if you like the consistency of the batter. If you don't, change it! Batter that cooks up doughy is too thick, while batter that can't stay attached to the onion ring is too thin. Adjust the thickness of your batter as necessary.
- Repeat with the remaining onion rings. Onion rings are best served fresh and hot from the oil. See notes in the body of the post on re-crisping leftovers.
Notes
- In my testing, corn starch needed less milk than potato starch. I have not tested tapioca flour.
- I have tested lactose free full fat milk and soy milk made with soy protein in this recipe.
- My recipe for Low FODMAP pickled onions can be found here. I recommend making your own so you can slice them into onion rings prior to pickling.
- Monash hasn’t specified how long the onions need to be pickled before they are designated Low FODMAP. I generally pickle mine the night before and haven’t had issues, but test your own tolerance. The FODMAPs leech out into the pickling brine, so it stands to reason that the longer they are left to pickle, the lower the FODMAP content.
- With that said, it is more difficult to fry pickled onion that is very soft from pickling. This is another reason I like to make my own pickled onion – it is still crunchy and fresh.
- Monash lists pickled large onions as being Low FODMAP in 60-85g serves. This recipe serves 5 for 60g per person.
- See the body of the post for remaining FODMAP notes.
- I like to deep fry in a small pot because it uses less oil and feels less scary. You can use a larger pot, but the larger the pot, the more oil you will need. With that said, the larger the pot, the quicker you can fry all your onion rings. You can cook as many rings as can comfortably fit in your vessel of choice.
- I have not tested shallow frying, pan frying or air frying these onion rings.
No Comments