

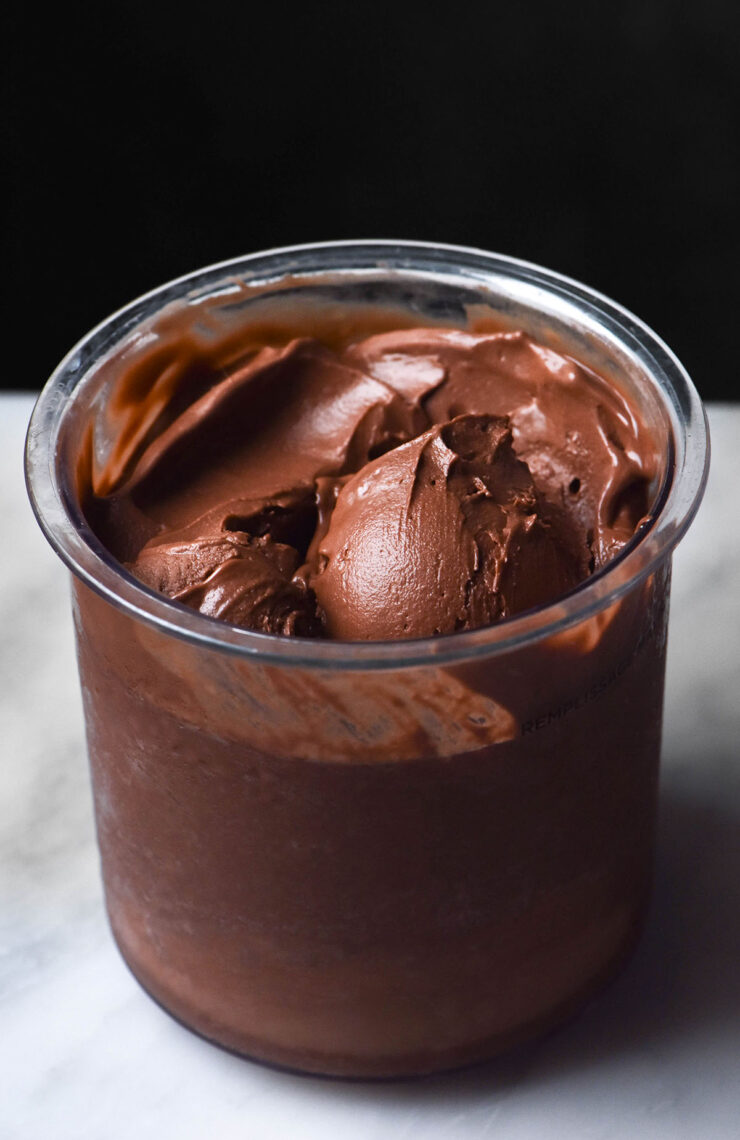
I have an absolutely delicious vegan chocolate ice cream recipe in my vegan Ninja Creami e-book. Having recently developed a delicious Ninja Creami cashew ice cream, though, I figured I’d try a chocolate version. Needless to say it worked an absolute treat, so let’s get straight into this Ninja Creami vegan chocolate ice cream.
As discussed, this recipe has a cashew base. We’re using cashews that have been soaked in boiling water to soften them. After draining, we’ll add fresh water and blitz up the cashews to create a creamy cashew base for our ice cream.
In a pot, we are pouring boiling water over the cocoa powder. This will bloom the cocoa powder and deepen the chocolate flavour. To sweeten, we’re using both caster sugar and glucose syrup or light corn syrup for the perfect balance of sweetness and texture. Xanthan gum is optional but very helpful in emulsifying all the ingredients together. A pinch of salt seals the deal and brings out all the delicious flavours.
And that’s it! A very easy and very delicious vegan chocolate ice cream.
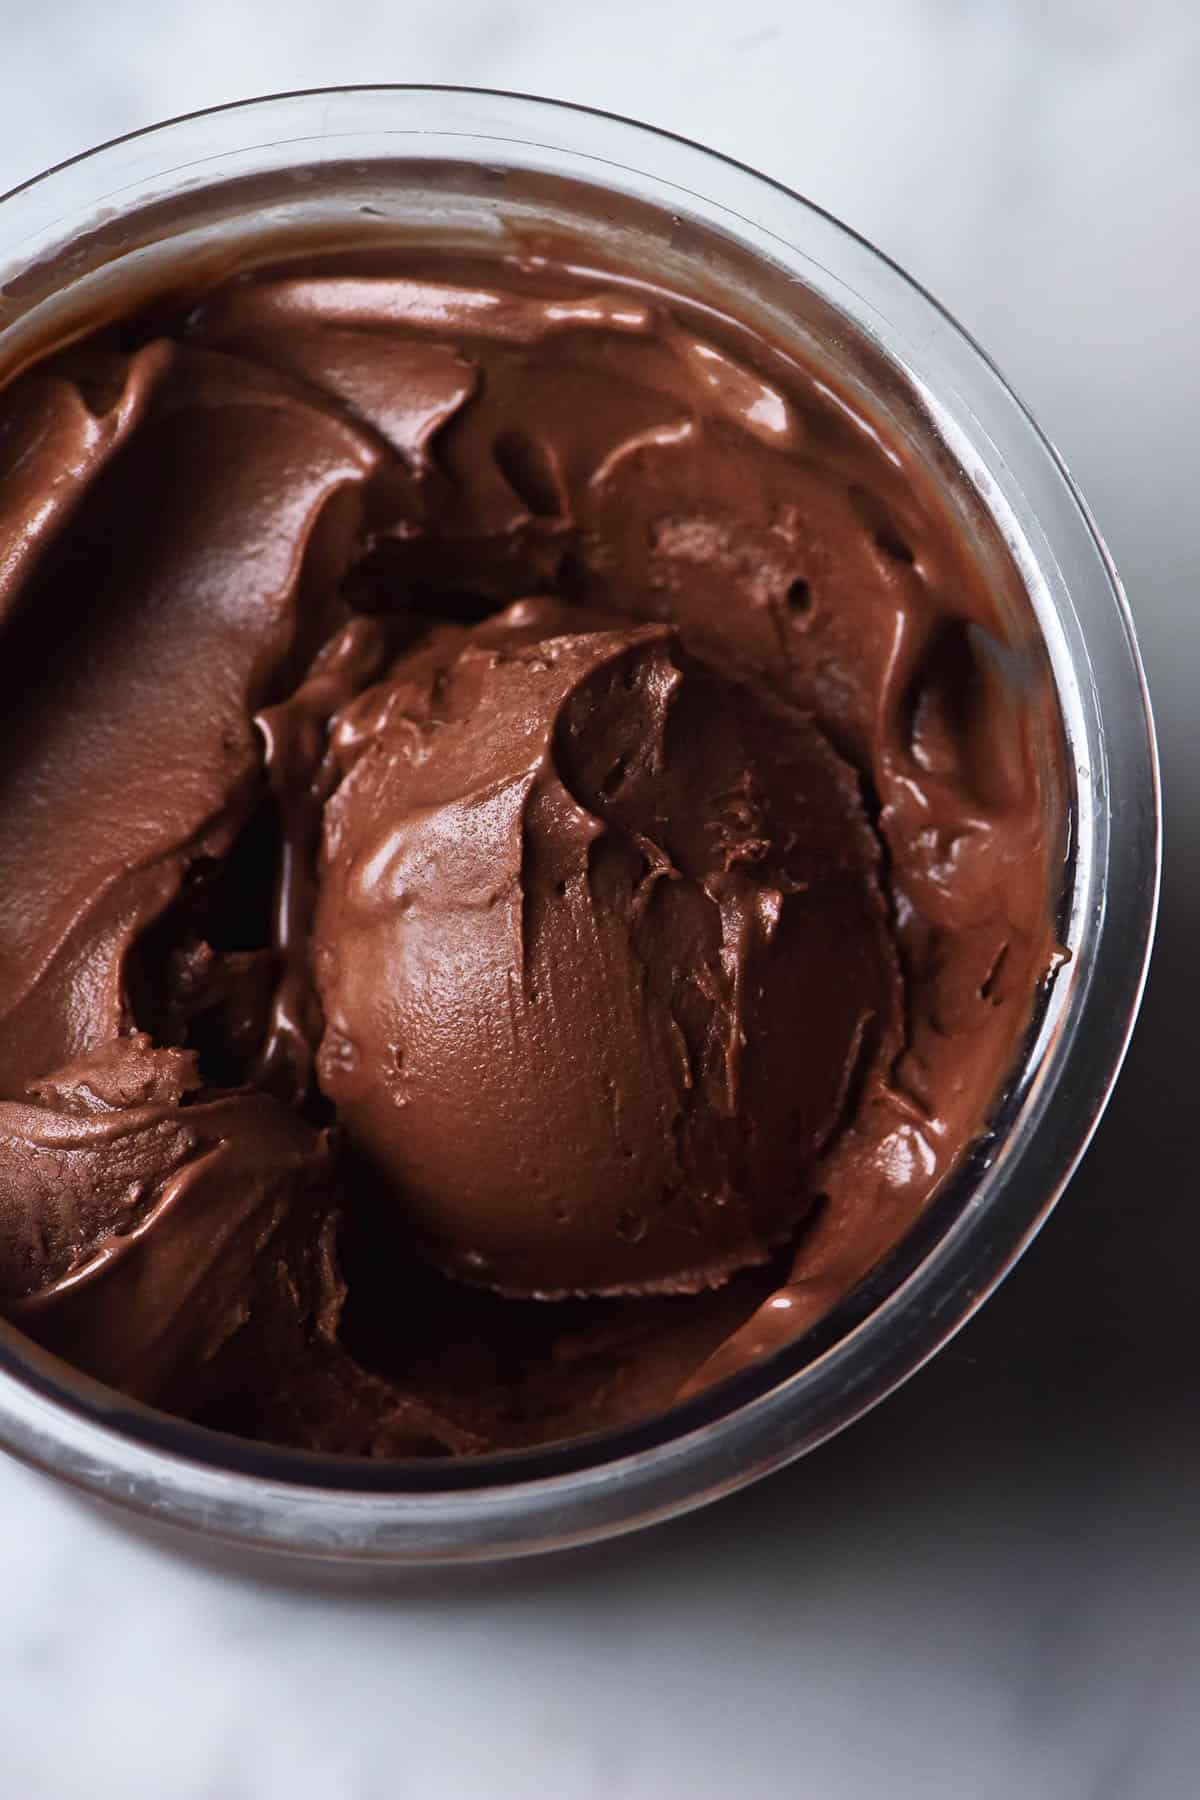
Ingredient notes
This recipe uses raw and un-salted cashews. I know that toasted cashews are superior but we are after the neutral creaminess of a raw cashew here. With that said, I have successfully tested my vegan Vanilla Ninja Creami recipe with toasted cashews and it worked beautifully. It had a delicious nutty butterscotch-like flavour that I absolutely loved. I daresay that would also work really nicely here.
At the moment, I don’t have a substitute for the cashews but I am working on a macadamia ice cream.
I know that asking you to use two sugars is annoying. I apologise! The reality is that the combination of the two creates an incredible texture in your ice cream that one alone could not achieve.
Caster sugar adds a lovely neutral sweetness to your ice cream but doesn’t help improve the texture. Glucose syrup or light corn syrup doesn’t add nearly as much sweetness, but it does so much to improve the body and texture of your ice cream. Think icy and separate vs chewy and creamy.
Glucose syrup is commonly available in Australian and UK supermarkets in the baking aisle. Light corn syrup is more commonly available in the USA and Canada. It is distinct from high fructose corn syrup or fructose-glucose syrup, although some brands of corn syrup can contain it. Note that light refers to the neutral colour and flavour rather than the calories. I have tested and can recommend Karo brand light corn syrup.
Onto the cocoa. I have only tested Dutch processed cocoa here as that is my preference flavour-wise. In my opinion, it is a richer and less fruity flavour than regular cocoa. With that said, I am confident that regular cocoa would work here.
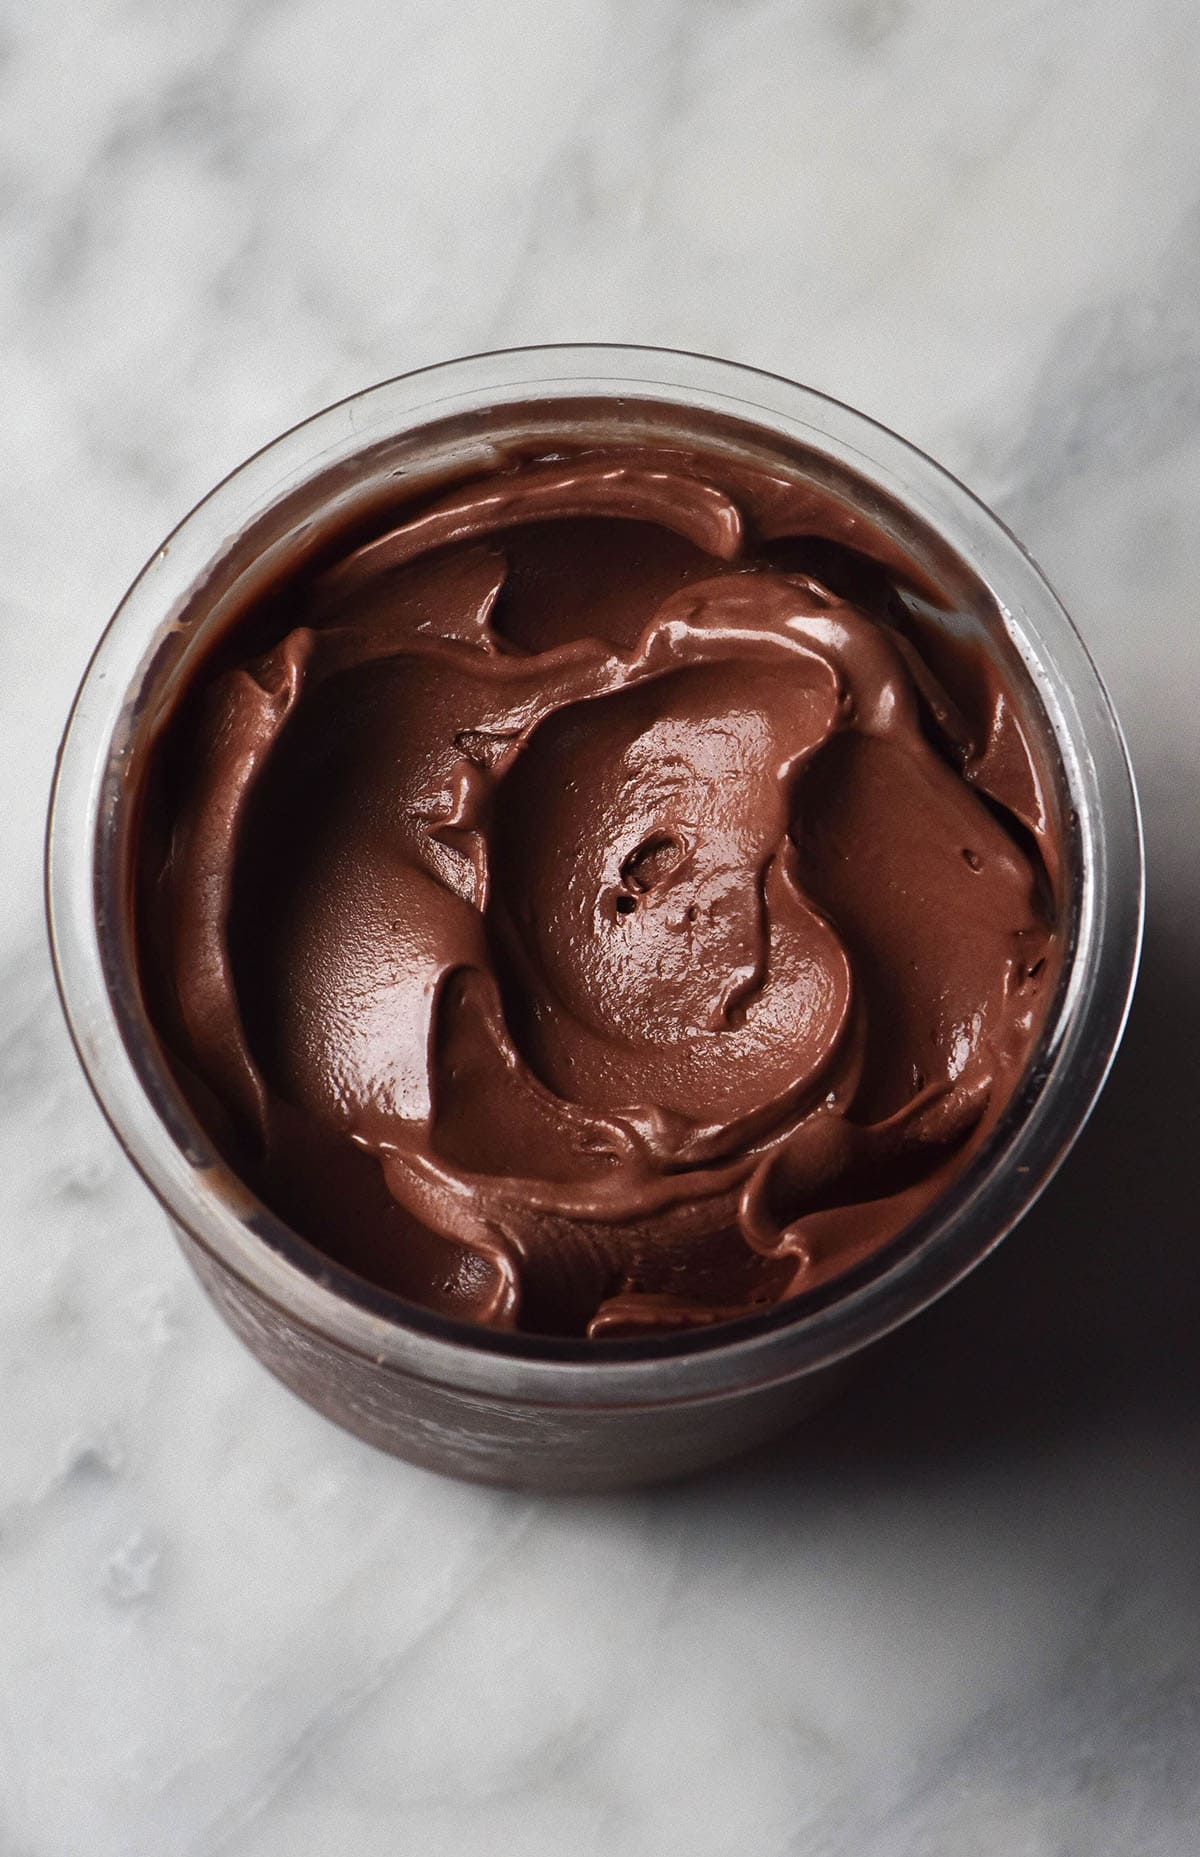
Do I need to add xanthan gum?
I have only tested this recipe with the added xanthan gum. In developing my cashew Ninja Creami, I noticed that there was a tiny amount of liquid separation in the bottom of the tub. The texture is still perfect either way but you do lose a little bit of ice cream.
Because of this, I decided to add some xanthan gum to this recipe. Cocoa is not an emulsifying ingredient and a lot of chocolate contains emulsifiers. I reasoned that if chocolate needs help emulsifying, this ice cream might as well.
You are welcome to omit the xanthan gum as an experiment but I can’t guarantee the results.
More vegan Ninja Creami recipes
- Ninja Creami coconut ice cream
- Ninja Creami frozen yogurt (use the vegan option)
- Ninja Creami lemon sorbet
- Ninja Creami vegan pumpkin ice cream
- Ninja Creami strawberry ice cream (use the vegan option)
Ninja Creami vegan chocolate ice cream (cashew base)
Equipment
- X NC300 machine with 470ml size tubs
- High speed food processor (I use a NutriBullet)
Ingredients
- 100 g raw unsalted cashews
- 200 g water (see notes)
- 20-30 g dutch processed cocoa
- 75 g boiling water
- 80 g caster sugar (see notes)
- 1 g xanthan gum (see body of post)
- 50 g glucose syrup or light corn syrup (see notes)
- Good pinch fine salt
Instructions
- Boil the kettle and place the cashews in a heatproof bowl. Cover them with boiling water and set aside for at least 10 minutes (longer if it suits).
- Drain the cashews and place them in a high speed food processor along with the 200g water. Blitz to create a smooth and creamy cashew base.
- Place the cocoa in a medium saucepan and pour over the 75g boiling water. Mix to combine and bloom the cocoa – it should be a thin paste consistency.
- Sprinkle the caster sugar in a heap and sprinkle the xanthan gum on top of that. Mix quickly so that both ingredients dissolve into the cocoa mixture. Add the cashew milk, glucose syrup or light corn syrup and salt.
- Place the mixture over a medium heat and cook for 1-2 minutes or just until the sugars have completely dissolved and the mixture is an even chocolate brown colour. Allow the mixture to cool a little before pouring it into your 470ml tub. It should come up to the fill-line or just under.
- Place in the freezer for 16-24 hours with the lid off. Leaving the lid off during freezing helps minimise the risk of your mixture developing a hump which can damage your machine.
- When you are ready to eat, process your mixture on ice cream. I like to re-spin this recipe once. Return any leftovers to the freezer with the lid on.
Notes
- You might be able to push the sugar a little bit higher if you like a sweet ice cream. I wouldn’t personally go further than 90g. If you add too much sugar, your ice cream won’t freezer properly.
- Glucose syrup is more commonly available in the baking aisle in Australia and the UK. Light corn syrup is more commonly available in USA and Canada. Choose light (light refers to colour and flavour) and a brand without high fructose corn syrup. I tested Karo brand.
- If your mixture comes up to under the fill-line, you can always add water to reach it (but make sure you stir thoroughly).
- I do not have a substitute for cashews at the moment but I am working on a Ninja Creami macadamia ice cream recipe.
- See ingredient notes in the body of the post.
Looks amazing!! Do you need to strain the cashew milk first or is it fine straight from the blender?
Nope it all goes in! It should be lovely and smooth and we want the fat content from the cashews 🙂