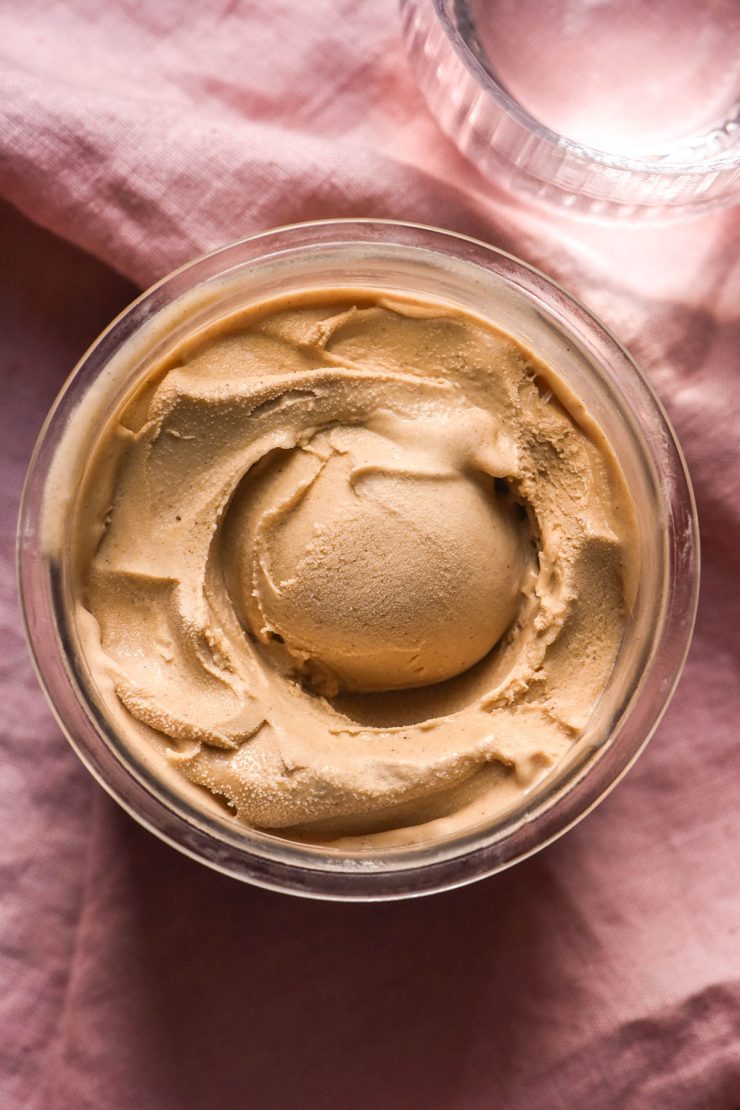
In the spirit of Christmas and of fairness, I’m sharing this recipe for Ninja Creami gingerbread ice cream. I shared the vegan version minutes before this and it only seems right to have both recipes ready to go at the same time. So! Let’s make a delicious gingerbread ice cream.
Ingredient notes
This recipe uses thickened cream and regular, full fat milk (although light milk works too). Thickened cream is around 30-35% fat in Australia. The equivalent in America is heavy whipping cream which should be around 36% fat. In the UK, it is called whipping cream.
The most important part of the cream you use is the fat content. It needs to be around 30-35% fat for this recipe to work. Ice cream is a delicate balance and a flavour with too much fat will split and leave a coating on the roof of your mouth. We need to ensure the fat level stays within the right range for a smooth and creamy ice cream.
If you are lactose intolerant, you can use lactose free thickened cream and milk here. If they are not available where you live, you can make your own.
The amount of sugar in an ice cream recipe is also important. Sugar lowers the freezing point of ice cream and interrupts the development of ice crystals. This means that an ice cream without any sugar might freeze to be rock hard, while an ice cream with too much sugar can fail to freeze at all. We need to keep the sugar within an appropriate range for the best tasting ice cream.
Speaking of sugar: I have not tested any sugar alternatives in this recipe and I don’t intend to. You are welcome to experiment, but I have no experience with alternate sugars and Ninja Creami making.
Do I need to use xanthan gum?
I have tested this recipe both with and without xanthan gum. While both work, I highly recommend the xanthan gum addition if you can use it. This is for a few reasons.
Firstly, the xanthan gum emulsifies the spices into the mixture so that they are suspended as the liquid freezes. This means you get an even dispersion of the spices through the ice cream. In the batch I made without xanthan gum, the spices floated on top and sunk to the bottom. This resulted in little clumps spice here and there and an uneven dispersion.
Secondly, the xanthan gum gives the ice cream a tangibly more creamy texture. I tasted both styles side by side and found that the xanthan gum version tasted much more creamy, even with the same fat quantities.
Thirdly, the emulsifying properties of the xanthan gum mean you can eat more ice cream without it giving you that fatty film on the roof of your mouth. To test this out for you, I ate nearly a whole tub of the xanthan gum version (just for science, you know!) and I didn’t get the oily feeling.
Does it work without xanthan gum? Yes. Is it better with xanthan gum? Yes.
Dietary notes
- As we have discussed, you can omit the xanthan gum although I do highly recommend it.
- You can also use lactose free full fat cream for a lactose free gingerbread ice cream.
- Of course, you’ll need to use lactose free milk as well. You can use full fat or light lactose free milk.
- I haven’t tested any sugar alternatives unfortunately. Sugar plays an important role in ice cream and I don’t have enough experience with alternatives to say how they would work.
- The molasses is optional. In fact, I’d say only add it if you are a molasses fan. A small amount adds a strong flavour.
- If you need a completely dairy free version, see my recipe here.
More Ninja Creami recipes
- Ninja Creami Biscoff ice cream
- Ninja Creami vanilla ice cream
- Ninja Creami Nutella ice Cream
- Ninja Creami sweet potato ice cream
- Ninja Creami gluten free cookie dough ice cream
Ninja Creami gingerbread ice cream
Equipment
- NC300 Ninja Creami machine with 470ml size tubs
Ingredients
- 100 -125g light brown sugar (see notes)
- 2g (1/2 teaspoon) xanthan gum (optional, see notes)
- 2 teaspoons ginger powder
- 1/4 teaspoon nutmeg powder (less if grated fresh)
- 1/4 teaspoon cinnamon powder
- Pinch of fine salt
- 250 g milk, full fat or low fat and regular or lactose free
- 150 g thickened cream (30-35% milkfat) see notes
- 1 teaspoon molasses (optional, see notes)
Instructions
- Whisk the sugar, xanthan gum, spices and salt together in a medium pot.
- Add the milk and whisk thoroughly to combine. It should feel a little thicker after whisking if you're using the xanthan gum.
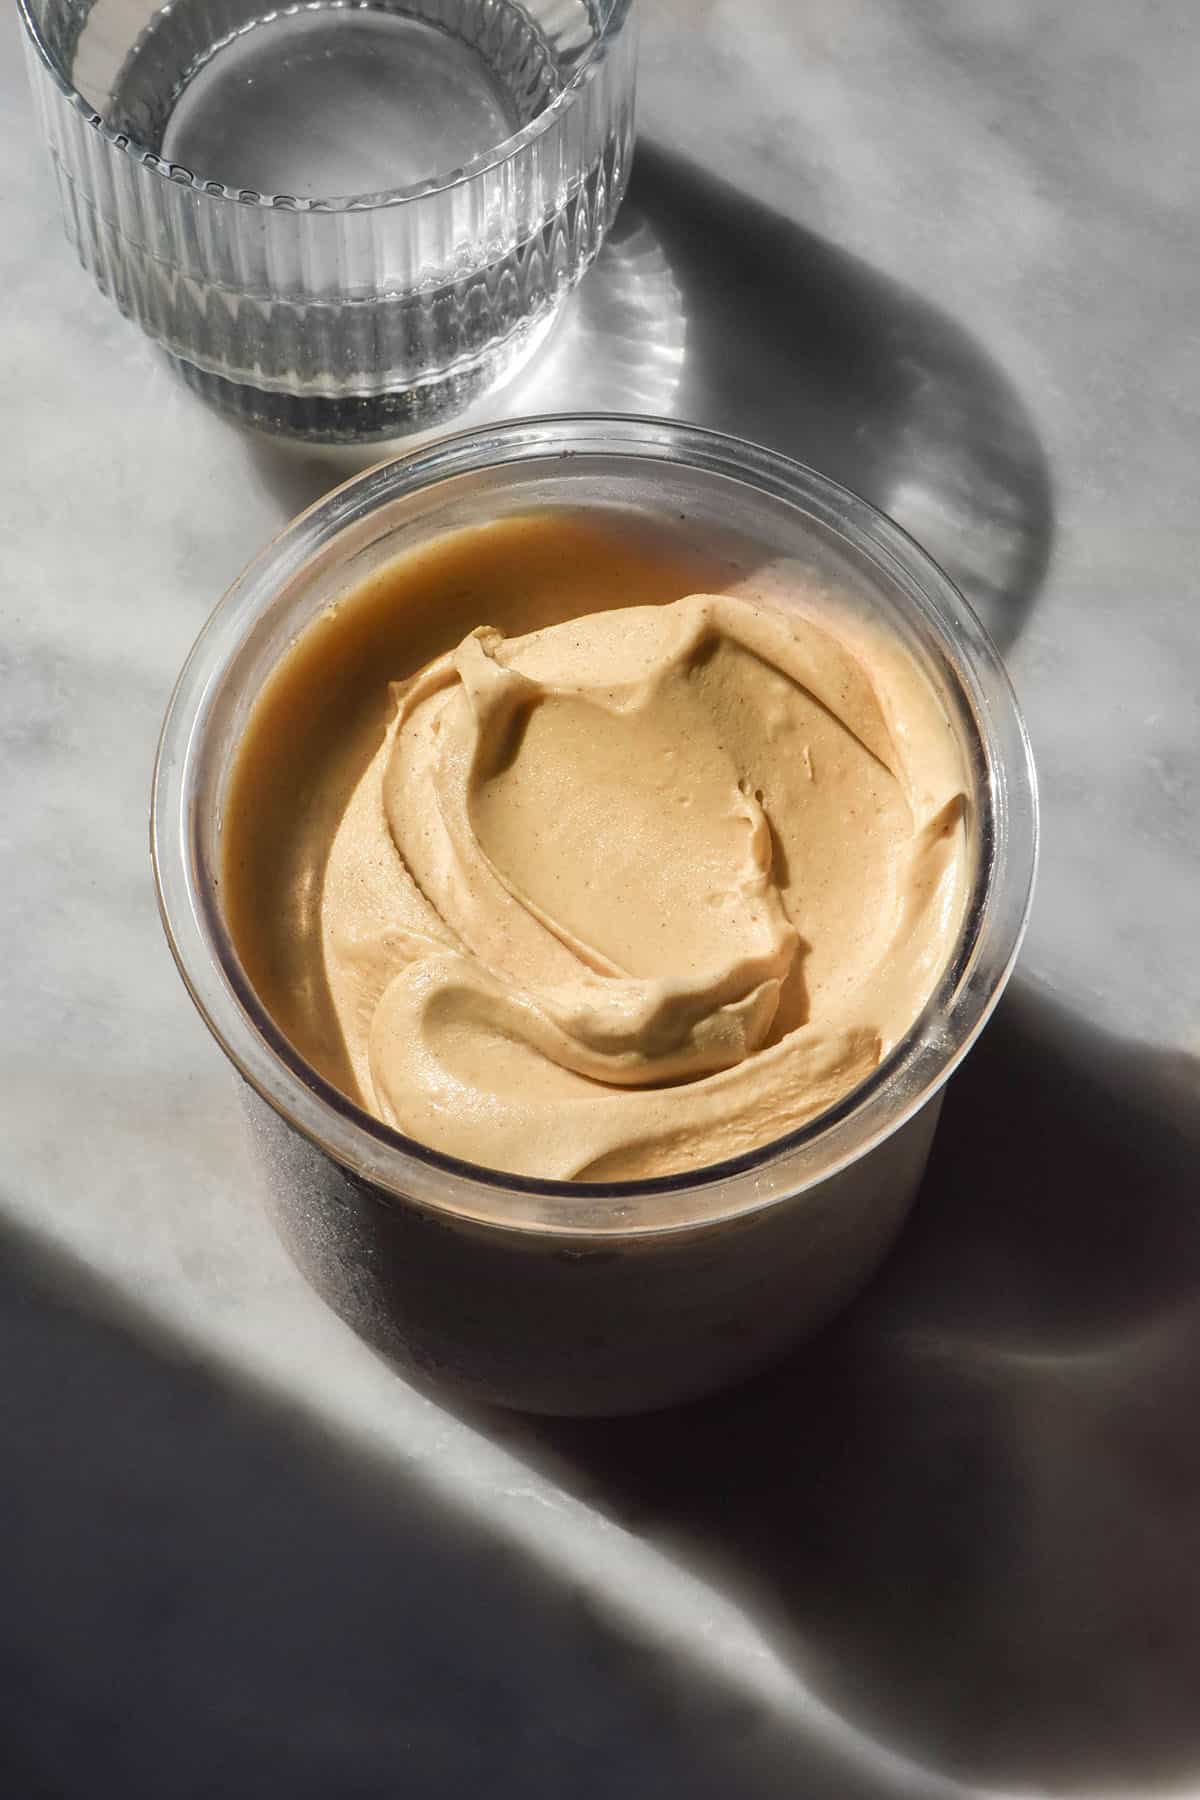
- Whisk in the cream then place the pot on a medium heat. Cook for 2 minutes then pour into the 470ml Ninja Creami tub. Allow to cool a little before transferring to the freezer for 16-24 hours with the lid off.
- When you're ready to eat, process the ice cream using the ice cream function. I find it's normally perfect after the first go, but you can re-spin if needed. Keep in mind that the higher quantity sugar option freezes more like soft serve, so be mindful of how many times you spin it. It may require 15-20 minutes back in the freezer after processing.
- Store leftovers in the freezer with the lid on.
Notes
- 125g light brown sugar creates a sweet ice cream that is a soft serve texture after processing. It is also easier to scoop straight from frozen. Add sugar according to your preferences for both sweetness and texture.
- 100g light brown sugar creates a firmer textured ice cream that is firmer upon processing and more solid after time in the freezer. Use sugar according to your preference for sweetness and texture.
- The xanthan gum is optional but highly recommended – see the body of the post for more information.
- Thickened cream in Australia contains approximately 30-35% milkfat. In the UK, this might be called whipping cream. In the USA, it may be heavy whipping cream. The most important aspect is the milkfat ratio – 30-35% is the ideal here.
- If you can only find 36%, I recommend using light milk and including the xanthan gum option. Too much fat in an ice cream can cause it to split and to coat the roof of your mouth with an oily film. Using light milk will drop the fat content of the ice cream back.
- My experience has been that xanthan gum helps emulsify an ice cream and minimises the fatty roof of mouth feeling. This is why I recommend it for a higher fat cream.
No Comments