I don’t mean to be a hater, but most of the Ninja Creami chocolate ice cream recipes online right now are just a ripoff of the Ninja Creami recipe booklet. I wanted to develop something easy and delicious that didn’t use cream cheese like the other recipes. I don’t regularly have cream cheese in my house and I would find it annoying to try and use a block of it after only using a tablespoon. So, my Ninja Creami chocolate ice cream recipe uses four simple ingredients (five, if we’re counting water) – none of which are cream cheese.
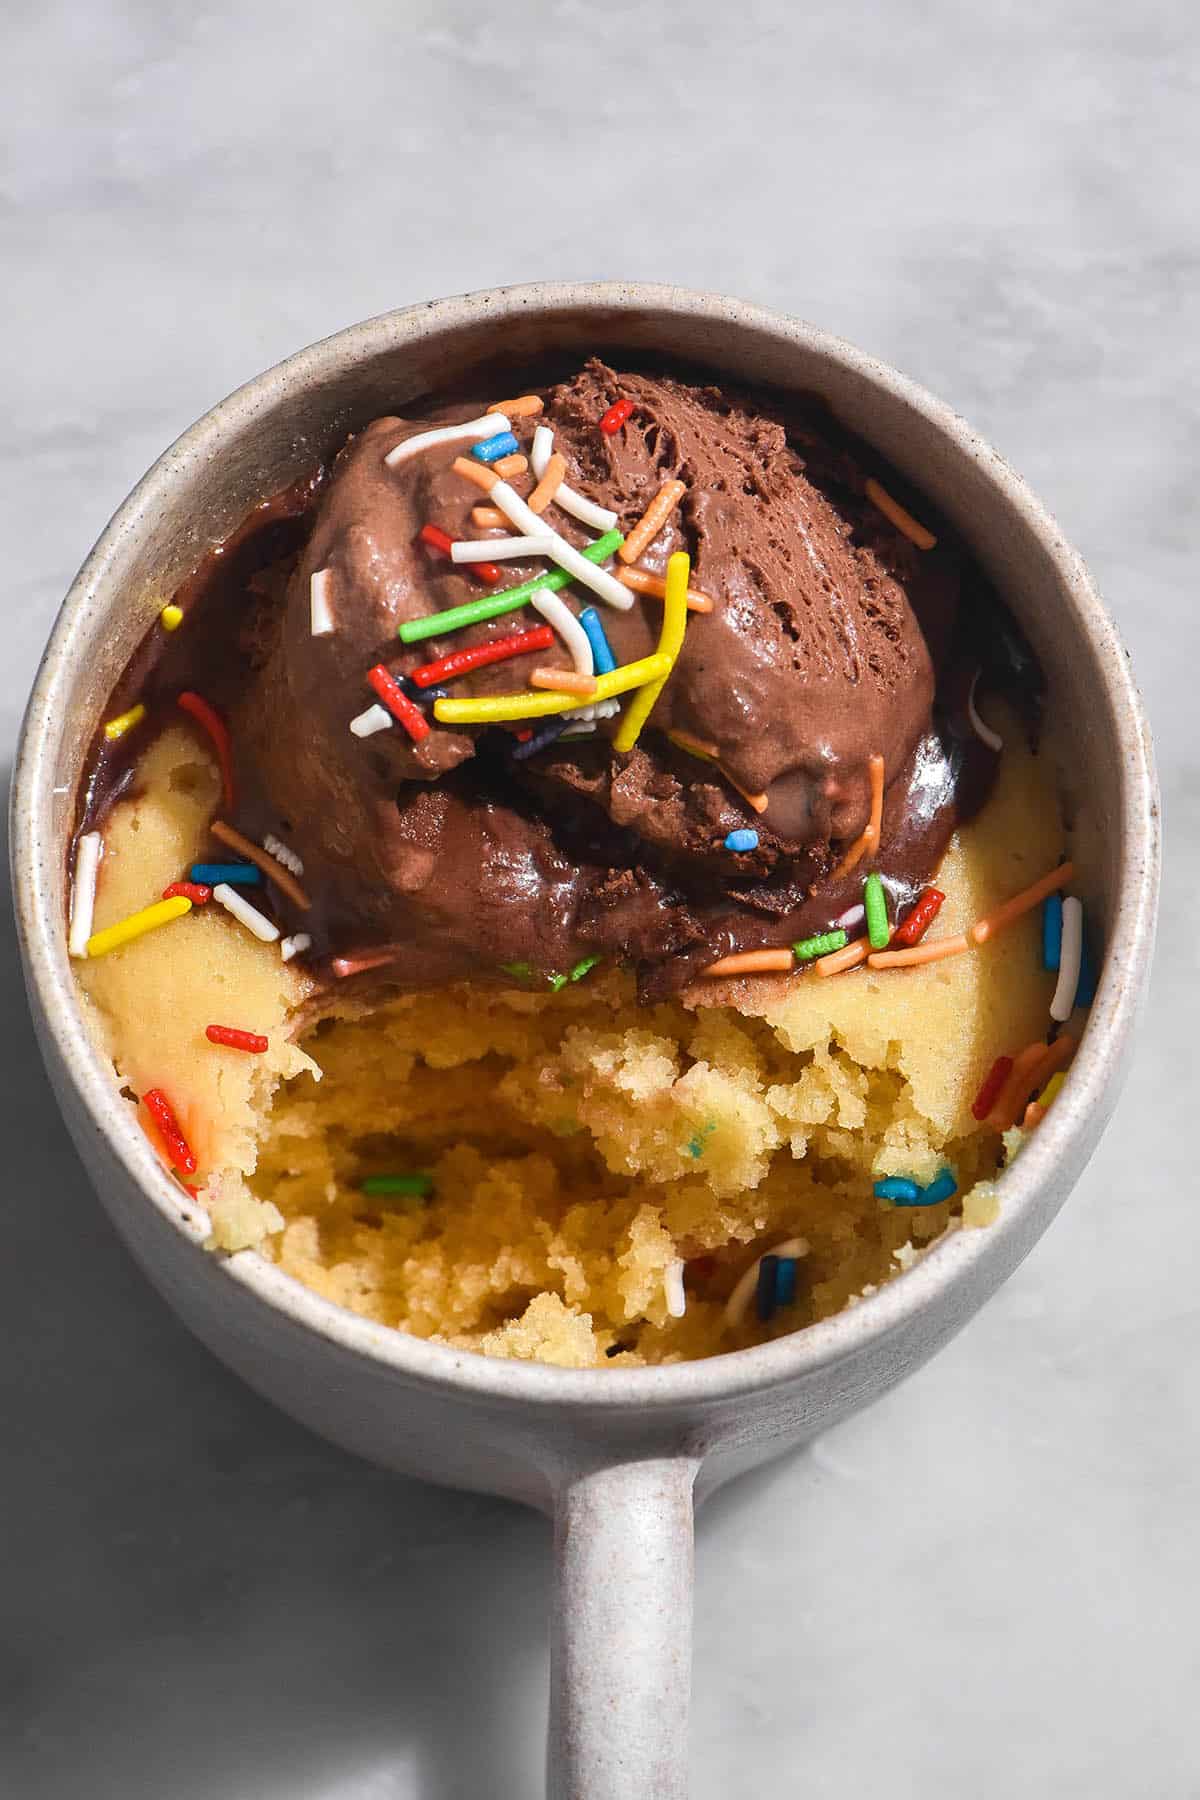
Ninja Creami chocolate ice cream recipe
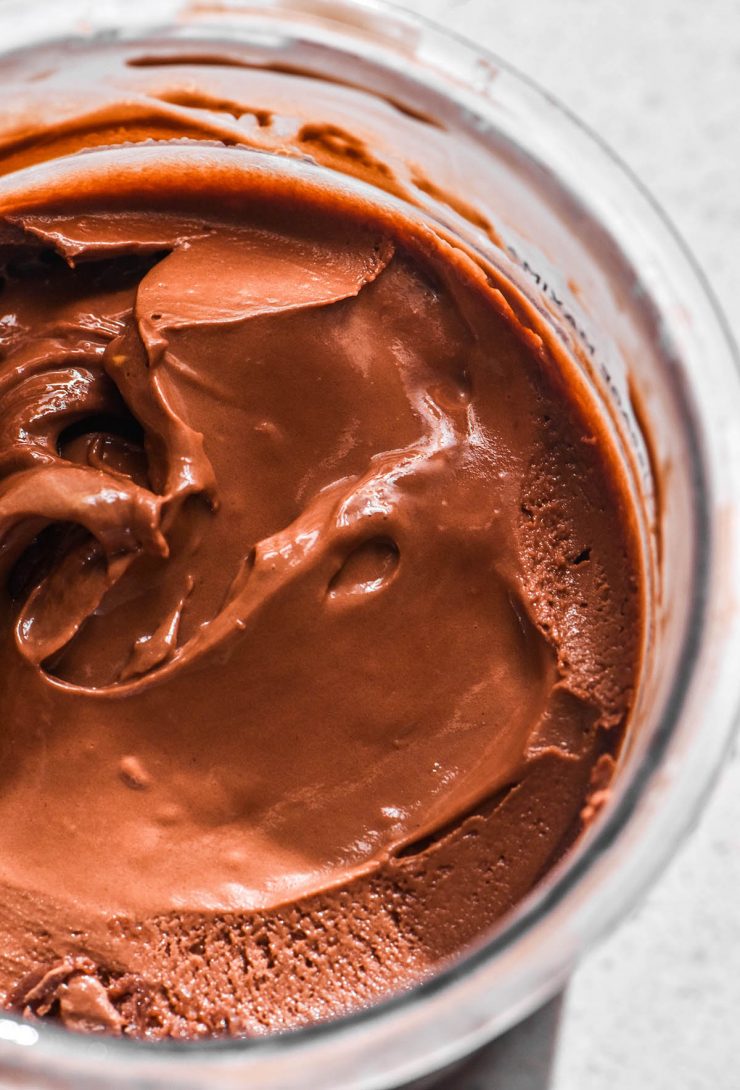
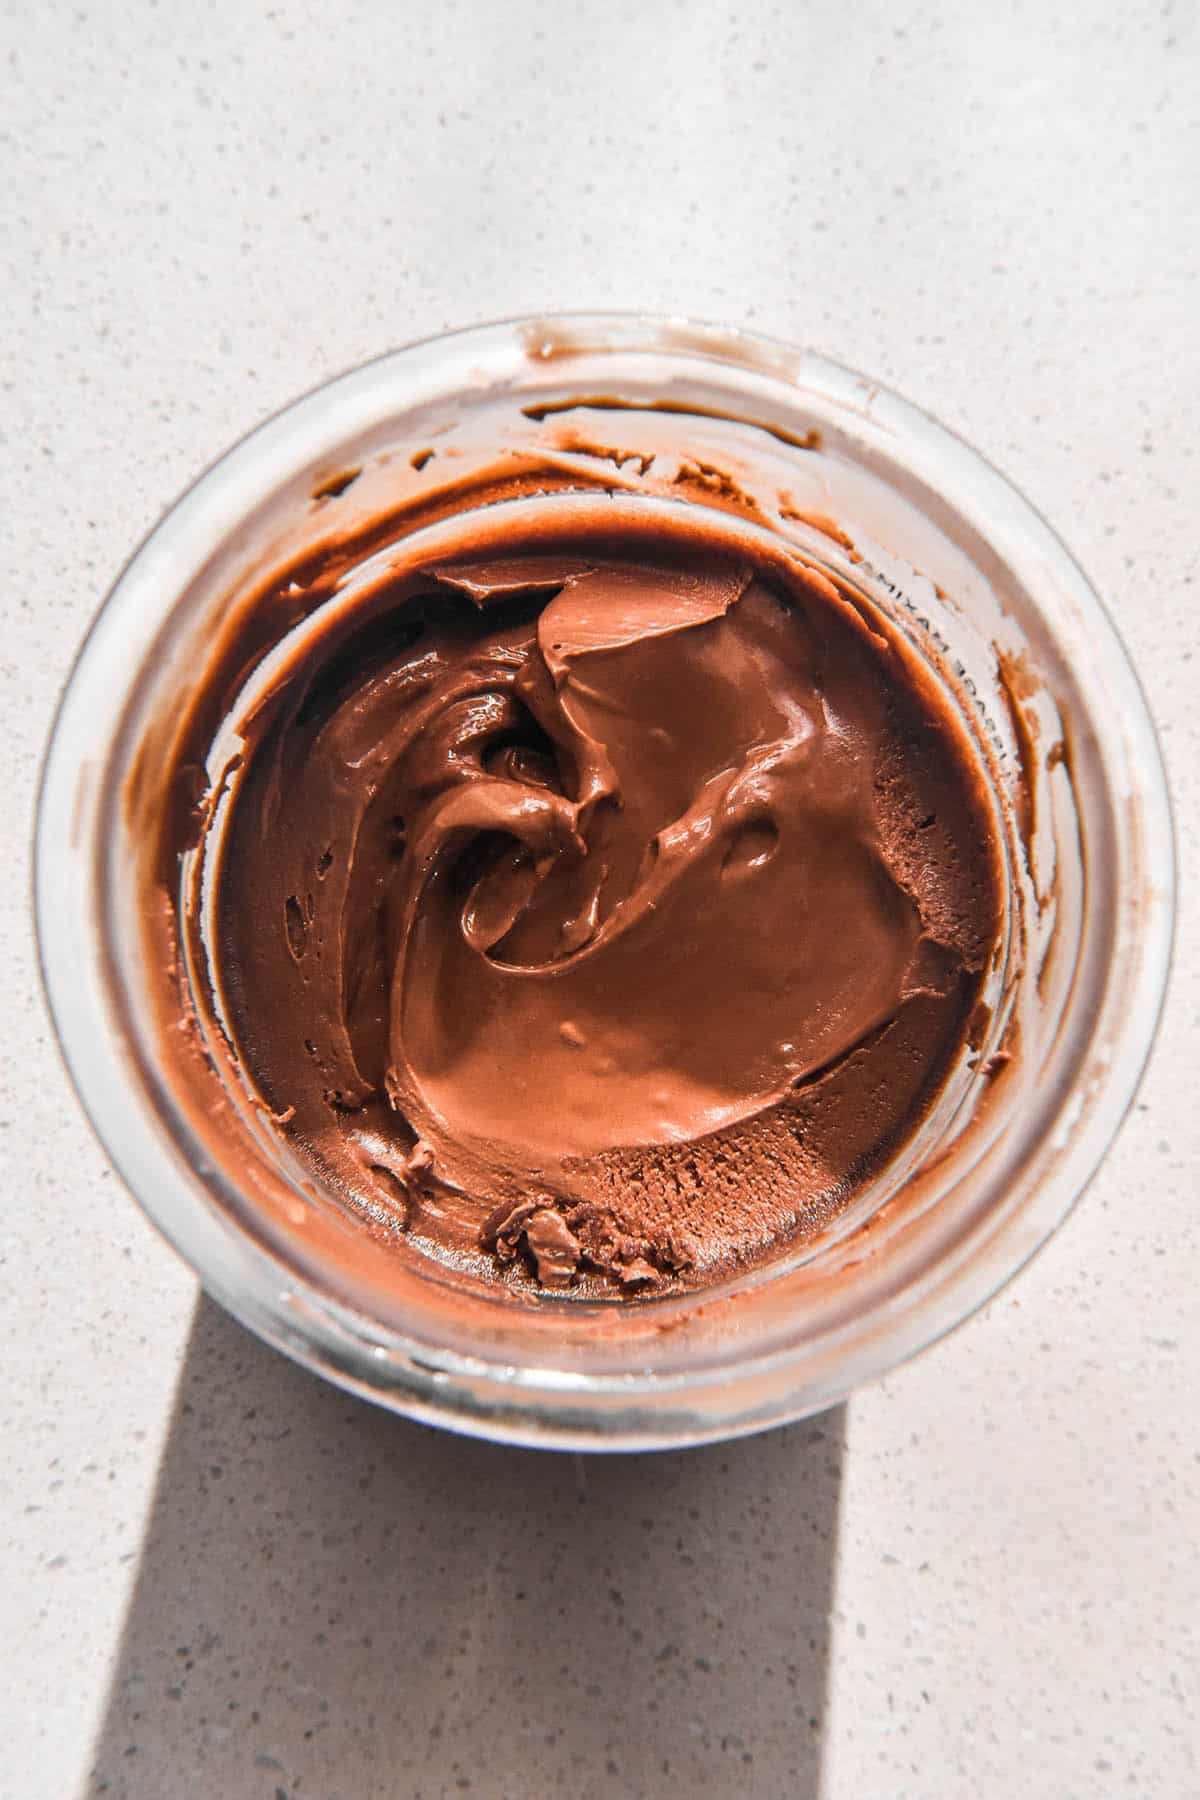
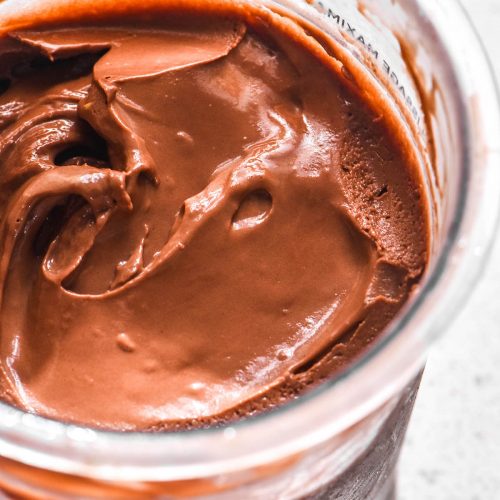
This recipe uses Dutch processed cocoa, hot water, sweetened condensed milk, cream and milk. The cocoa is bloomed with the hot water to create a rich depth of chocolate flavour. All there is to do after that is whisk the chocolate mixture together with the remaining ingredients and freeze.
24 hours later, you’ve got a rich and delicious chocolate ice cream that is egg free and easily made lactose free.
Recipe and ingredient notes
I decided not to add chocolate to this recipe for ease (although I do have a real chocolate Ninja Creami ice cream recipe in my e-book). Because of this, I highly recommend using Dutch processed cocoa for this recipe. It has a bolder, richer chocolate flavour that can stand alone in an ice cream.
As I learned the hard way when trying to make a cream of pistachio ice cream, there is such a thing as too much fat in an ice cream. When your mixture contains too much fat, it starts to separate and leaves a fatty film in your mouth.
Cocoa has a decent amount of fat in it (although only around 5g for 20g worth of cocoa). This means that you can get away with using light dairy in this recipe. I used light sweetened condensed milk and regular milk and cream for one batch and it worked nicely.
Sweetened condensed milk has no substitute in this recipe – it is the only source of sweetness. You cannot use evaporated milk or any other canned milk product.
Dietary requirement notes
This ice cream is egg free, gluten free and can be made lactose free.
I haven’t tried this recipe with cream made without thickeners (guar gum or xanthan gum). That is because cream sold in Australian supermarkets generally always contains thickeners. For those who need this recipe to be corn free, I would recommend trying to find a gum free cream. Xanthan gum can be derived from corn and manufacturers don’t always include that on their label.
In Australia, Meander Valley is the only brand I have found that doesn’t contain gums. They make a pouring cream which is 35% fat – the same fat content as thickened cream.
I have a dairy free/vegan Ninja Creami chocolate ice cream recipe in my new Ninja Creami e-book.
To make a lactose free version (which is different to dairy free) use lactose free dairy products. I haven’t seen lactose free sweetened condensed milk on the shelves but I do have a recipe to make your own.
Tips to enrich the flavour of your chocolate ice cream
As you’ll know if you have ever made chocolate cake, there are plenty of ways to amplify chocolate flavour.
First of all, we are blooming the cocoa powder in hot water. Not only does this disperse the cocoa, but it brings out the flavours of the cocoa. Your ice cream will have a richer and deeper chocolate flavour thanks to this simple step.
Next is a pinch of salt, which I highly recommend adding here. It lends a layer of complexity and rounds out the flavour in a really subtle way.
Finally, coffee! A small amount of coffee (leftovers from an espresso or a small pinch of instant coffee added into the cocoa mix) adds a new chocolate flavour dimension.
Tips for your Ninja Creami chocolate ice cream
- I find condensed milk based recipes tend to rattle around quite a lot as they process. It’s nothing to be afraid of (I don’t think, although I’ve read some stories about new machines catching fire, so be careful!).
- I tend to let my Ninja Creami tubs freeze overnight and then process them the next afternoon. This is more of a recipe testing schedule rather than a real life schedule. My point, however, is that often tubs don’t require a full 24 hours in the freezer. In fact, the powdery or balled up texture can sometimes mean that it is too cold. See what works for you – your freezer might be warmer than mine.
- Personally, I have found that cream and condensed milk based ice creams don’t require reprocessing if you put leftovers back in the fridge. You can simply allow them to thaw slightly before consuming, as you would with regular ice cream.
Do you have a recipe for chocolate ice cream that uses real chocolate?
Yes, I do! I developed a recipe for real dark chocolate ice cream (no cocoa powder or condensed milk required) which is in my new Ninja Creami e-book.
The recipe uses an egg and 70% dark chocolate (among a few other ingredients, of course) to achieve an intensely rich chocolate flavour.
If tasting the lightly caramel sweetness of condensed milk isn’t for you, the new recipe might be just what you are looking for.

More Ninja Creami ice cream recipes
- Ninja Creami protein ice cream
- Ninja Creami vanilla ice cream
- Ninja Creami strawberry ice cream
- Ninja Creami mango kombucha ice cream
- High protein Ninja Creami recipe e-book (including a high protein choc raspberry ice cream recipe
Ninja Creami chocolate ice cream recipe
Equipment
- NC300 Ninja Creami machine with 470ml tubs
Ingredients
- 30 g Dutch processed cocoa
- 60g (60ml or 1/4 cup)* hot water
- 200 g sweetened condensed milk light or regular
- 150 g thickened cream also called heavy cream/whipping cream elsewhere (35% fat)
- 100 g milk light or regular
- Pinch of fine salt
Instructions
- Whisk the cocoa and hot water together to bloom the cocoa and form a chocolate syrup. Whisk in the sweetened condensed milk to cool off the mixture a little, then whisk in the cream, milk and salt. The mixture should be a medium chocolate brown colour.
- Pour the mixture into your Ninja Creami tub and freeze overnight or up to 24 hours with the lid off.
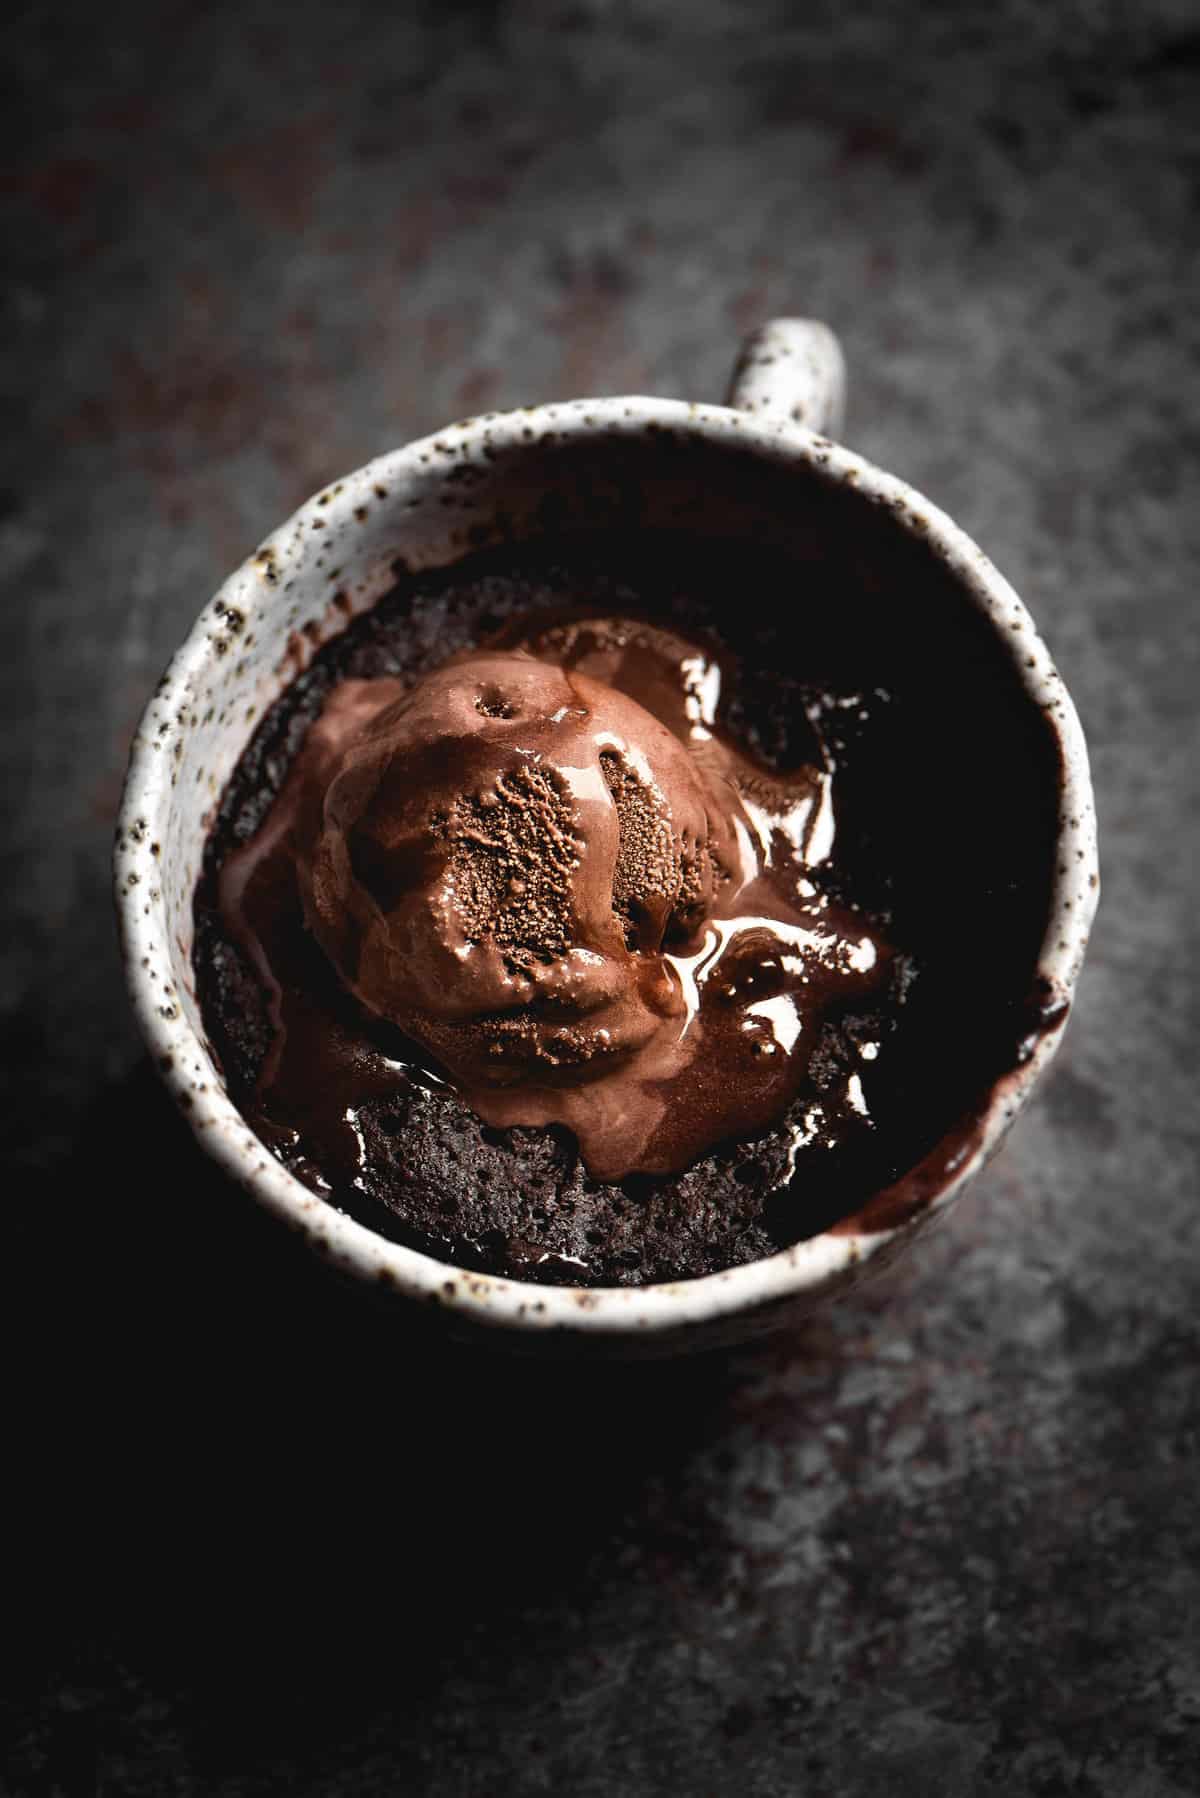
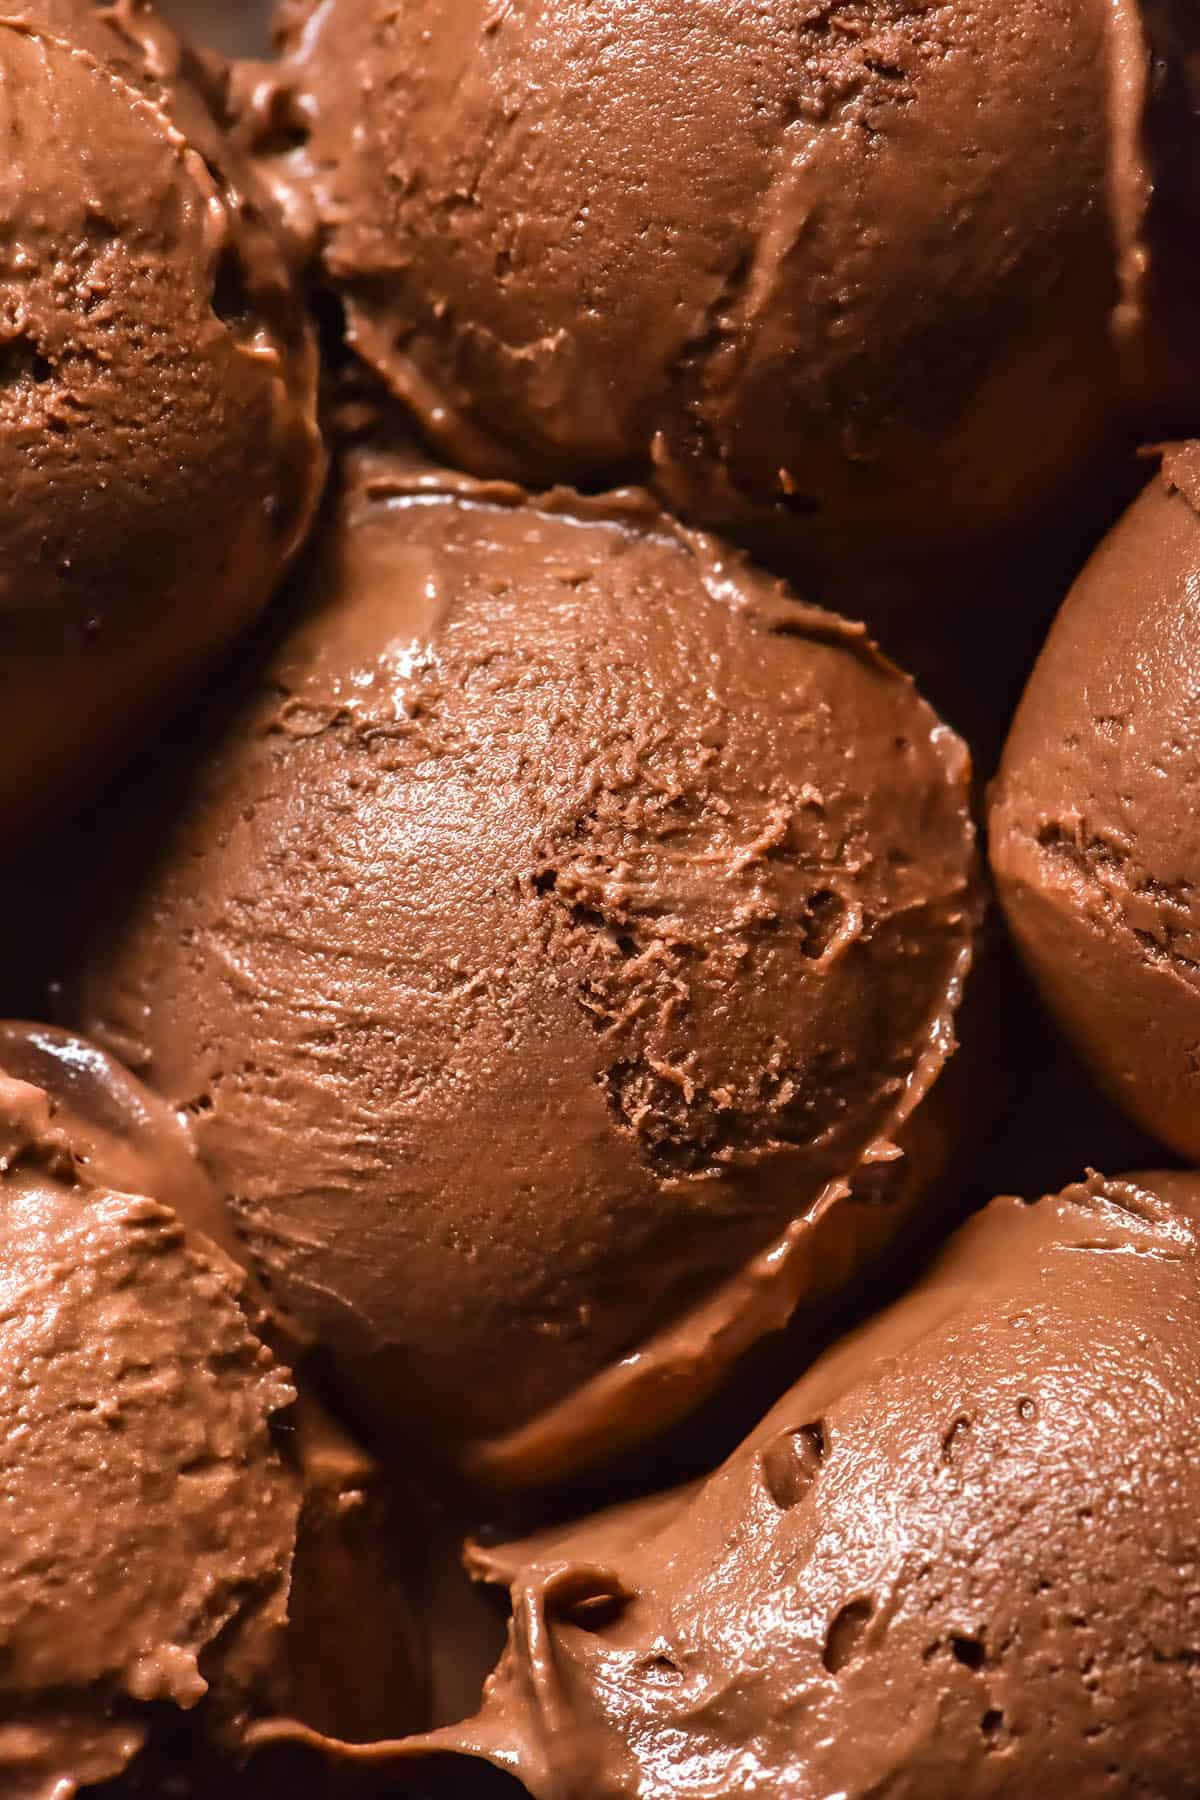
- When you are ready, process your Ninja Creami on ‘ice cream.’ I find it only takes one spin to achieve the right consistency with this recipe.
- Serve and return any leftovers to the freezer with the lid on. I find rich ice cream like this doesn’t require re-processing when you have leftovers. Simply allow it to soften slightly on the counter before serving.
Notes
- Scales and grams are the most accurate way to measure anything and get the best result. American scales also have gram measures if you toggle through the settings.
- There is no substitute for sweetened condensed milk.
- There is such a thing as too much fat in an ice cream recipe, so I don’t recommend double cream here. Cocoa already has a decent fat content.
- To make this recipe lactose free, use lactose free thickened cream and milk. I have a recipe for lactose free condensed milk here. You can also buy coconut condensed milk, but it will add a coconut flavour to your ice cream.
- To develop the chocolate flavour, you can also experiment with adding a small amount of coffee.
Boy, was this ice cream good! The texture is amazing and it has fantastic chocolate flavor. I found the sweetness level to be just right using unsweetened Dutch processed cocoa.
You can taste the condensed milk in it, which gives it a unique touch. While I personally prefer a purely chocolate flavor, I can’t deny that the condensed milk really helps with the incredible texture.
All in all, I’m very glad I found this recipe. It’s become my go-to when making chocolate ice cream, especially when I want to add mix-ins. If you’re looking for a rich, creamy chocolate ice cream for your Creami, give this one a try!
This is delicious! I added some instant espresso to amp up the chocolate flavor and it really worked well. The texture is soooo smooth & creamy. The chocolate flavor is rich. Thank you for a great recipe I will certainly make again & again.
I’m so glad you enjoyed it! 🙂
Great recipe. Didn’t use cream but still turned out excellent. Best ninja creami ice cream we’ve tried !
The absolute best chocolate ice cream I have ever had! Thank you!
So glad you enjoyed it Matt! 🙂
Made this a week ago and my wife and kiddos loved it. It’s a great recipe!
Just mixed up a 24oz container full this afternoon to spin and serve tomorrow night. I used Fairlife whole milk for some added protein and added a teaspoon of vanilla extract.
Thank you Georgia for finding a surefire way to improve Creami!
I love the the fact it truly only needs one spin too! I added some Nestle Abuelita to one of the pints & boy howdy what a batch of wonderfulness. Tastes just like a childhood fave, Fudgesicle.
Yum Yum Yum
Wow this is insanely good and so easy. Thank you!
This was delicious! My husband and I loved it and it was the most lovely treat to enjoy as I’m 6 weeks postpartum. Will be a go to recipe all summer! Thank you!
My teenager has called this the best chocolate ice cream she has ever had! Impressively simple, great texture and just the right amount of sweetness
I’m so glad you all enjoyed it! Thank you for the lovely review 🙂
Best recipe I have found for chocolate ice cream, my sisters loved it and wanted more. Will definitely be making more very soon.
Wow this is seriously the best chocolate ice cream. My husband even said better than store bought. Amazing!!! Any chance you have a vanilla ice cream recipe??? So glad I found this recipe!
Hi Amber, I’m so glad you both enjoyed it! I do have a recipe for vanilla here: https://georgeats.com/recipes/ninja-creami-vanilla-ice-cream-recipe/
and a whole heap of other Creami recipes here – https://georgeats.com/?s=Ninja+Creami
🙂
Fantastic chocolate ice cream recipe. i have the larger creami and read it was x1.5 the normal recipe but it was a smidge too much but will adjust next time coz I’ll definitely be doing this one again. Thank you for sharing.