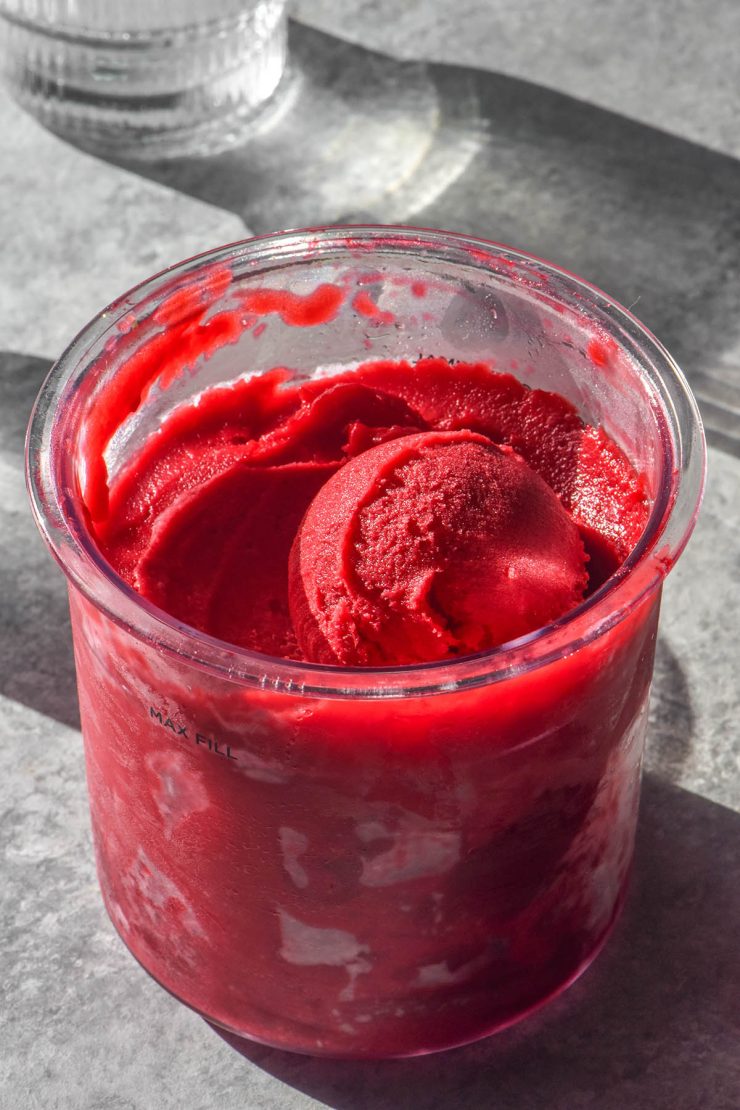
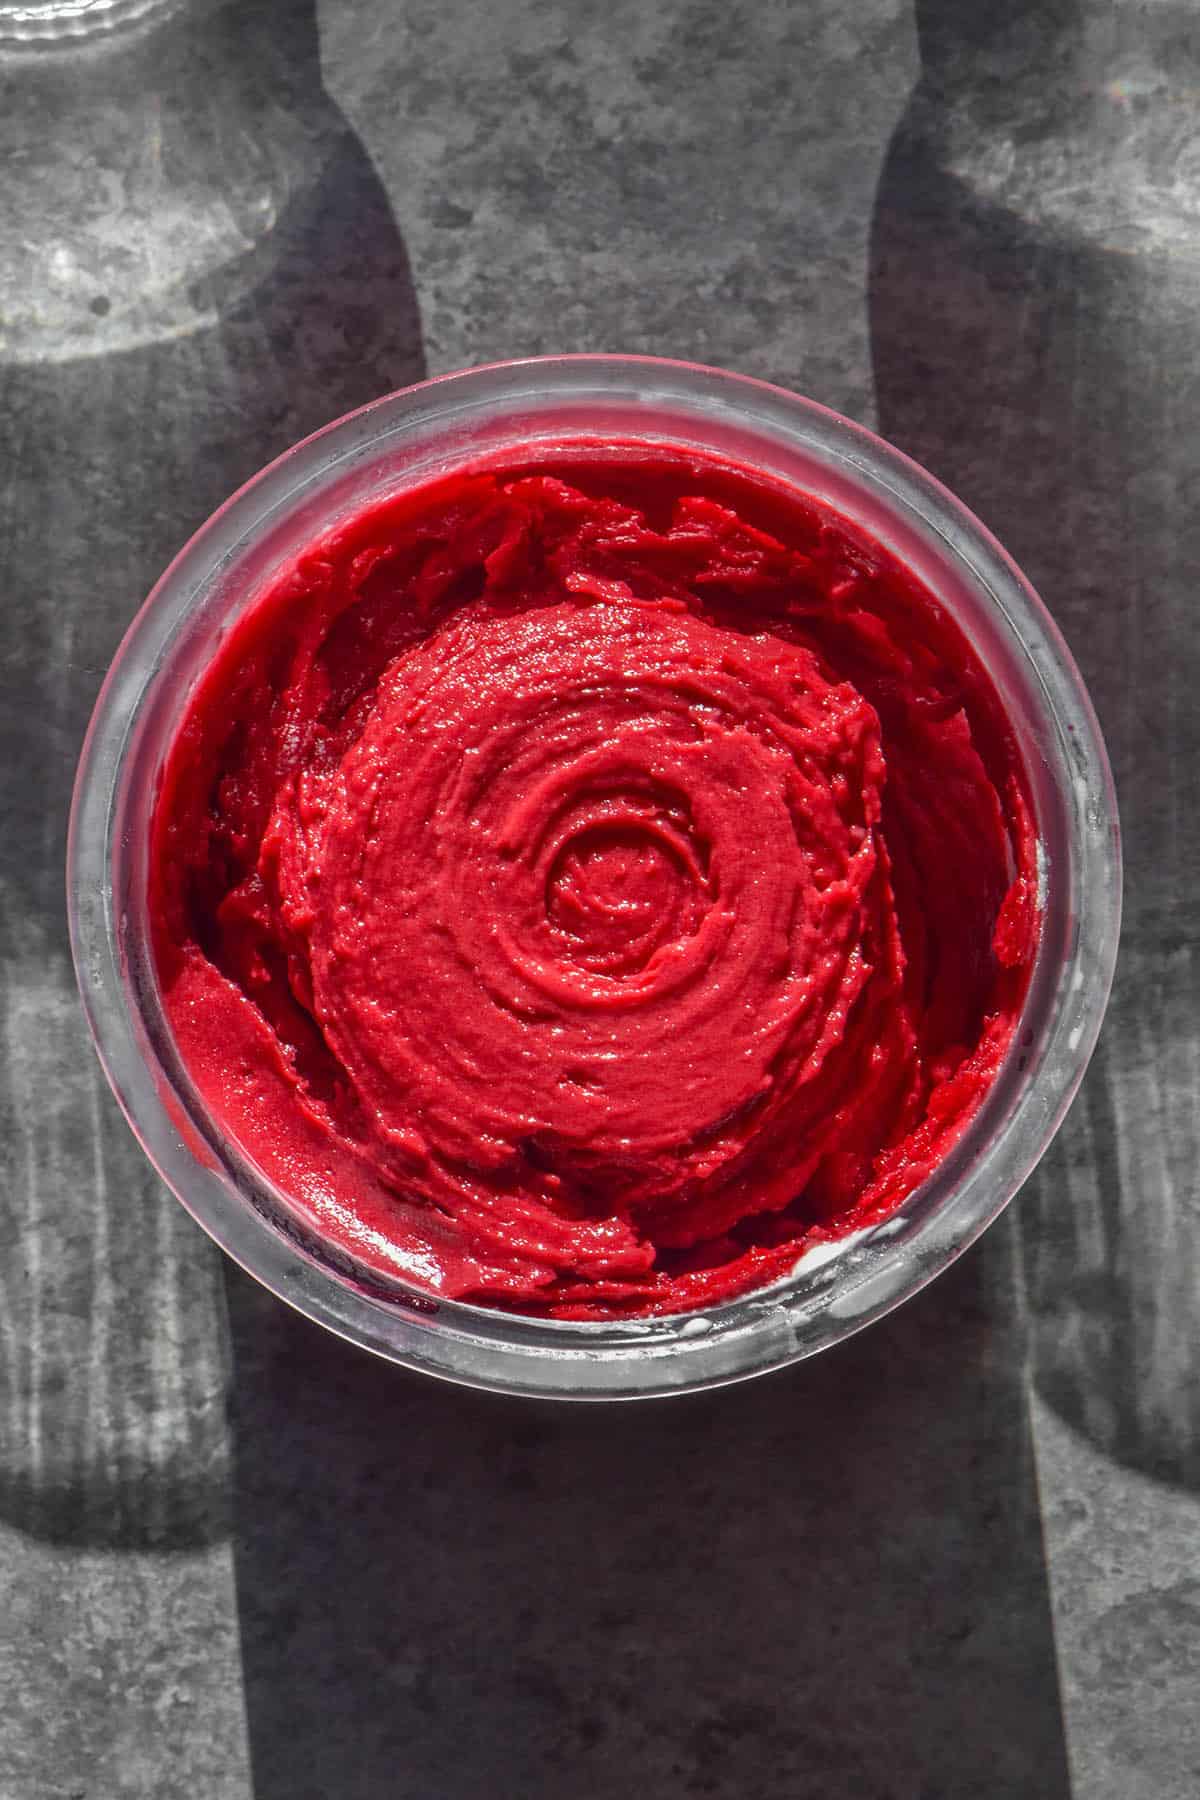
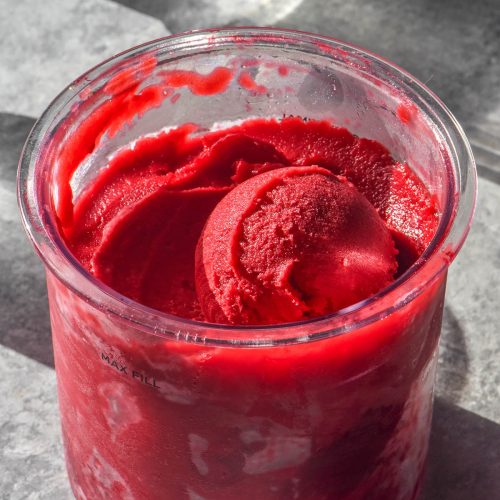
It might be winter here in Australia but I am getting ahead of the curve with this Ninja Creami raspberry sorbet recipe. It is fresh, bright and perfectly summery, and we can we talk about that colour? Incredible! Let’s get straight into it.
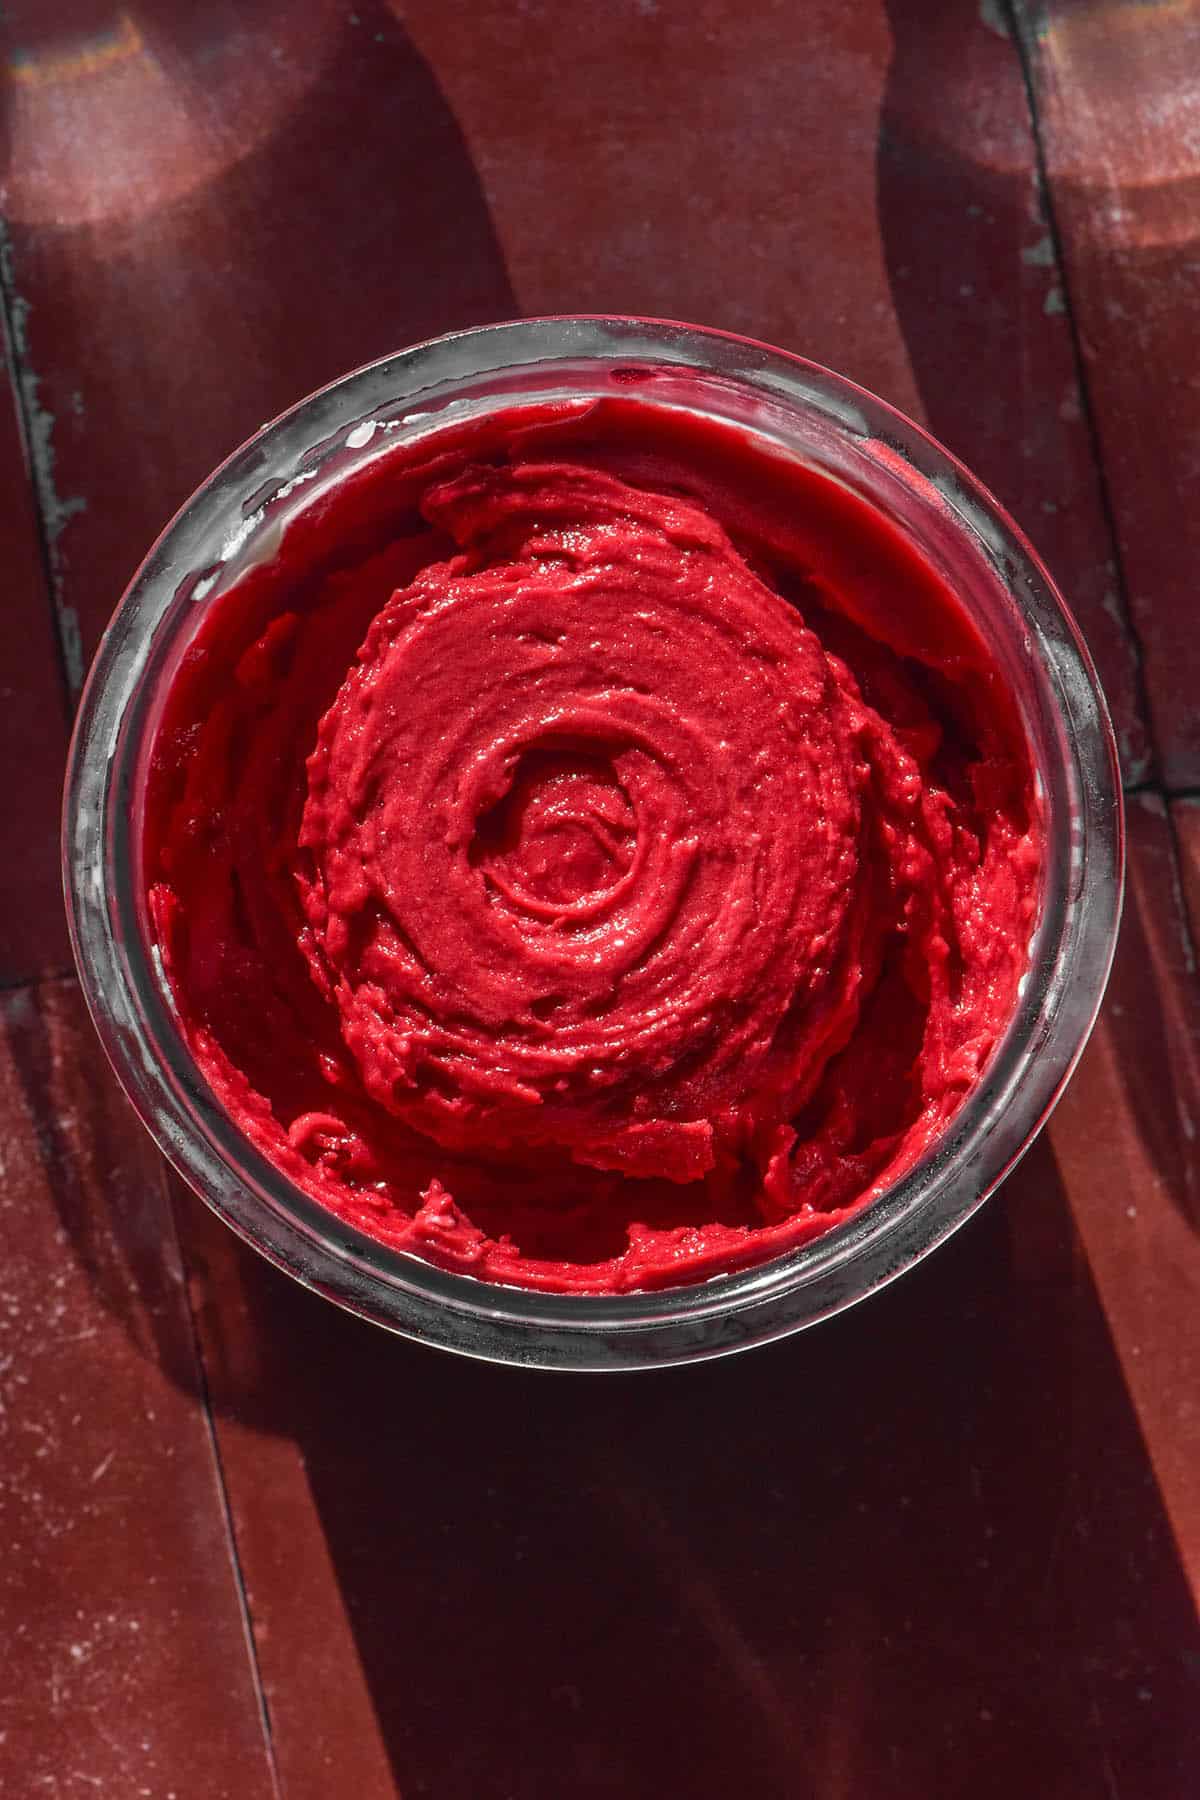
Ninja Creami raspberry sorbet
This raspberry sorbet recipe uses 2 ingredients – frozen raspberries and light agave syrup. I chose to use agave syrup for ease, for something different to regular sugar and to create a non-icy sorbet.
To make the sorbet, we’re cooking down frozen raspberries with a bit of water. I haven’t tried fresh raspberries yet as that would cost me a small mortgage in the depths of winter.
After cooking, we’re pressing the raspberries through a sieve. This removes all of the seeds for a gorgeously smooth sorbet. This process takes 15 minutes, but it goes very quickly if you sit in front of the tv while you do it.
Finally, we add the agave syrup, mix and freeze in a 470ml Ninja Creami tub. I like to freeze mine for about 16 hours, but this will depend on the temperature of your freezer.
All that’s left to do is process on the sorbet setting and enjoy!
Ingredient notes
There’s not much to discuss here as the recipe only has two ingredients. With that said, there are a few little things to discuss.
As I mentioned previously, I have only tested frozen raspberries in this recipe. Australia is currently in the depths of winter so using fresh raspberries would be prohibitively expensive.
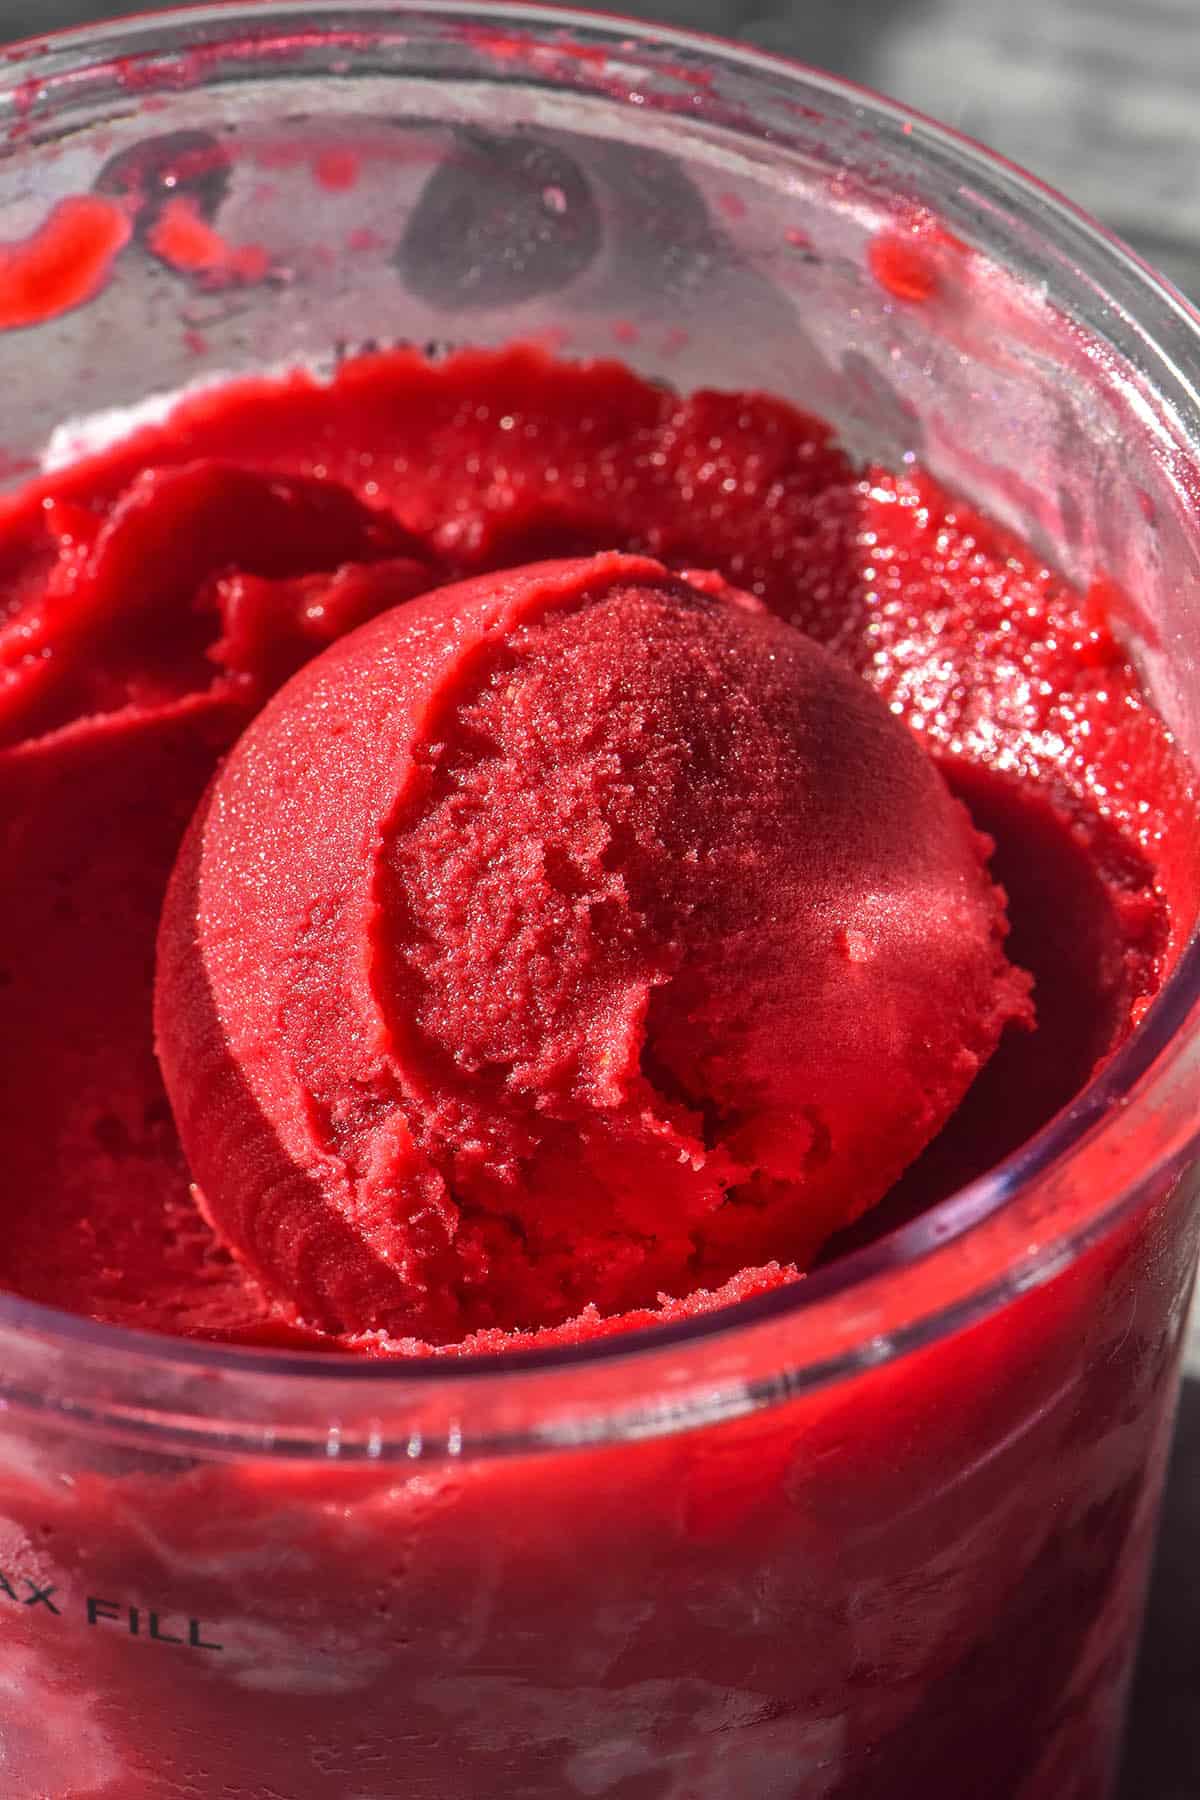
With that said, I’d be tempted to suggest frozen raspberries either way. In my experience of making raspberry curd, frozen raspberries have a much deeper, ruby red colour. It makes for a convenient sorbet and absolutely divine colour, so it’s a win win.
I have used agave syrup here for ease. Only recently did I realise that light agave syrup has a lovely level of sweetness and a neutral flavour. It is essentially maple syrup but without the caramel flavour (so a better comparison might be sugar syrup).
Viscous sweeteners like agave help preventing icy sorbet and create a more chewy texture which is always a bonus. Hence, raspberry sorbet made with agave syrup!
Tips for your Ninja Creami raspberry sorbet
- I PROMISE sieving out the seeds is worth your time. It takes about 15 minutes but if you do it in front of the TV, time will pass quickly.
- I haven’t tested a version of this without sieving out the seeds. It would likely throw the ratios off and be too much volume for a 470ml Ninja Creami tub.
- In each test I did, I got approximately 130g worth of seeds after a thorough sieving. I got approximately 380g of raspberry puree. The extra 10g accounts for the water added when cooking down the raspberries.
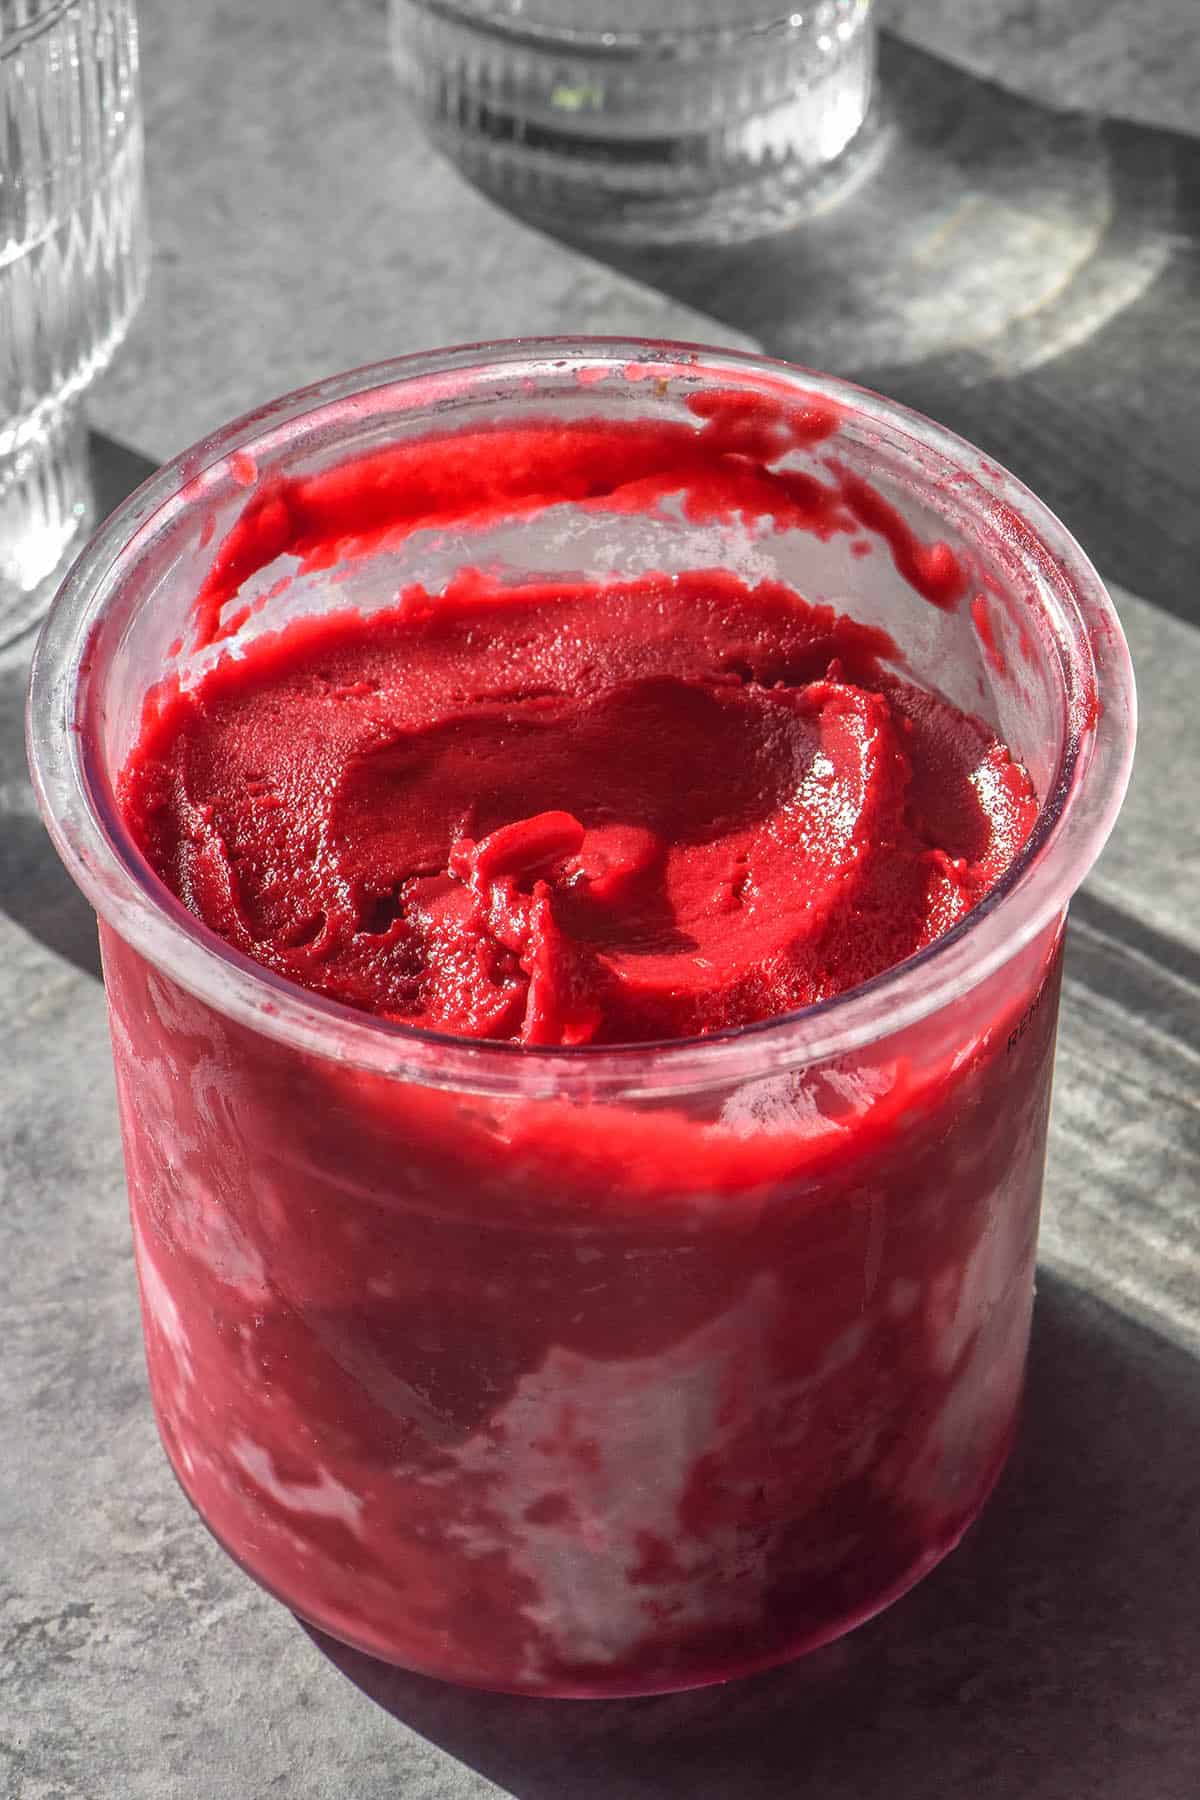
- This recipe makes enough to perfectly fill a 470ml Ninja Creami. If you don’t take the time to sieve the raspberries properly, you will end up with less.
- I haven’t tested any sugar other than agave syrup.
- I have tested a version with 75g agave syrup and one with 125g agave syrup. Both worked, but the 75g version with a little bit sour. It’s worth noting that sugar softens ice cream, so more sugar (to an extent) will create a softer scoop.
- Raspberries may be more or less sweet depending on seasons, so that is something to keep in mind too.
- I found the version with 125g agave syrup was perfectly scoopable. I’m not sure how more sugar would work and I can’t say I would recommend it.
- Xanthan gum can be very helpful in creating a super creamy sorbet texture. If you want to try using it, I recommend 1/4 teaspoon max. It can clump up quite easily so make sure you are stirring as you sprinkle it into your sorbet.
More Ninja Creami recipes
- Ninja Creami strawberry ice cream
- Ninja Creami vegan vanilla ice cream
- Ninja Creami chocolate ice cream
- My new Ninja Creami e-book – the dairy based version or the dairy free/vegan version
- High protein Ninja Creami recipe e-book (including a high protein raspberry sorbet recipe)
Ninja Creami raspberry sorbet
Ingredients
- 500g frozen raspberries
- 60g water
- 125g light agave syrup
Instructions
- Combine the frozen raspberries and water in a medium saucepan over a low-medium heat. Cook until the raspberries are completely softened, mashing them up as you stir.
- Place a fine meshed strainer over a medium sized bowl. Use a spoon to gently stir and push the raspberry juice and liquids through the sieve. This takes about 15 minutes of active time (I do it front of the TV).
- By the time you have finished straining, you should have approximately 130g seeds leftover and around 380g raspberry puree.
- Pour the raspberry puree into your 470ml Ninja Creami tub. Add the light agave syrup and stir to combine. if the mixture exceeds the fill line, remove a bit until it is on the fill line. I drink it from a spoon – it's absolutely delicious.
- Place your tub (lid off) in the freezer for 16-24 hours, depending on how cold your freezer is (colder freezer requires less time to completely freeze the mixture).
- Process the mixture on the sorbet function. I found processing it twice on sorbet created a lovely creamy texture.
- Store any leftovers in the freezer with the lid on. Allow to thaw slightly before serving.
Notes
- Read the notes in the body of the post for tips and tricks for your creamiest and most delicious raspberry sorbet.

I tried a few different strawberry ice cream recipes and this is by far the best. Cooking the strawberries a bit makes a HUGE difference and really brings the flavors out. I only made this ice cream once but on my next try I will use a bit less sugar as it was a bit on the sweet side – but that’s a very easy fix.
It was PERFECT!
I tried it with a berry medley but I only got half of the pint. Either way, it turned out perfect.
Cooking the raspberries down was so smart. Instead of water I used Fairlife whole Milk and some vanilla pudding powder with the agave. Soooo good!!
This was the first thing I made in my Ninja and it was amazing!!
So glad you enjoyed it Joanna!