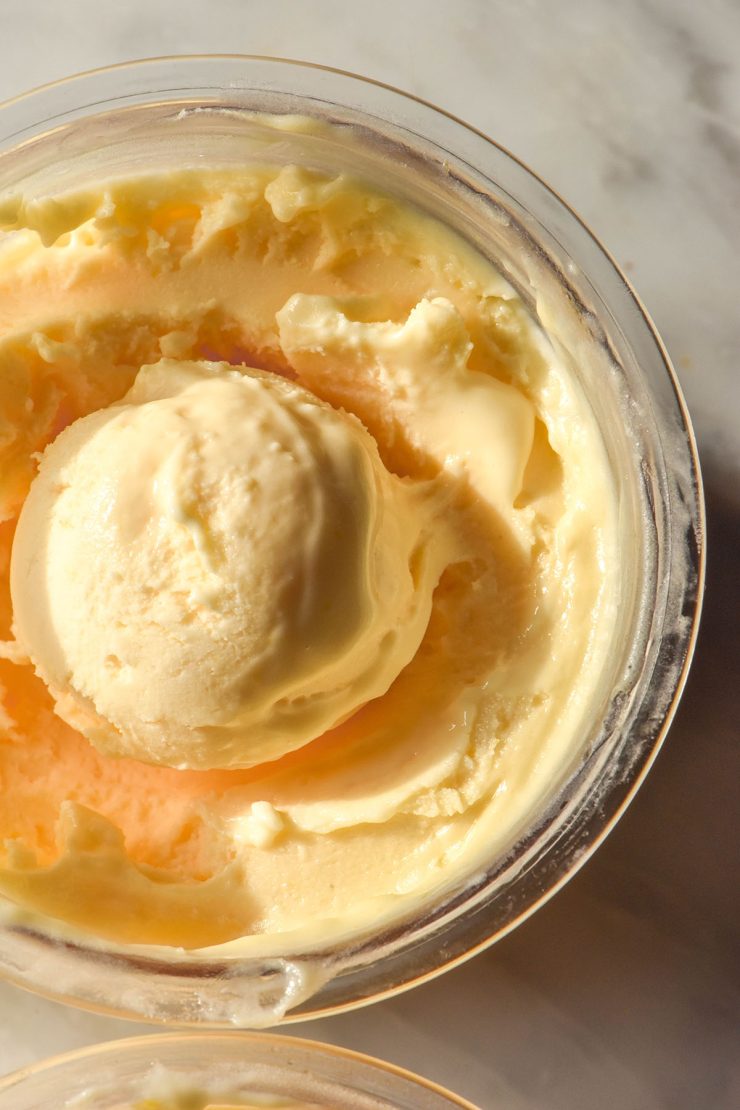
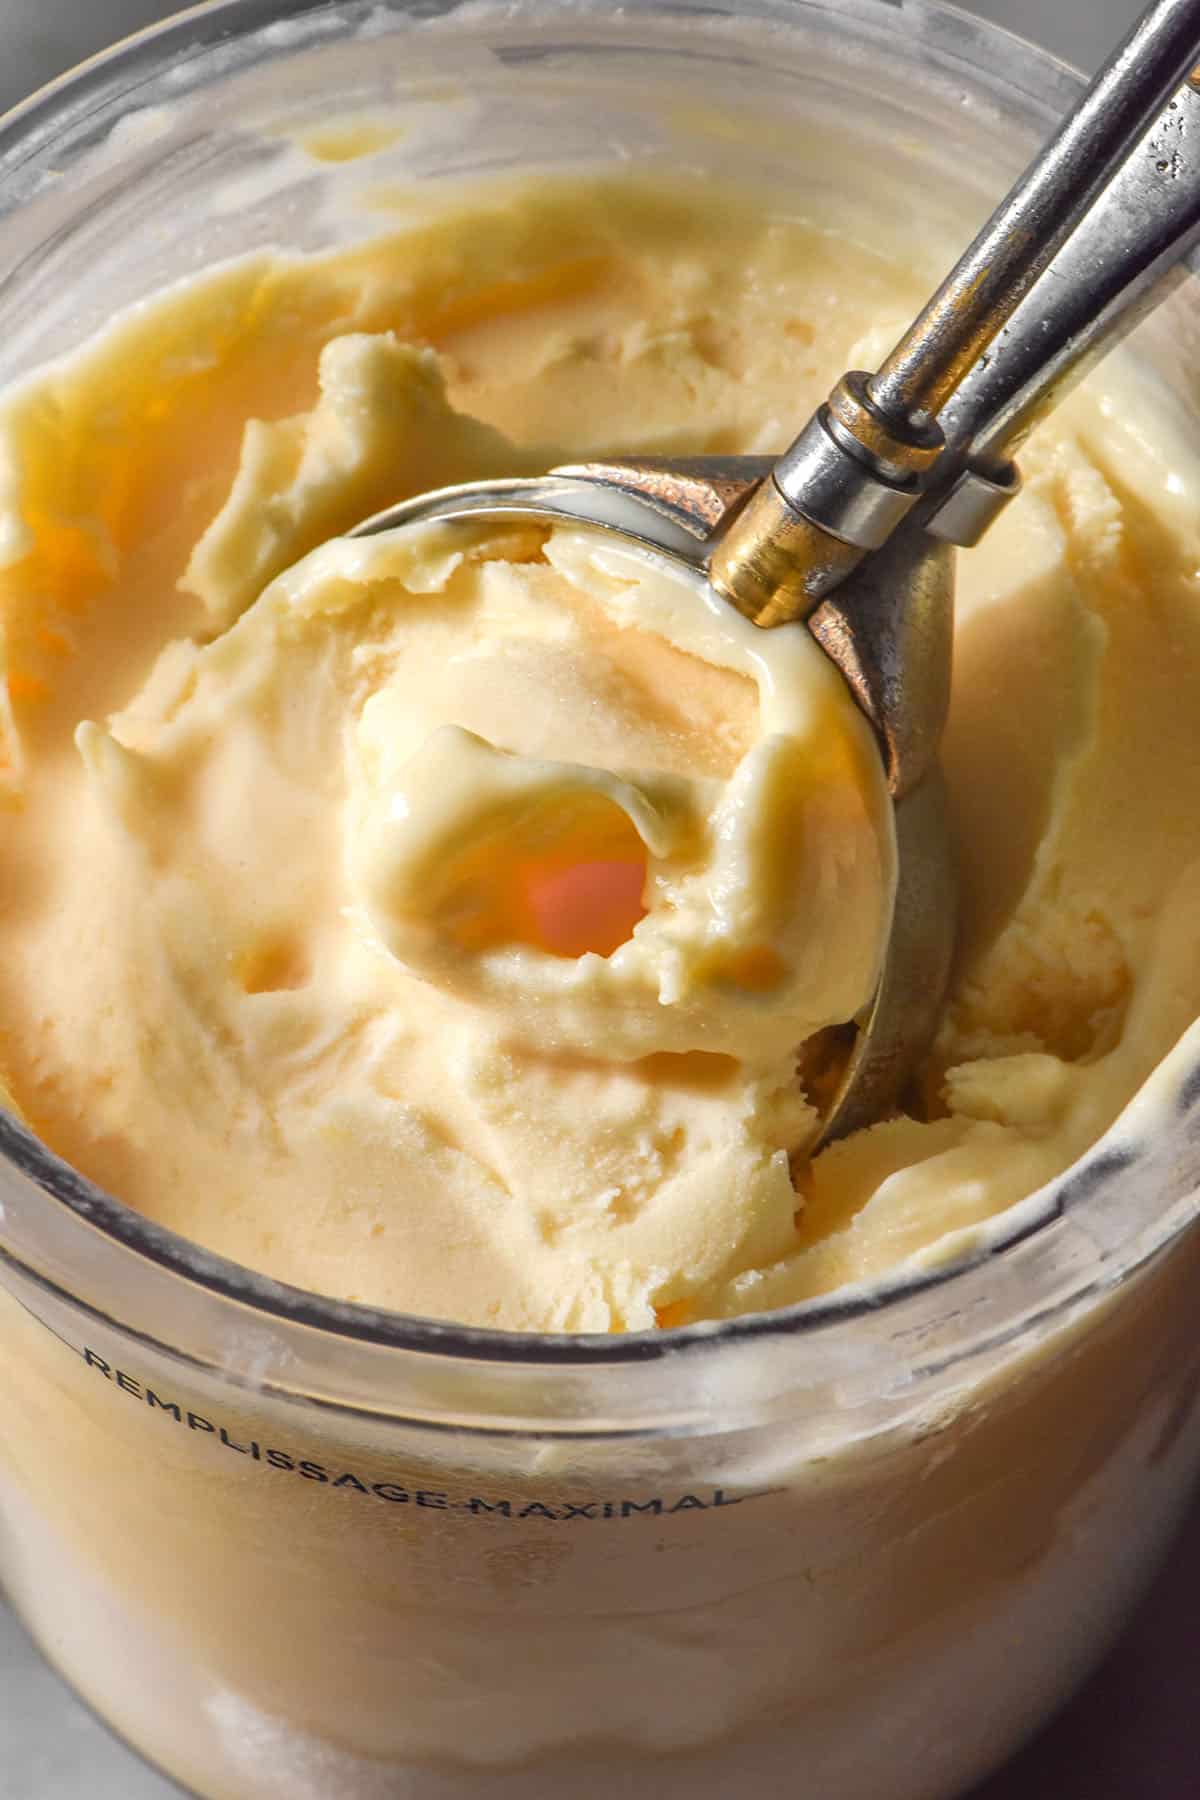
I am OBSESSED with this new recipe for Ninja Creami lemon curd ice cream. It’s simply lemon curd that has been frozen and then processed to creamy, lemony heaven. Quite frankly, I can’t believe how good it is for how simple it is, so let’s get into it.
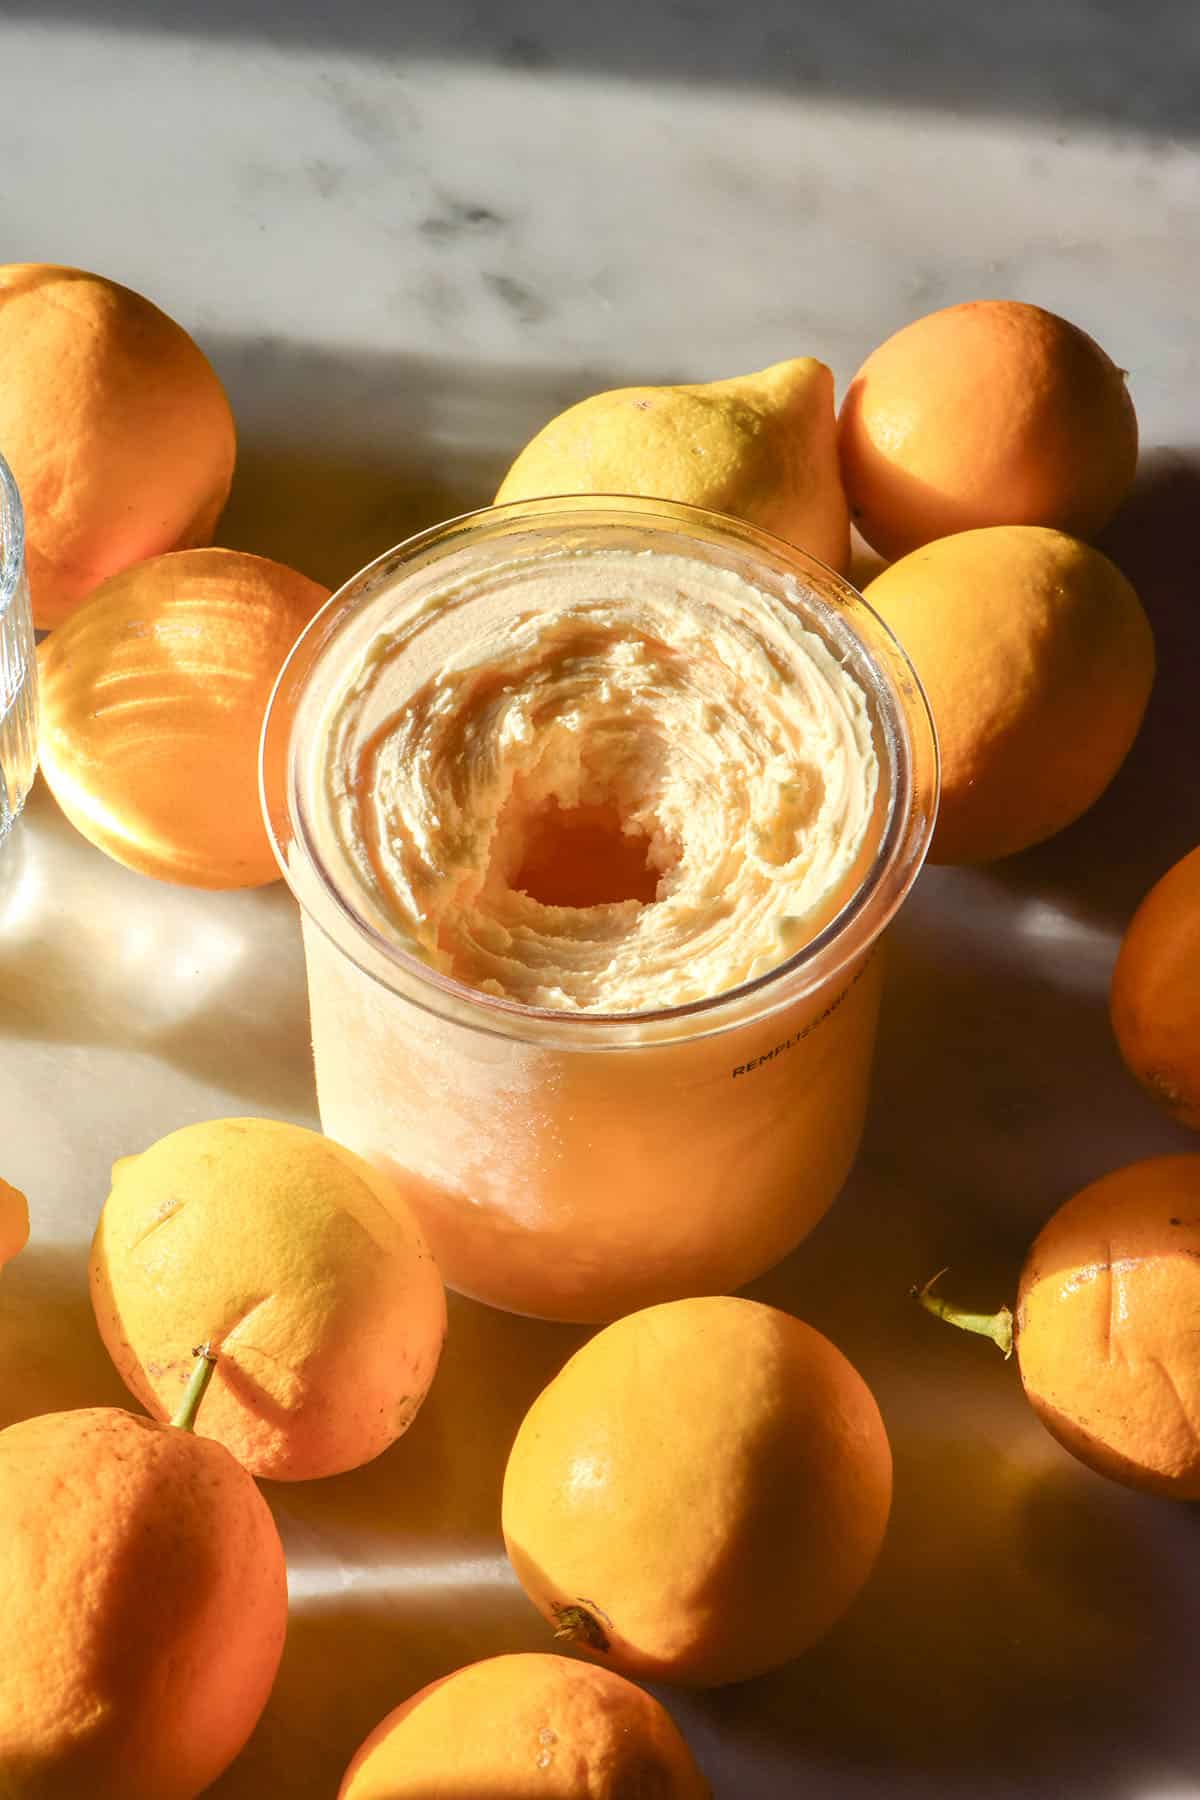
Ninja Creami lemon curd ice cream
This recipe uses nothing but my dairy free lemon curd recipe. Plenty of lemons (6 large juicy ones as an approximate) are juiced and their zest grated into some caster sugar. Once the zest is rubbed into the sugar to release the oils, the lemon juice, melted coconut oil and eggs are whisked in.
After about 5-10 minutes on a double boiler, your mixture will be transformed into a tangy, bright and creamy lemon curd, no dairy required. All that is left to do after that is freeze the curd (which sits perfectly into your 470ml Ninja Creami tub, like the whole thing was meant to be).
This Ninja Creami lemon curd ice cream is dairy free, gluten free and easy to make. You can adjust the tartness based on your tastes and your lemons. I promise, you cannot taste the coconut oil either.
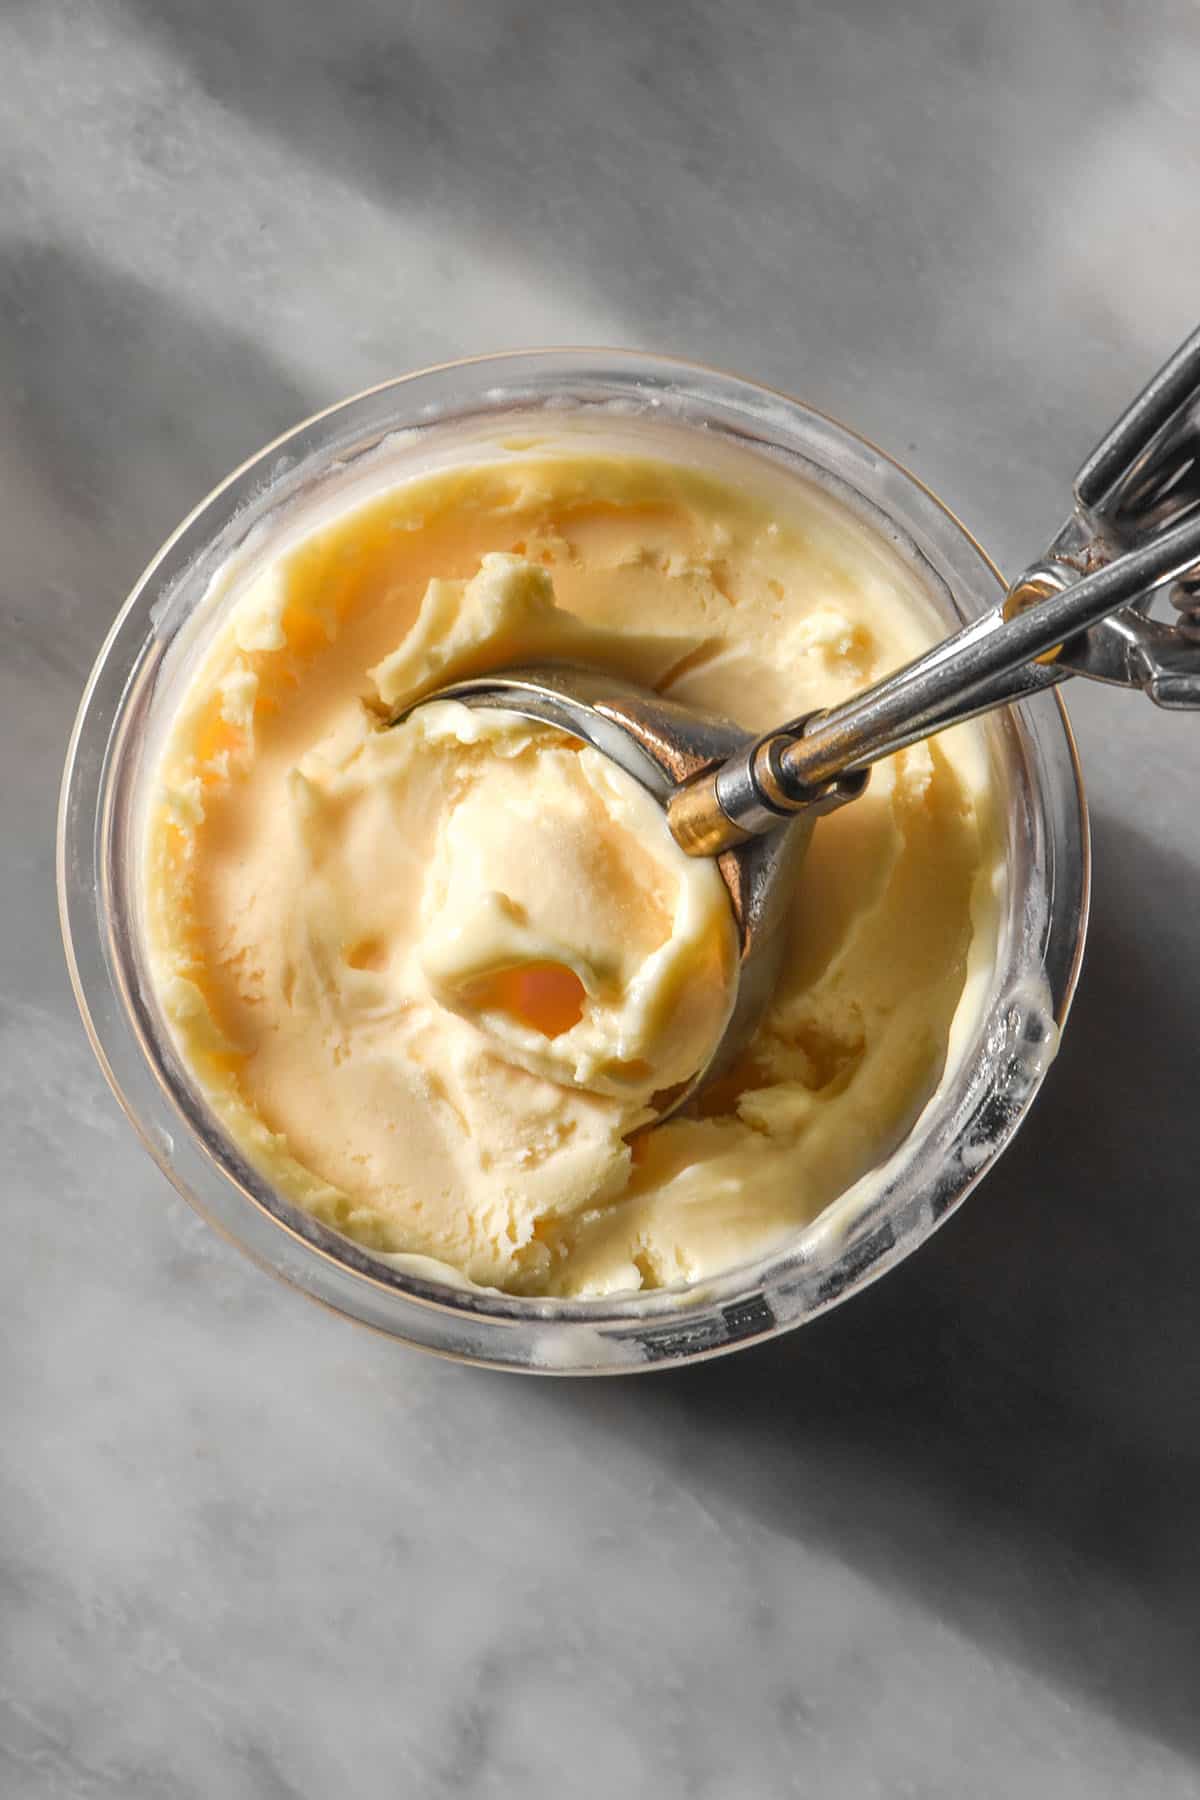
Substitution notes for your Ninja Creami lemon curd ice cream (spoiler: there are none)
Okay, maybe one. The only substitute I have for this recipe is the option to use lime juice instead of lemon juice. I have not tested sugar substitutes, egg free versions or an option for oil aside from coconut oil. These all change the structure of the ice cream and I daresay would produce an unappealing result. There are no hints or advice I can give in regards to the above as I haven’t tried to change any ingredients and don’t intend to.
I have some egg free, vegan Ninja Creami recipes on my site. There is also a protein Ninja Creami e-book in my shop that uses maple syrup and/or agave syrup. I am also working on a stevia sweetened e-book.
Ice cream science is actually quite complex and small changes in a recipe produce hugely different results. Too much sugar can produce an ice cream that doesn’t solidify, but no sugar can produce a rock hard end result. Similarly, low fat ice cream has an icy mouthfeel, but too much fat produces an oily, fatty mouthfeel. Changing things in ice cream is not as simple as changing ingredients in a salad.
Notes on the coconut oil
I haven’t tested another oil in place of coconut oil. In my lemon curd recipe, I picked coconut oil as a butter replacement. This is because it has the same qualities as butter in the sense that it hardens in cool temperatures and softens in warm temperatures.
Looking online, some people have used olive oil in lemon curd recipes. Whether or not that works in this recipe, I don’t know. Because I haven’t tried it, I can’t offer any advice.
I don’t think you can even remotely taste the coconut oil in this recipe. When I started, I experimented with deoderised coconut oil (also sometimes called refined coconut oil). This miracle product genuinely tastes of nothing at all – no coconut whatsoever. This is very handy if you absolutely despise the taste of coconut products.
Since then though (because refined coconut oil is hard to find) I have just used regular, store bought coconut oil. I can’t taste it at all in any of my dairy free curd recipes and I don’t think you will be able to either.
It’s a nice neutral fat that allows the lemon brightness and flavour to shine through. This is the only way I make my curd these days and I think you’ll love it.
Tips for your lemon curd ice cream
- Ice cream is a science and you can’t mess around without changing the makeup of the end result. See the section below on adjusting the ice cream according to your preferences.
- How much lemon you add depends on preference and the tanginess of your lemons. See the section below, but always ensure you make up the whole 180ml (3/4 Australian cup) of lemon juice in the recipe with water if you use less lemon juice. The liquid balance needs to remain the same.
- Rubbing the zest into the sugar really helps develop the lemon flavour.
- One great thing about using lemon curd as ice cream is that it doesn’t matter too much what the consistency is. It needs to be cooked through and thickened, of course, but the ‘set’ doesn’t matter as much.
- Ensure your lemon curd is about the consistency of a medium thinness custard or thinner yoghurt before taking it off the heat. It should leave a trail if you run your finger down the back of the lemon curd spoon.
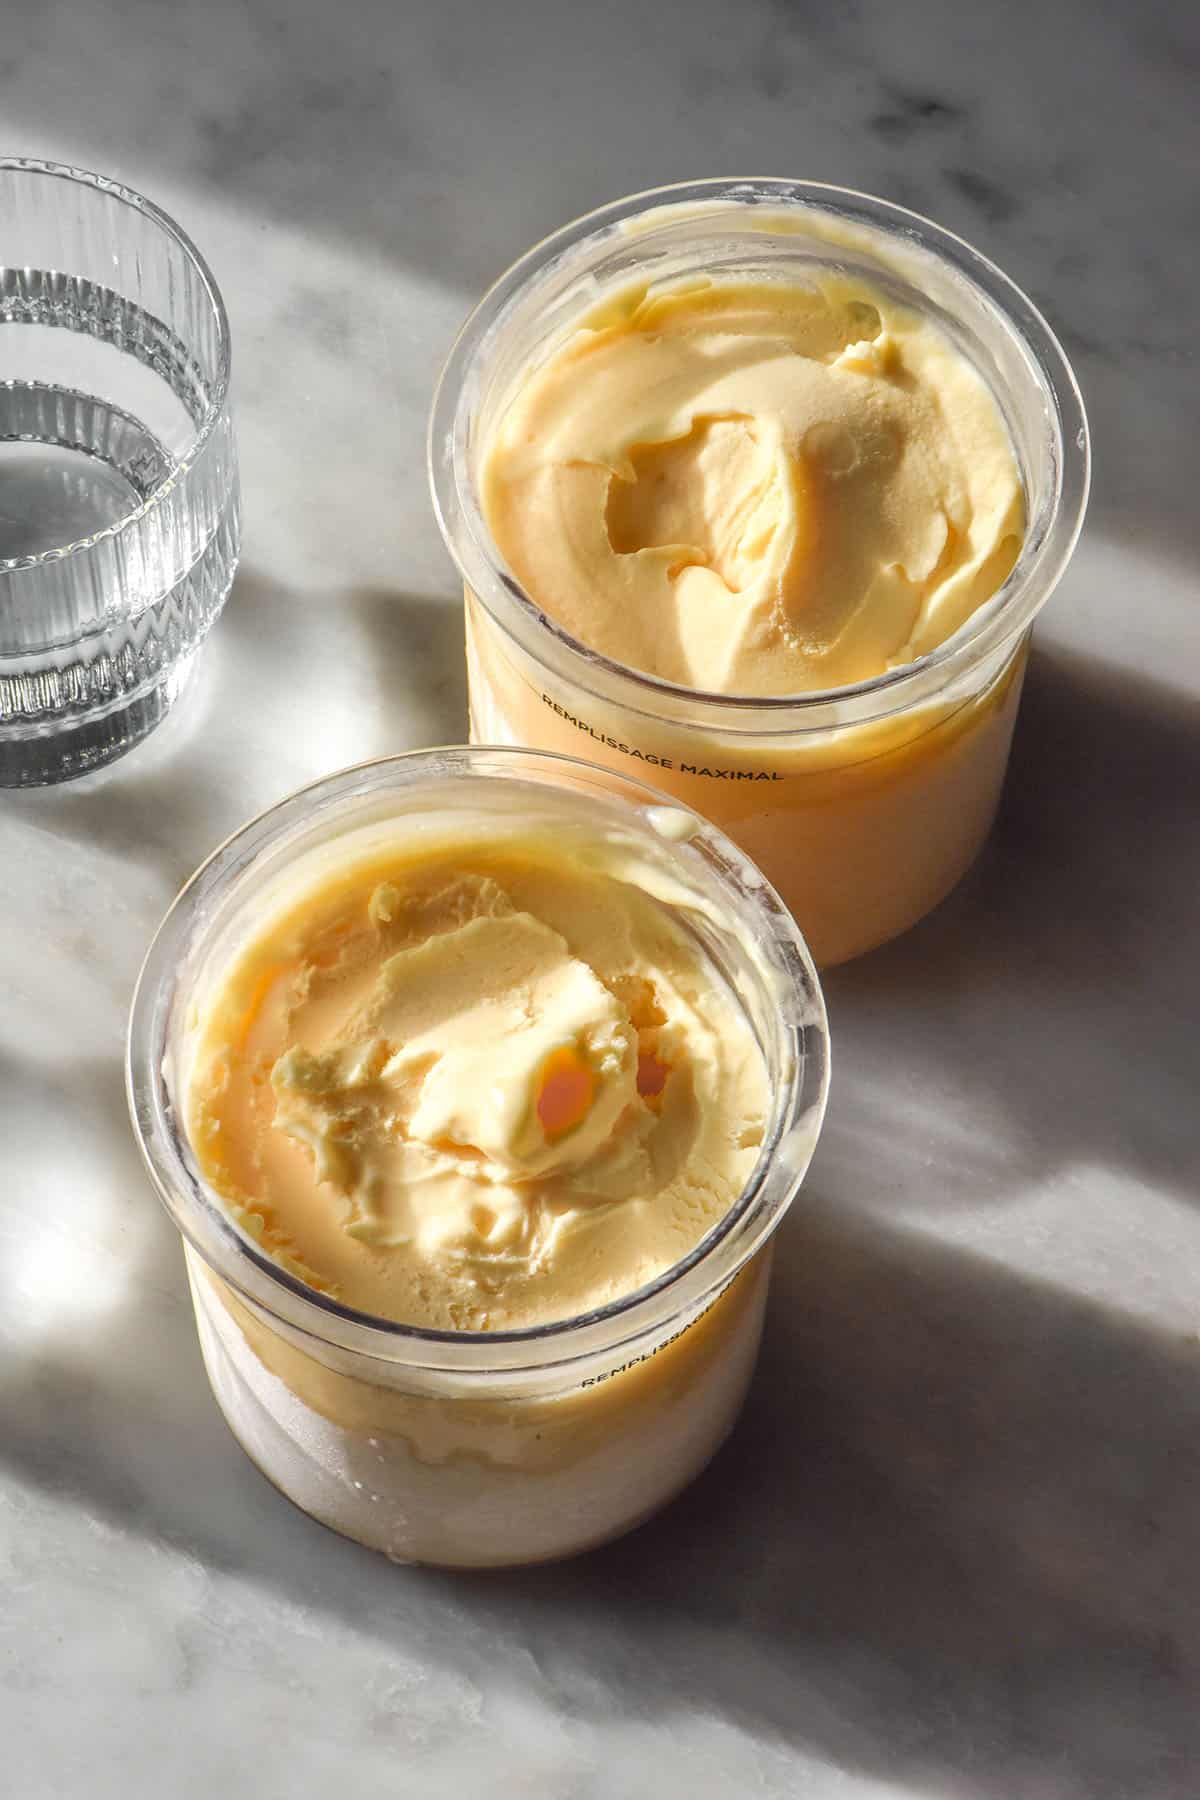
- I recommend allowing the mixture to cool before transferring it to the Ninja Creami tub to freeze. It should make the exact perfect amount right up to the fill line.
- I have used an NC300 machine for this recipe which uses 470ml tubs.
Adjusting the lemon flavour according to your preferences
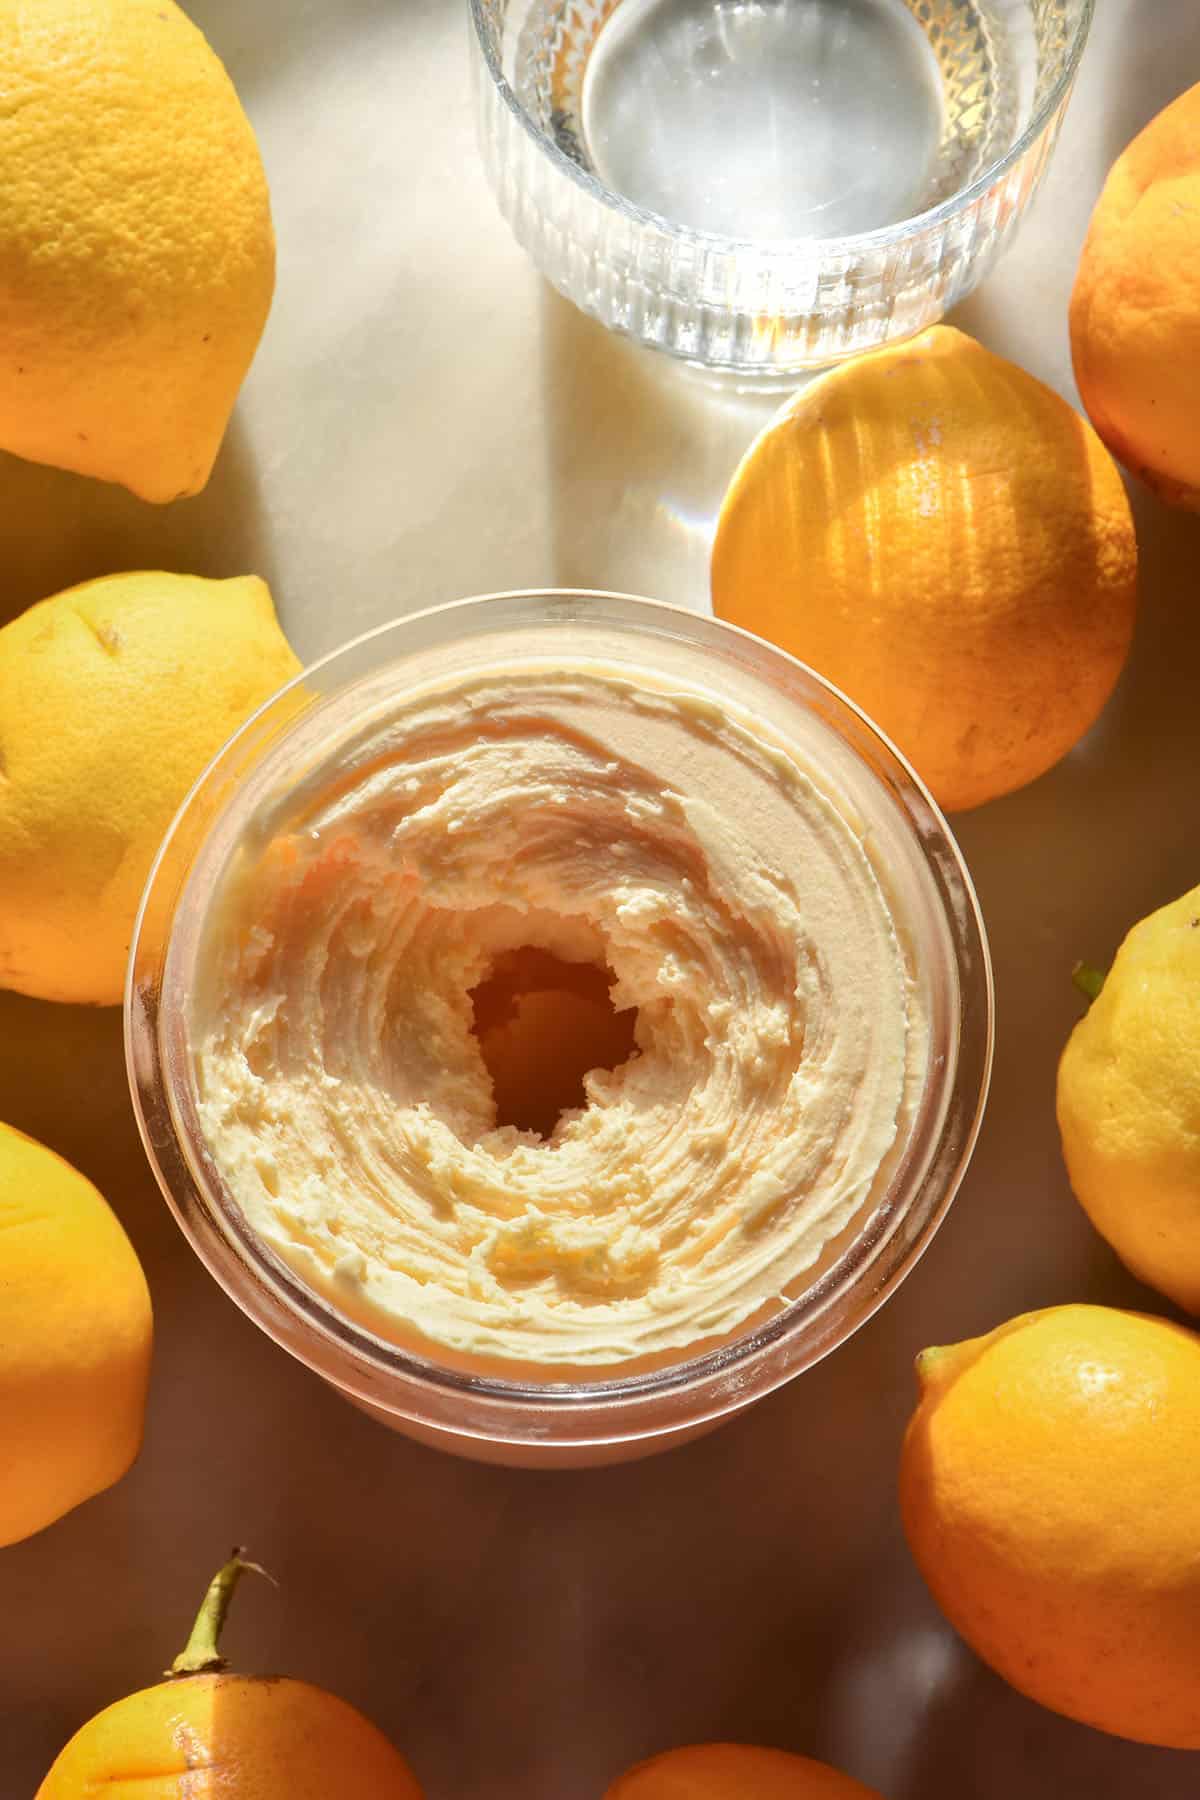
Everyone has a different taste for lemon and the tartness of it. Lemons themselves, of course, also variety enormously in their flavour and acidity.
The only way to adjust this lemon curd ice cream (for sweetness and sourness) is to adjust the lemon juice content.
The recipe uses 180ml (3/4 Australian cup or 6 fluid ounces) of lemon juice. How much lemon juice you use can be scaled up or down depending on your preferences and how sour the lemons are. However much lemon juice you end up using, you will need to make up the liquid volume with water.
For example: if you don’t like things too lemony, you could use 125ml (1/2 Australian cup) lemon juice and 60ml (1/4 Australian cup) water.
Meyer lemons are sweeter than regular lemons, so the type of lemon you use also matters.
You cannot add more sugar to this recipe. It is actually quite difficult to make ice cream that is super sweet because too much sugar stops the mixture from freezing.
More Ninja Creami recipes
- Ninja Creami vanilla ice cream
- Ninja Creami mint chocolate chip ice cream
- Ninja Creami strawberry ice cream
- Ninja Creami raspberry sorbet
- My e-book of 10 brand new dairy free/vegan Ninja Creami recipes including Weiss Bar inspired, sticky date pudding and pistachio
Ninja Creami lemon curd ice cream
Ingredients
- 110 g (1/2 cup)* caster or white sugar
- Zest of 1-2 large lemons
- 125-180 ml (1/2 – 3/4 cup)* lemon juice, see notes
- 125 ml (1/2 cup)* melted coconut oil, regular or refined (you can’t taste coconut either way)
- 4 extra large eggs 45-55g per egg, weighed out of shell
Instructions
- Place the sugar and lemon zest in a medium heat proof bowl. Use your fingers to rub the lemon zest into the sugar. Set the bowl over a small saucepan 1/4 filled with water over a low-medium heat. Ensure the water won’t touch the bowl.
- Add the remaining ingredients and whisk to combine. It will take a few minutes for them to come together. Once they do, continue whisking for 5-10 minutes or until the curd has thickened and coats the back of a spoon. As soon as it does, remove it from the heat. If you’re cautious, you can plunge the bowl base into an ice or cold water bath to stop the curd from cooking.
- Allow the curd to cool to a hand comfortable temperature. It doesn’t matter if the curd develops a skin as it will be blended into ice cream.
- Once cooled, decant the curd into your Ninja Creami 470ml tub. It should either be perfectly filled without exceeding the fill line or maybe a little bit over the fill line. If it is over the fill line, scoop out the extra curd and eat it straight off the spoon or save it for toast.
- Place the tub, without a lid, in the freezer for 12-16 hours or until frozen solid.
- Process the ice cream using the ice cream function and then the respin function. Return any leftovers to the freezer with the lid on.
Notes
- Add lemon according to how sour your lemons are and how sour you like your desserts. Meyer lemons are generally less sour than regular lemons. I would definitely recommend using 125ml lemon juice if you are using regular lemons (I used Meyer).
- If you add 125ml (1/2 Australian cup) lemon juice, you will need to add 60ml (1/4 Australian cup) water. This is to replace the volume lost by using less lemon juice.
- See the notes in the body of the post for tips.
- This is a great recipe to make when you have loads of lemons. How many you will need depends hugely on their size, juiciness, your preference for sour ice cream and their type (Meyer are sweeter than regular lemons). I used about 6-8 large and super juicy Meyer lemons for my tests. If you are using less lemon juice, you might need less.

I am allergic to coconut. What should I use in place of the coconut oil?
I can’t offer advice here because haven’t tested anything in place of coconut unfortunately Kristi! I’ll add it to my list of things to trial 🙂
Hi, are these full EGGs, or just egg yolks?
Full eggs 🙂