I recently bought a Ninja Creami machine and I am OBSESSED. The flavour possibilities and ideas are endless and I love being able to make recipes that work for me. As someone with a lot of digestive issues, it is amazing to be able to create exactly what I want and need in a dessert. So, without further ado, let’s discuss all of my best tips and tricks on how to use a Ninja Creami.
How to use a Ninja Creami
This guide will cover all aspects of making a Ninja Creami – mixing through to processing. I wanted a space to include all of the tips and things I have noticed in my Ninja Creami making journey, so you’ll find them all here.
As I develop more recipes, I will update the post with anything I learn along the way.
Things I have learned about using a Ninja Creami
- Yes, it is loud. I’d say it’s probably about the same volume as a NutriBullet blending something harder like quinoa grains, but my Creami is in a better spot acoustically so my comparison might be off.
- Reddit is an incredible resource. You can find the answer to any query you might have there (and people post recipes, too).
- Keep on top of cleaning your Creami as things can get stuck in the grooves quickly. Washing immediately after use is the best way to avoid this.
- Leave plenty of space behind the machine for the fan to work. Nobody wants an overheated machine.
- Yes, it is so much better and creamier than blending frozen ingredients and hoping for the best. I promise!
- Personally, I think the need to re-spin leftovers is overhyped. 99% of time I have simply allowed leftovers to thaw a little on the bench before eating them. Creamy based iced creams definitely don’t need to be re-spun and I don’t think protein recipes do either.
- Yes, you can re-spin a half recipe. The blade drops down to the base of the ice cream, so the pint doesn’t need to be full to use it.
Important tips
- Every freezer is different. While the brochure says every tub needs to be frozen for 24 hours, I haven’t found that to be true. I can mix up a flavour in the afternoon or evening and process it the next morning. This could be that my freezer is cooler and thus my flavours need less time to freeze. It is individual to your freezer, so experiment and see what works for you.
- As the box specifies, the Ninja Creami is not a blender. I know it’s boring, but I find it really helpful to blend any flavours that have chunky or whole ingredients. This way, the machine just has to work on making a creamy ice cream rather than blending frozen fruit.
- Sugar softens ice cream, so the more sugar you add the softer your ice cream will be. If you don’t add any sugar, you risk creating an icy result. You need to counteract the lack of softening ingredients with something creamy (yoghurt, xanthan gum, protein powder).
- Similarly, too much sugar will result in an ice cream that is unable to freeze.
- There is such a thing as too much fat in ice cream. Ice cream that is too fatty leaves a coating on the roof of your mouth and can taste or feel grainy.
- I, along with most other websites, recommend leaving the lid off before freezing your mixture. It can help prevent the frozen ice cream developing a hump in the centre, which can damage the blades of your machine. See more on this below.
Mixing up a flavour
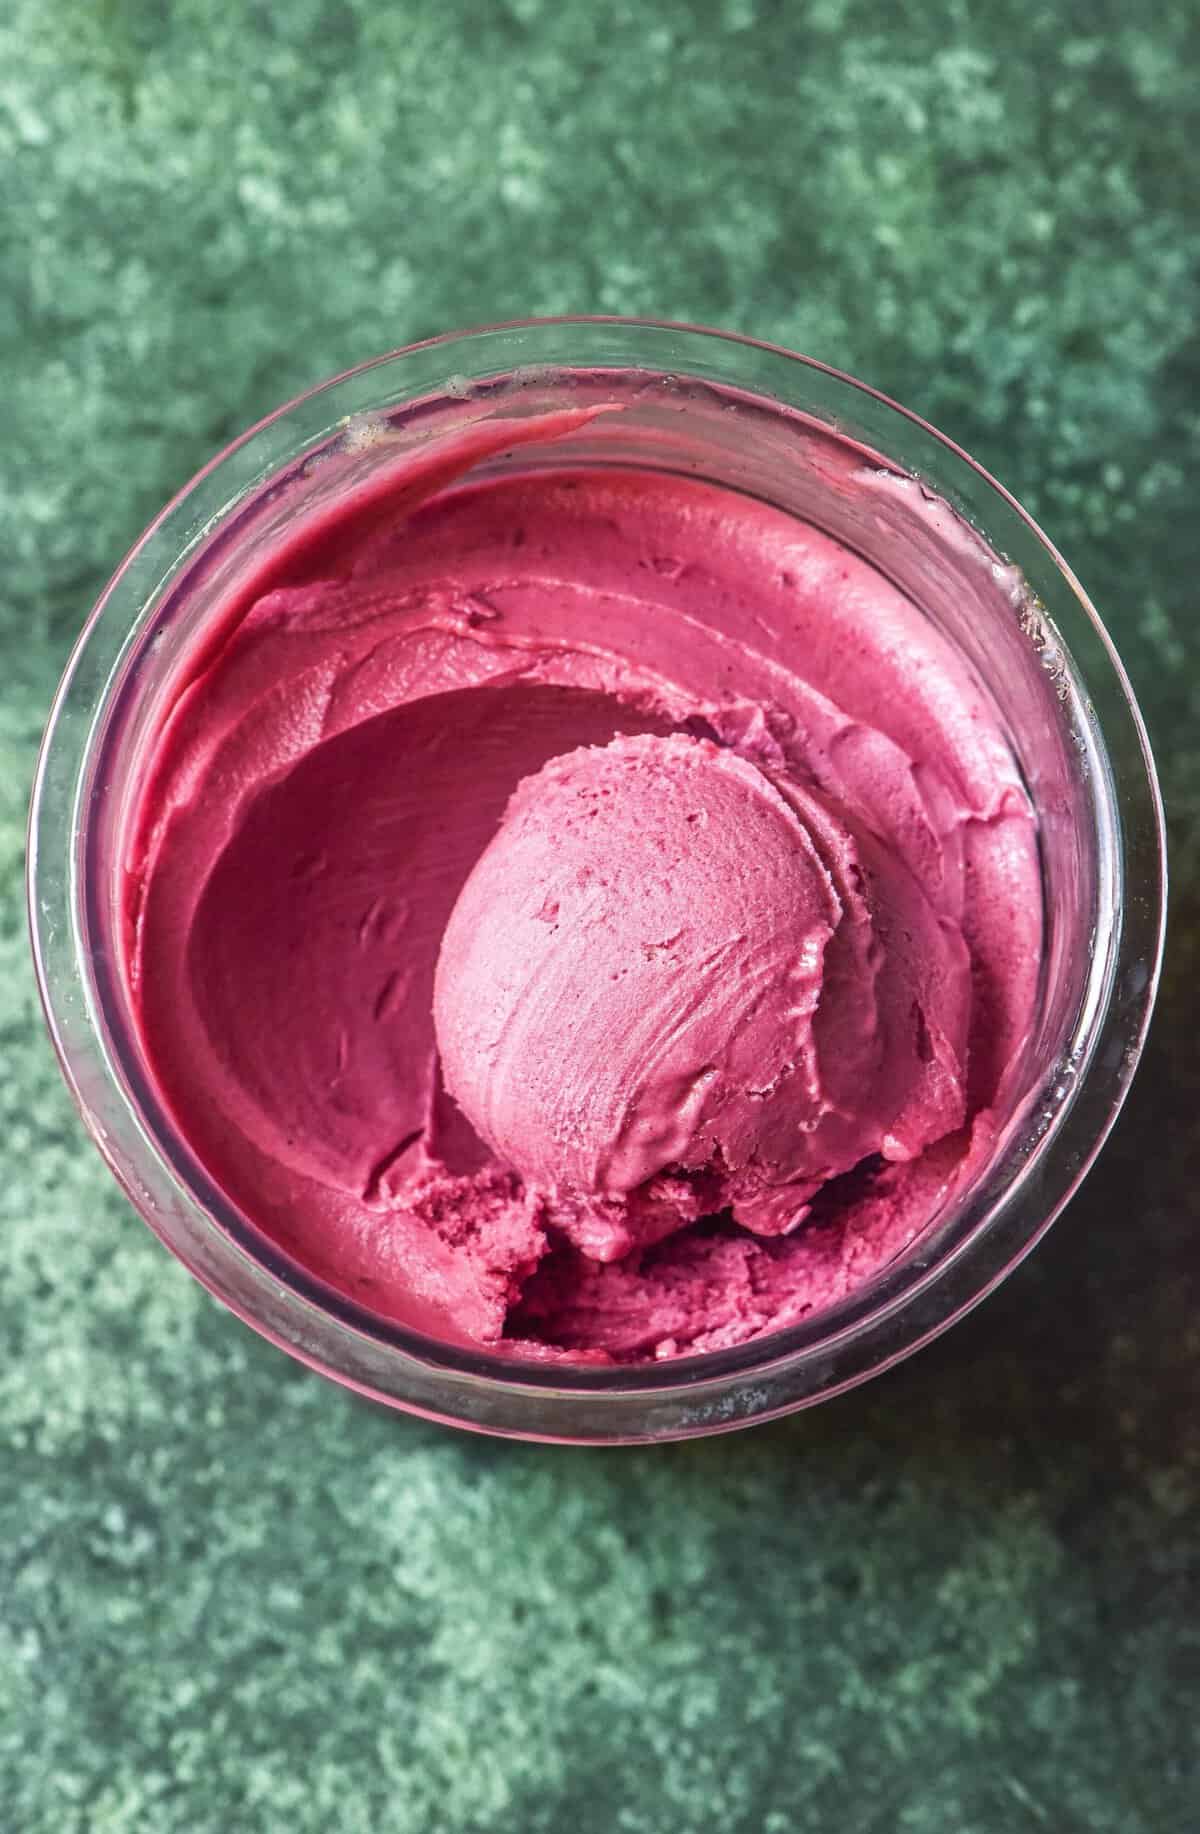
My very first Ninja Creami was 100% frozen and defrosted blueberries which I blended into a sorbet. I’m not going to say it was bad, but it certainly wasn’t amazing. The second was a rather icy protein shake that I ate anyway, but didn’t thoroughly enjoy. I have come a long way since then, so I want to offer my tips and tricks for making your best Ninja Creami ice cream.
- I always recommend adding something creamy to your Ninja Creami. Having a creamy element ensures you have enough viscosity to create a non icy ice cream.
- I love using liquid sugars (agave syrup, maple syrup, simple syrup) in my ice cream. They add ‘body, stability and creaminess‘ to your ice cream, and they’re just very simple to use.
- If you are intending to make a low fat, low calorie Ninja Creami, I recommend using xanthan gum. 1-1.5g is usually sufficient for a tub, but it does depend on how low calorie you’re looking to go.
- If you are playing around with a cream based ice cream, I highly recommend using the Dream Scoops ice cream calculator. I have found it extremely helpful in troubleshooting overly fatty ice creams I have trialled.
Processing your Ninja Creami ice cream
Processing your Ninja Creami is very straightforward, but there are a few things to keep in mind.
- As we will discuss below, make sure you remove any humps that have formed in the top of your frozen Ninja Creami. These can damage your machine and even break it entirely.
- Although I am yet to see anything concrete to explain how the different functions perform differently (as opposed to being a bit of a marketing ploy) choose your function for your ice cream. The functions I use most are ice cream and light ice cream.
- Spin your ice cream and be open to spinning it again as necessary. Needing to re-spin is not necessarily the sign of a bad recipe – lower calorie and icier recipes generally need a re-spin. I have also found that recipes without sugar (I have been testing stevia recipes) need re-spinning.
- If your ice cream is persistently icy and dry, it’s too cold. You don’t necessarily need to add any liquid (unless it’s a bad recipe), you just need to allow it to thaw a little before processing.
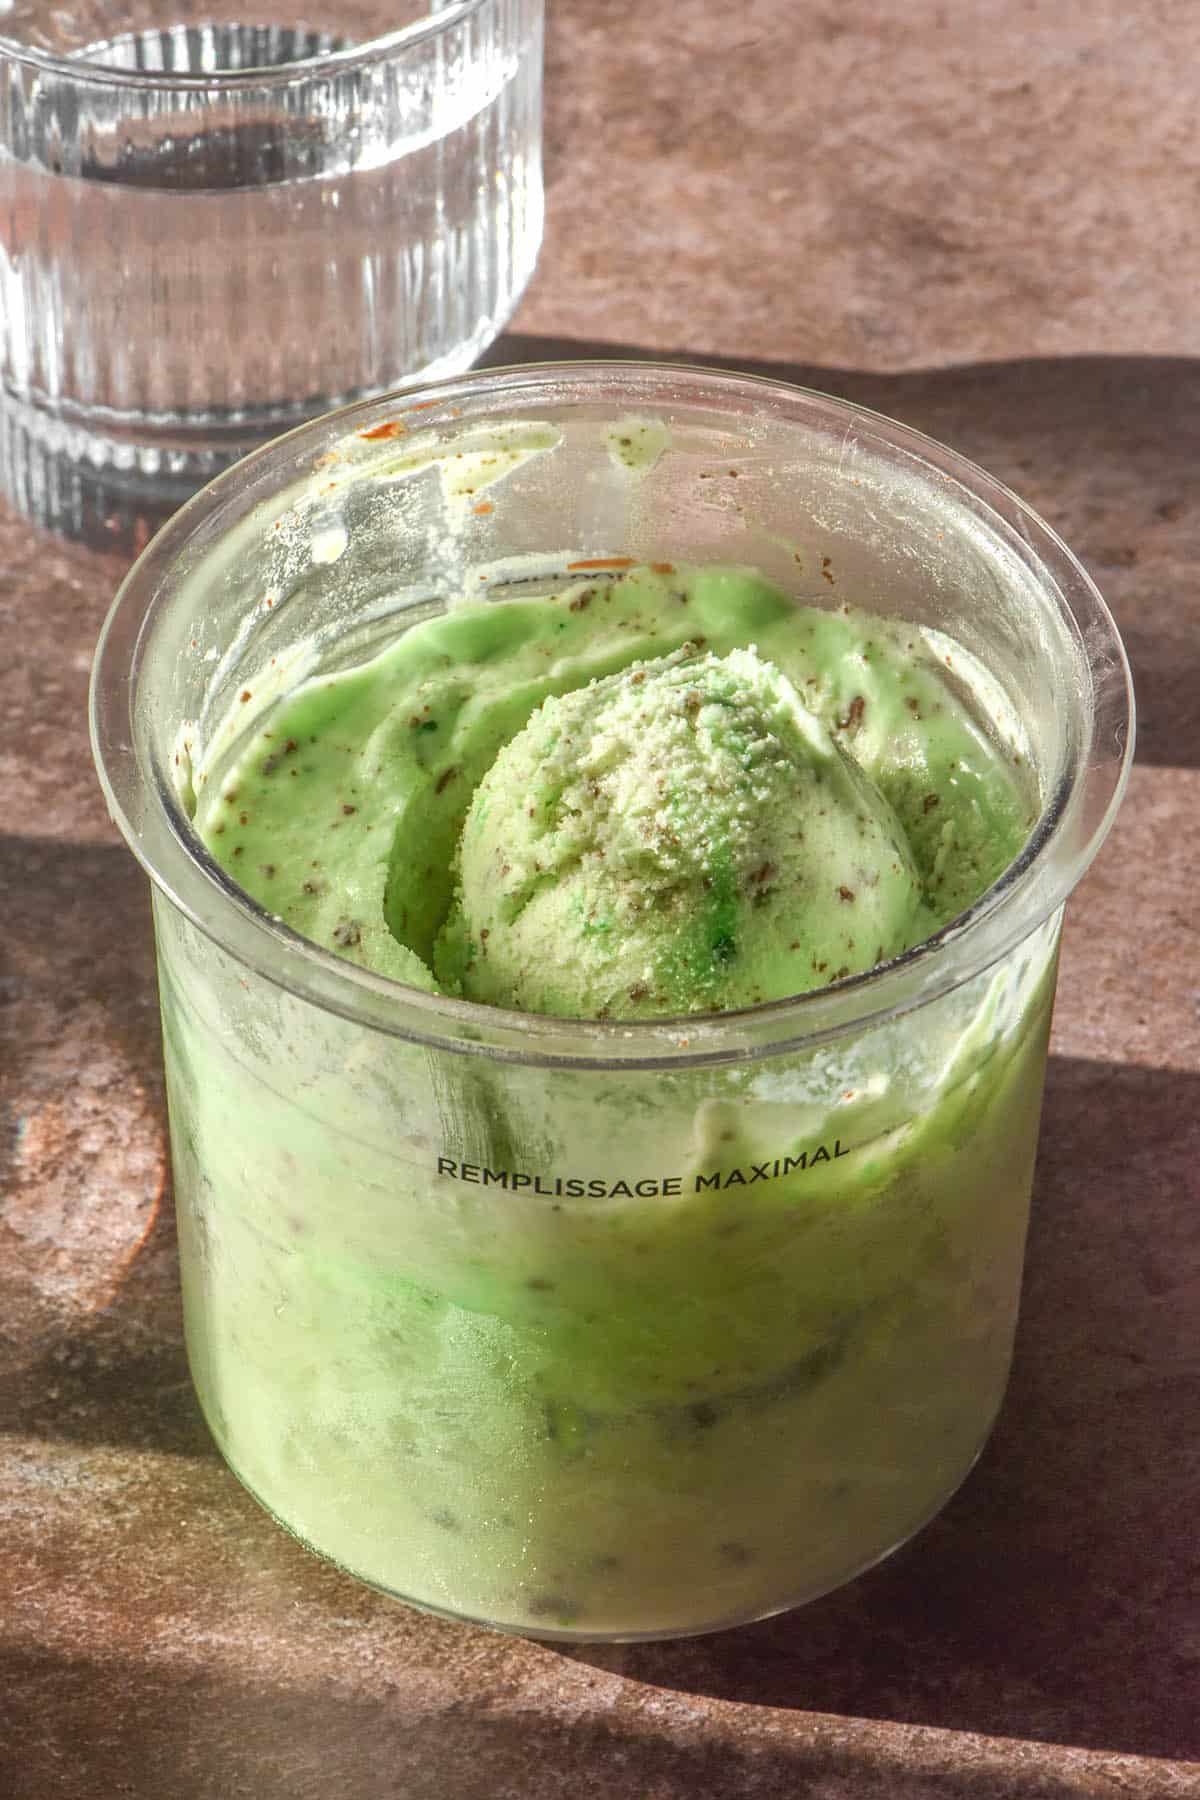
Avoiding the hump in your frozen Ninja Creami
Sometimes, your frozen Ninja Creami tub comes out of the freezer with a hump or bump in the middle, almost like a small volcanic eruption (or a pimple). In researching this, I found someone who suggested that it was because the edges of the tub freeze first. As they expand, they push the unfrozen liquid upwards to make way for their expansion.
We want to avoid the hump at all costs. This is because it can throw the blade off as it hits the frozen mass. There is the potential for the blade to subsequently come loose from the lid and be hurled sideways, damaging or completely ruining your machine.
Just in case you figure it might be a bit of a myth (I did) I tested processing a Creami with a hump. The noise was absolutely awful, like a blade on plastic (which it might have been). Although my machine didn’t break, I immediately realised I would never do it again. You shouldn’t either!
Here are some tips for avoiding or dealing with the hump when it happens.
- Freeze your Creami ice cream with the lid off. This can help the hump from developing in the first place.
- Someone on Reddit said that they thoroughly chill their mixed up Ninja Creami in the fridge before transferring it (lid off) to the freezer. I plan to test this theory and will update this post when I do.
- If a hump does develop, assess it. You can get away with a very small hump in the middle, but a large one has potential to damage the machine. Humps off to the side are a red flag as they are more likely to throw the blade off kilter.
- Icier mixtures like sorbets and things that are frozen more solidly are also a higher risk if you blend them with a hump.
- For a larger hump, you can allow the mixture to sit for 10 or so minutes and very carefully use a spoon (or even more carefully) a knife to slice it off.
- People also suggest microwaving it for 10-30 seconds to soften the mixture enough to remove the hump. This might also help solve the issue of icy edges.
- I saw someone on Reddit suggest a vegetable peeler to slice it off piece by piece.
- Someone else suggested a few teaspoons of boiling water on the hump to smooth it out prior to spinning.

How to deal with the icy edges of your Ninja Creami
I have had the icy edges in lots of Ninja Creami pints. Personally, I’m fine with icy edges if it means that I don’t have plastic shavings in my ice cream. However, they are a bit annoying and can be a bit of an unpleasant mouthful.
People have a number of solutions, so you can pick what works best for you. Again, Reddit (and TikTok) have been the source of most of my Ninja Creami knowledge.
- Spin the ice cream, then use a spoon or butterknife (which you can heat with hot water first) to dislodge the icy wall from the edges of the machine. Then simply re-spin the pint or process it on the setting you originally used.
- Lots of people recommend running the pint (lid on) under hot water before processing. Personally I feel this would result in quite a soft ice cream, but I guess it depends on the recipe you are using. Low sugar ice creams generally set much harder, meaning you might be able to get away with doing this without it getting too soft.
- Sit your pint on the bench for 15-20 minutes before processing. Again, this probably works best with low sugar recipes.
- Some people microwave their tub for 15-30 seconds, but that is not something I want to try. I generally don’t microwave plastics.
- My solution? Eat it or leave it. I either mash it into my ice cream or just eat around it.
Tips for cream based ice creams
I have found cream containing Ninja Creamis to be the hardest of all to develop. This is because there is more of a science to cream based ice cream when compared to a protein ice cream. Note that I am no ice cream expert and this is all quite new to me. I defer to the experts on ice cream science and have learned a lot from Dream Scoops.
Cream based ice creams cannot exceed a certain percentage of fat without the texture changing. This is exacerbated in recipes that need to be spun multiple times.
Think of whipping cream: whip it too much and it starts to separate and become butter. I have noticed a similar sort of thing when testing cream based recipes with my Creami.
- Use a calculator to ensure the recipe is balanced for a cream based ice cream. I use Dream Scoops.
- Use light cream and full fat milk or full fat cream and light milk to help ensure you remain under the maximum milkfat percentage.
- Leave cream based ice creams to soften before eating them. I found that freshly spun, freezing cold ice cream tended to leave a film on the roof of my mouth. My suspicion (and I could be wrong) is that because the Ninja Creami blends from frozen, the ice cream is just too cold straight out of the container. It needs to soften a little to allow for the perfect mouthfeel.
Cleaning your Ninja Creami lid
I recently did a bit of a deep dive into cleaning my Ninja Creami lid when I noticed it had bits of ice cream stuck in the inner mechanism. I have to say, the lid is designed terribly in terms of enabling the user to thoroughly clean it.
As far as I am aware, you cannot pull the lid apart to clean it. There are water holes that allow water to get into the lid, but the flow is often not vigorous enough to ensure proper cleaning.
A forum thread suggested putting the lid in the dishwasher after use. I haven’t tried this yet as I was a bit wary of putting the parts in the dishwasher. The Ninja Creami website in Australia says that the parts are dishwasher safe, but there are a few people suggesting their tubs were deformed in the dishwasher.
The method I have been using is to place my lid in hot soapy water immediately after using it. I allow the lid to sit in the water for 15-20 minutes, then I shake it vigorously to encourage any pieces of ice cream to dislodge. I rinse each hole of the lid thoroughly with running water and then I allow the lid to dry in the sun on my kitchen window ledge.
The system isn’t perfect, but I figure allowing the lid to thoroughly dry in the sun will prevent any mould issues that some people have had. If you have any tips, I’d love to hear them.
Ninja Creami recipes
- Ninja Creami vanilla ice cream
- High protein Ninja Creami (53g protein)
- High protein Ninja Creami e-book sweetened with agave or maple syrup
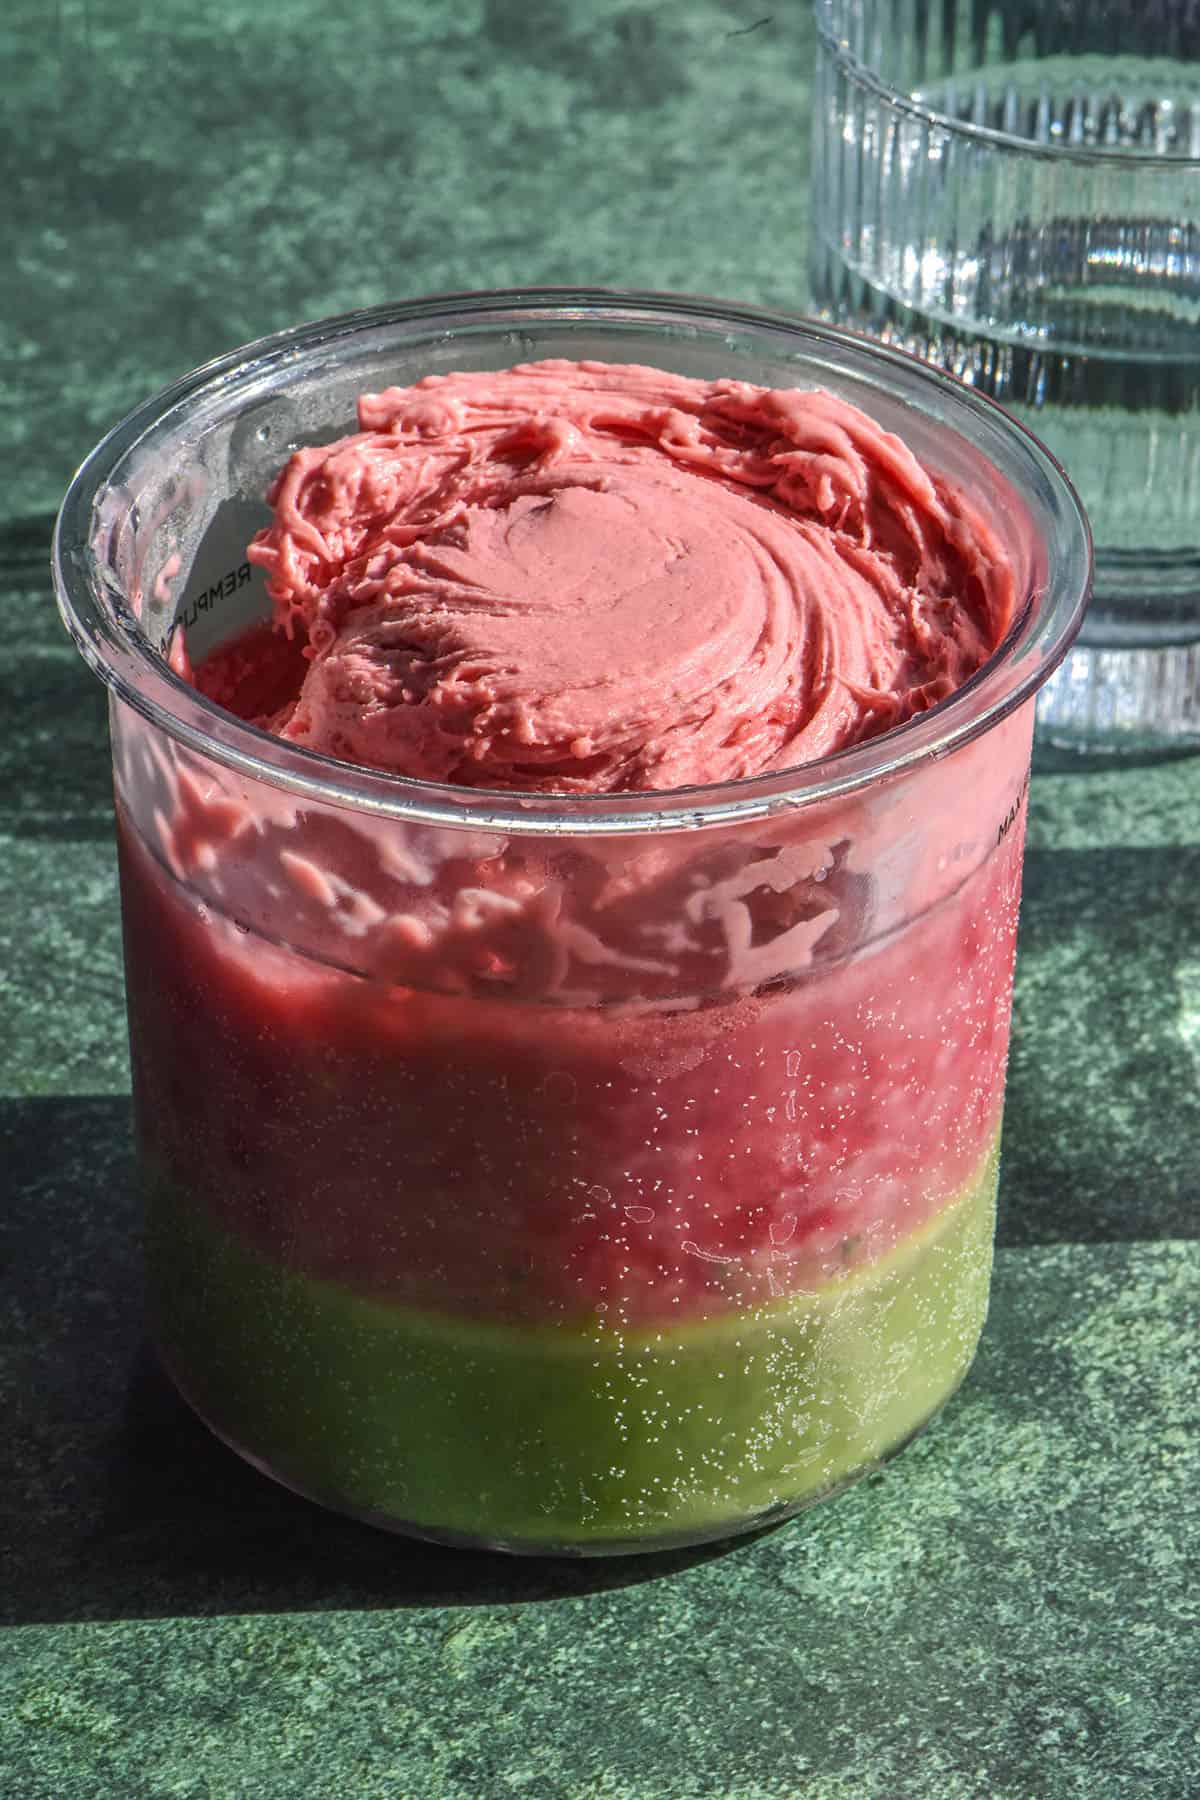
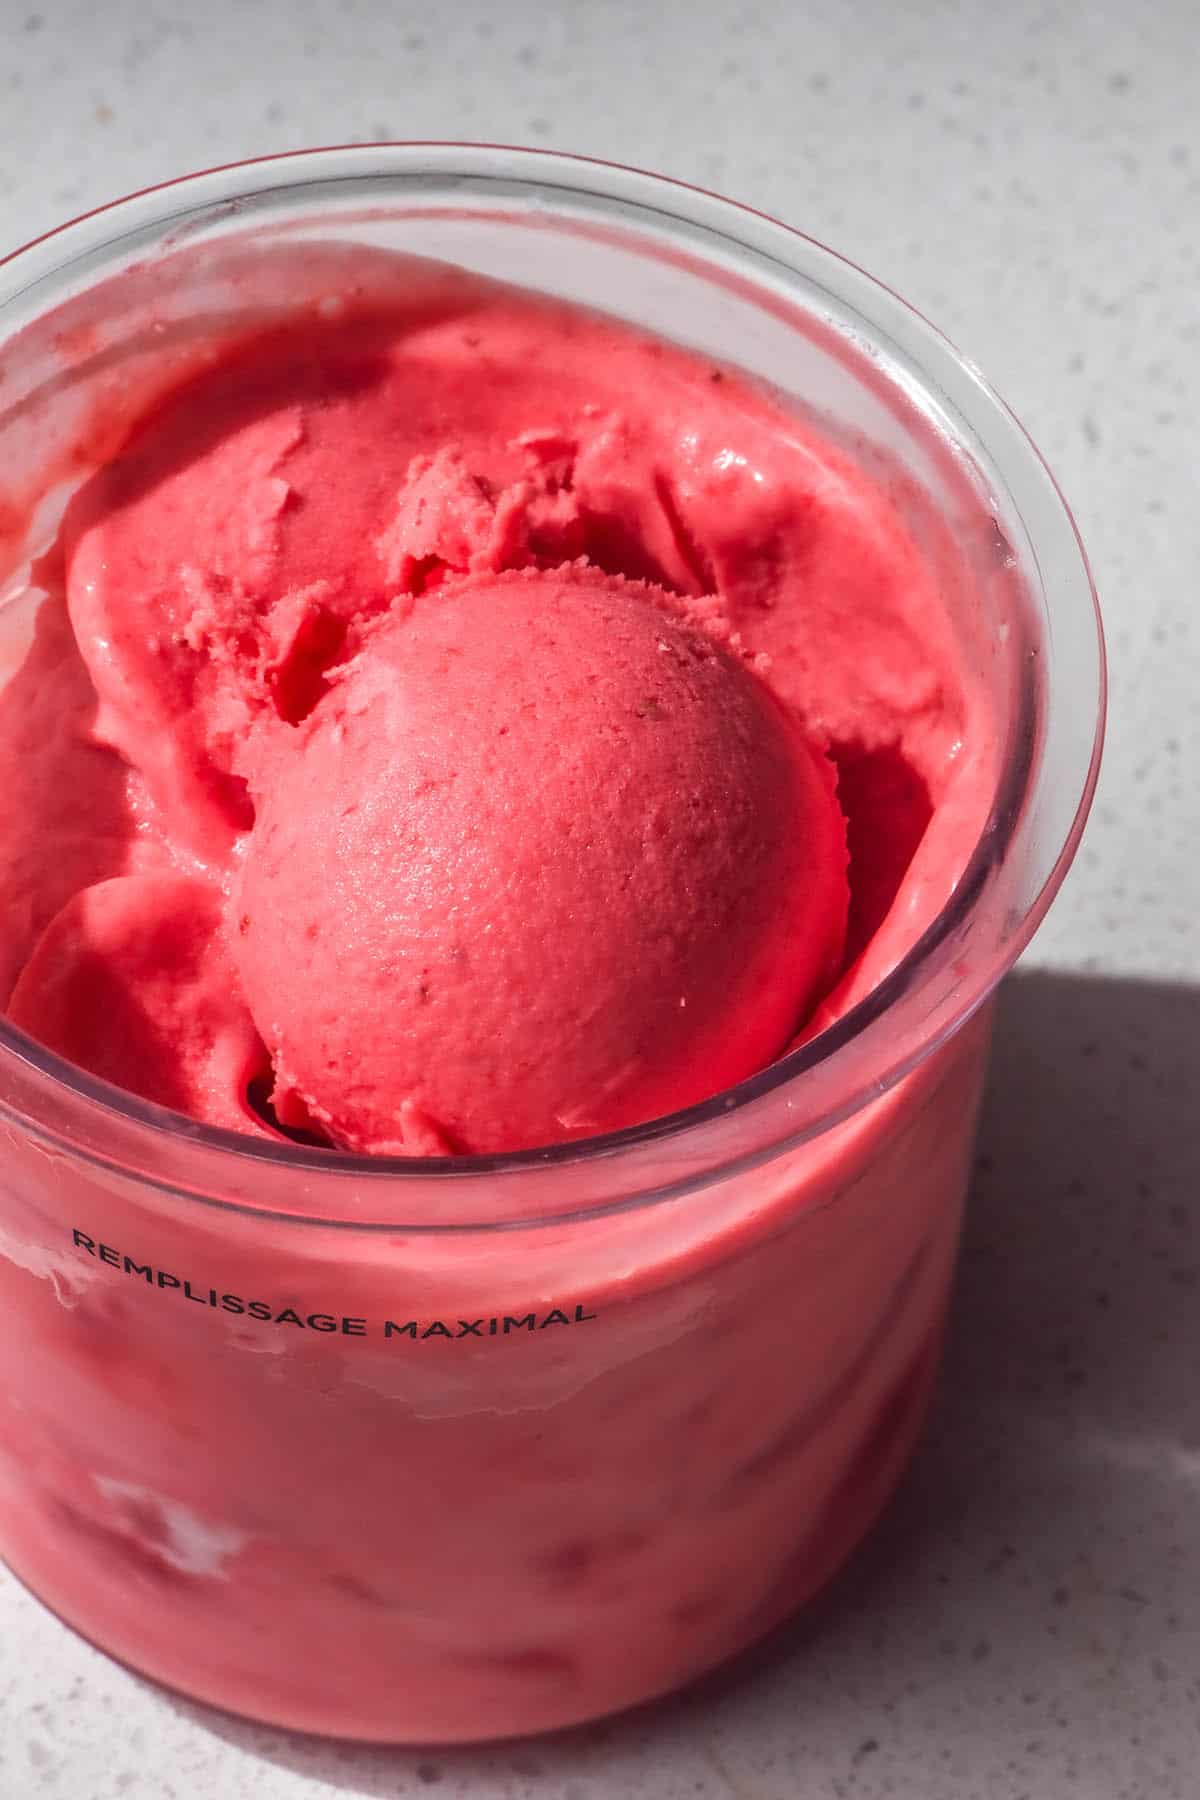
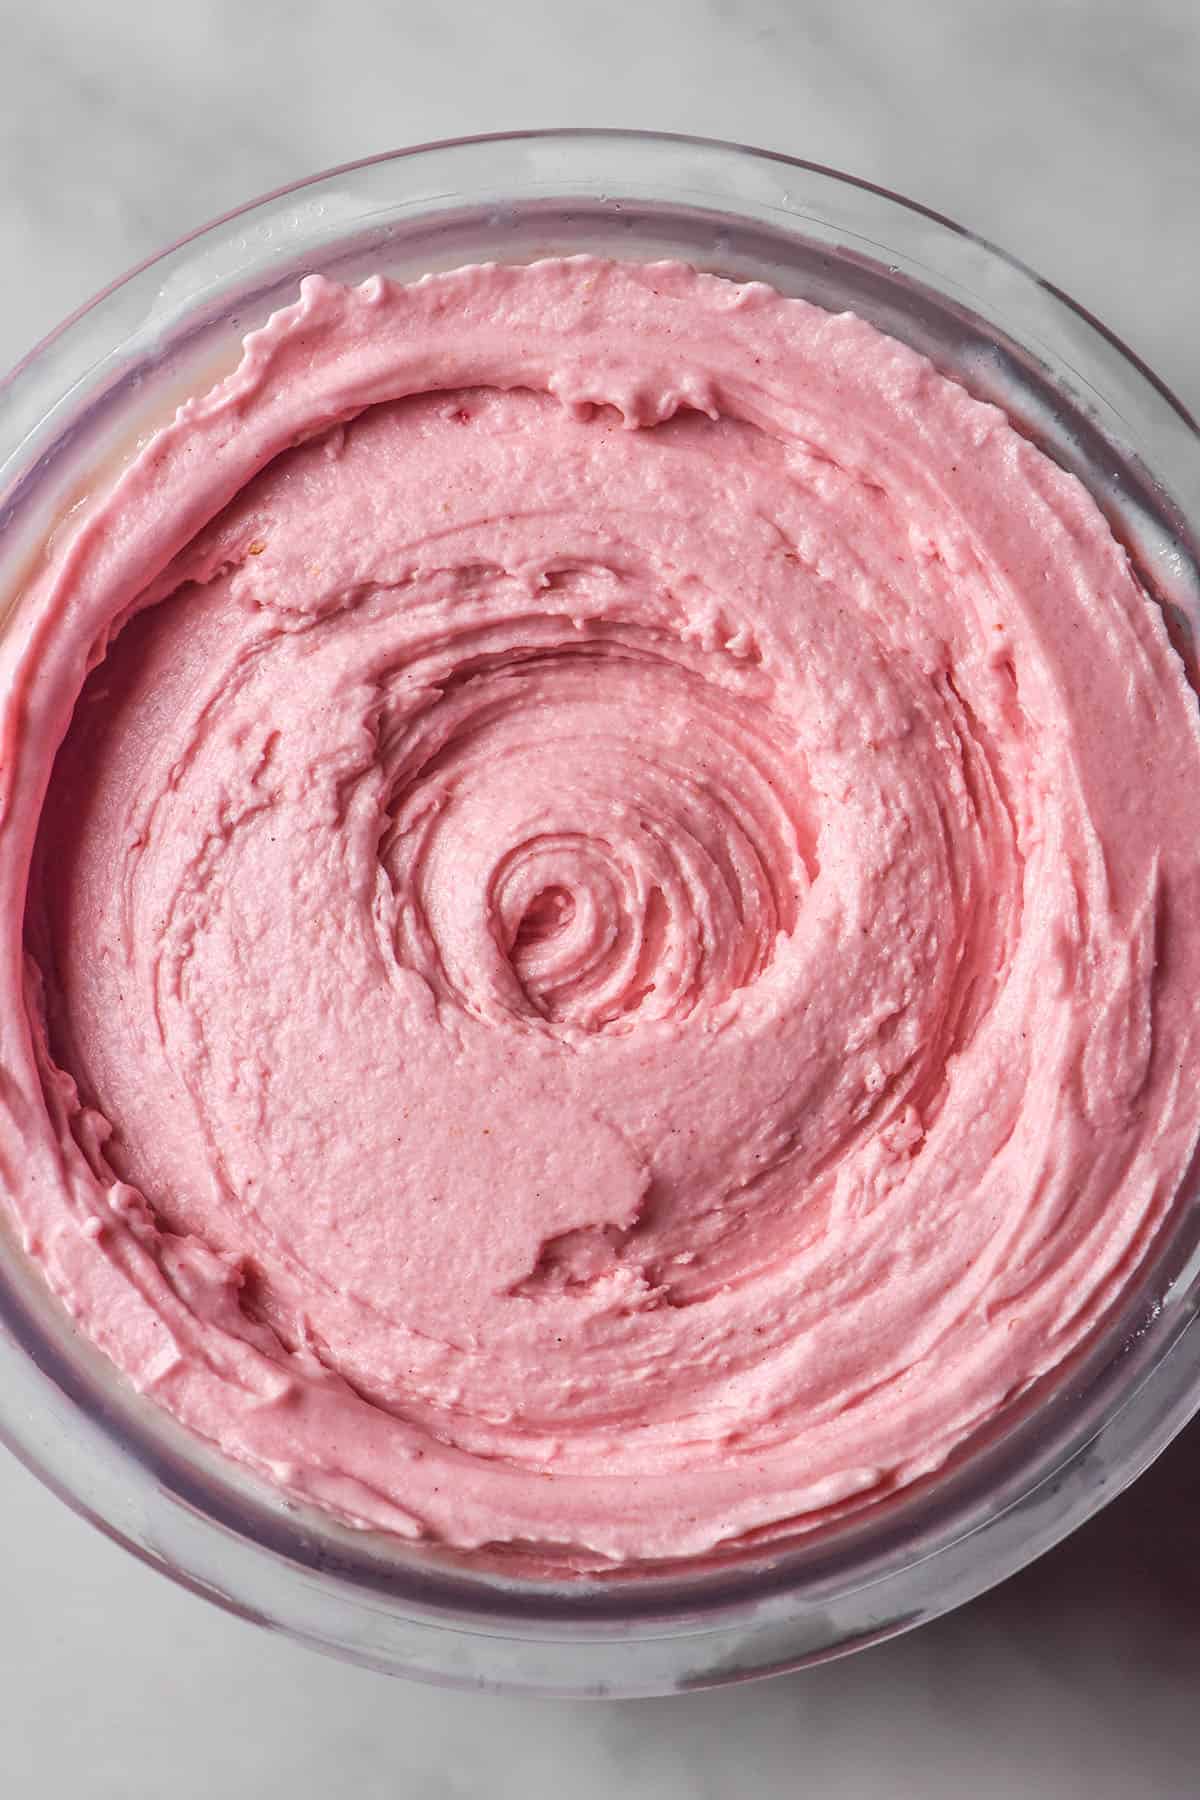
- Ninja Creami strawberry ice cream (vegan option)
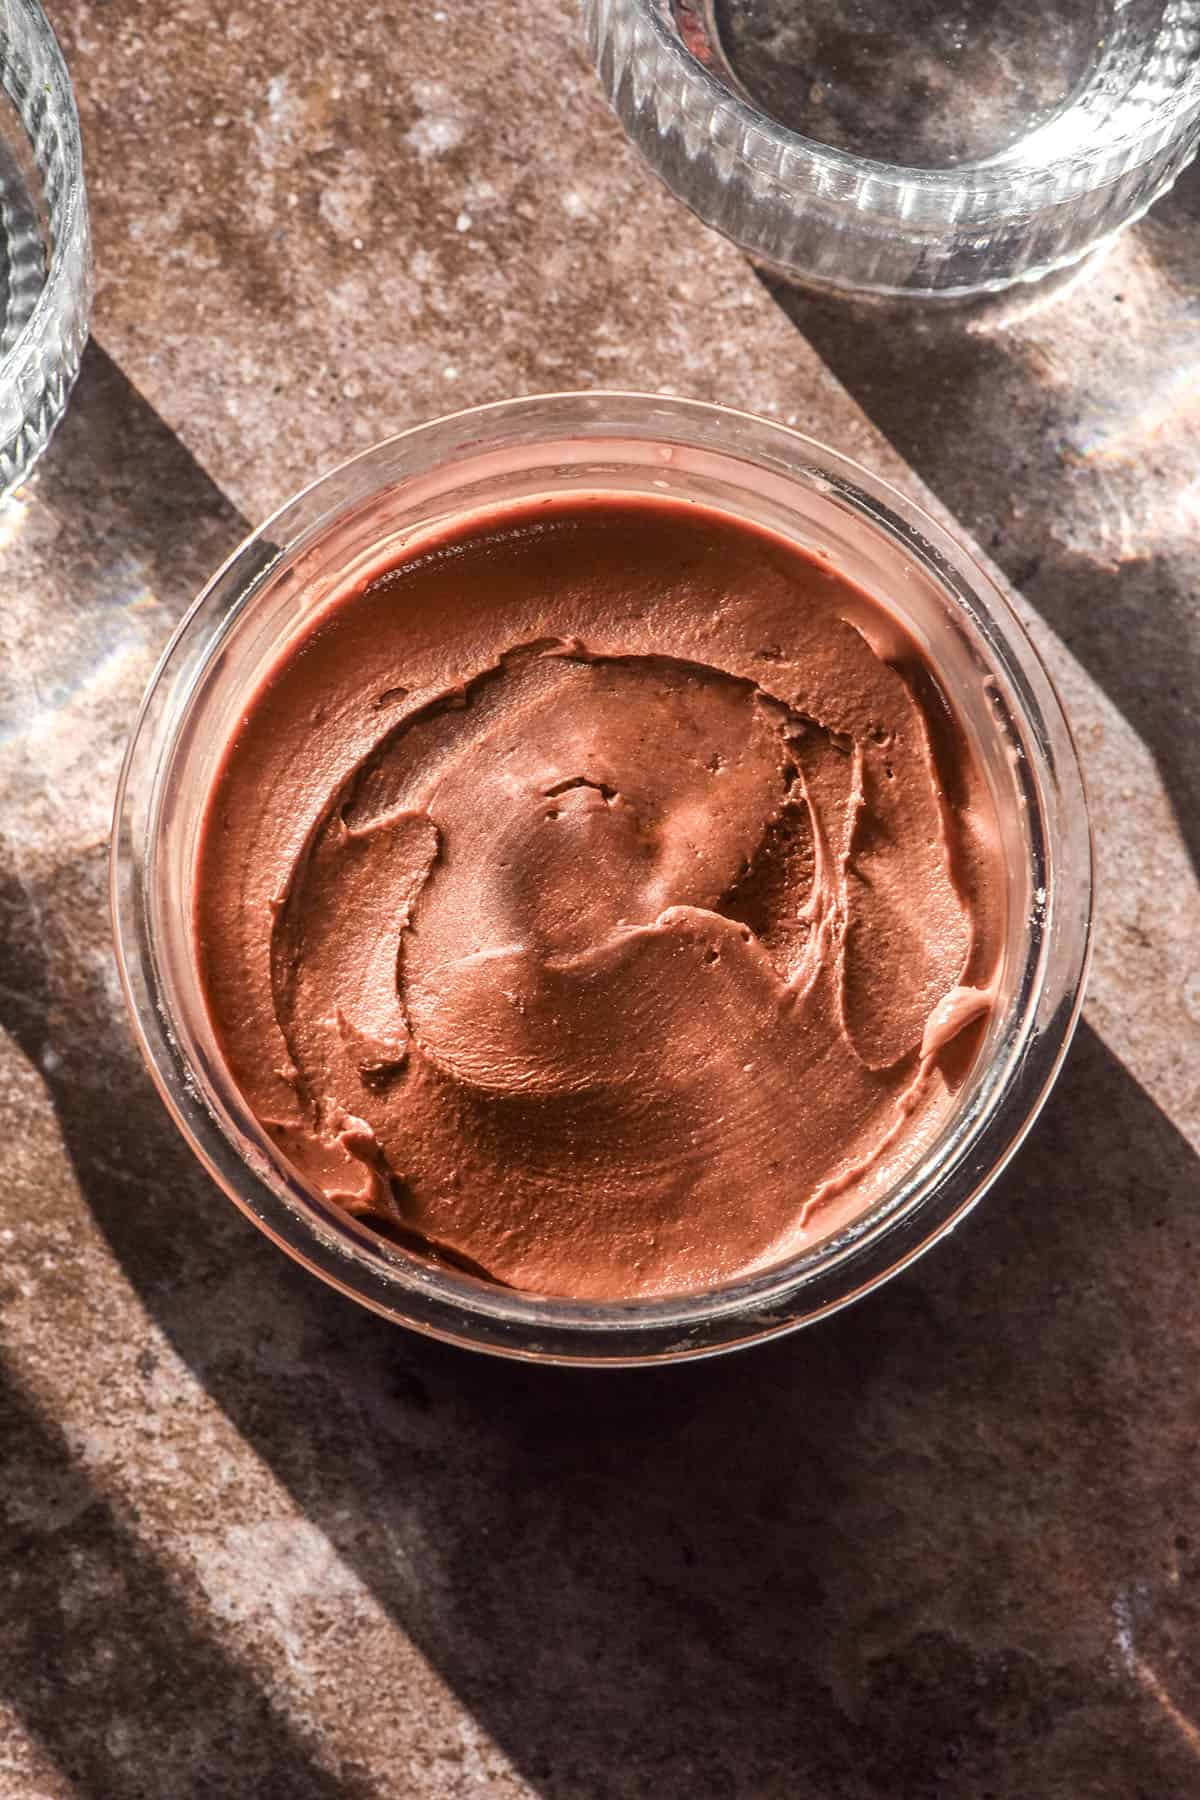
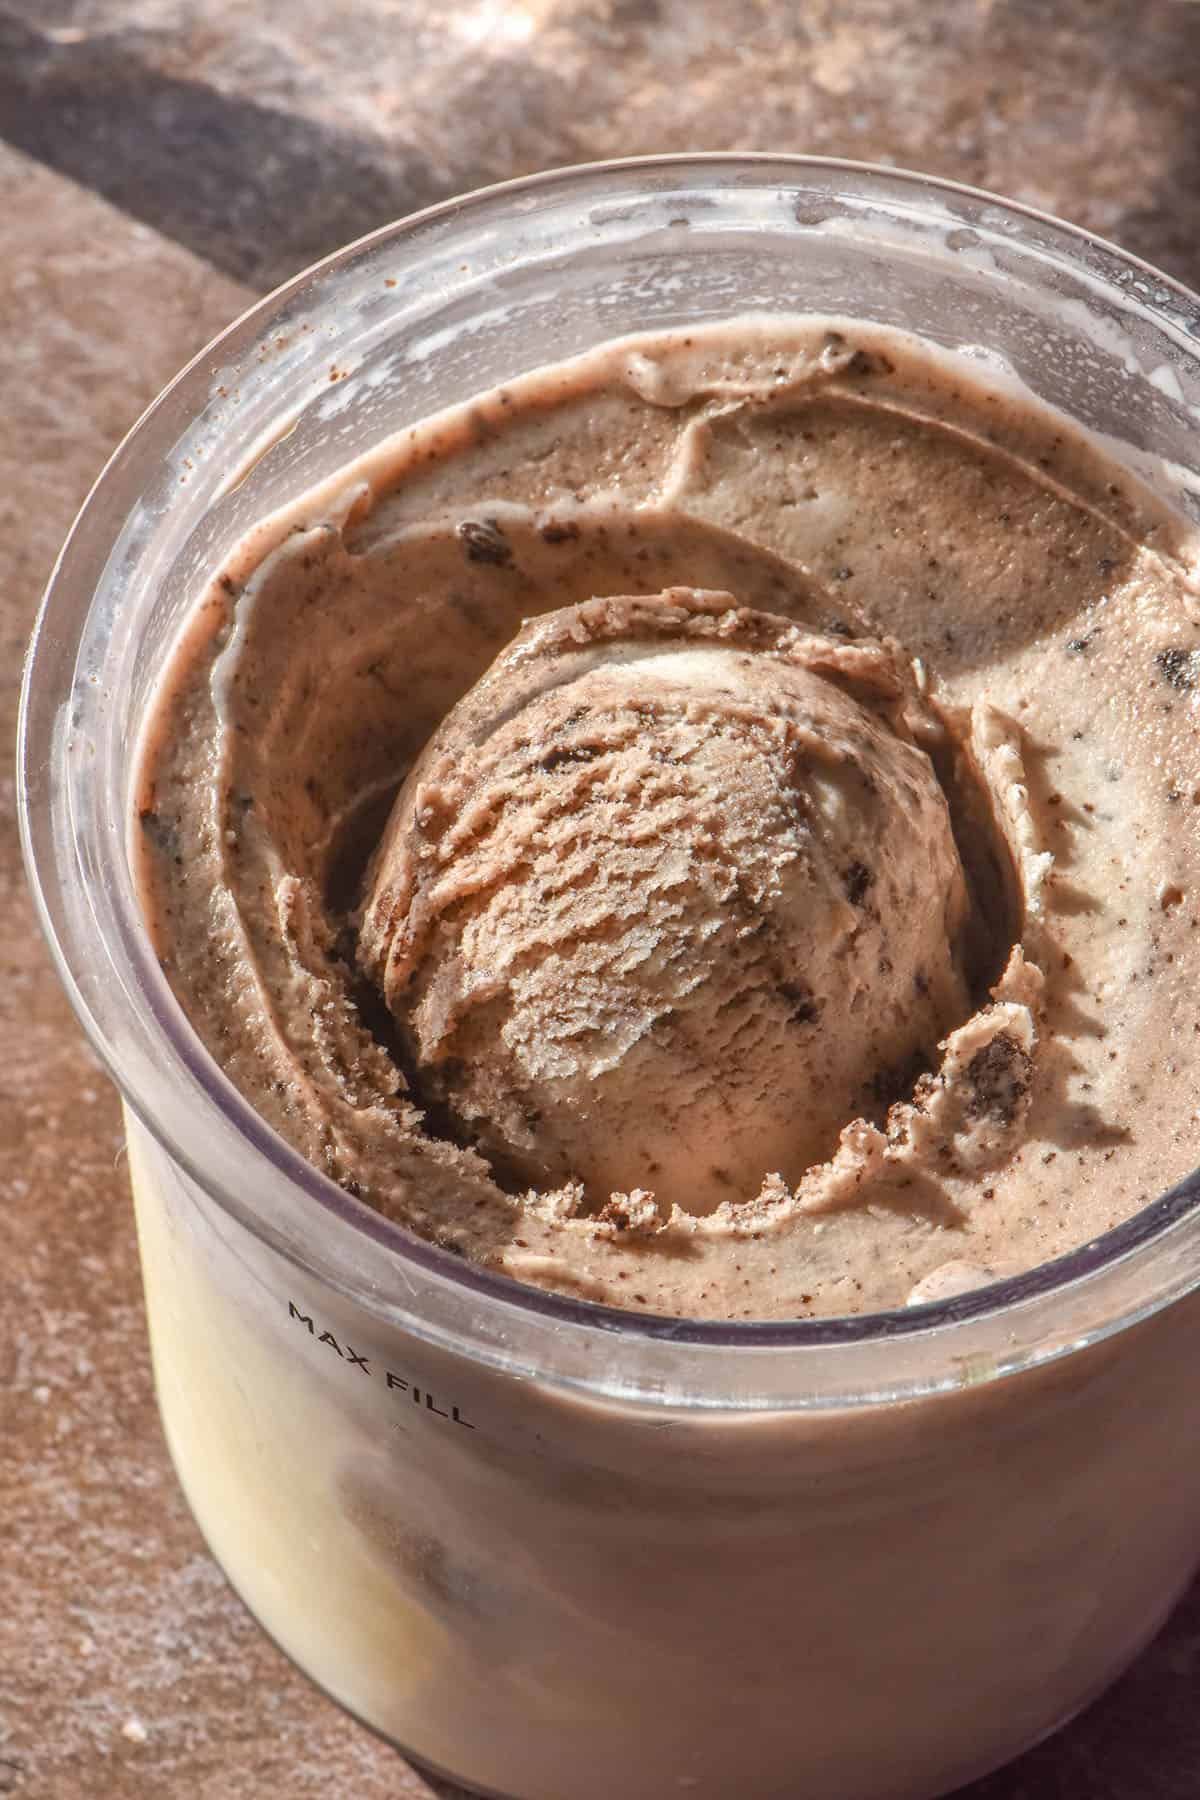
- Ninja Creami chocolate ice cream
- 10 new Ninja Creami ice cream recipes, including pistachio ice cream, sticky date ice cream and Weiss bar inspired ice cream (there’s also a dairy free/vegan version of the e-book)
No Comments