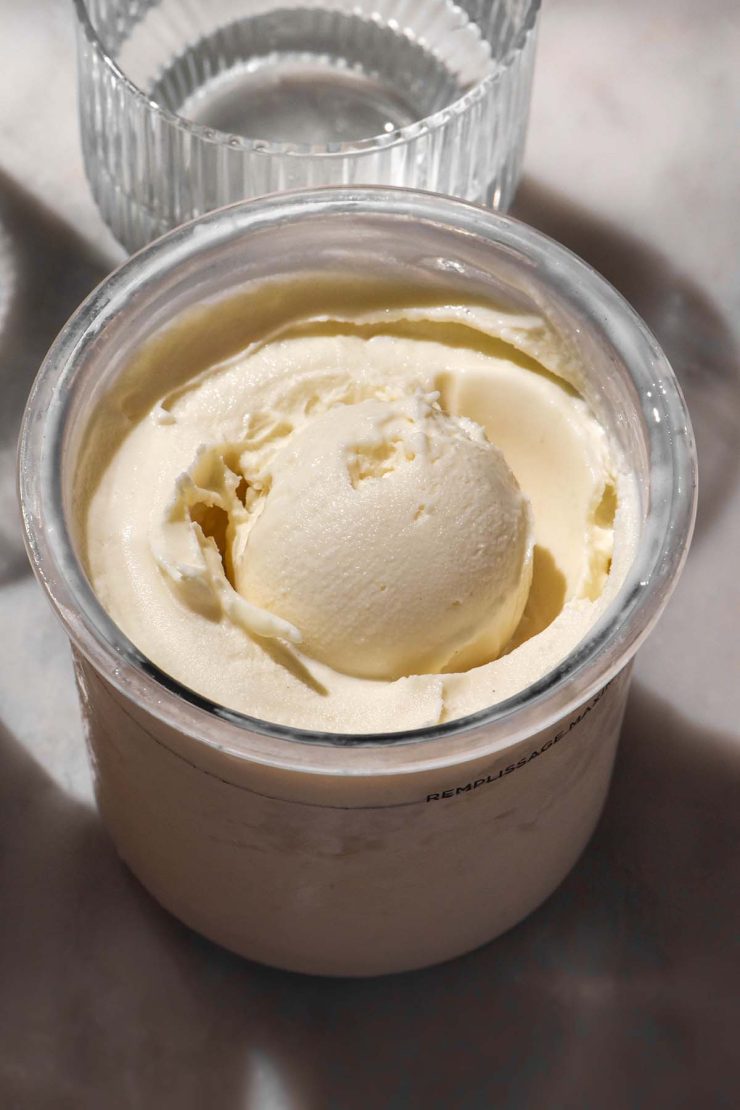
Another week, another Ninja Creami recipe. On the menu today? This easy and delicious Ninja Creami frozen yogurt. I have used a high protein yoghurt to make this easy treat high protein, low sugar and super filling. It couldn’t be easier, so let’s get straight into it.
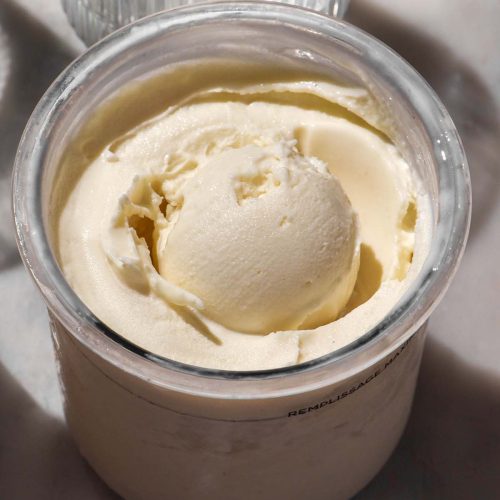
Ninja Creami frozen yogurt
For this frozen yogurt recipe, I have chosen to use a vanilla flavoured high protein yoghurt. This is for a few reasons. Firstly, I noticed that protein powder added a nice chewy texture to my high protein Ninja Creami recipes. I reasoned that a high protein content in the yoghurt might work the same way, given that I use whey protein isolate.
Secondly, I am always trying to find easy ways to get my protein intake up as an egg fussy, fish selective, low FODMAP pescatarian. High protein yogurts are an easy way to get some protein in. A tub of this ice cream can contain approximately 37g protein!
Following on from that; because protein yogurts contain more lactose, they often add lactase. Lactase is the enzyme that breaks down lactase in the body. Some people don’t produce enough of that enzyme, which often leads to lactose intolerance. The high protein yogurts I tested are lactose free, which means that they are low FODMAP pending flavourings.
I chose vanilla flavour for this recipe because it contains a bit of flavour and a bit of sweetness. Vanilla is generally my go-to ice cream flavour and I prefer vanilla frozen yogurt too. It allows the toppings to really shine!

Ninja Creami science and how to use it for your frozen yogurt
I want to discuss a little bit of ice cream science quickly because I think it will be super helpful when you are choosing your yogurt.
Although my recipe is low sugar, sugar is an important ingredient in ice cream. It ensures that the dairy base doesn’t freeze solidly and icily and minimises large ice crystals. It also lowers the freezing point, which is important for ice cream.
The same goes for fat – it is generally an important part of ice cream. It develops flavour, helps ice cream retain air (which creates a light but creamy texture) contributes richness and more. As we have discussed briefly, I find that high protein Ninja Creami recipes do get a creamy consistency thanks to the protein, which allows us to skimp on the fat a bit.
In order to develop a delicious Ninja Creami frozen yogurt, we need to be aware of all these things. The need for sugar is why I add a tablespoon of maple syrup to my mixture. In a low sugar frozen yogurt, this helps with the texture and freezing point.
The yogurts I have tested for this recipe – Chobani Fit vanilla and Danone high protein vanilla – are low fat. This is obvious when you retrieve the frozen yogurt from the freezer – it will have long, dagger like ice crystals. My theory is that the lack of sugar and fat both contribute to this.
Working with low fat, low sugar yogurt
As I have discussed at length, I have tested Chobani Fit vanilla flavour and Danone YoPro vanilla flavour here. Both are sugar free, low fat and high protein yoghurts here in Australia. In working with these yogurts to develop this recipe, I have figured out a few tips for getting the best out of them.
Firstly, I recommend adding that tablespoon of maple syrup. It helps lower the freezing point slightly which means the yogurt will be a bit softer out of the freezer. This means less strain on your machine and a more whippable texture for a lighter ice cream.
Secondly, I recommend adding the milk and mixing everything together before pouring it into the tub. It seems like less work to mix everything in the tub but I find that leads to uneven distribution. It also leaves air pockets in the mixture which means it’s higher up the fill line than it would otherwise be. Mixing in a bowl means you can pour it into the tub and it will freeze more evenly with a flatter top.
Next, I recommend adding a small amount of xanthan gum if you have no issues with it. These styles of yogurt generally already have a gum in them, but I find a scooped 1/8th teaspoon (0.5grams) is enough to create a chewier, more unctuous texture in the absence of fat and sugar.
I recommend resting the tub prior to spinning it. Pull it out of the freezer about 5-10 minutes before you plan to spin it. This should help soften the mixture a little and minimise the icy sides (which are a reality of a low fat recipe).
Finally, expect to re-spin it. With high protein, low fat yoghurt, I expect to spin these tubs twice on light ice cream. Your experience might be different but I find the mix is powdery on the first go and the re-spin button doesn’t get the job done. Twice on light ice cream is perfect for me.
Recipe notes
- This recipe also works with plain yoghurt or other flavoured yoghurts.
- If you are using plain yoghurt, you will need to add more sweetener to help with the freezing point. I recommend 50-75g liquid sweetener – maple syrup is my favourite. See my Ninja Creami yoghurt and honey recipe for more information.
- Liquid sweetener is better at creating good textured Ninja Creami ice cream, in my experience.
- I personally find that adding milk as well as yoghurt helps create a thinner texture that seems to be less harsh on the machine.
- If you are using a yogurt with real sugar, you don’t need to add maple syrup. I have tested this theory on my paid Substack.
- If you are using a yogurt with sugar and fat, you don’t need to add the (optional but helpful) xanthan gum.
- I don’t know of any brands of yoghurt that are super excessively high in sugar. However, if your frozen yoghurt isn’t frozen after overnight in the freezer, look to sugar as the culprit. Ultimately, we need to balance enough sugar to soften the yoghurt, but not so much that it becomes un-freezable.
- If your ice cream is crumbly, icy or lacks texture, read the above section on working with low sugar and low fat yogurts.
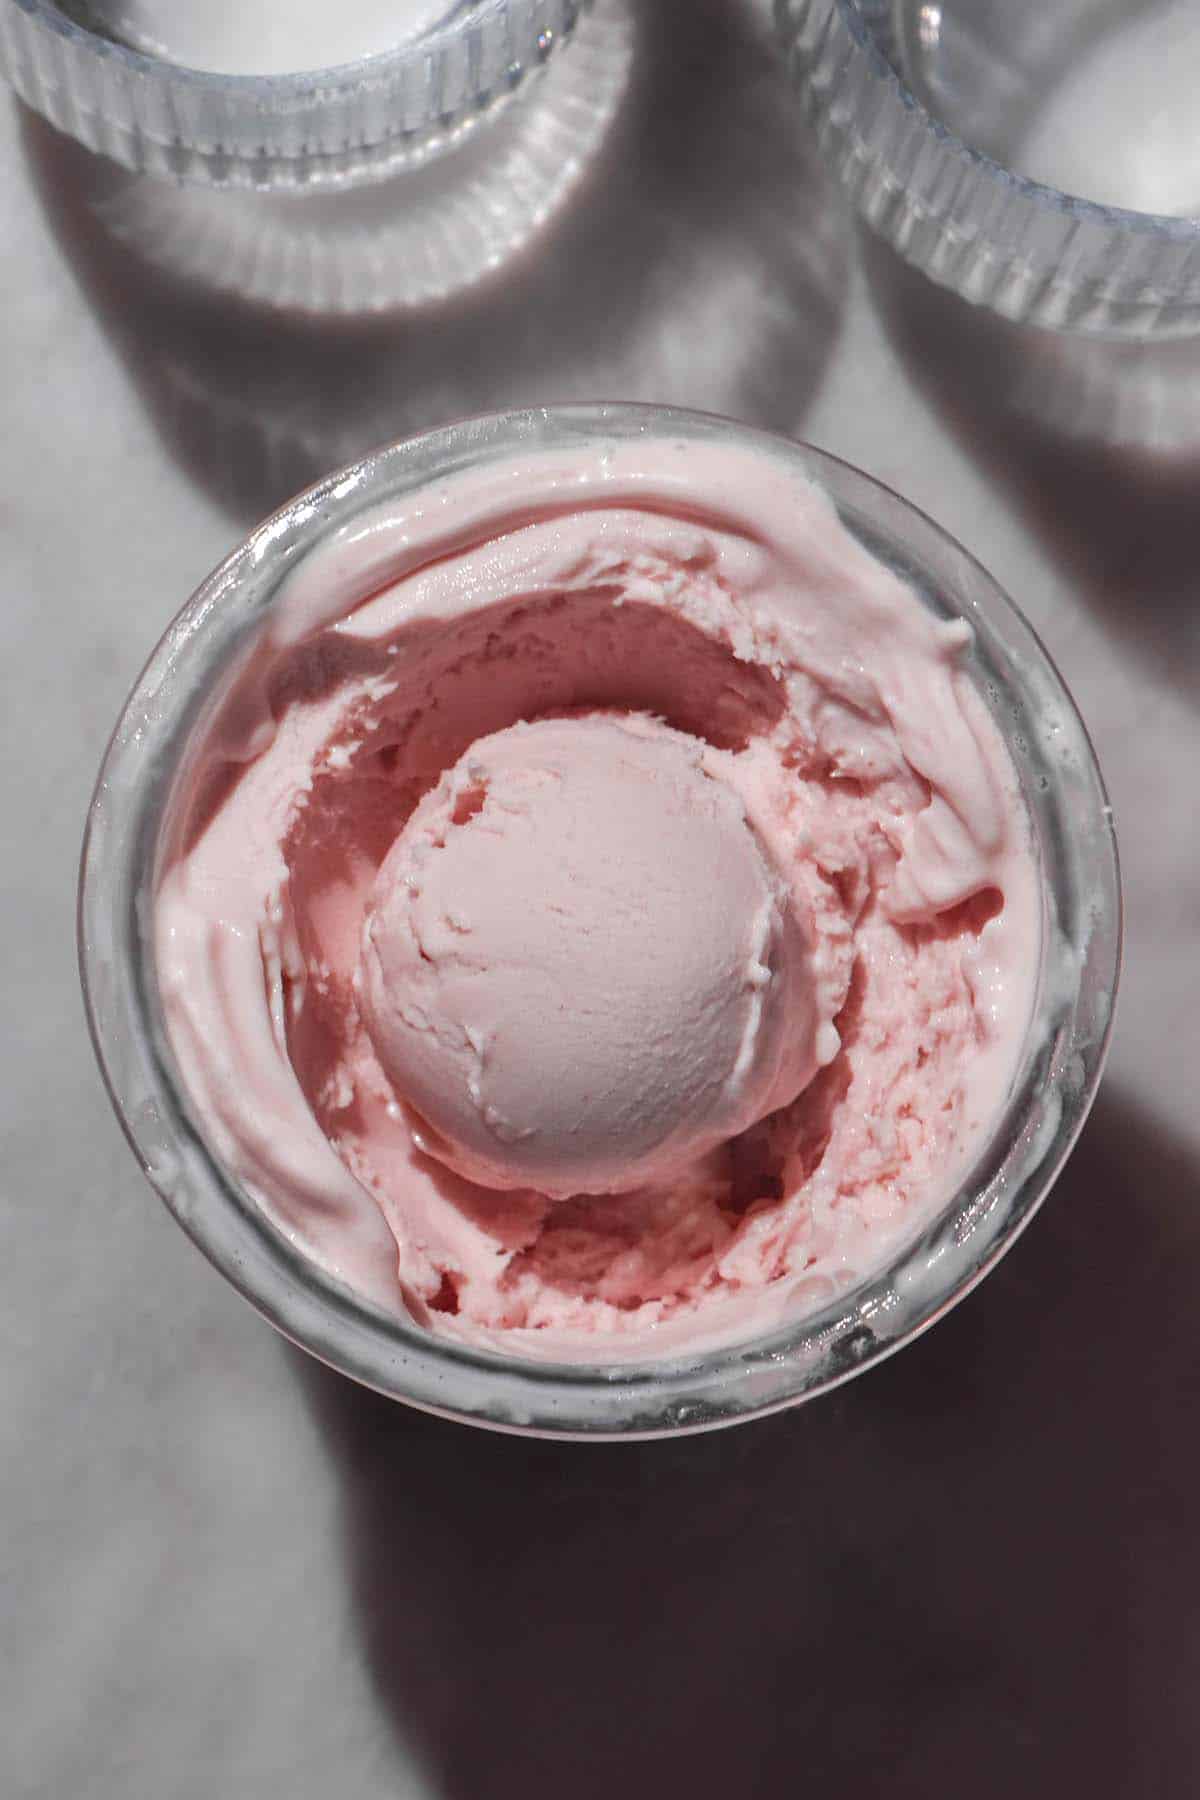
Can I make a Ninja Creami vegan frozen yoghurt?
Yes, you can! I have tested this recipe with Nakula brand strawberry flavoured coconut yoghurt and soy milk (and the rest kept the same) and it worked well. I do have a few notes, though.
In my experience, gums such as xanthan gum tend to mute the flavours of things and make them taste less sweet. Because vegan yoghurt already tends to have more gums than regular yoghurt, I found the result was just sweet enough. This will, of course, depend on the brand of vegan yoghurt you use and I am speaking only on my experience using Nakula brand.
You can experiment with adding a bit more sweetener to the mix, but be mindful that too much sugar can result in frozen yoghurt that doesn’t set. A potentially easier approach would be to drizzle some extra sweetener over the top.
With all that said, I found the mixture processed much more easily than the dairy based version. I found I only need one spin on light ice cream and one quick re-mix to achieve a very creamy consistency.
TLDR tips:
- Choose a sweetened vegan yoghurt that you enjoy. I do recommend choosing one with added gums here as it has a really positive effect on the chewy texture of the yoghurt.
- I have not tested any other vegan yoghurt varieties in this recipe. You will have to do some recipe testing of your own if you’d like to use a different variety.
- Keep in mind that different brands use different ingredients. What works for one brand might not work as well for another (and sadly I don’t have the budget to test them all!).
More Ninja Creami recipes
- Ninja Creami two ingredient strawberry sorbet
- Ninja Creami high protein sticky date ice cream
- Ninja Creami coconut ice cream
- Ninja Creami high protein strawberry and matcha ice cream
- Ninja Creami raspberry sorbet
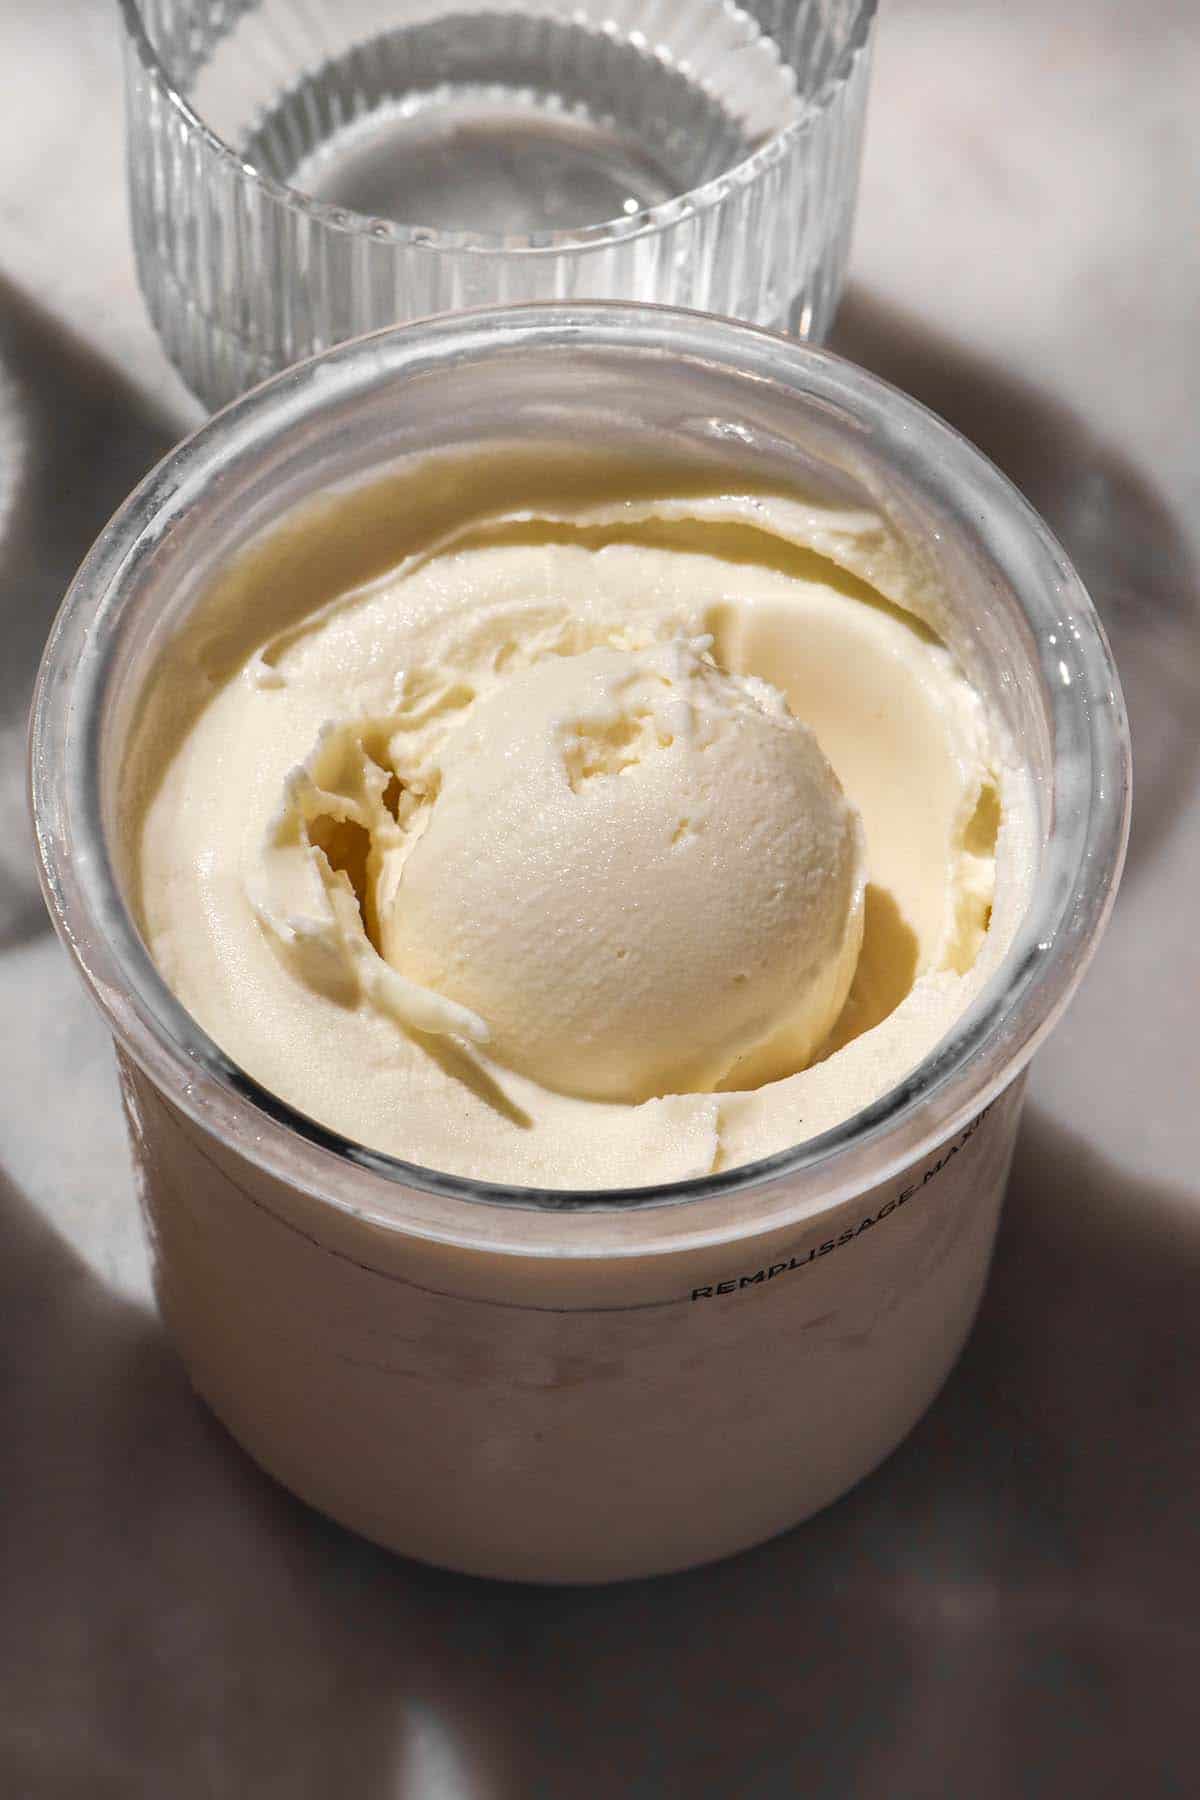
Ninja Creami frozen yoghurt (high protein)
Ingredients
- 400 g high protein sweetened yoghurt (I have tested Chobani Fit vanilla, Chobani Fit salted caramel and Danone YoPro high protein vanilla) (see body of post for vegan option)
- 25 g pure maple syrup
- 0.5 g (lightly heaped 1/8th teaspoon) xanthan gum (see notes)
- 100 g milk of choice (I used lactose free full cream milk)
Instructions
- Combine all the ingredients in a medium mixing bowl. Whisk thoroughly to combine, then pour into your 470ml Ninja Creami tub. I find mixing it in a different bowl really helps get rid of air lumps, flatten out the mixture and distribute ingredients evenly.
- Place the tub in the freezer for 16-24 hours with the lid off. Freezing with the lid off can help minimise the hump in the centre of a frozen Ninja Creami mixture which can damage your machine.
- When you are ready to eat, take the tub out of the freezer and allow to sit on the bench for 5-15 minutes (less time in summer, more in winter).
- Process the Ninja Creami on light ice cream. I find you generally need to use the light ice cream function twice to achieve the right consistency.
- Store leftovers in the freezer with the lid on. I find frozen yoghurt tends to taste like 'freezer' really quickly so adding a lid to leftovers is important.
Notes
- This recipe works with vegan yogurt and milk. See the notes in the body of the post for more information.
- It is important to use a yoghurt that has sweetener for this recipe. If you want to add your own sweetener to plain yoghurt, see my Ninja Creami yoghurt and honey recipe.
- I have only tested this recipe with low fat, high protein yoghurts. These varieties are generally low sugar/artificial sugar.
- If you want to use a high sugar, dessert style yoghurt I have a recipe on my paid Substack.
- Pure maple syrup helps create a less icy and more chewy and cohesive texture to your frozen yoghurt.
- Xanthan gum also creates a more chewy and cohesive texture. It works without the xanthan gum, but the result is likely to be a bit more icy.
- In my experience, icy edges are just a byproduct of using light yoghurt and minimal sugar. You can scrape them down and re-spin the mixture, but you might need to chill it again afterwards prior to eating it.
No Comments