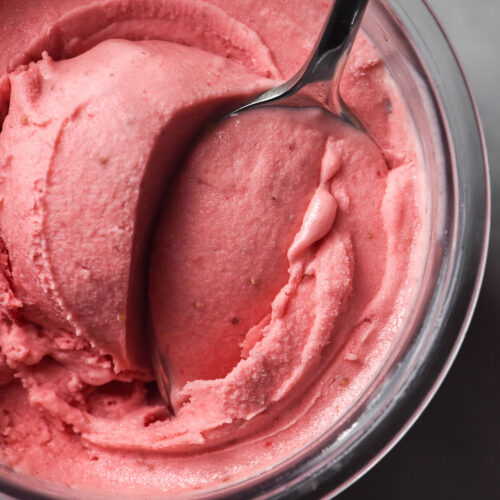
Sugar free strawberry Ninja Creami ice cream
Sugar free, diabetic friendly, keto friendly, gluten free, dairy free/vegan option
Equipment
- 1 X NC300 machine with 1 X 470ml tub
Ingredients
For the sugar free Ninja Creami strawberry ice cream:
- 300 g fresh strawberries, weighed after hulling (see notes)
- 100-125 g pure granulated allulose (I haven't tested liquid allulose or any other sugar substitutes, see body of post)
- 125-150 g thickened cream, 35% milkfat (may be called whipping cream or heavy cream where you live) see notes
Optional flavour boosters:
- Tiny dash balsamic vinegar (yes, really)
- Few cracks freshly cracked black pepper (yes, I promise!)
- Tiny pinch fine salt (makes everything more complex)
Instructions
- Hull, chop and weigh your strawberries into a medium pot. Use your hands or fork to mash the strawberries up. Our main goal here is to get some liquid happening so we don't have to add any.
- Add the allulose and stir to combine. The mixture should be a paler pink colour with strawberry chunks. The allulose should all be starting to dissolve.
- Place the pot over a medium heat and cook for 2-3 minutes or until the allulose has dissolved and the mixture is a vibrant red coulis. If you are adding any flavour boosters, stir them in here, then set aside to cool for 15 minutes.
- Once the mixture has cooled to a hand comfortable temperature, transfer it to the 470ml Ninja Creami tub.
- Add the cream and mix thoroughly to combine. I like the version with 150g cream so if I need to, I go a tiny bit above the fill line. The volume of your strawberries will depend on how much liquid they contained and how much liquid you cooked off, so it might vary a little.
- Once thoroughly mixed, place the tub in the freezer with the lid off. This can help prevent the mixture developing a hump in the centre which can damage your machine.
- 16-24 hours later (see notes) process your ice cream using the ice cream function. With 100-125g allulose, it should come out as a perfect texture on the first spin. The more allulose you add, the softer your ice cream will set. This is why it's important to weigh the ingredients.
- Return leftovers to the fridge with the lid on.
Notes
- Read the notes in the body of the post on allulose and on ingredient notes before starting.
- How sweet your ice cream is, how many seeds are in it and what colour it is depends on your strawberries. For the sweetest, pinkest result I recommend summer strawberries.
- If your strawberries are super sweet, you might only need 75-100g allulose.
- If a batch of 125g allulose ice cream comes out too soft, your strawberries likely contained more sugar than mine. You can simply chill it for an hour or two before serving. Next time, add 25-50g less allulose.
- If you really don't want any strawberry seeds in your ice cream you could try blending them and then running them through a sieve before starting the recipe. You will still need 300g total volume of strawberry, so you will need to use more than 300g strawberries to account for the volume lost. I haven't tested this so I can't say how much more you will need - I like the seeds!
- The more allulose you add to your ice cream, the longer you should chill the mixture. A tub with 75g allulose might only need 16 hours chilling time, whereas I'd recommend a full 24 hours for a tub with 125g allulose.
- I do not recommend exceeding 125g allulose in this recipe or any other Ninja Creami recipe as it won't set.
- Allulose based ice cream tends to have a slightly more textured look than ice cream made with sugar. This is just the way it looks - the ice cream itself should be perfectly smooth and creamy.
Tried this recipe?Let us know how it was!