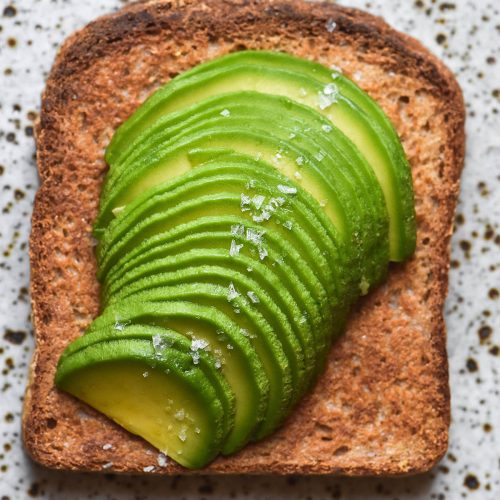
Gluten free sandwich bread
Nut free, xanthan gum free, vegan *Cups and measures are in Australian cups and measures. Use gram weights for international accuracy. *1 Australian tablespoon = 4 American, Canadian and New Zealand Teaspoons or 3 1/2 British teaspoons
Equipment
- 10.16 x 10.16 x 22.86 cm steel bread pan
Ingredients
- 200 g cassava flour (see notes)
- 150 g light sorghum flour
- 100 g white rice flour
- 50 g buckwheat flour
- 8g (2 teaspoons) baking powder
- 10-12 g salt
- 1 x 7.5g sachet instant yeast
- 30 g psyllium husk powder
- 700-750 g water
- 20 ml (1 tablespoon)* oil
- 20 ml (1 tablespoon)* maple syrup
Instructions
- Grease and line a steel 10.16 x 10.16 x 22.86 cm bread pan.
- Combine the flours, baking powder, salt and yeast in a large plastic or glass bowl and whisk to remove any lumps.
- In a medium mixing bowl, combine the psyllium husk powder and water. Whisk immediately thoroughly (I like to start whisking as I add the water) to remove any lumps, then set aside for 10 minutes to form a gel.
- Once the psyllium mixture has formed a gel, whisk in the oil and maple syrup.
- Add the gel to the flour mixture, and use a spoon to combine the ingredients most of the way. Next, use hands to squelch the dough through to thoroughly combine, ensuring there are no dry spots or lumps left in the dough. If the dough is too dry to form a ball or looks scrappy, add 50g more water.
- Proof the dough in the bowl for one hour, before transferring to the bread pan to proof for 1/2 – 1 hour or until the bread reaches the top of the pan. Use a moistened hand to flatten the dough into the pan before it proofs.
- Alternatively, proof the dough straight in the pan for 1 1/2 hours or until it reaches the top of the pan.
- While the bread is proofing, thoroughly preheat the oven to 220C/430F.
- 10 minutes before the bread is ready to bake, boil the kettle and place an ovenproof cake tin or pan filled with boiling water at the base of the oven. This will help the bread rise and stay moist.
- Place the bread in the oven and bake for 50 minutes, or until the loaf is a deep brown in colour and hard on top if you knock on it.
- Remove from the oven and allow to cool for 10 minutes before removing from the pan and transferring to a wire rack to cool.
- If you’re struggling to remove the bread from the pan, allow it to sit an additional 10 minutes. The crust softens as the loaf cools, making it easier to remove.
- Allow the bread to cool for an hour before slicing. For best results, allow to cool completely before slicing.
Notes
- See notes in the body of the post for cassava flour tips. I find that Otto's brand is significantly more absorbent than the variety I get at my local bulk food store. I used 100g extra liquid when using Otto's brand.
Tried this recipe?Let us know how it was!