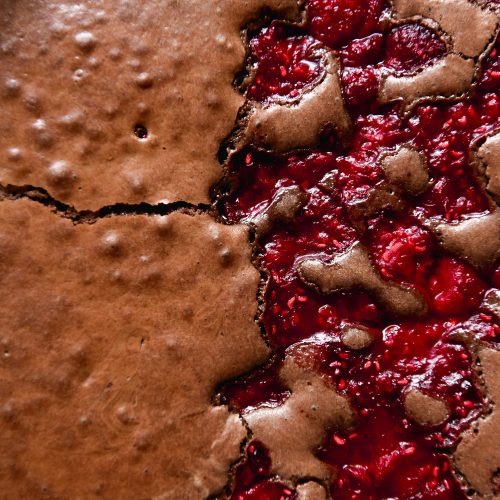
Gluten free, nut free brownies (the best-ever)
Ingredients
- 150 g butter
- 1 cup (220g) caster sugar or 1/2 light brown and 1/2 caster
- 3 extra large eggs (45-55g per egg, weighed out of shell)
- 200 g dark cooking chocolate I use 40-50%
- 2 tablespoons (20g) Dutch processed cocoa
- 1 tablespoon freshly brewed espresso (or water)
- 1 tablespoon hot water
- pinch of fine salt
- 1/4 cup (40g) fine white rice flour
- 1/4 cup (30g) tapioca flour
Instructions
- Preheat the oven to 180C or 356F, and line the bottom and sides of a 24cm x 24cm square baking pan. I like to put a bit of butter or oil in the bottom so the paper doesn’t slide around.
- Half fill a small saucepan with water and place it in a medium heat. Add the butter and chocolate to a heatproof bowl and place it on the saucepan. Cook until melted.
- Add the eggs and sugar to the bowl of your stand mixer. Use the whisk attachment to beat on a medium-high speed until fluffy and light in colour, 5-7 minutes. This will help create a crackly top on your brownies.
- Once the chocolate and butter are melted, remove from the heat. Add the cocoa, then add the hot water and coffee (or extra water) over the cocoa to 'bloom' it - bring out the depth of the chocolate flavour. Gently stir the mixture until just combined.
- Turn the motor off on the kitchen stand, and add the chocolate mixture to the bowl. Mix on a low speed until just combined. The mixture should be silky, smooth and medium brown in colour.
- Add the flours to the brownie batter and mix until just combined. Pour the mixture into the pre-prepared pan, and place the brownies into the oven for 20-30 minutes, depending on how 'done' you like your brownies.
- Allow to cool before slicing, and for best, most delicious results, allow to cool completely before eating. Brownies are best made the night before – see the introduction for links and tips. I also highly recommend keeping these in the fridge.
- I like to sprinkle my brownies with a little extra sea salt, but you do you.
Tried this recipe?Let us know how it was!