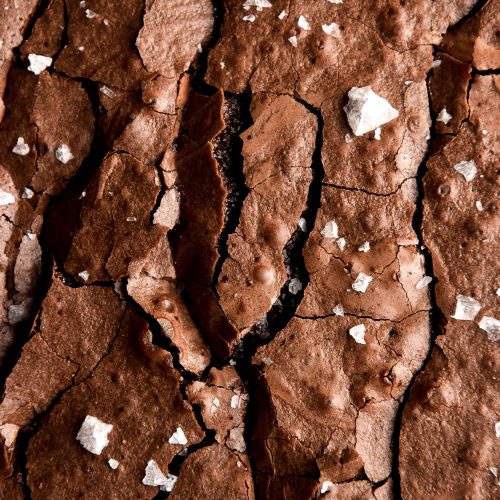
Gluten free sourdough brownies
Gluten free, FODMAP friendly, nut freeMakes 9 medium or 12 small brownies
Ingredients
- 100 g butter dark browned
- 70 g 1/2 cup light brown sugar
- 110 g 1/2 cup caster sugar
- 200 g dark chocolate 45% is what I used for all my tests, see notes
- 2 extra large eggs
- 2 tablespoons 16g cocoa (see notes)
- 2 tablespoons boiling water
- 130 g 1/2 cup thick sourdough discard (see notes)
- 1 teaspoon vanilla bean paste
- 1/4 + 1/8 teaspoon fine salt
Instructions
- Preheat the oven to 180 degrees Celsius or 356 degrees Fahrenheit. Line a 24cm square baking tin with baking paper – leave long edges so you have a handle to pull the brownies out.
- In a small saucepan, melt and brown the butter until the flecks are a deep brown colour. It should smell nutty and fragrant but not acrid or burnt.
- Pour the butter into the bowl of your kitchen mixer with the whisk attachment. Add the sugars to the bowl, and whisk until they’re just combined. It should look like light brown wet sand at this point. Once combined, turn off the mixer and allow the butter to cool a little.
- Half fill the small saucepan you used to brown the butter with water (saves on dishes!) pop a metal bowl on top, and place it over a low –medium heat. It should not touch water – this could burn the chocolate and make it seize up. Melt the chocolate until completely smooth before removing from the heat.
- Turn the mixer onto a medium high speed (I used speed 5 on a Kitchenaid) and add the eggs, one at a time. Stop to scrape the sides and bottom of the bowl, before returning to a medium high speed. Quite quickly, the mixture should lighten in colour and take on a meringue like appearance and texture. It will be a light brown colour with a sheen to it. Beat the mixture for around 3 minutes or until it is visibly light and fluffy. I have had my mixture split before at this point, and although I haven’t figured out specifically why, it won’t ruin the brownies so you can proceed as normal if this happens.
- While the mixer is running, add the cocoa and boiling water to the melted chocolate. Use a spatula to JUST combine – any more and the mixture will stiffen. Boiling water is used to bloom the cocoa and give a more pronounced chocolate flavour.
- Lower the speed of the mixer and add in the chocolate mixture. Whisk on a lower speed until totally combined. Turn the mixer off to add the sourdough discard, salt and vanilla bean paste – the paste gets stuck in the whisk if it’s moving.
- Whisk again to combine before removing the bowl from the stand. Pour the brownie batter into the prepared tin and tap it on the bench a few times to remove any excess air bubbles.
- Place the brownie in the oven for 20 minutes – this produces an incredibly fudgy brownie. You can cook it a little longer if you prefer your brownie more well done.
- As per the notes, I suggest making brownies the night before and allowing them to totally cool, on the bench or in the fridge. This gives the flavours time to develop, and the fudginess of these brownies means they’re essentially cake batter consistency when they first come out of the oven.
- They keep well in an airtight container for a few days.
Tried this recipe?Let us know how it was!