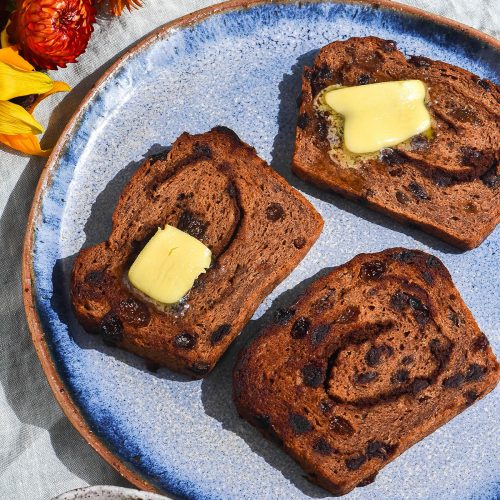
Gluten free vegan hot cross bun loaf
Nut free option, xanthan gum free, egg free *This recipe uses Australian cups and measures. Use gram weights for international accuracy.
Equipment
- 2cm X 12cm steel loaf tin
Ingredients
For the binder:
- 500 ml (2 cups)* hot plant based milk of choice (choose nut free for a nut free option)
- 75 g vegan butter melted
- 20 g psyllium husk powder
For the loaf:
- 240 g (1 1/2 cups)* fine white rice flour
- 120 g (1 cup)* glutinous rice flour (also called sweet rice flour)
- 125 g light brown sugar or panela sugar
- 1 tablespoon ground cinnamon
- 1 teaspoon ground nutmeg use less if you are grating it fresh
- 7.5 g (1 sachet) instant yeast
- 4 g (1 teaspoon) gluten free baking powder
- 1/8 teaspoon baking soda for browning
- 75 g raisins
- 75 g dark chocolate chips
- Extra plant based milk or vegan butter to brush the buns
For the cinnamon sugar:
- 1 tablespoon ground cinnamon
- 2 tablespoons light brown sugar or panela sugar
Instructions
- Grease a 22cm X 12cm steel loaf tin and set aside.
- Combine the hot milk and melted butter in a bowl. Add the psyllium husk and whisk vigorously until there are no lumps remaining. Set aside for 10-15 minutes to form a gel. Check on it half way through – the husk might have formed a layer on the top – whisk it through again if it has.
- In a large mixing bowl, whisk together the remaining ingredients.
- Once the gel is ready, pour it into the dry ingredient bowl. Use a spoon to combine most of the way, then get your hands in and squelch the dough through until all the flour has been picked off up the bottom of the bowl. The dough might look like a scone dough but feel moist to the touch, or it might look and feel moist. It should never feel dry – add a little extra milk if it does.
- Add the mix ins, if you are using them. Use your hands to distribute them through the dough.
- Grease a large rectangular sheet of baking paper with some neutral oil, then place your dough on top. Gently roll the dough out into rectangle that is roughly the size of the baking paper or around 40cm long and 30cm wide.
- Sprinkle the cinnamon sugar evenly over the rectangle of dough. You can brush the dough beforehand with a really scant amount of plant based milk to ensure the cinnamon sugar stays put, if you like.
- Starting at the short side of the rectangle, roll the dough over itself and press down to secure. You want to begin with a tight spiral. Continue rolling until you have rolled the dough into a log. The dough should finish with the seam on the bottom.
- Place one hand on each end of the loaf and press inwards to make the log short enough to fit into your baking tin.
- Gently scoop the dough up and place into the tin, then cover (without touching) with a plastic bag. Allow to proof for 1-2 hours or until the loaf is puffy. You might hear the sound of tiny little air bubbles popping.
- About 20 minutes before the loaf is fully proofed, preheat the oven to 200C/400F. 10 minutes prior to baking, place an oven proof pan at the base of the oven and fill it with boiling water. The steam will create a light and fluffy loaf.
- Brush the loaf with plant based milk or butter and press the raisins down firmly to secure (they puff as they bake). Bake the loaf for 20 minutes, then turn the oven down to 180C/356F, very loosely tent with foil (I place a sheet of foil on an oven rack above the loaf) and bake for 40 minutes. The loaf should be golden brown and firm to the touch.
- Remove from the oven and allow to cool for 15-20 minutes before carefully removing from the pan.
- Allow to cool before slicing and serving. Leftovers keep well in an airtight container for a number of days but are also great frozen and defrosted.
Tried this recipe?Let us know how it was!